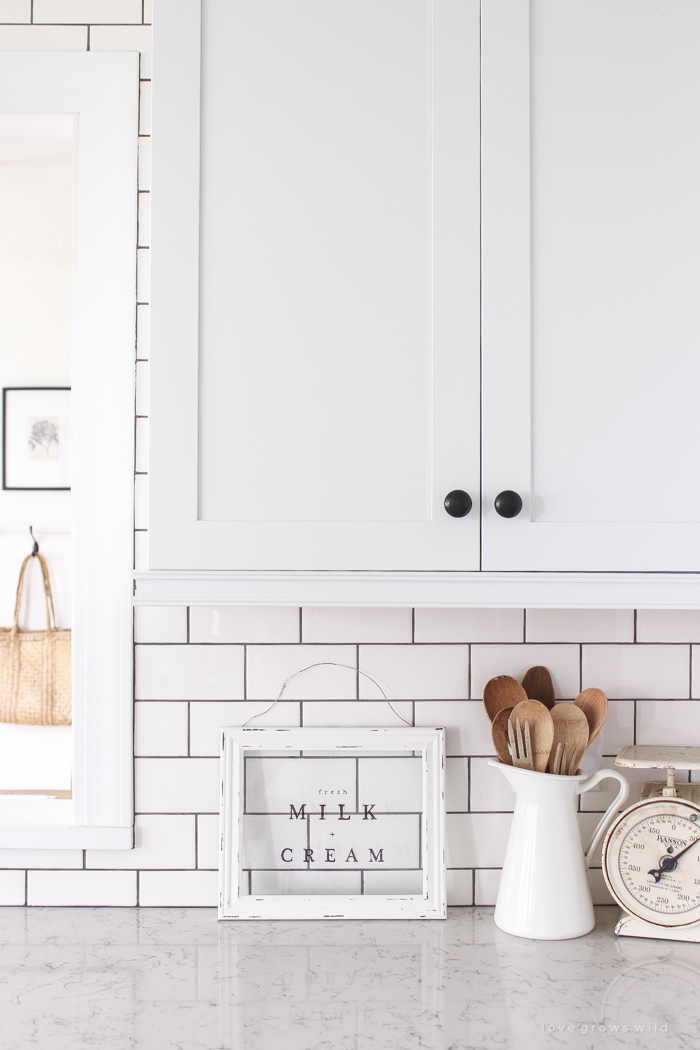
Our little farmhouse kitchen got a BIG makeover! This week I’m sharing the finishing touches we added to complete our renovation… you can catch up on the rest of the kitchen makeover series here!
We’re finally at the end of our kitchen makeover series, and today I get to share the fun stuff with you guys… the finishing touches! Dealing with electrical issues, uneven ceilings, and other renovation realities are not my idea of a good time, but when the contractor finally gave me the green light to pick out lighting, a sink faucet, cabinet hardware, and all the decorative elements, I was more than happy to do some shopping. Let’s dive into the details of our biggest makeover to date!
Note: Some of the links in this post are affiliate links, which allows me to make a small commission from your purchase, but your purchase price stays the same. Thank you for helping support our blog!
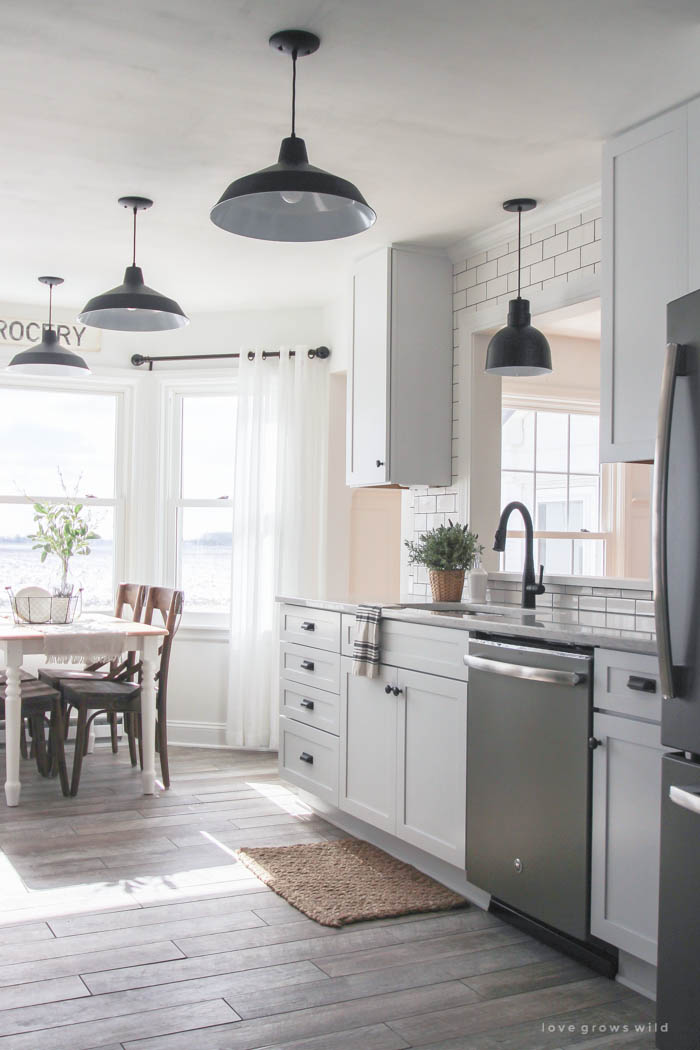
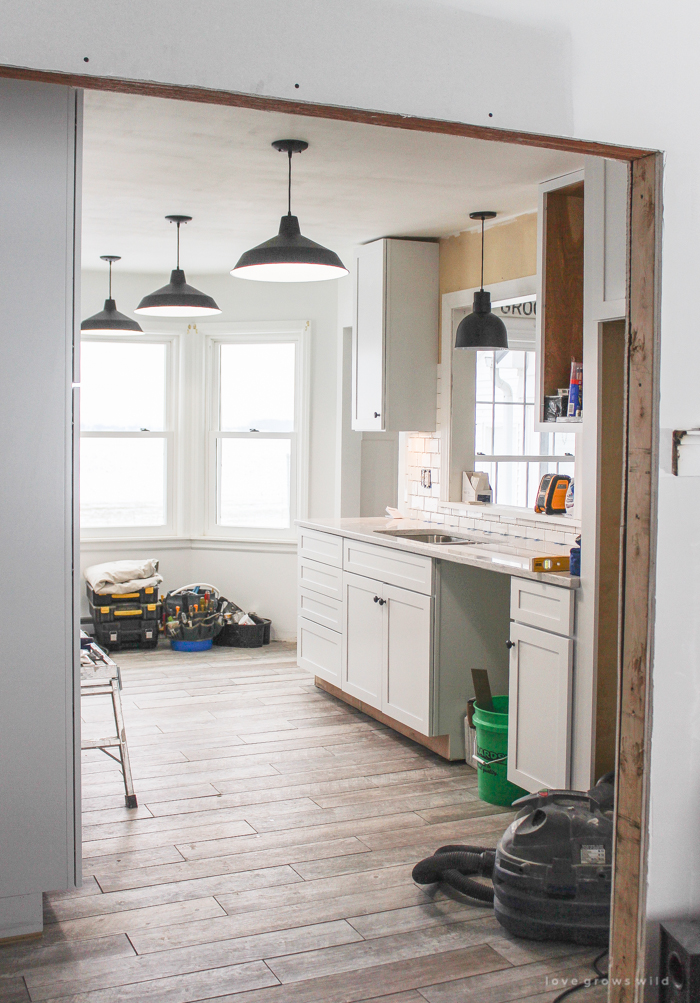
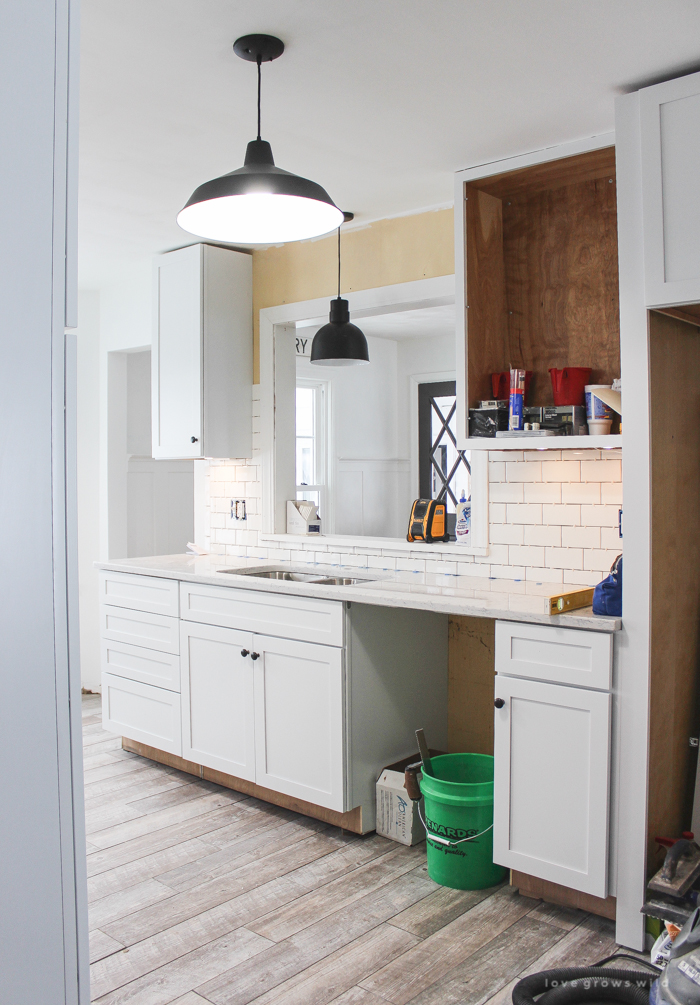
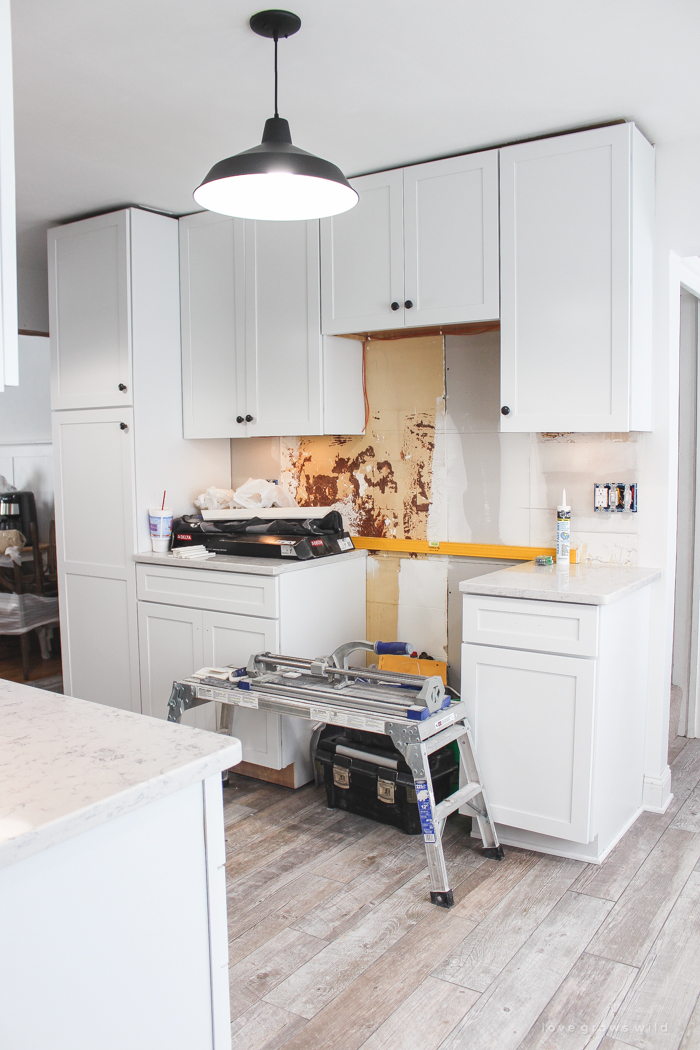
After the tile, cabinets, and countertops were in place, my lighting was installed next. Our kitchen is somewhat long and narrow, so I decided to go with three barn-style pendant lights down the center of the ceiling. I bought them in a matte black finish on Amazon for less than $45 each. I knew I couldn’t pick something crazy expensive since I needed three of them, and this light fit the budget and had just the look I was going for. Since most of the kitchen is white, I wanted the lighting in here to make a big statement!
Many of you have been wondering about our ceiling height and if something like this would work in your home, so I’ll go ahead and address that now!
Our ceiling height is 8-feet, and we had these pendants installed to hang just about 17″ down from the ceiling. It’s enough of a drop that it looks like a hanging pendant light, but is high enough that you can still easily walk under it. Our family was not blessed with height, so if anyone in your family is 6’4″ and above, they probably will have trouble walking under these lights on an 8-foot ceiling without bonking their head. Luckily for us, this works just fine!
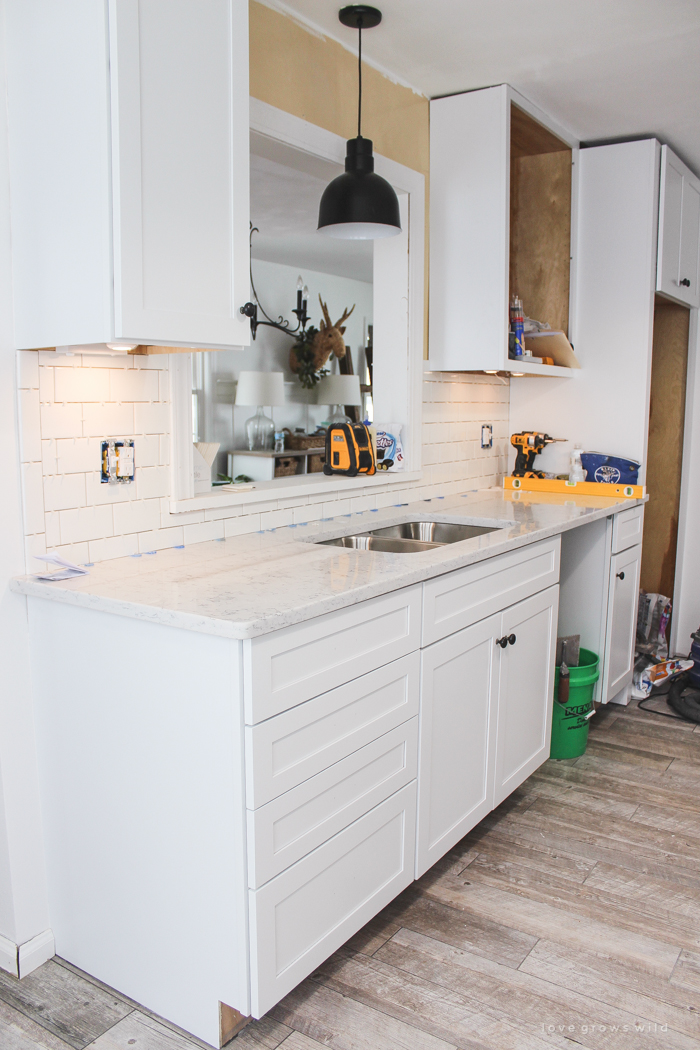
I also had them install a single pendant light over the sink that is slightly different than the other lights, but has the same matte black finish. I bought this one on Wayfair for around $65. After I had already ordered everything, I had second thoughts about this one and somewhat wished I had gone with something more vintage and rustic… maybe a galvanized metal look? I do think the matte black finish looks beautiful in our white kitchen, but in the future (if and when I convince Jeremy to install new lights for the hundredth time since living here) I may switch out this light with something less modern.
You’ll notice that we had under-cabinet lighting installed as well! My contractor literally didn’t even get the words out of his mouth before I said, “Yes! Yes, of course I want them!” Did they add a bit of cost to our overall renovation budget? For sure. But I knew that if I ever wanted to have them professionally installed, now would be the time to do it, and I am SO happy I did. Unless I’m cooking and need all the kitchen lights on to see, I usually just have these under-cabinet lights on in the evenings, and they create such a pretty, soft glow in the kitchen. They are all connected on one switch and have a dimmer so I can make them as bright or dim as I want.
My one and only complaint about the entire kitchen renovation is that once everything was finished, it really bothered me that I could see some of the lighting exposed underneath the cabinets. When we are sitting at the kitchen table or even when I photograph the kitchen at eye level, you can see the under-cabinet lighting and the natural wood bottom of the cabinets.
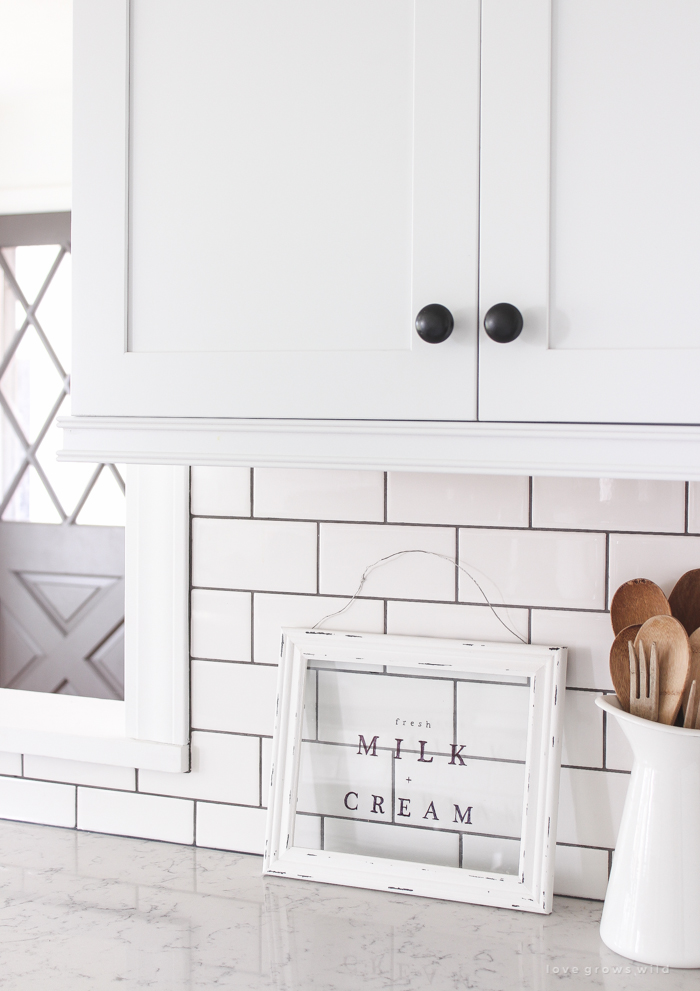
After living with the kitchen this way for a few months, I sent a text over the to girl at Lowe’s who helped us with the kitchen design to ask her what options I had for fixing the problem. She said that they make trim for the cabinets to help hide the lighting, so I recently went in and picked out a style I liked. This is what our cabinets look like now with the light rail installed:
It made SUCH a difference! We were on a pretty tight budget for the kitchen renovation, so we didn’t have a lot of extra trim details installed because they would very quickly add to the expense of our already pricey cabinets. But I feel like this was one detail that was so worth the extra money. It hides the bottom of the cabinets perfectly!
Moral of the story: If you are going to have under-cabinet lighting installed, I highly recommend you look into some kind of trim for the bottom of your cabinets.
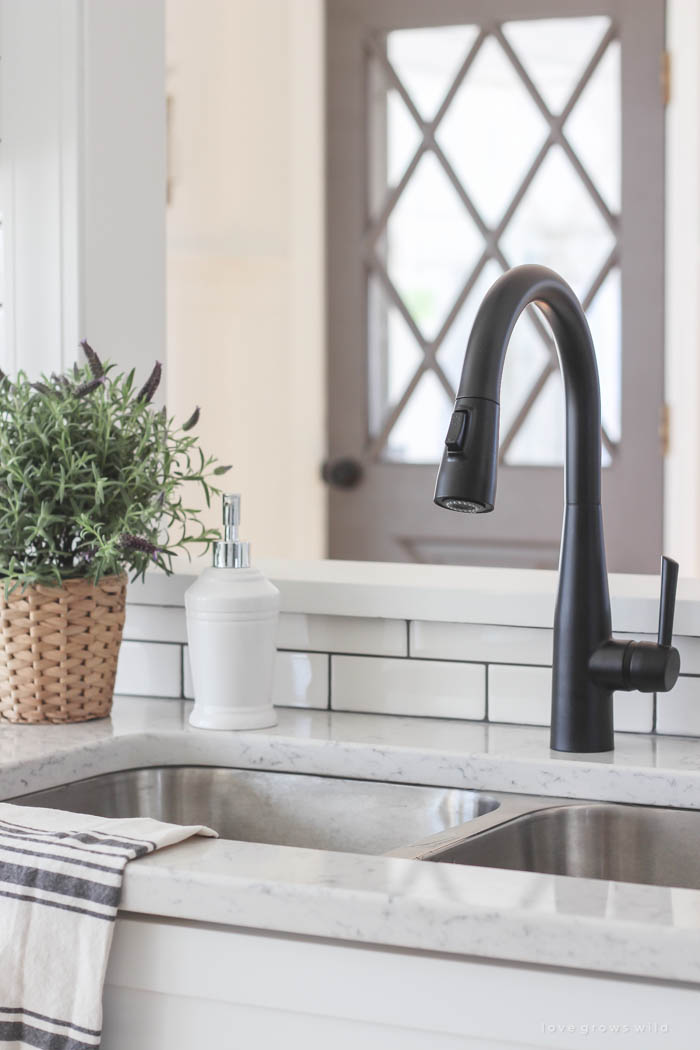
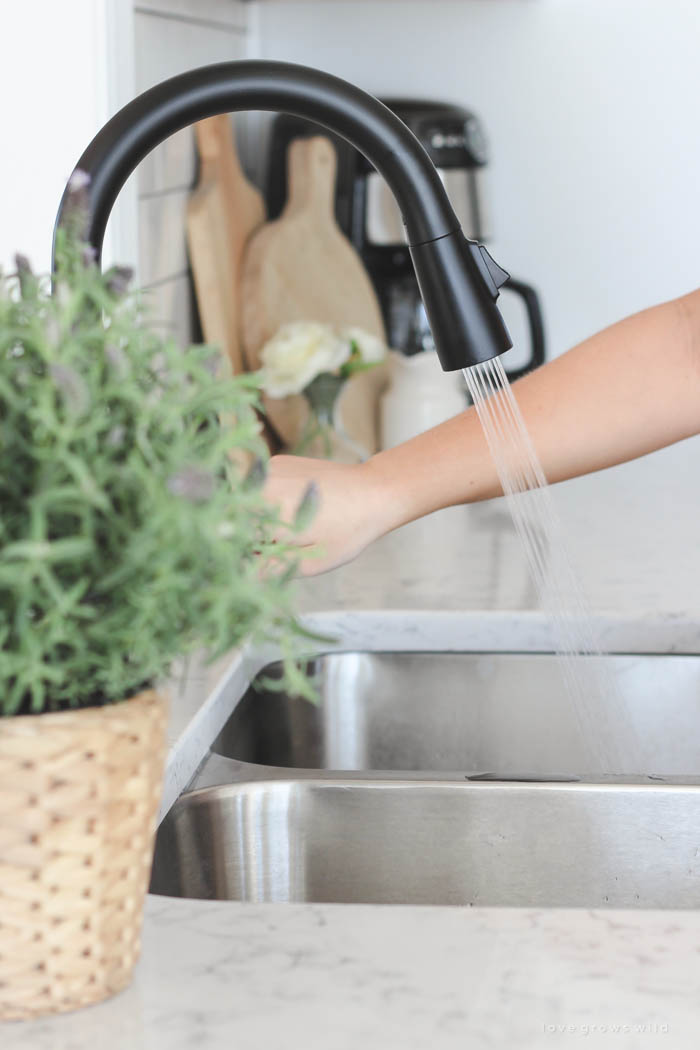
Another finishing touch we added was a sleek, single handle pull-down faucet (Essa by Delta) in a matte black finish. I love the dramatic height this faucet has!
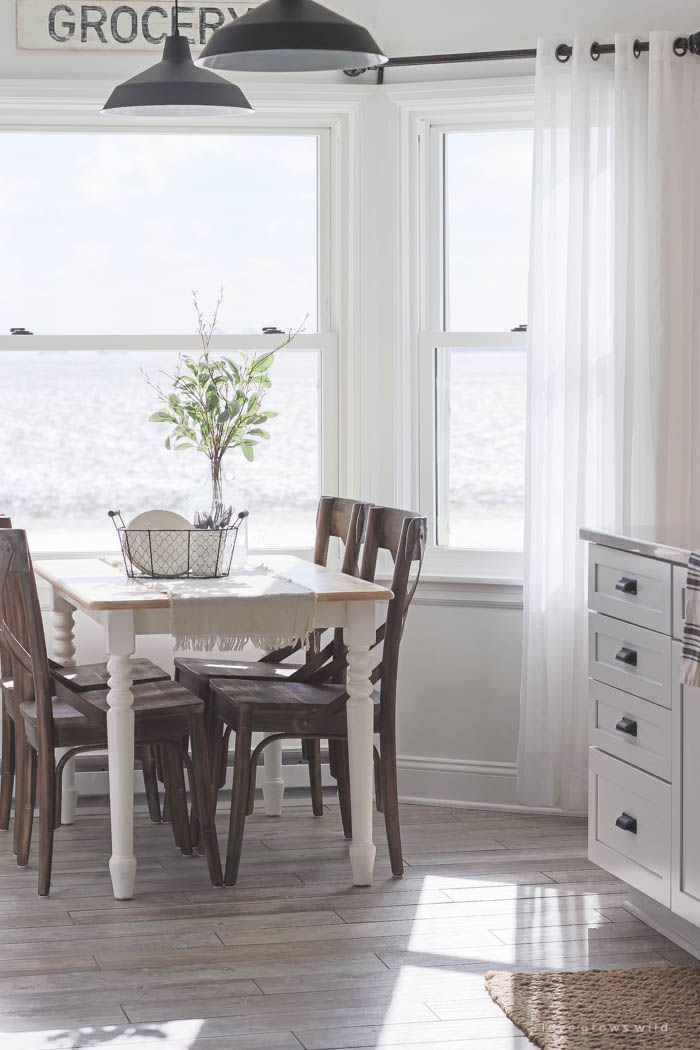
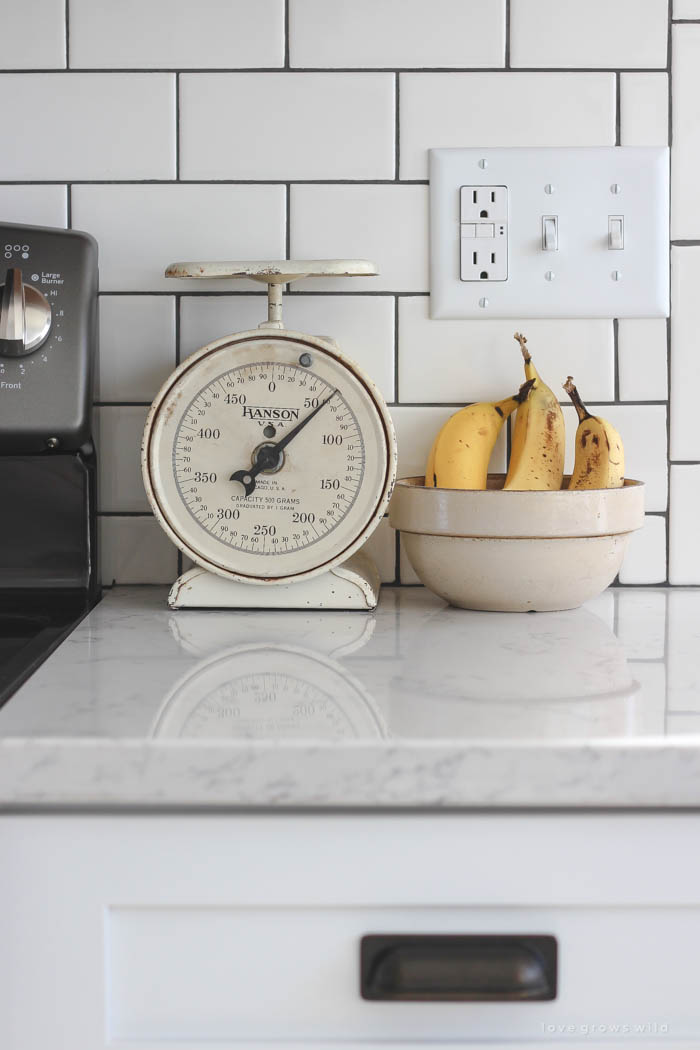
Since the entire kitchen is now new construction, I used the furniture and decorative elements in here to bump up the vintage farmhouse charm.
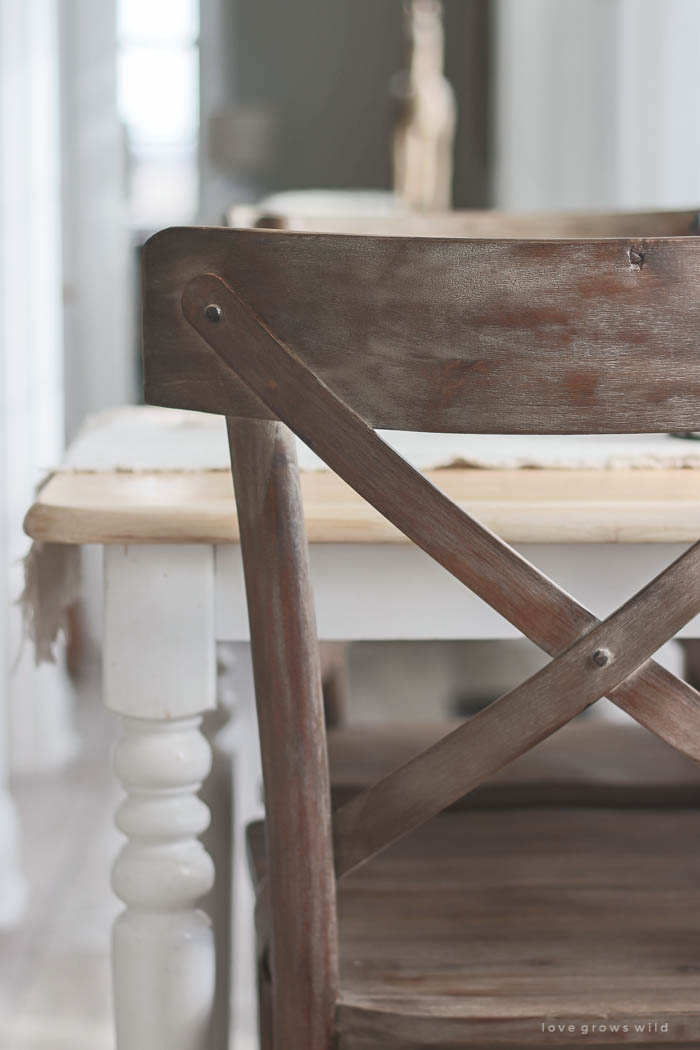
I picked up our kitchen table at an antique store and purchased four cross-back chairs from World Market to go with it.
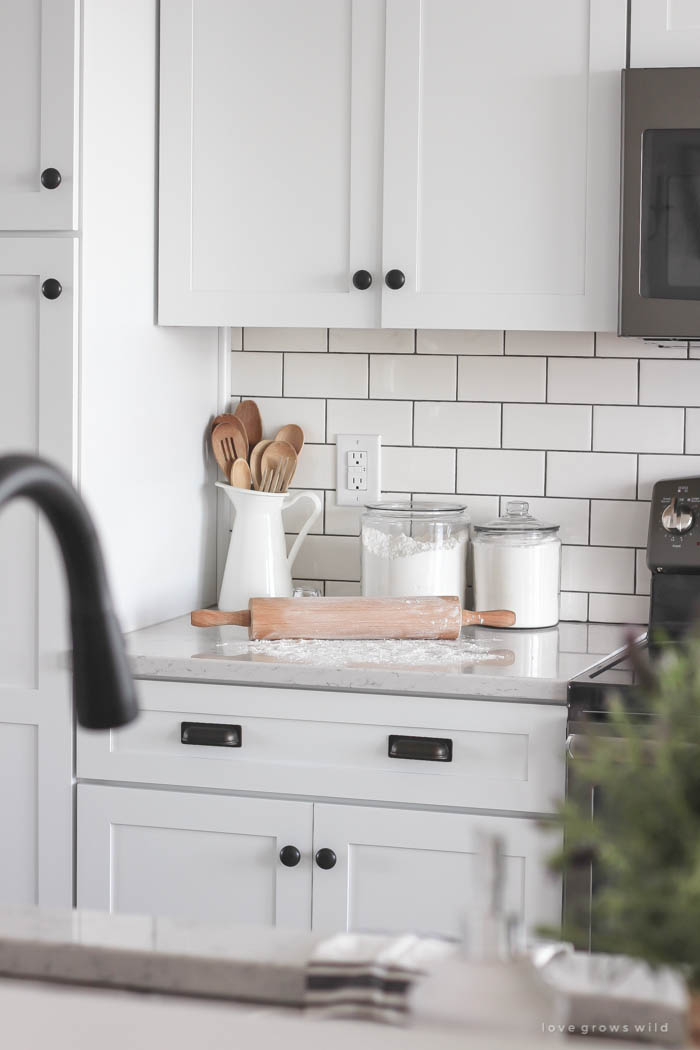
Then I added items like old cutting boards, handmade signs, white pitchers, and vintage kitchen linens to give the space some personality.
Our old kitchen didn’t fit our style at all, but now we love to be in here together cooking and laughing and spending quality time as a family. This renovation was worth every penny spent and every speck of construction dust I’ve had to clean up! Next week, I’ll wrap up the series with a full before and after post so you can see just how dramatic this transformation really was. Thanks for visiting, sweet friends!
Sources
Dove White cabinets – KraftMaid purchased at Lowe’s
Cup cabinet pulls – Hickory Hardware
Cabinet knobs – Hickory Hardware
Quartz countertops – Silestone by Cosentino purchased at Lowe’s
Natural timber porcelain tile flooring – Lowe’s
Gray grout for tile floor – Lowe’s
Wall color – Du Jour by Valspar
Slate electric range – GE Appliances
Slate dishwasher – GE Appliances
Slate bottom freezer refrigerator – GE Appliances
Slate over-the-range microwave – GE Appliances
Matte black pendant lights – Amazon
Pendant light above sink – Wayfair
X back wood dining chairs – World Market
Sheer white curtains – Walmart
Bronze curtain rods – Walmart
Small jute rug by sink – Home Goods
Matte black sink faucet – Delta
Stripe kitchen towel – World Market
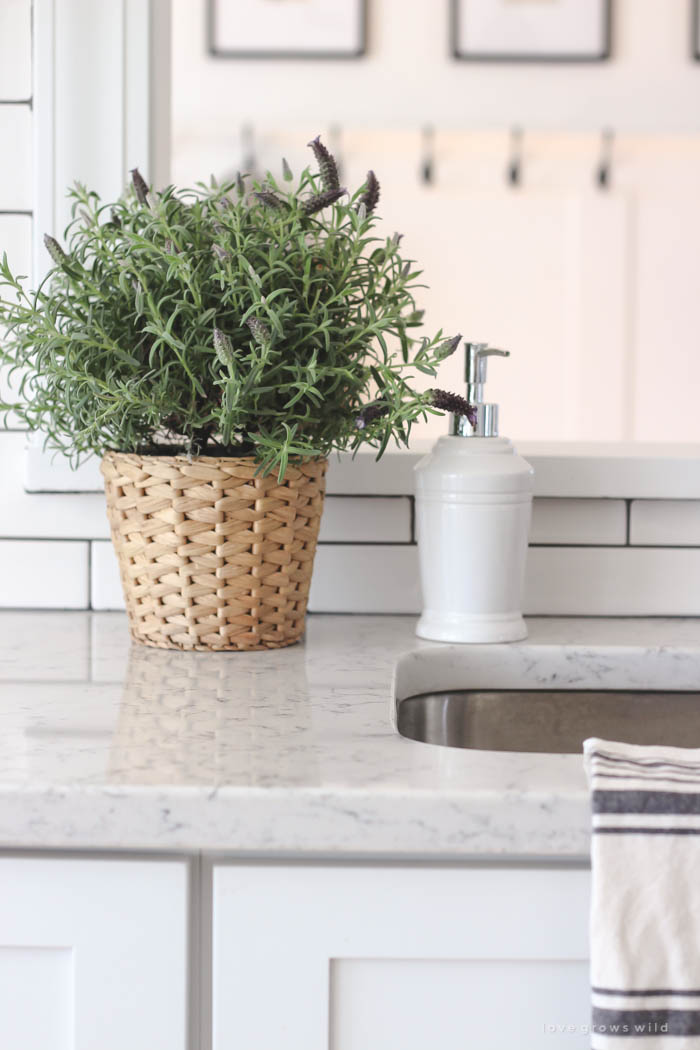
Woven plant pot – IKEA
KitchenAid coffee maker – Amazon
White pitcher with cooking utensils – IKEA
Glass canisters – Target
Round wire basket – Walmart
Faux greenery in glass jug – Hobby Lobby
Hallway lantern light fixture – Lowe’s
Soap dispenser by wash sink – Target
Blue striped towel by wash sink – IKEA
Blue stripe apron – tutorial
ANTIQUES, SECONDHAND FINDS, AND HANDMADE ITEMS:
white and wood dining table, drop cloth table runner, glass jug, grocery sign, wood cutting boards, antique scale, wood stool, blue glass bottles
More from our Kitchen Makeover
Kitchen Makeover Plans + Before Photos
Kitchen Makeover Reveal
Kitchen Makeover – Demo Day
Kitchen Makeover – Flooring
Kitchen Makeover – Cabinets
Kitchen Makeover – Countertops
Kitchen Makeover – Backsplash
Kitchen Makeover – Appliances
LET’S KEEP IN TOUCH!
Subscribe to Blog | Follow on Instagram
Follow on Pinterest | Follow on Facebook




Liz, your new kitchen is gorgeous! I love every inch of it.! It certainly has farmhouse charm! Enjoy with your family and friends. You deserve it!
Beautiful !!!!!
Gorgeous! Loving everything you did.
I have been obsessing over vintage hobnail milk glass lately ever since I came back from visiting http://www.prairiecalifornian.com – she has some in her kitchen.
Have you ever heard of it? I think it would look gorgeous in yours! White things don’t go well in my house so I don’t have a reason to buy it. There was some at Northern Traders in Rochester, IN for a very good price.
Keep up the amazing work and I am so proud of all of your accomplishments. It’s been fun watching your career grow and grow! 🙂
You did an amazing job with the kitchen – I absolutely love how it turned out, and all of your design choices were just perfect!!!! I had been undecided about the same faucet, but after seeing it in your kitchen, I am going to go for it. Also, I have the same chairs, and went crazy looking for pads that weren’t super expensive – Ikea to the rescue! The Admete pads for $7.99 fit these chairs perfectly. Again, just loving your kitchen remodel!!
I love every single aspect of this kitchen. Thank you for sharing it and lighting a fire in me. I love that little ‘milk’ sight. Did I miss a tutorial or is one coming? I truly enjoy your blog:s
Hi Paige! The milk sign is actually a project from my book that is coming out 12/6/2016! You can order A Touch of Farmhouse Charm (which has 70 new home decor tutorials) on Amazon!
I am so in love with this kitchen! The floors, the tiles and all the little touches really make this kitchen really beautiful. Thank you for sharing, it inspires me to keep planning our kitchen remodel! 😀
Your kitchen looks great and professionaly done. I like the design on it. Great job and awesome content.