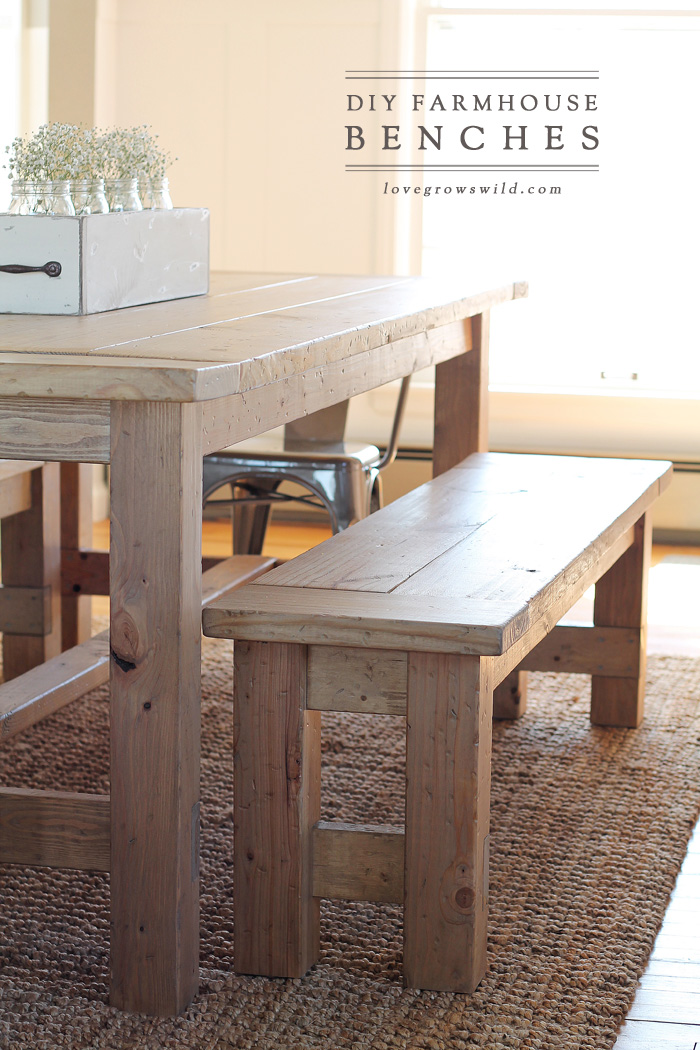
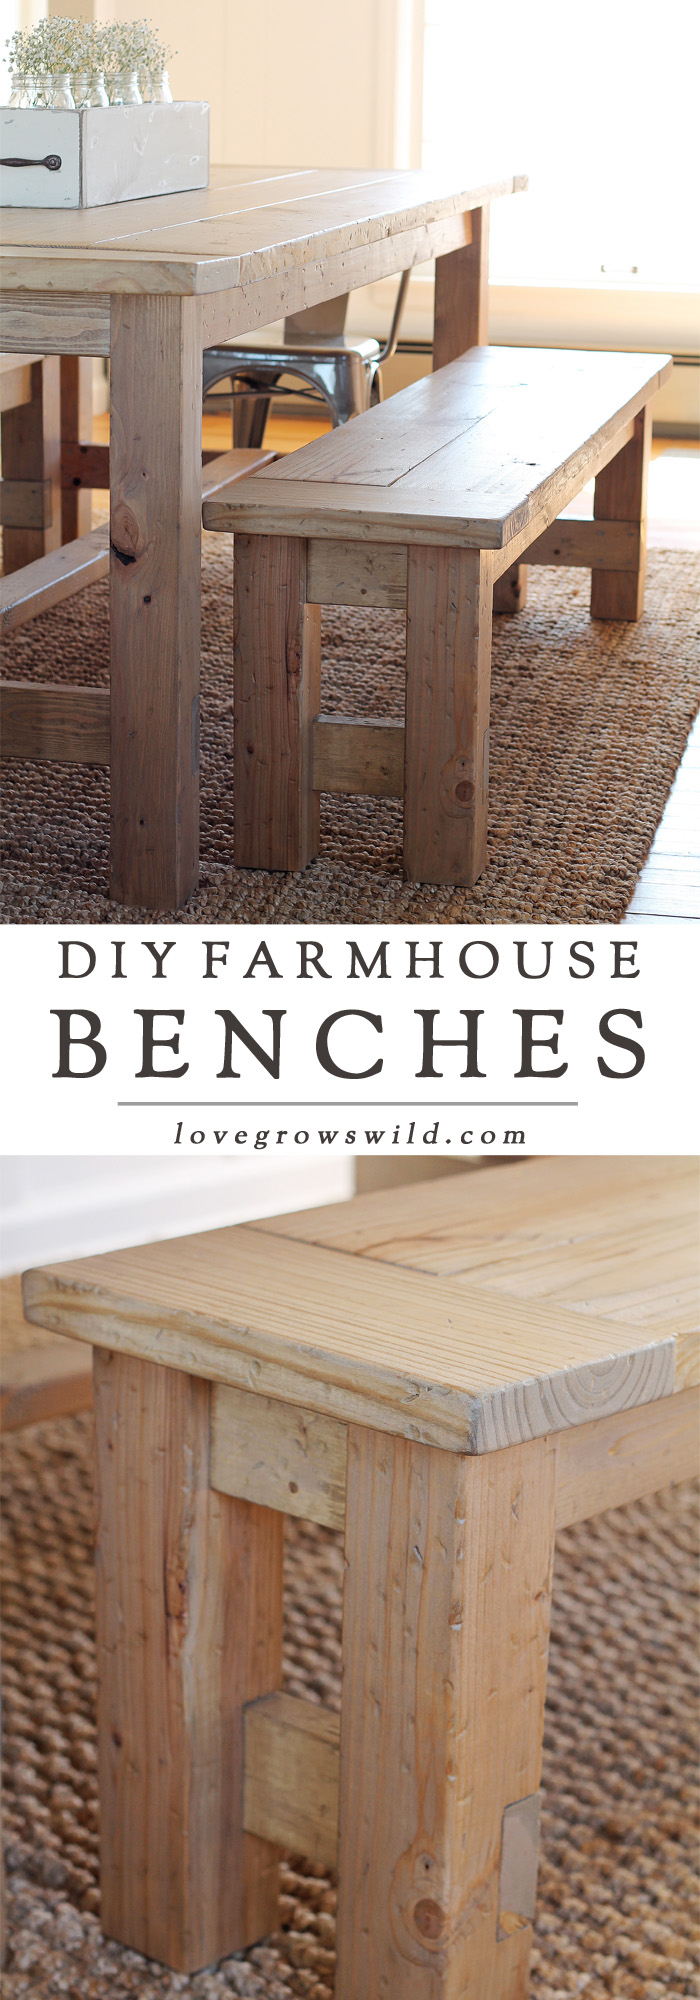
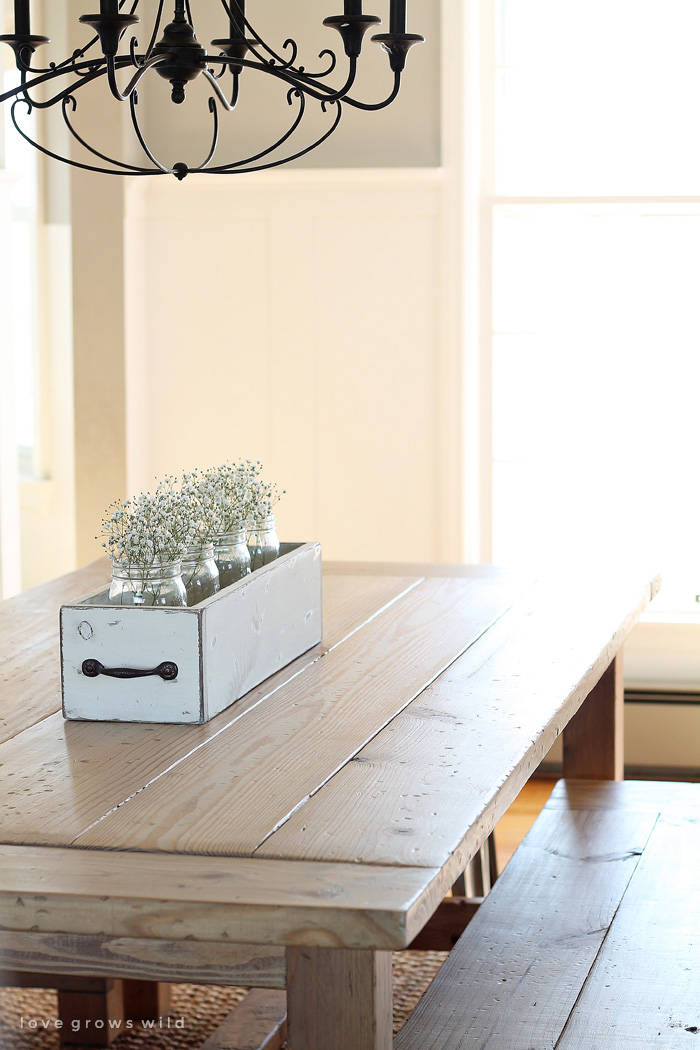
Using benches in a dining room instead of chairs is a great way to save space and give the room a relaxed, rustic feel. Follow this tutorial to build your own DIY Farmhouse Bench!
I know what you’re all thinking… “We love the farmhouse table, but aren’t you going to show us those benches, Liz??”
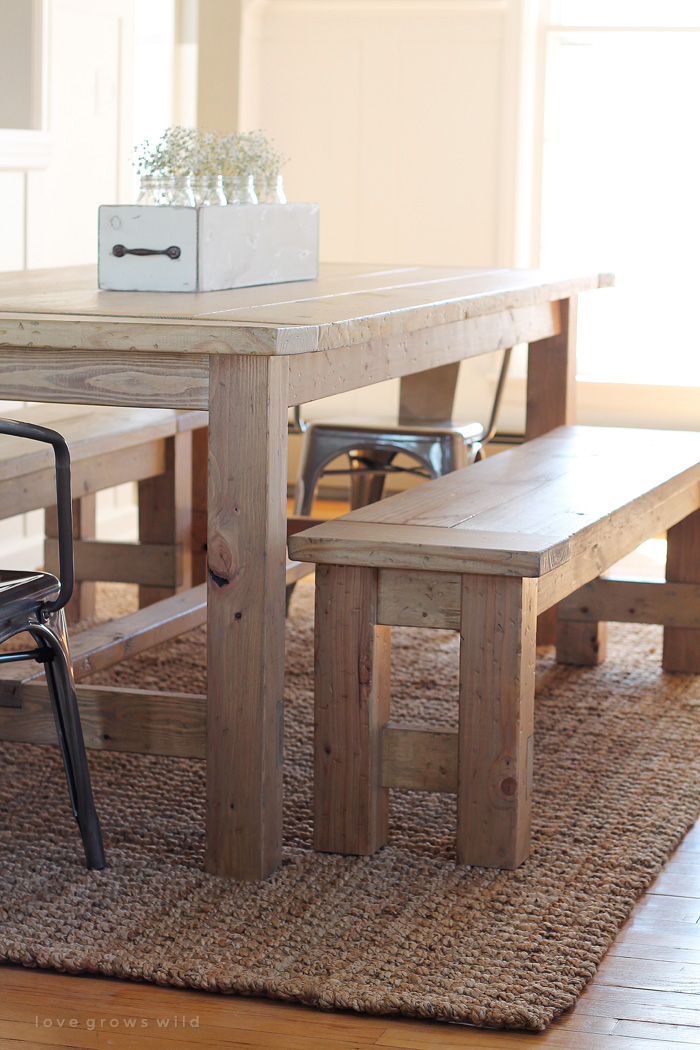
Abso-freaking-lutely! Before we even started building the table, I knew I wanted benches instead of formal dining chairs. #1 It saves a TON of space in our super tight, itty-bitty dining room. The benches just slide right under the table when we’re not using them! And #2 I think it really adds to the rustic farmhouse feel.
These benches are basically a mini version of the farmhouse table, but we did have to make a quite a few adjustments, so I’ll walk you through all the steps.
Supplies Needed:
(For one bench)
4 – 4×4 cut to 16 1/2″ (legs)
2 – 2×8 cut to 49 1/2″ (long bench top)
2 – 2×8 cut to 14 1/2″ (short bench top ends)
2 – 2×4 cut to 54 1/2″ (long apron)
2 – 2×4 cut to 5″ (short apron)
2 – 2×4 cut to 12″ (support)
miter saw and/or circular saw
Kreg Jig
tape measure
drill
2″ Kreg Jig screws
3″ wood screws
palm sander
paint or stain of choice
Use 2″ Kreg Jig screws, unless otherwise stated
Instructions:
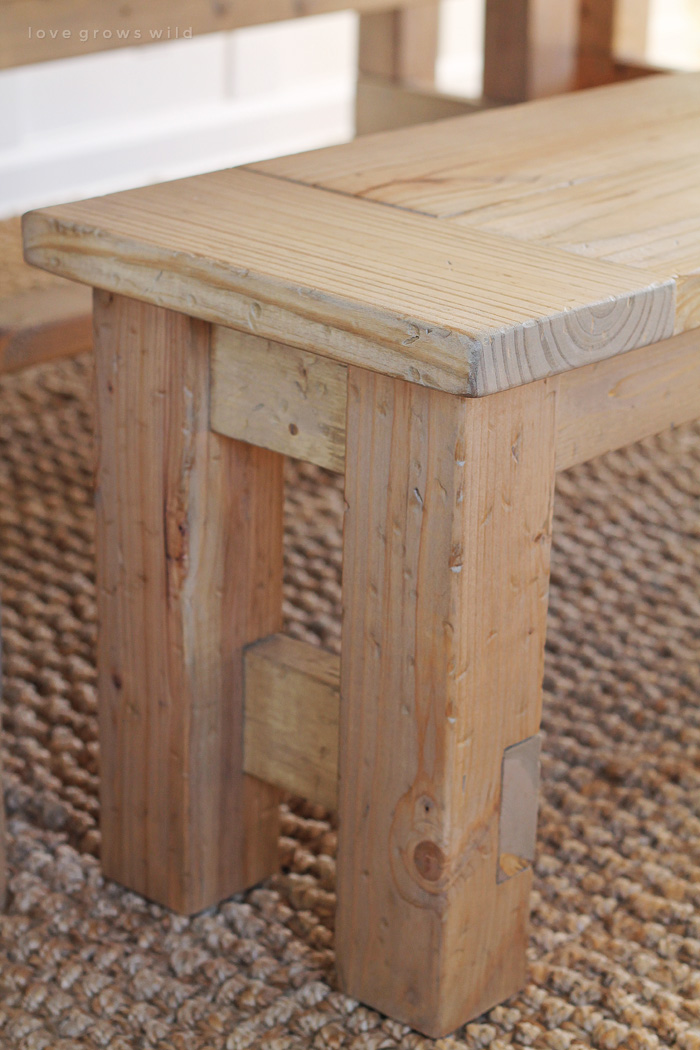
Start by notching out the legs to make room for the support board. To do this, set your circular saw to 1 1/2″ depth. Measure 3 1/2″ up from the bottom of the leg and make your first cut. Then measure 7″ up from the bottom of the leg and make your second cut. Once you have the top and bottom cuts made, go back and cut every 1/4″ in between. Use a chisel to finish knocking out any remaining wood in the notch and sand smooth, if necessary. Repeat on all the legs.
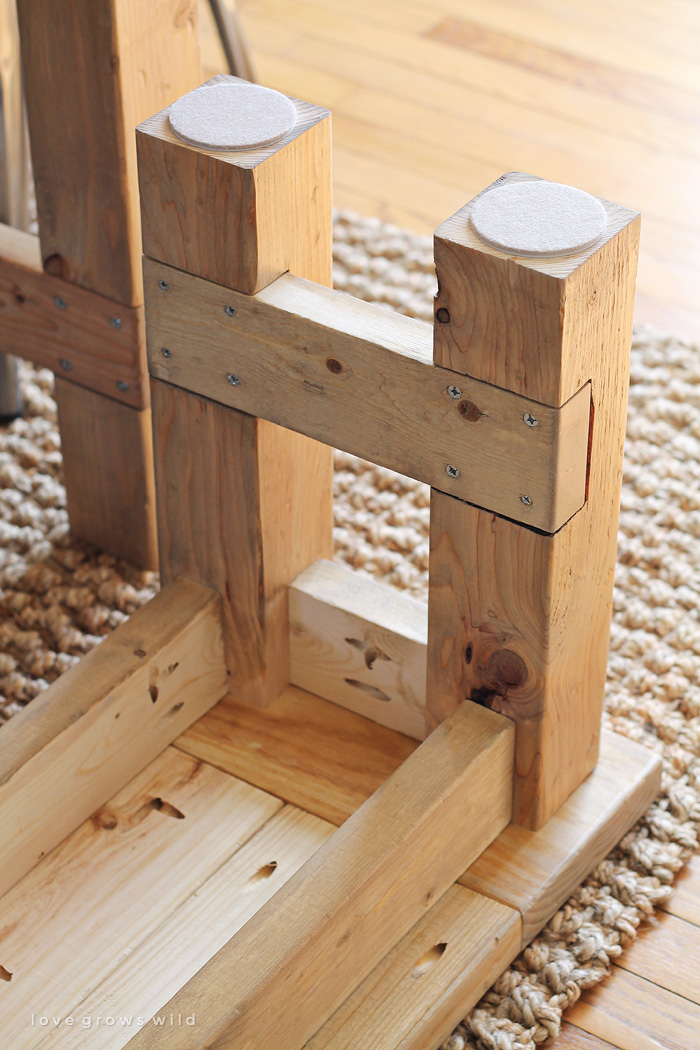
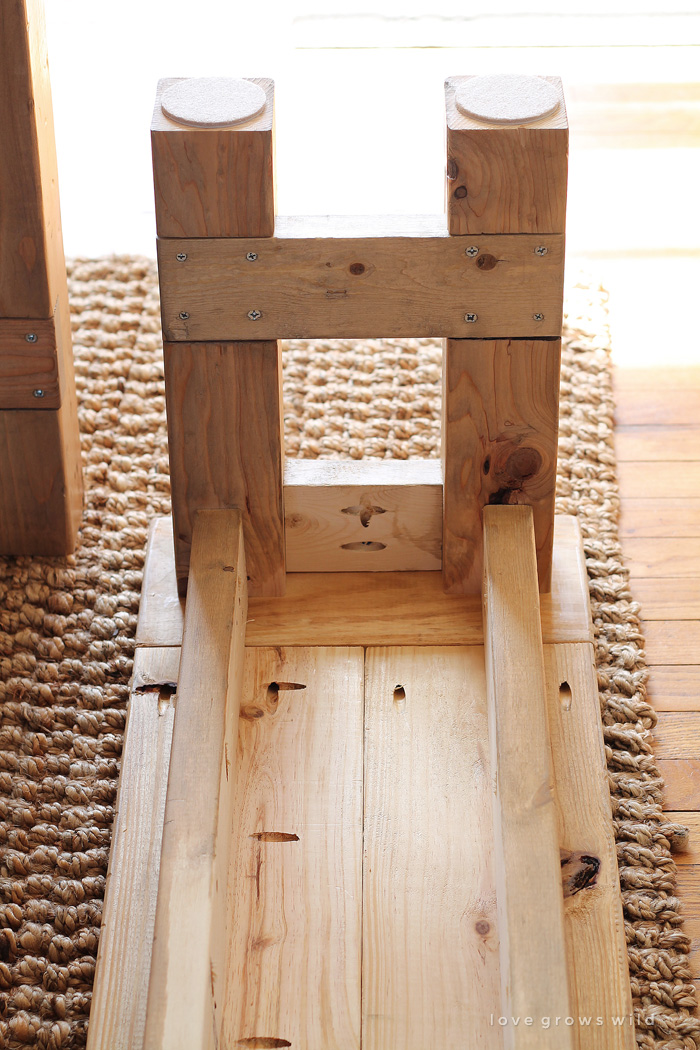
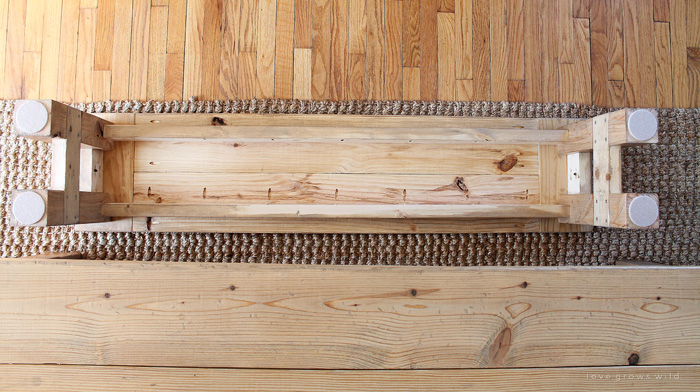
Attach a support to two legs using 3″ wood screws. The edge of the support board should be flush with the outsides of the legs. Then add the short apron in between the legs using pocket holes (made with a Kreg Jig) and 2″ Kreg Jig screws. Just like when we built our coffee table, I used a scrap piece of 1×4 underneath the apron to create an inset. Repeat this process with the other two legs.
Attach both long aprons to the legs using pocket holes and 2″ screws. The entire apron should be flush with the top of the legs.
Now the bench frame is done, and it’s time to work on the top. Connect the two long boards by drilling pocket holes every 8-10 inches on the long side of one board and connecting the other board with 2″ screws. Then attach the short ends using four pocket holes and 2″ screws.
Drill pocket holes along the inside of the apron every 8-10 inches and attach the completed bench top to the frame using 2″ screws. You’re all done with one bench! If you need a second bench for your table, grab a second set of supplies and repeat this process.
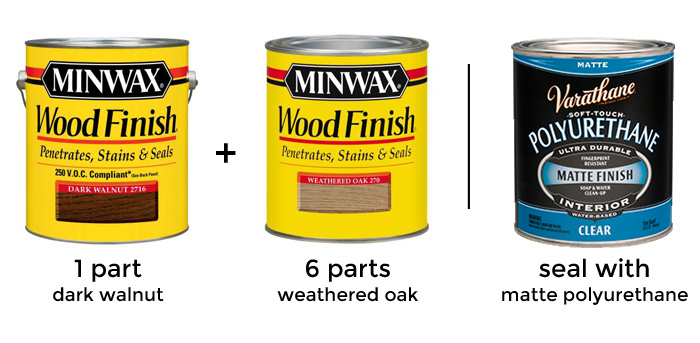
To finish the benches, I gave them the same weathered, rustic look as our table. I first sanded everything down, making sure to round off any sharp edges. To make the wood look old and distressed, I used my very precise, technical method of beating the heck out of it with rocks, hammers, and other miscellaneous tools. It’s a great stress-reliever. 🙂 Then after cleaning the dust off REALLY well, I applied a coat of pre-stain wood conditioner followed by my custom stain mix: 1/4 cup dark walnut + 1 1/2 cups weathered oak. It keeps the wood nice and light with a weathered gray tone and just enough dark contrast in the grain. Then I sealed the benches with 2 coats my favorite matte-finish polyurethane from Varathane.
I had a couple readers ask on our table tutorial, so I thought I’d put this here too:
Total cost of this project:
Around $50 in wood for the table + $34 in wood for both benches + $25 in screws and misc. tools = Just under $110!
We’ve come a LONG way from where this dining room began, and I’m thrilled to have our table and benches checked off the to-do list. I cannot wait to host our first holiday now and see how many people we can fit at this massive table! I foresee many, many sweet memories being made here for years to come. So who’s coming over for dinner??
TELL ME WHAT YOU THINK! Leave me a comment below and share your thoughts on the new benches in our dining room! I can’t wait to hear your feedback!
Are you making this project? I’d LOVE to see it! Post a photo of your creation on Instagram and use the hashtag #MyLGWProject. It may just get featured!
Like what you see? Subscribe to Love Grows Wild so you’ll never miss a post!
Follow along on Pinterest, Google+, Instagram, and Facebook for more fun!
Feeling inspired? Check out these projects:
The Beginning of our Farmhouse Living Room
LET’S KEEP IN TOUCH!
Subscribe to Blog | Browse my Shop | Follow on Facebook | Follow on Twitter
Follow on Google+ | Follow on Pinterest | Follow on Instagram



STUNNING, love them, I can’t wait to make one, of a few! Fabulous tutorial
Gorgeous! I cant believe you guys made these on your own 🙂
http://www.southernfolly.com
Absolutely beautiful Liz! You are totally rocking it with your living room & dining room makeovers!!! LOVE following along with it all!!!
I was so inspired by your table that I got myself one. I don’t have the husband power to DIY it so it was on sale and I snatched it up! love it!!!
You guys did a great job with this project!
Happy Medley Blog
That’s awesome, Anna! Hope you enjoy the new table!! 🙂
We love your table and benches, Liz! My husband and I are looking to replace the table and chair we have now and wondered if you could tell us how many average sized adults you think would fit comfortably on each bench. Also, I may have missed it, but where did the chairs at the end the table come from? I love them:) Thank you for including so many pictures and we can’t wait to see what you showcase next!
Three adults will easily fit on each bench, and if needed, I’m sure you could do four. And the chairs on the end came from Target! They came as a set of 2 and had a great price. Can’t pass up a good bargain! 🙂
Thanks so much, Liz! I was hoping for at least three on each bench:) I’ll pass the info on to my husband and check out the chair section the next time I’m at Target. Thanks for taking the time to answer my questions!
Beautiful! Great job!
I want to build a bench for my table, this is great inspiration. Looks beautiful!
Love it! Great idea; thanks for sharing.
Seriously in love… Featuring you tomorrow
Woo-hoo! Thanks, Desiree! 🙂
I fell in love with your coffee table and farmhouse dining room table. My husband made the coffee table this weekend and its beautiful. Thank you so much for your tutorial, we found it very easy and very helpful! We can’t wait to make the table!
Can I ask what type of wood you used? Did you beat it up to give it a more rustic look/feel?
Hey Haley! I just used pine for the benches and beat it up a bit with miscellaneous tools before staining. A hammer, screwdriver, etc. will give it a nice rustic look!
I am wanting to make a bench for the entrance of my home and think that this would be perfect. Any chance that you could tell me the measurements of this?
Thanks
Of course! Our benches measure 64″ long and 18″ tall, but you could easily adjust the plans to fit your space. Have fun building!! 🙂
Total length of this bench 65″ ??? Didn’t see the dimensions of either the bench or the table. Built ny table by another plan before I saw your site…like your bench, want to be sure it will work.
Thanks.
Hi Linda! Yes, it’s right around 64″ long. I hope this helps!
Gorgeous. Just what I was looking for! Where did you get your rug? What size is it? We have slate flooring, and I will need a rug underneath my table so the benches sit level. 🙂
Hi Bethany! I got the rug in our dining room from World Market: http://www.worldmarket.com/product/basket-weave-jute-rug.do
Ty so much!
What is attached to the bottom of the legs to keep the wood from scratching the floor.
Hi John! I just added adhesive felt pads to the bottom of the legs to make them slide easier without scratching the floor. You can find them at your local home improvement store!
Your posting is abtsluoely on the point!
Great bench! I’m getting ready to build 2 for my dining table. One question: How do you attach the bench top to the frame? I’m not seeing where you use the 3″ wood screws.
Hi Mark! I used pocket holes about every 8-10″ on the inside of the aprons to attach the bench top to the frame. I hope this helps! 🙂
Hi Liz, Where did you get the 4×4’s that are untreated?
I buy most of my lumber from Menard’s!
If I don’t have a kreg jig, could I alternately build a ladder of supports using 1x2s underneath the bench seat for support, and screw the 2x8s on from underneath those supports?
Yes! There are always ways to modify projects if you don’t have all the required tools!
IS IT POSSIBLE TO EXTEND THE LENGTH OF THE FARM HOUSE BENCH TO A TOTAL LENGTH OF 96 INCHES WITHOUT IT SAGGING IN THE MIDDLE
What kind of wood did you use? Were you able to find the same type of wood for all the sizes needed and if so, where at? I recently tried to make this same design for the table & bench, but cannot find the same kind of wood for all the pieces so when stained, the color came out horrible.