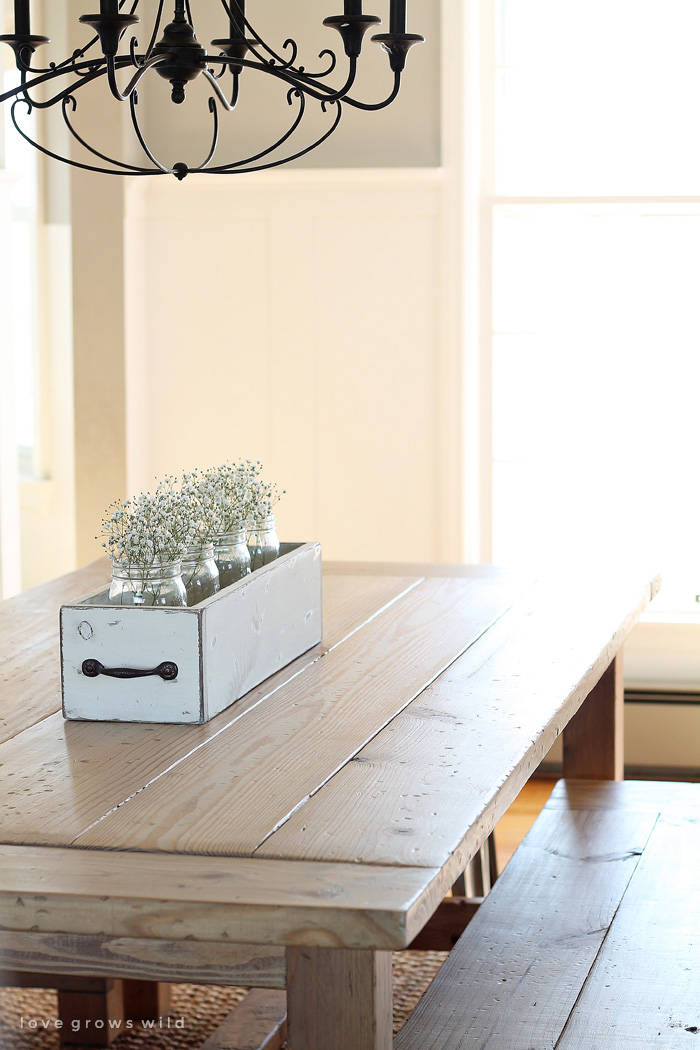
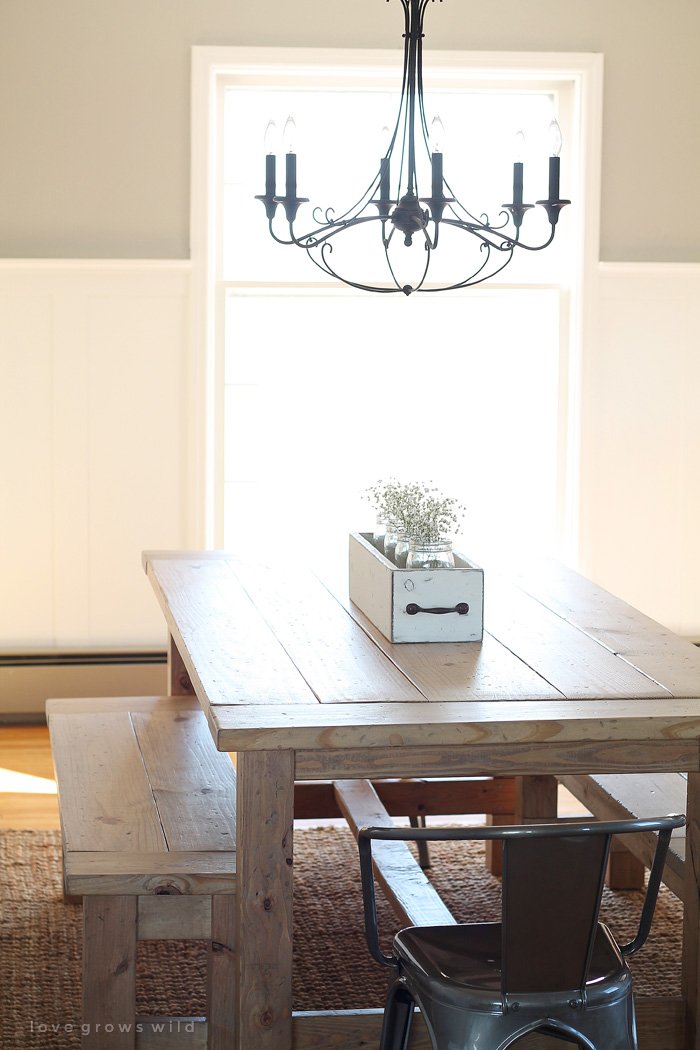
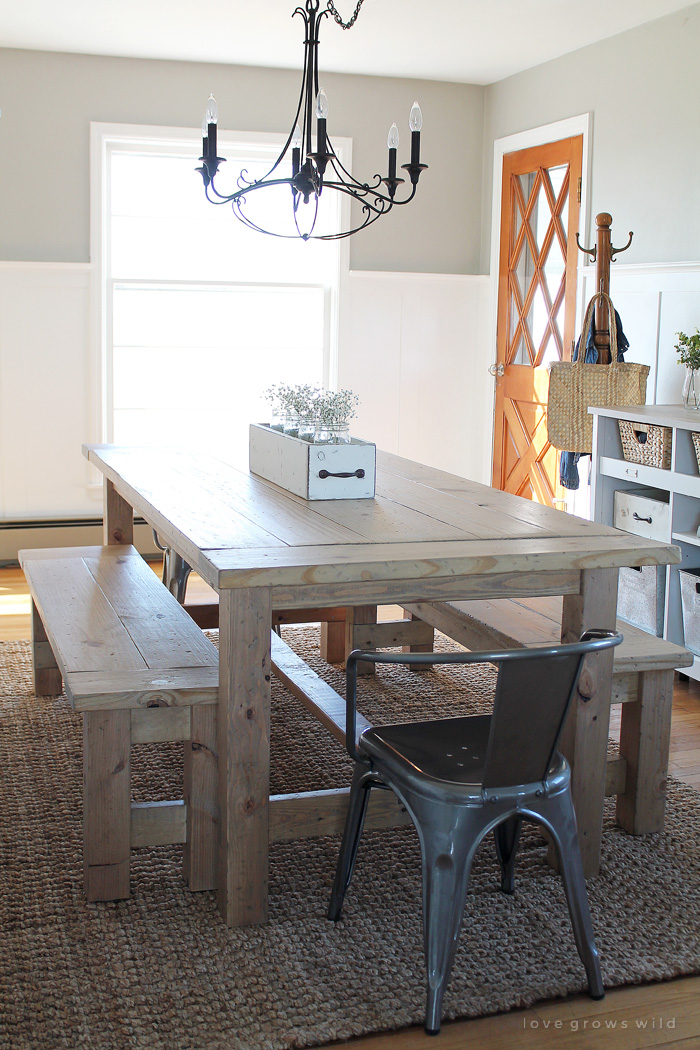
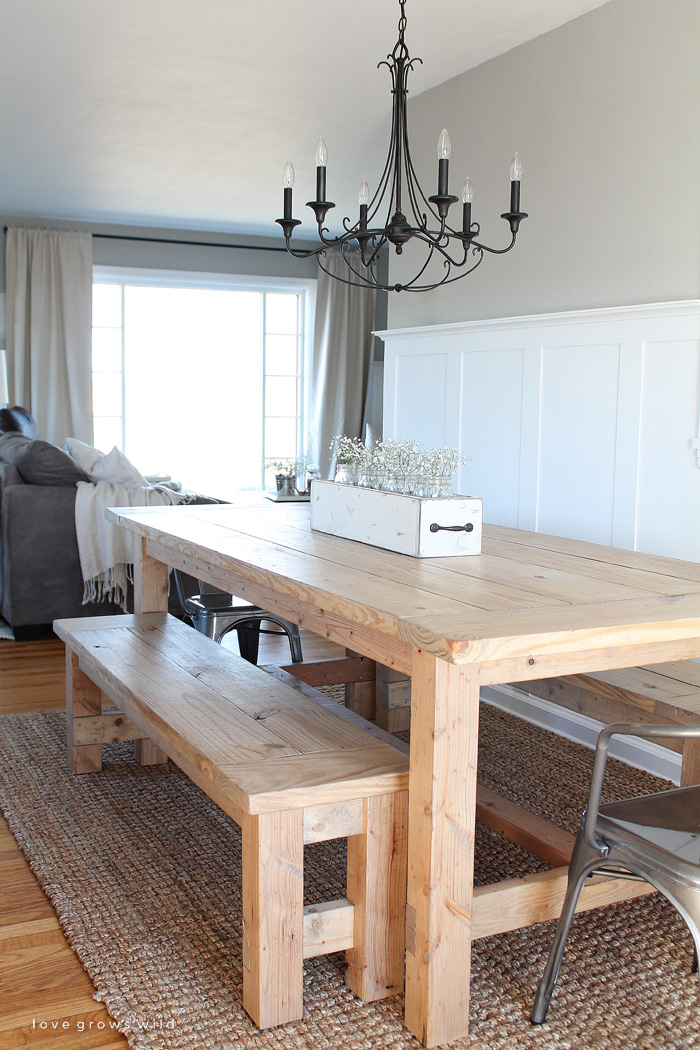
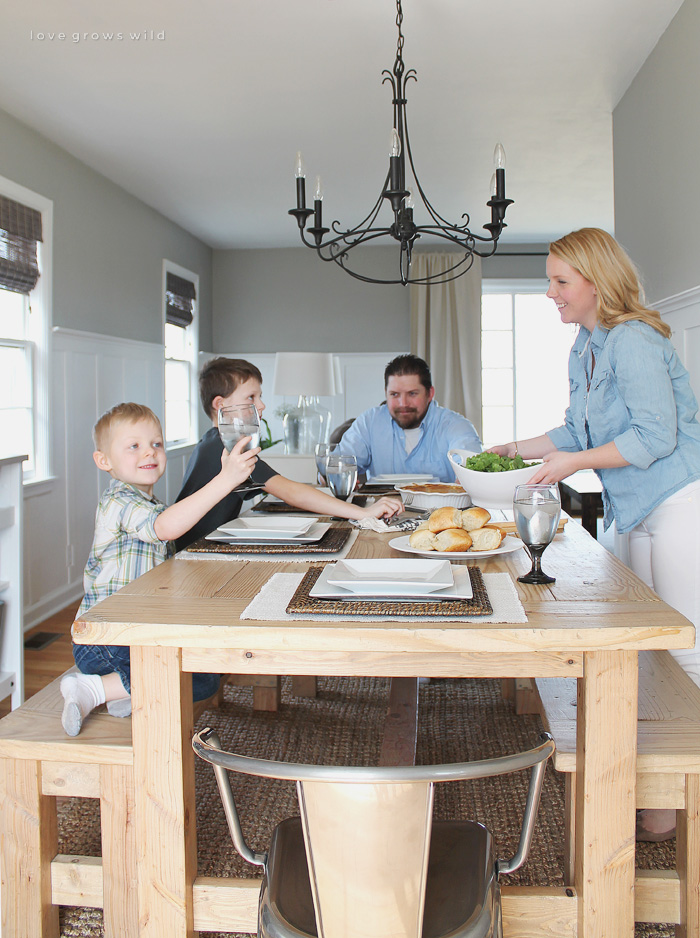
I have such a big treat for you guys today! I’m giving you the first look at our new dining room, sharing the massive farmhouse table we built, AND showing off the new chandelier we added!
Once Jeremy and I completed our board and batten project in the living room and dining room, it became pretty obvious that our old table just didn’t fit in anymore. It was a beautiful old table, but had a ton of curvy, flowery details that felt more “grandma chic” than “rustic farmhouse” to me. I said to Jeremy, “If this was my dream dining room, I’d get rid of the grandma table and build a big, beautiful farmhouse-style table with benches.”
Jeremy looked at me and hesitantly said… “So, why don’t we?” Gosh, I love that man sometimes.
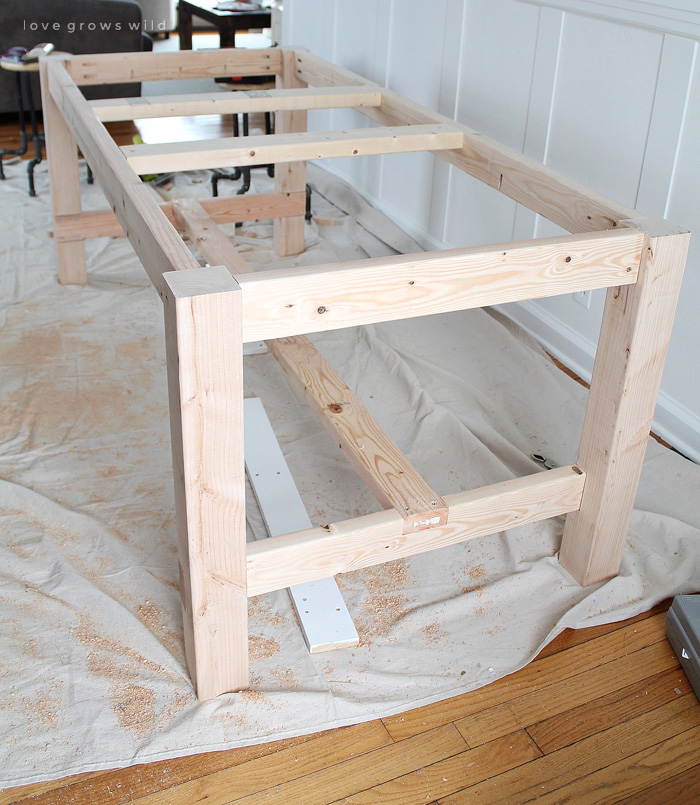
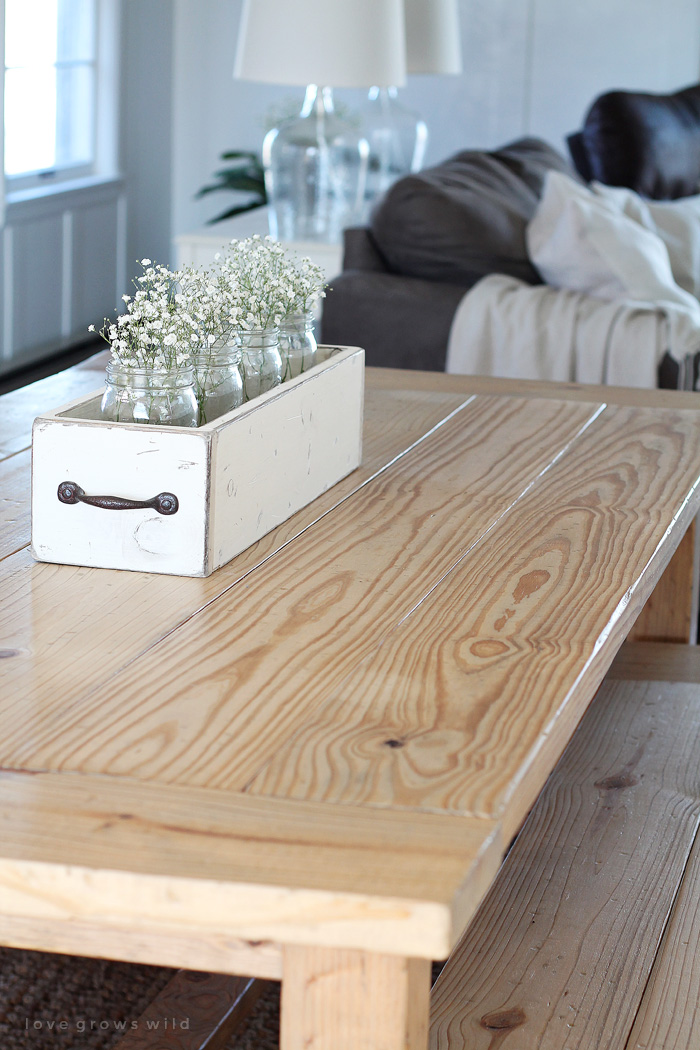
So as soon as we finished up a few lingering projects in the living room, we built ourselves the farmhouse table I’d been dreaming of.
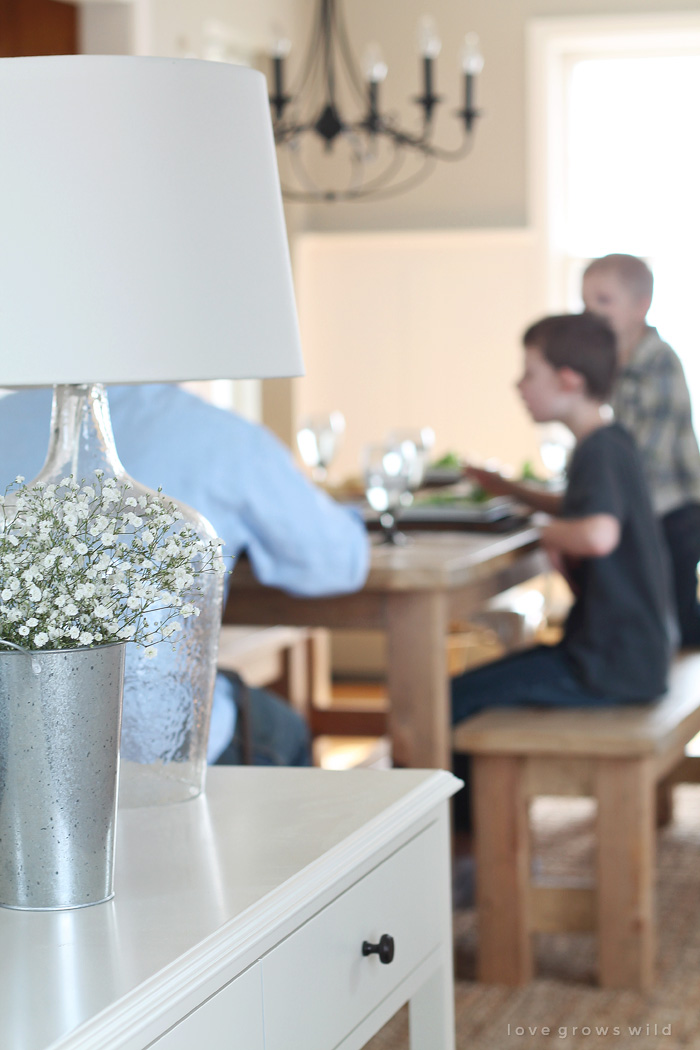
This project turned out to be something incredibly special to our family… something we all built together. Normally, I try to keep the boys entertained with something while I work on blog projects, but this table was different. This is the place we gather for every meal. The place where holidays, birthdays, and Taco Tuesdays are celebrated. The place where we talk and struggle through math homework and compare biceps with each other.
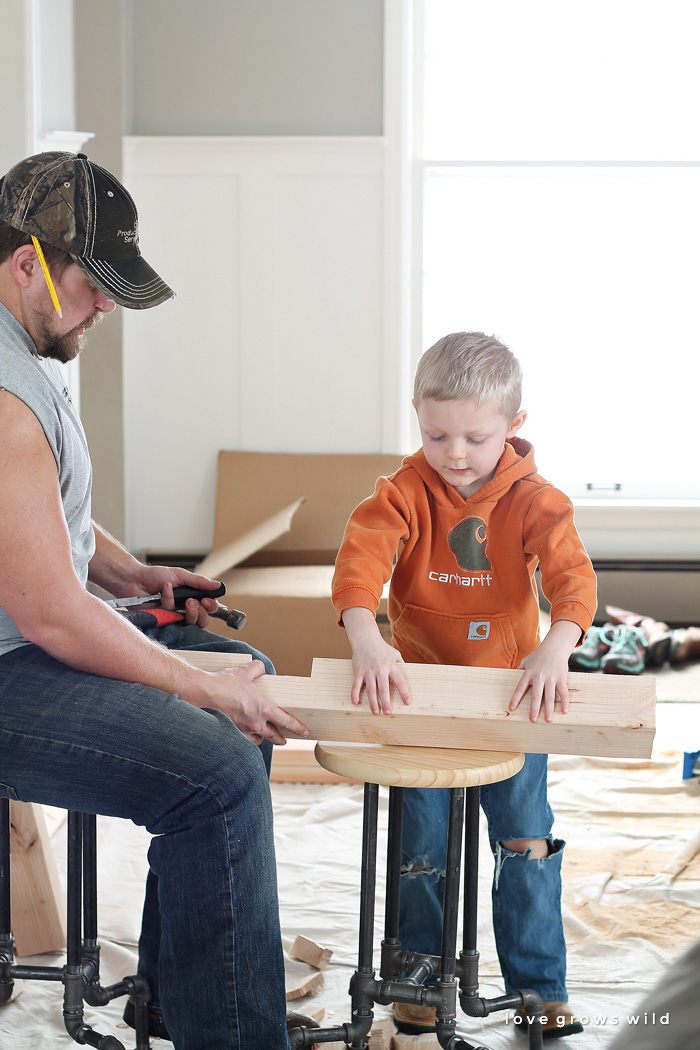
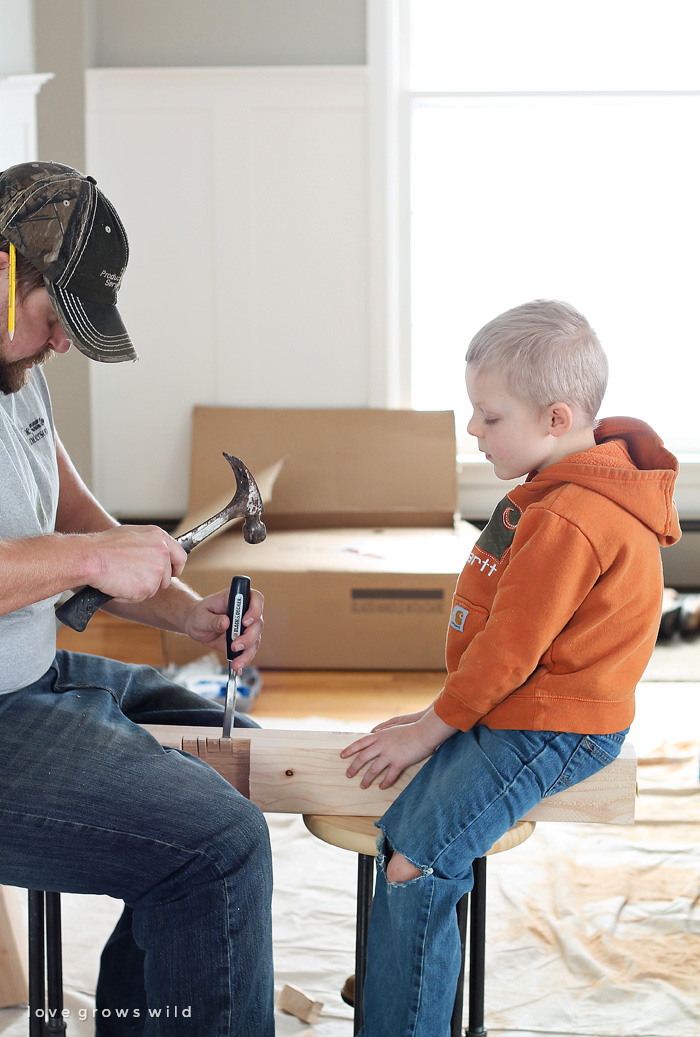
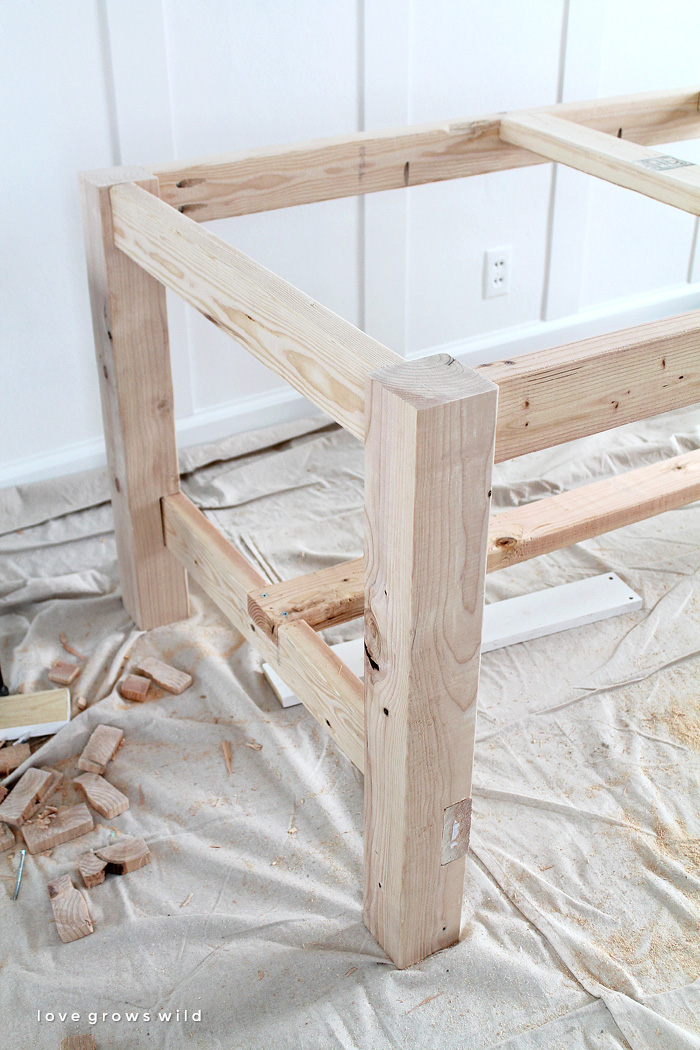
Wyatt was our shopping buddy and made sure we had everything on our list. Which, of course, we didn’t and had to go back 3 more times, but that’s okay. He helped Jeremy notch out the table legs and handed us all the tools we needed.
Alec, my 9 year old, is getting quite handy when it comes to projects. He helped me haul all the heavy boards out of the truck and held the long boards steady while I cut them on the saw.
We followed Ana White’s awesome build plans with just a few exceptions:
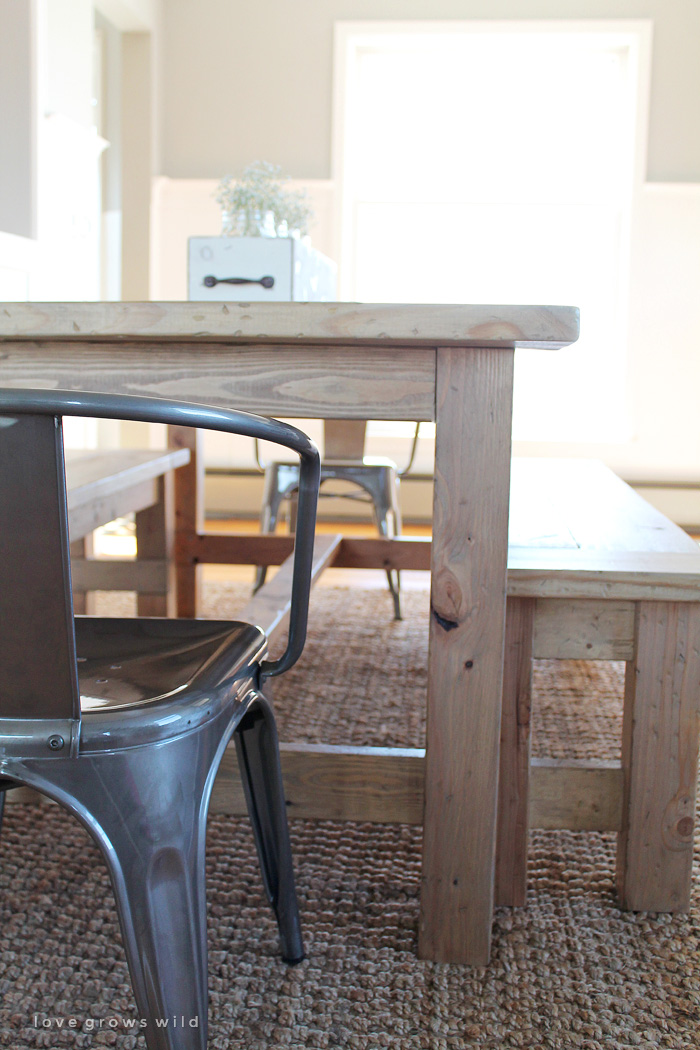
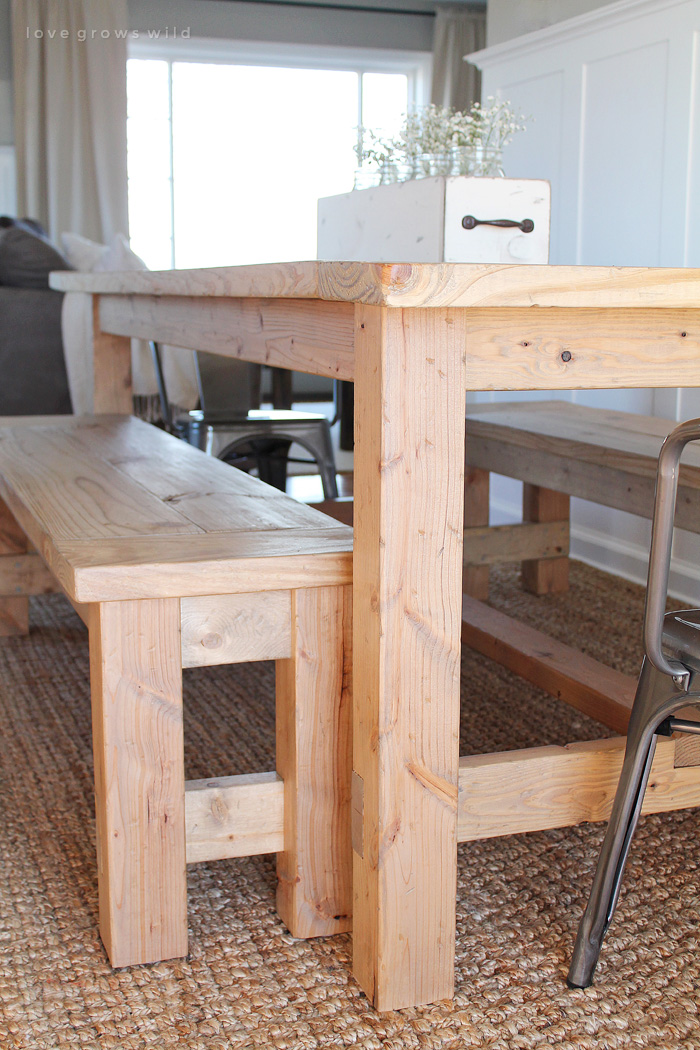
– We flipped the stretcher supports to the inside of the table so you would see less screws on the outside.
– We added two 2×4 supports in the middle of the table before adding the tabletop for extra support.
To see the build plan for this farmhouse table, click here to visit Ana’s site. If you saw my plans for the farmhouse coffee table last week, they are actually pretty similar!
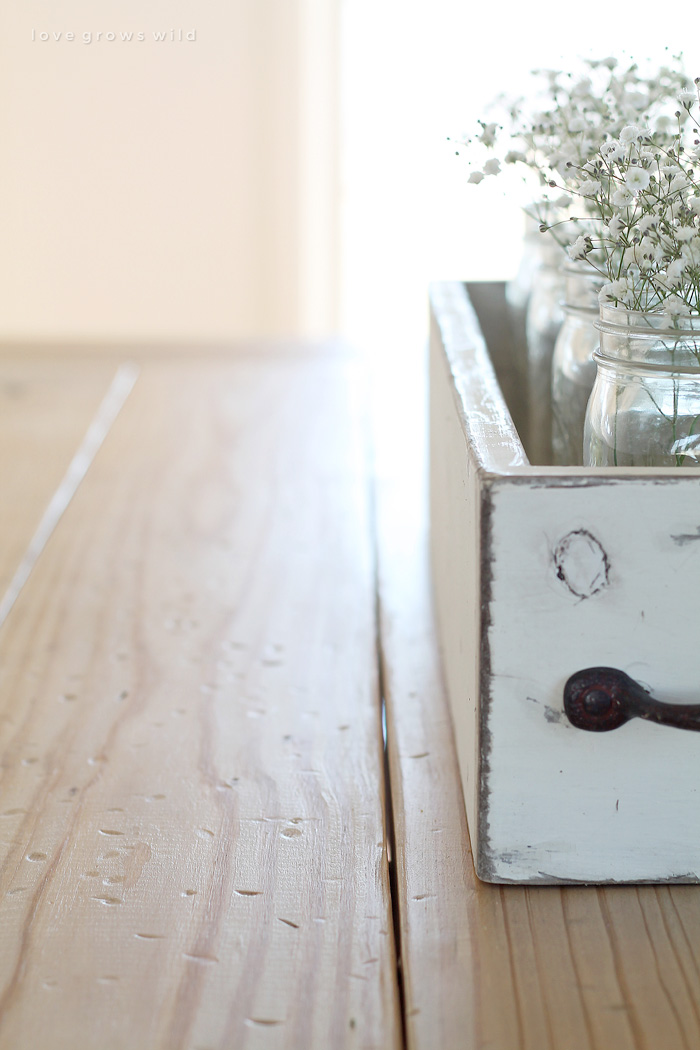
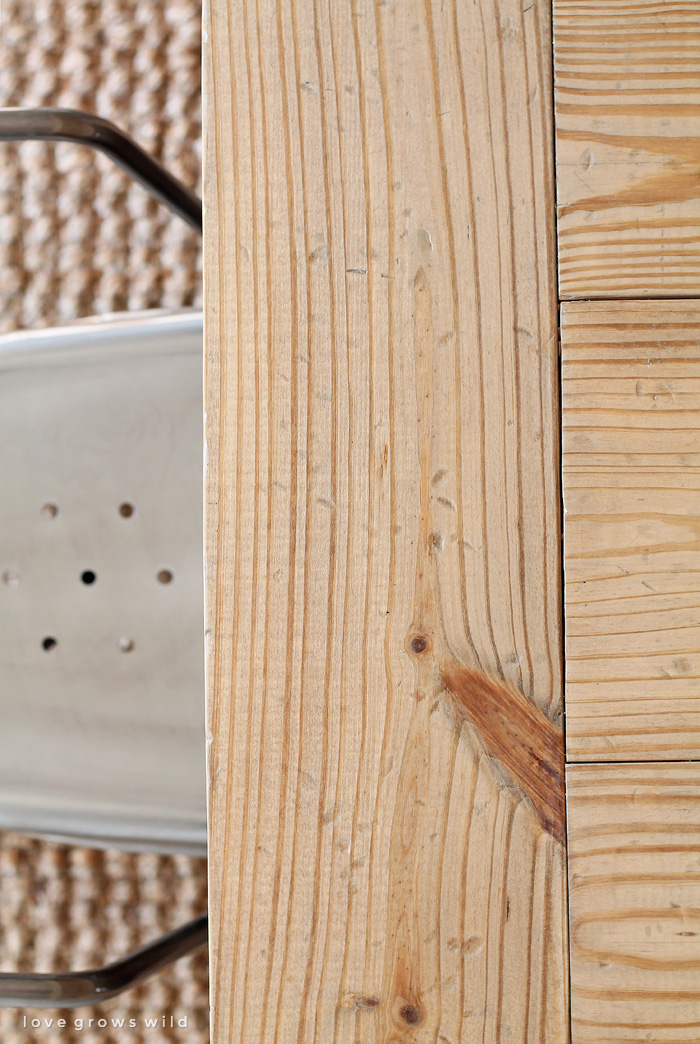
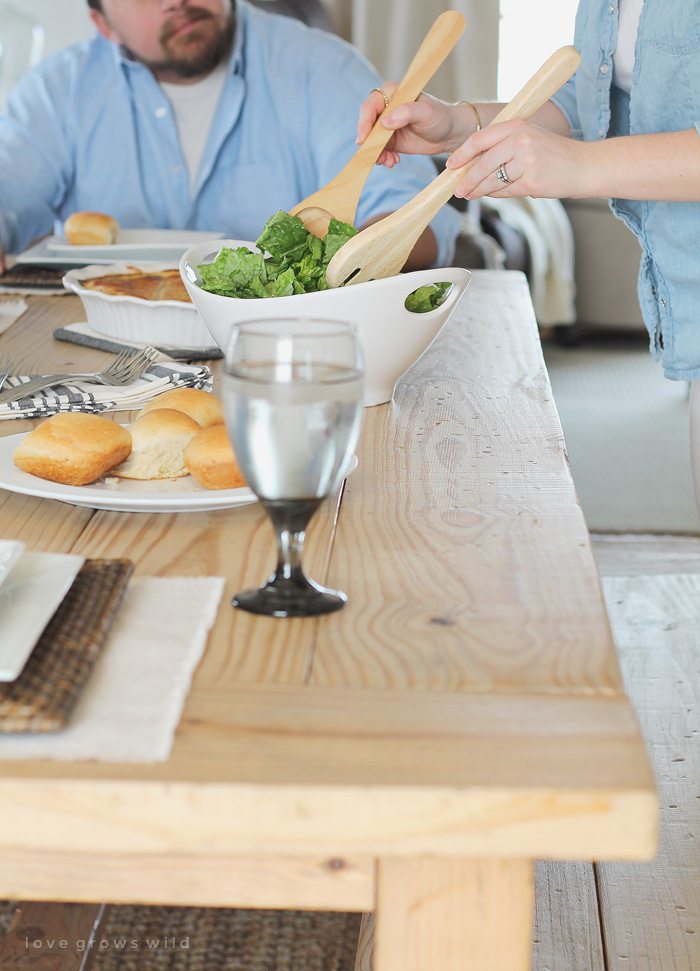
To finish the table, I first sanded then added a little bit of distressing. Okay… A LOT of distressing. This step was probably the boys’ favorite, because I handed them each a large rock and let them go to town banging the heck out of the table. I wanted the table to look like it’s been around for generations, and all the little nicks and dings add SO much character to the wood.
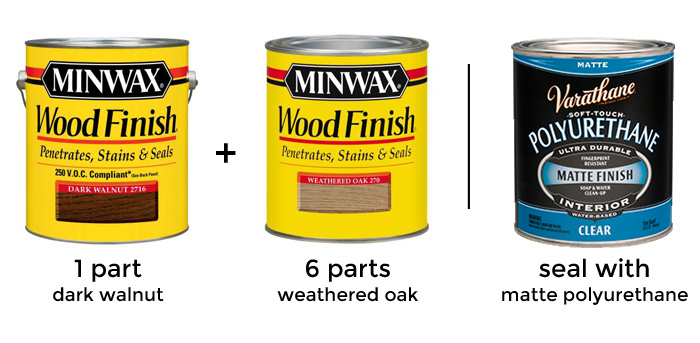
After we got all our aggression out on the table, I applied a coat of Minwax pre-stain wood conditioner followed by a custom stain I came up with. I’ve purchased several “gray” stains that are supposed to give the wood a weathered, rustic look, but no matter how many coats I add, the gray barely colors the wood at all. I wanted the table to still be light enough to show all the wood grain, but have that old, weathered look to it, and this is the perfect mix I came up with:
1 part dark walnut stain mixed with 6 parts weathered oak stain. Basically, I took an old plastic container and added 1 1/2 cups weathered oak and just 1/4 cup dark walnut. The weathered oak stain gives the wood a nice gray wash and the dark walnut deepens the grain lines just enough to add some contrast. I just love how it turned out!
I sealed the table with 2 coats of my favorite matte finish polyurethane by Varathane. There would be nothing more tragic that building a beat-up, rustic farmhouse table and finishing it with a high gloss poly… don’t do it, guys!
EDIT: I’ve had a couple readers ask, so here was the total cost of this project:
Around $50 in wood for the table + $34 in wood for the benches + $25 in screws and misc. tools = Just under $110!
—> Get plans for the farmhouse benches that go with this table here!
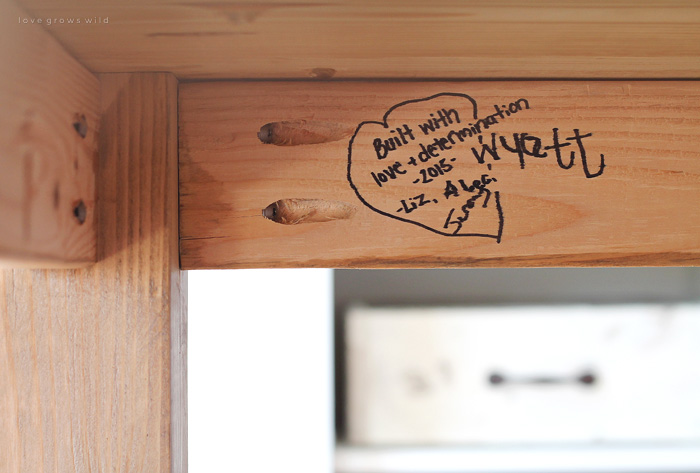
On the night we finished the table, I couldn’t help but smile at all the memories we made as a family building this table together. I grabbed a marker and let everyone sign the underneath of the table, and Jeremy drew a heart around our names.
This gorgeous farmhouse table just didn’t look right with the tacky gold chandelier we had hanging in here before…
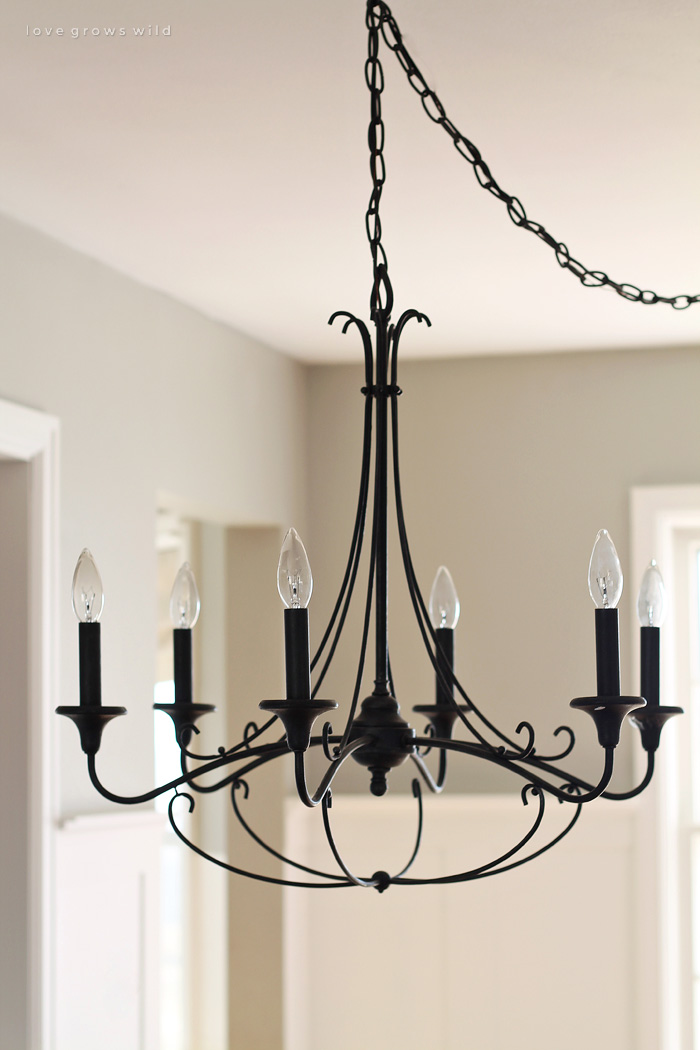
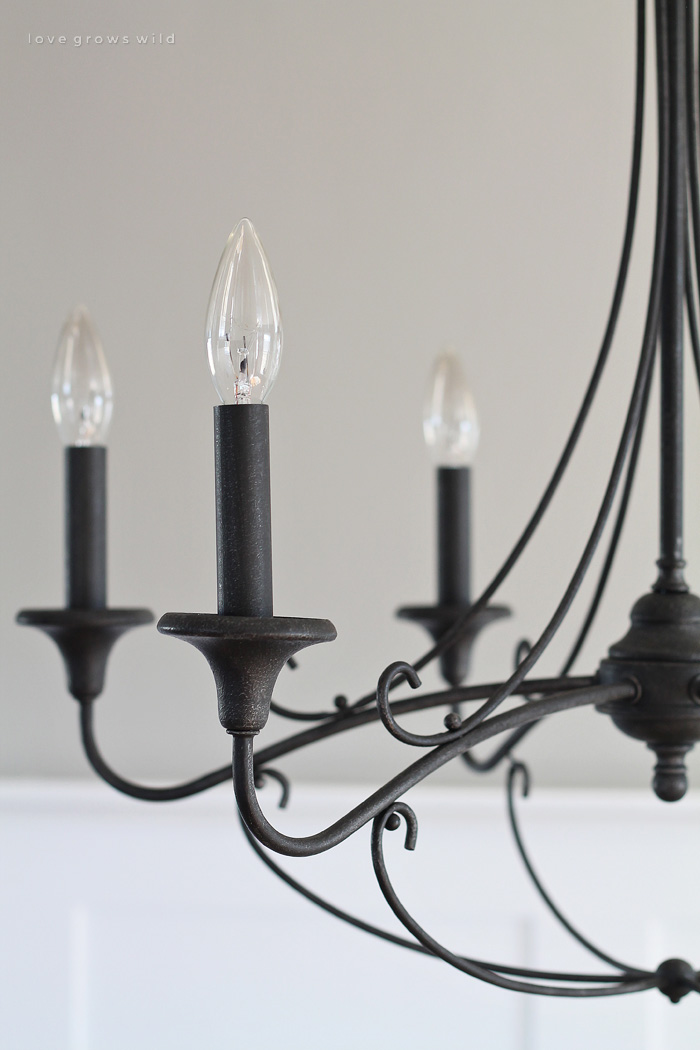
… so it got replaced with a larger fixture with a distressed black finish that I am IN LOVE with. I wanted something simple and rustic, yet elegant enough to dress up the dining room and this Kichler Basel 43454DBK was the perfect fit.
It has just the right amount of ornamental detail without feeling fussy, and it added so much more light in our dining room.
Since I can’t invite you all over for dinner in our new dining room (wouldn’t that be fun though?), I’ve teamed up with Kichler & Del Mar Fans & Lighting to bring you a GIVEAWAY!
– You can have our chandelier in YOUR dining room! –
How fun is that?? To enter the giveaway, you’ll need to head over to Del Mar Fans & Lighting’s Facebook page where you can fill out an entry form. The giveaway starts on 3/18 and ends on 3/25, so hurry and get yourself entered! I would love to see how this chandelier looks in YOUR house!
Thank you so much for stopping by today, and I cannot WAIT to hear your thoughts on the new table and chandelier! Leave me a comment below and tell me what you think!
Feeling inspired? Check out these projects:
The Beginning of our Farmhouse Living Room
LET’S KEEP IN TOUCH!
Subscribe to Blog | Browse my Shop | Follow on Facebook | Follow on Twitter
Follow on Google+ | Follow on Pinterest | Follow on Instagram
This post is sponsored by Kichler and Del Mar Fans & Lighting. Thank you for supporting the brands that make this blog possible!




It’s absolutely beautiful! With so much love put into making it, you are sure to enjoy it for years to come!
How beautiful!!!! Your dining room looks so warm and inviting, the table is gorgeous! And I LOVE how you all signed it, it’s sweet little things like that that make a house a home! Thanks so much for the tutorial, we’ve been thinking about building a dining table too, I ant wait to show my husband your awesome tutorial! Hope there are lots of fun times and delicious meals in your dining room’s future 🙂
The table looks A+mazing!!! Love it! The stain mixture is perfect too!
It is absolutely beautiful Liz! The stain, the story, all of it!!
Liz, Great job on your new table and benches. They really look great. Love the chandelier also. Wanted to let you know that after I saw your tutorial on the board and batten in your living room and dining room, it really inspired me. I said to myself, “I can do that.” So, with that in mind, I am just finishing up board and batten in my laundry room. It was really an easy project and I love the results. It really perks up a drab old laundry room. I ended up doing all the work myself. The only help I asked my husband for, was with the nail gun, as we had to really get into some tight places. All in all, though, I am very pleased with it. Thanks for the idea.
I am SO happy to hear that, Linda! You go, girl! I bet your laundry room is looking pretty amazing right about now. Our washer/dryer is down in the yucky, damp basement, so I’m super jealous!
Wow and wow. Love it! Especially the benches! Are they attached to the table? Our place is much smaller than yours, so I would probably like separate benches that could tuck under the table when not in use. Otherwise, I love it, looks perfect in your space, and the color is spot on! Can’t wait to see more. 🙂
They do kind of look that way in the pictures, don’t they? Nope, they’re free-standing benches, and that is exactly the same thought I had for our small, narrow dining room. Having benches that you can tuck underneath saves a TON of space! Thanks for stopping by, Megan! 🙂
This table is so beautiful? We have been searching and searching for a new table. Is it tacky to ask how long it took and about how much it cost?
Not at all! I meant to put the total cost in the post, so thank you for reminding me! The wood totaled around $50 for the table and $34 for both benches. We spent another $25 or so on screws and miscellaneous tools, so for about $110, I’d say that’s not too bad!! It took my husband and I a couple hours to build the table, another couple hours to build the benches, and about 2 days to sand, distress, stain, and seal everything.
It turned out really great. But the best part, for me, are all the years to come around it.
I absolutely love how this turned out! I really like how you all signed it too, that’s so sweet 🙂
This turned out GORGEOUS! I love the color of the table, and the benches are perfect! 🙂
I love love love this table!!! It looks amazing. Definitely something we will be building in the future.
Yay!!! I knew you would love Ana White! I LOVE the farmhouse table I made last summer! I’m so glad you posted this for everyone! Wish I could post mine so people can see how you can modify it as well. Mine is countertop height and more like a breakfast bar style for my small kitchen, plus I used the pocket hole design. Awesome!!! So cool!!!!
So precious and sweet! Doesn’t hurt that the table is amazing! “Brag Post of the Day” on our Facebook page! Thanks for sharing, keep up the great work and inspiration!
Wow, thank you, Ana! Your plans for this table are fantastic! Loved seeing our project featured as a brag post. 🙂
Beautiful table and home Liz! The table looks very rustic! Perfect for the farmhouse 🙂
Saying Hi from The Creative Collection Link Party!
What a gorgeous table Liz! And I especially love the family inscription underneath! Truly a family heirloom in the making!
Liz, your table is gorgeous. I built this table when I was pregnant with my son so I know how much work it is! That’s so cool that your little guys helped out! I used the tea stain and steel wool/vinegar treatment, but I love the way your custom stain looks! Great job!
Your table is gorgeous. I love the hidden signatures!
Wow- that is gorgeous! Way to go!
I just discovered your site and I’m enamored! You are truly gifted and I love your style. This post really spoke to me because 1. I have sons too 2. We are just about to re-do our kitchen table 3. I just wrote a whole post about our kitchen table on my website. I feel like the kitchen table really is a sacred place for family and it’s beautiful that you built yours together. If you want to read my kitchen table post, check it out at http://kirstenjoyhobbs.weebly.com/homemaker/the-kitchen-table-a-horror-story. Cheers 🙂
I love it! That is what I want a nice old fashion wooden table with benches. The table we have now is what you describe as grandma chic, agh. Followed you here from the Moonlight & Mason Jar party.
I keep looking for a printable version of both your table and benches. I can’t seem to find them. I am hoping that you can email them to me – I want my brother-in-law to help me make the table and benches. If you don’t have the plans do you recommend I just copy and paste your information off into word or something. Thanks so much for your help – this is exactly what I have been looking for!
Hi Kris! Unfortunately I don’t have a printable version of this project. I apologize for that! I like to pull tutorials up on my cell phone when I’m not near a computer… maybe that will work for you! 🙂
Wow! This is just absolutely gorgeous and just what I’m looking for!
Hi! Love this table, benches and custom stain. What a great job and great story. I do not see the plans for the benches. Do you have those?
Yes, of course! Here’s the link to the tutorial: https://lovegrowswild.com/2015/03/diy-farmhouse-bench/
I love love love this table! We are definitely building one for our dining space. One question…what kind of wood did you use?
Hi Katie! We used quality pine boards for our table. Pine is inexpensive and easier to give that distressed, rustic look to. Have fun building!!
hi! So beautiful! Cool story too! Question, where did you get that white distressed box with the mason jars inside?? I have a very similar table under a very large chandelier and am always looking for simple, farmhouse type ideas to fit under it for clean center pieces!! Love it all! Thank you!!
Thank you so much, Liz! I actually made that white box after we built the table. It just seemed like the perfect fit! And you’re in luck… I have a tutorial for making it on the blog. 🙂
https://lovegrowswild.com/2015/04/diy-wood-box-centerpiece/
Hi Liz, awesome work on the table. Going to work on this project soon for our new (to us) house in the country. Question, where did you get the rug you have underneath? It goes well with the look. Thanks!
Thank you so much, Chris! The rug came from World Market: http://www.worldmarket.com/product/basket-weave-jute-rug.do
I’ve also purchased this one from Rugs USA for our living room: http://www.rugsusa.com/rugsusa/rugs/rugs-usa-chunky-loop/beige/200NCCL01-26010.html
I love this whole look, I just stained a sofa table using your mix, turned out perfect, thank! Is that the 6×9 rug under the table? The proportions are great.
Hello,
Love the table! My husband and I are looking to build a table for our dining room. We love this table but I am having a hard time convincing him that people can still easily sit at the ends of the table even though there are support boards on the bottom. He seems to think that will get in the way (even though you clearly show your husband sitting on the end in one of the pictures 🙂 ) Can you tell me if it is a problem for those sitting on the end? Thank you!!
Haha, this sounds like the story of my life! Please assure your husband that the support boards are not a problem and actually provide a nice foot rest. Our kids sit on the benches, and we sit in chairs on the ends because it is more comfortable for us old folks. 😉 I give this table two thumbs up in the comfort category!
Love the table and the color! Did you adjust the length of the table from the plans? To me, yours doesnt look like its 85″ – I’m guessing its about 60″? – Which is exactly the length i would like to build ours….so if so, did you just calculate your cuts accordingly? (hoping i will get it right!!)
thanks!
Hi Amy! We built our table to the full 85″, but you can easily adjust the plans to make yours shorter! 🙂
Here’s a speed build of a similar farmhouse table: https://youtu.be/HMTZS0yVhCE I’m not sure what I would have done without the Kreg jig!
I love this! I have wanted something similar for a while! I love that your kids were involved too!
Beautiful! I would love to make this table and benches for my kitchen. We are very tight on space. What are the dimensions of the table?
Hi Kayla! The table is about 34″ x 85″, but it is pretty easy to adjust the dimensions if you need a smaller table!
Absolutely LOVE your table! What is the width of yours. I’m trying to decide how wife I want mine.
Hi Lorissa! The table width is about 34-35″. I hope this helps!
Love how it turned out! What kind of wood did you use? We are having a hard time finding the 4×4 without resorting to pine.
Thank you, Theresa! We ended up using pine for ours… simple and inexpensive. Best of luck to you guys!
Has anyone built this and run into a problem with seats at the end, not pushing in enough to actually eat at the table? I’m using this plan to build my own table to seat 10 in a couple of weeks and was curious if someone had any ideas on how to solve that problem? Thanks, love the plan!
My husband and I both sit at the ends of the table, and my kiddos sit on the benches. It works well for us!
Breath taken!
Where did you get the chairs from? Thanks!
Hey Mollie! The metal bucket chairs came from Target!
Hello!
I wanted to know what type of wood you used for this table. Very pretty table!!
Hey Kim! I just used pine for the table, as it is inexpensive and easy to work with. 🙂
Love this! My little family is moving to our first house later this summer and I want to make this with my hubby. Question- if you only did a bench on one side- how many chairs do you think would fit on the other?
Depending on the size, I would say three is the most that would fit. Congrats on your first home!! 🙂
Looks fabulous!! I love the color mix, turned out perfect! http://www.lovesthefind.com/
Hi! LOVE your table. Do you have any tips for applying the poly? What kind of brush did you use? Any tip would be greatly appreciated! I’ve had issues applying poly in the past. Thanks!
Nice work and you got the kids involved! I’m inspired!
This is beautiful. I especially love the chandelier, I’m so upset it’s been discontinued. Is there any alternatives you can suggest for me
I’d be happy to! I love this chandelier from World Market: http://www.worldmarket.com/product/rustic+wire+chandelier.do?&from=fn 🙂
Would the polyurethane you used protect the table if it were outside?
Hi Kendall! I would just make sure to get a polyurethane that says it is made for exterior/outdoor use on the label. That should work! 🙂
You guys did a great job – and I love that it was a family project! Your boys will probably remember that for the rest of their lives and enjoy sitting at the table because of it! I’ve been trying to convince my husband that I need to make us a nice table for our new house but he’s being stubborn… I’m going to show him your pictures so he can see how awesome it would be! Great job on your blog! I have one too where I talk about all my projects! 🙂
Absolutely gorgeous! You all did beautiful work. I’d love to know the name of your grey wall paint! It’s perfect too:) Thanks so much.