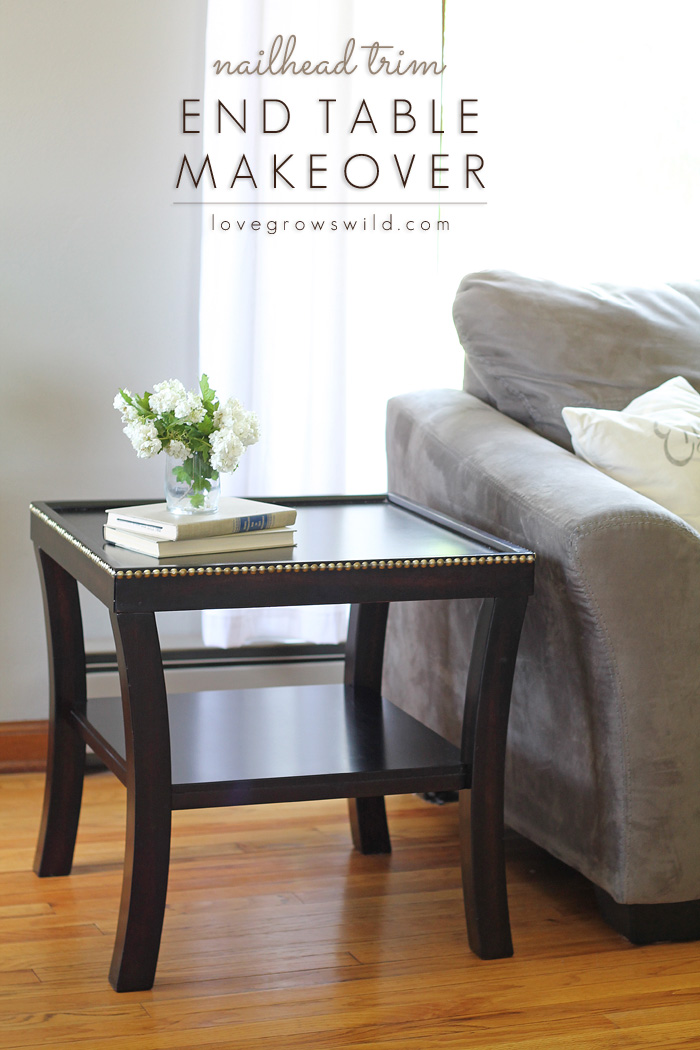
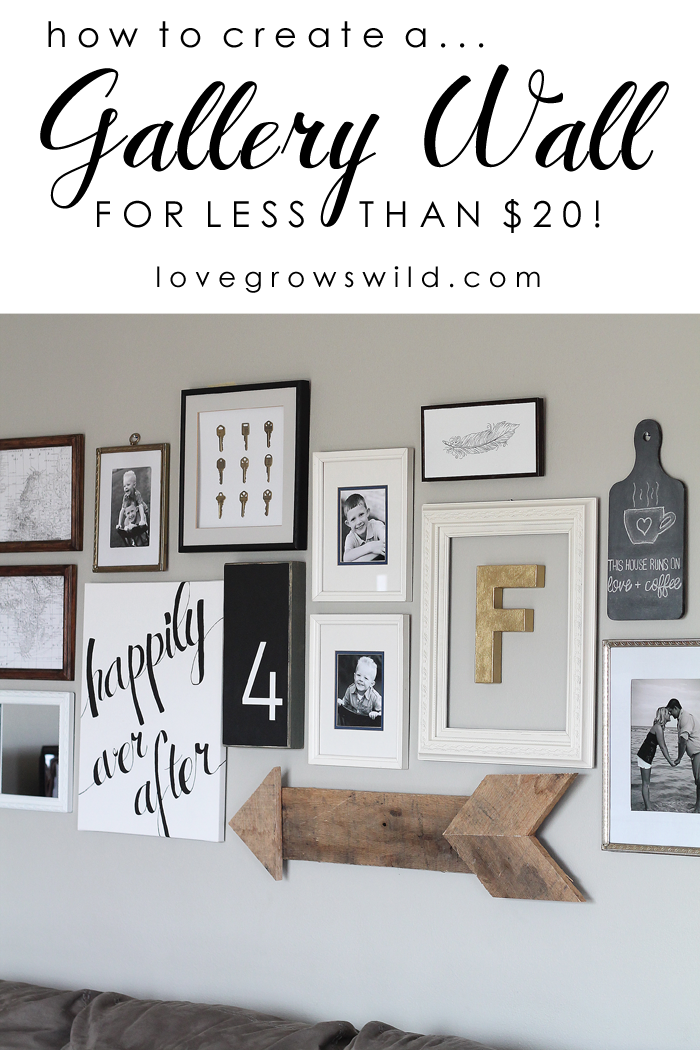
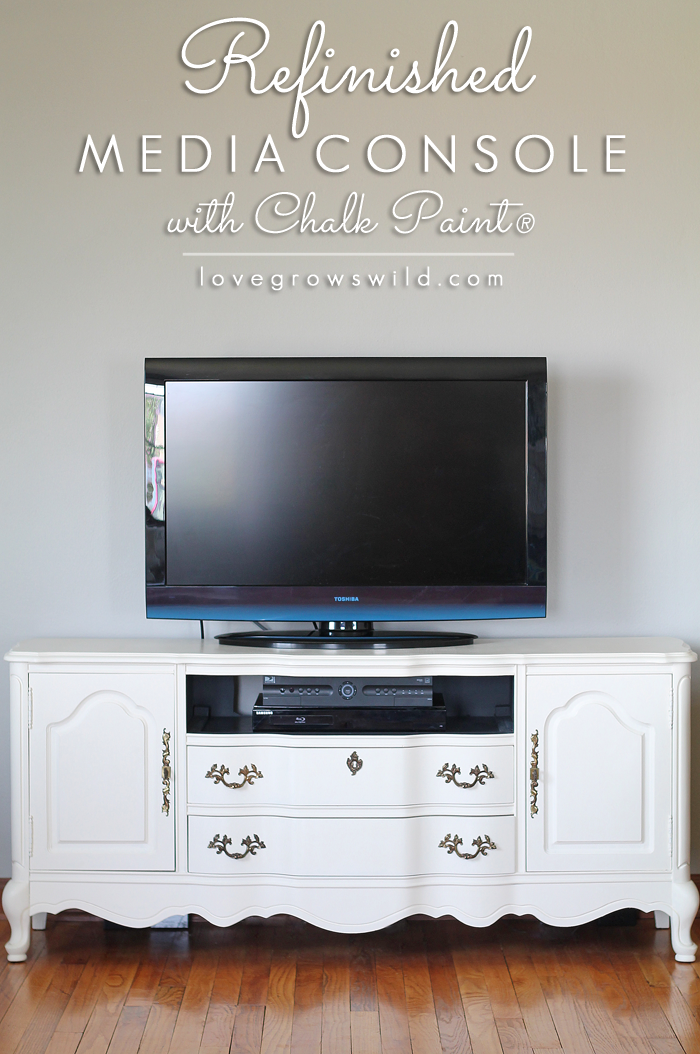
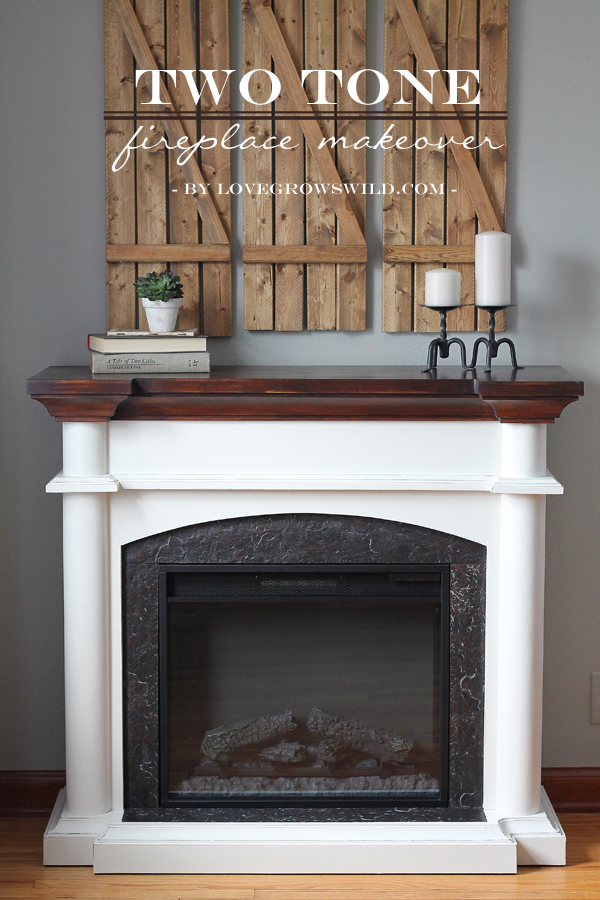
I’ve been tackling projects in my living room one-by-one, and I finally feel like we’re starting to get somewhere! Before the room lacked personality and had too many dark colors and mis-matched wood tones going on. It wasn’t terrible, just needed a little updating. And after a newly-painted media console, a big, beautiful gallery wall, and a fireplace makeover, it’s getting there!
Next project: Give my big, boxy end tables a chic, high-end makeover! Want to see how I did it? Come check out my Nailhead Trim End Table Makeover!
When I went shopping for my living room furniture a few years ago, I fell madly in love with a set of gray couches paired with these dark, modern end tables and matching coffee table.
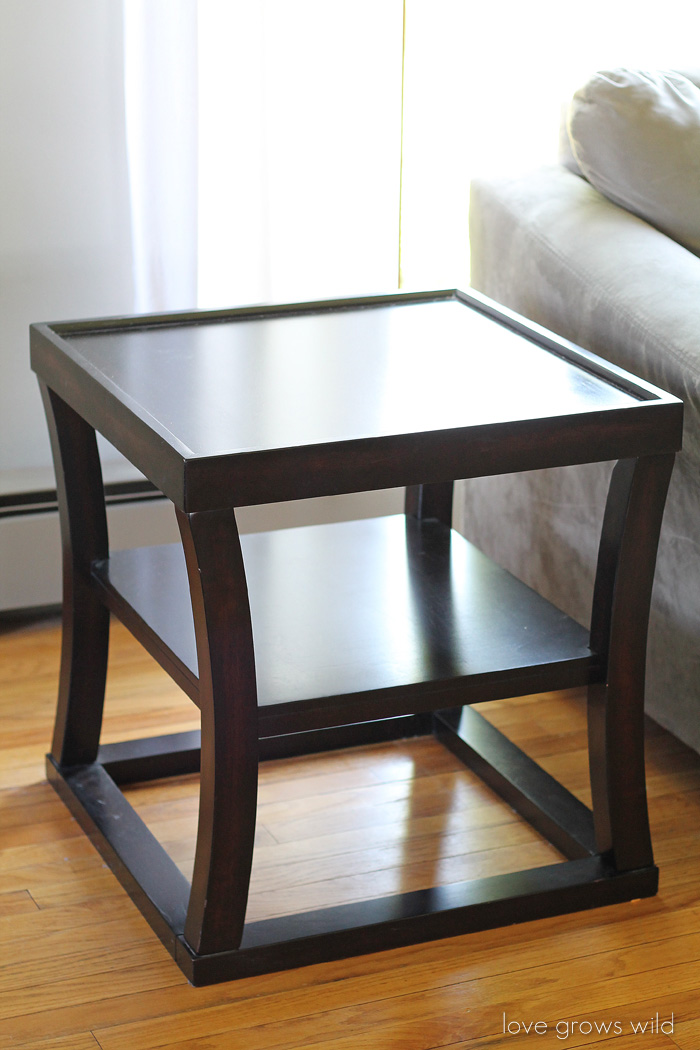
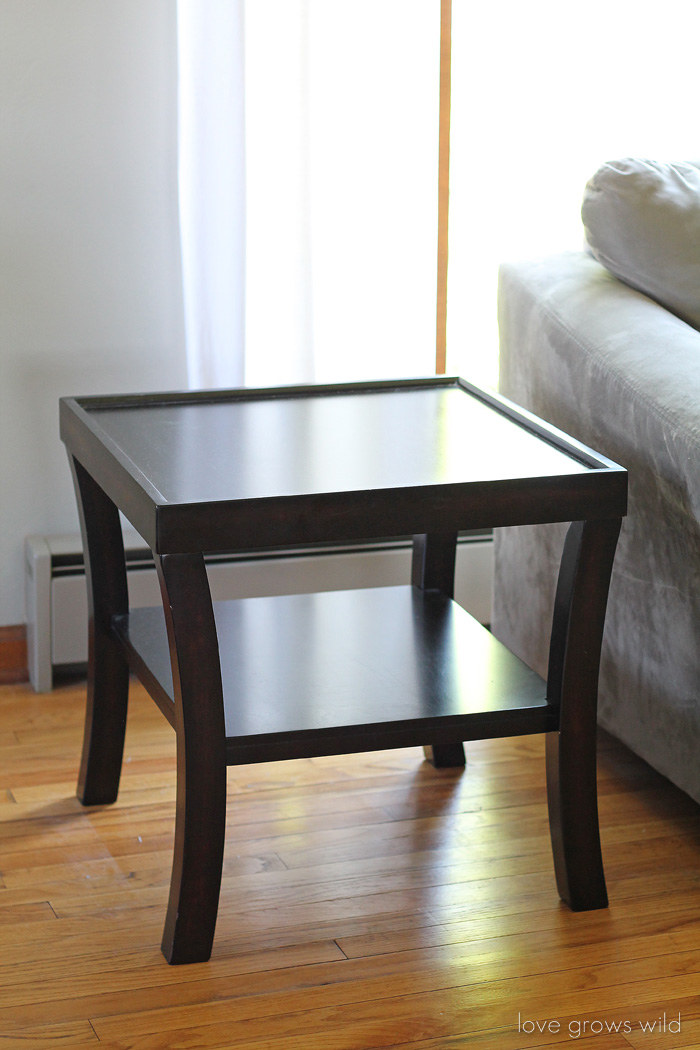
Here’s what the end tables looked like:
I still love the design, but with a smaller living room, the end tables were starting to feel really big and boxy. It’s bugged me for months now. Finally, the other day I was staring at the tables while my husband sat in the recliner stuffing his face with last night’s pizza, when I said, “What if I chop off the bottom part of the end tables? Oh my word, that’s it!! I can just chop that square piece right off!”
I thought it was brilliant. I rushed out to the garage for a reciprocating saw, and just before I started hacking into the tables my husband said, “You do realize that bottom piece is just attached by screws, right?” That smug face barely even looked away from his pepperoni pizza.
I had half a mind to tell him I was totally kidding about the saw, but instead I reached for the allen wrench and continued on my mission to make my end tables pretty.
Men… they think they know everything! 😉
So eliminating that bottom piece already made a world of difference. The bottom was now open, which made cleaning the floors a heck of a lot easier and helped make the tables not feel so boxy. Step one, done!
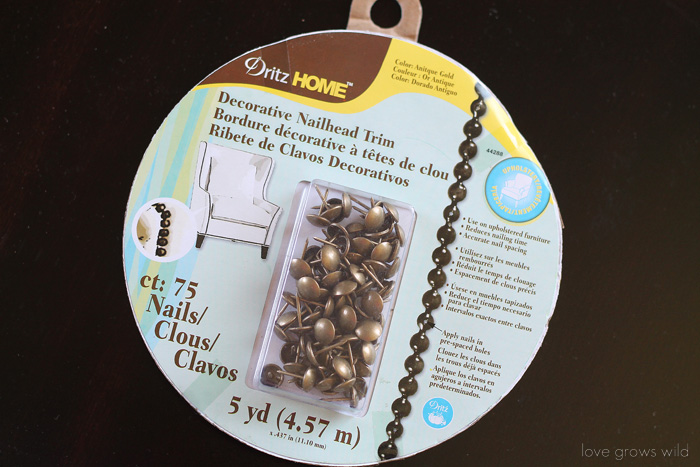
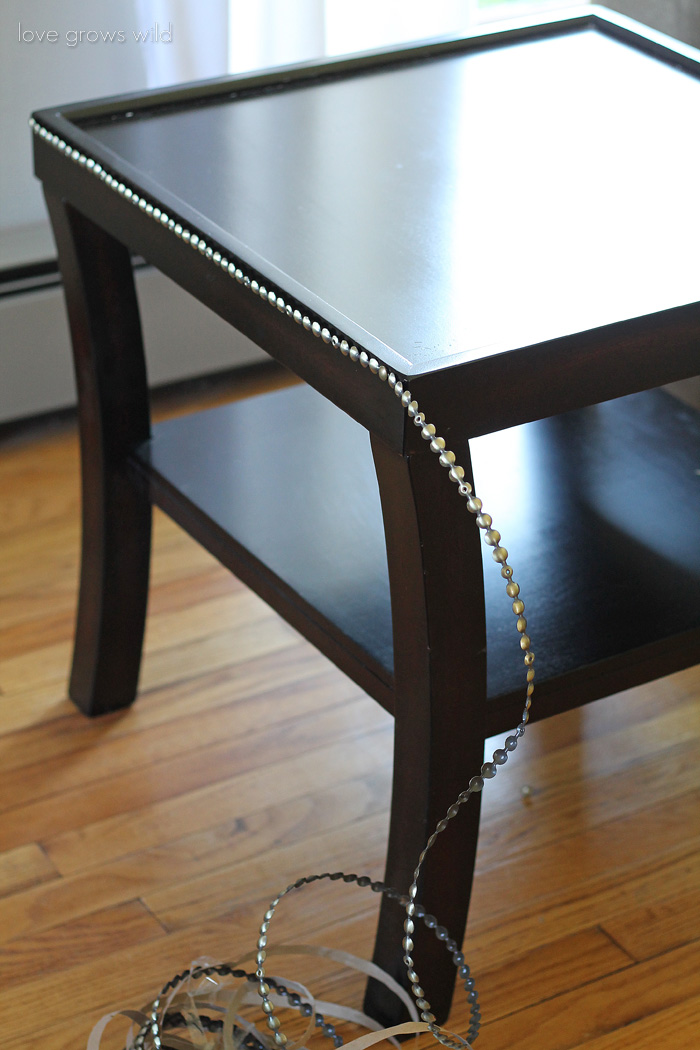
For step two, I had the idea to add nailhead trim along the top edge of the table. It has a nice, thick face that was just begging for a little attention, and I love the classic, timeless look nailhead trim gives to furniture. Was I going to sit and hammer in a thousand individual nails? Not a chance! I grabbed a package of nailhead trim on a roll and had it finished in no time!
You can find the nailhead trim I used here: Dritz Upholstery Nailhead Trim, Antique Gold, 5-Yard (Amazon affiliate link)
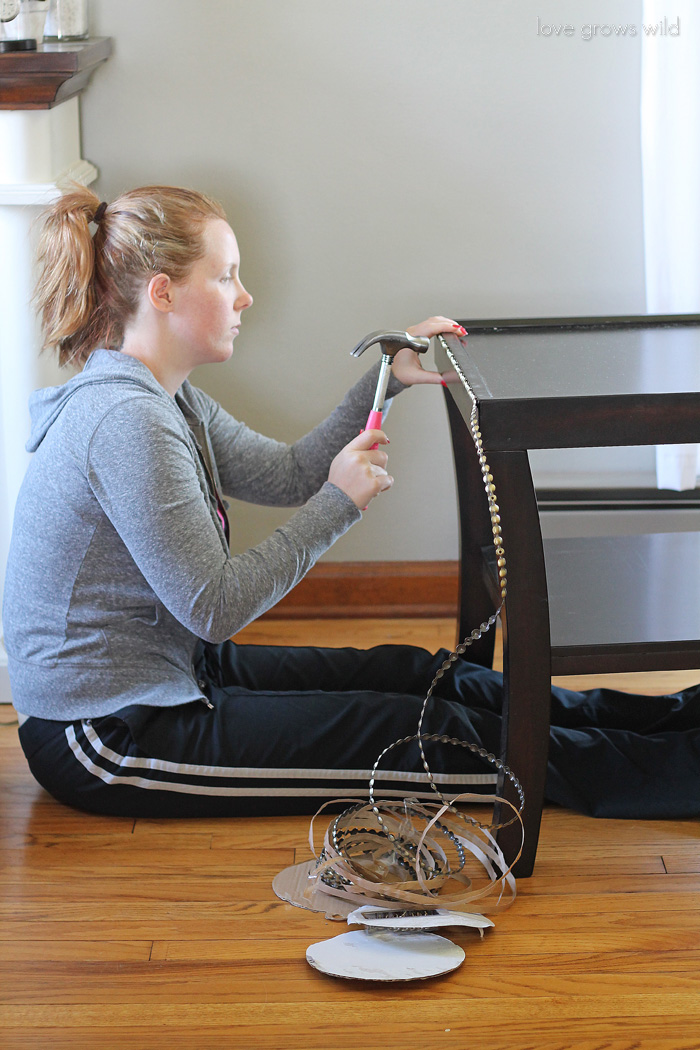
The kind I used came in a 5 yard roll, with an open nailhead every 5 spaces. All I had to do was line the trim up where I wanted it and hammer in one of the nail heads to hold it in place.
I didn’t have to worry about spacing them out evenly, and I only had to hammer in about 80 nail heads (for both tables) instead of 800. I wouldn’t have any fingers left by #800!
Side note: I promise I get out of pajamas and put on makeup every once in awhile!
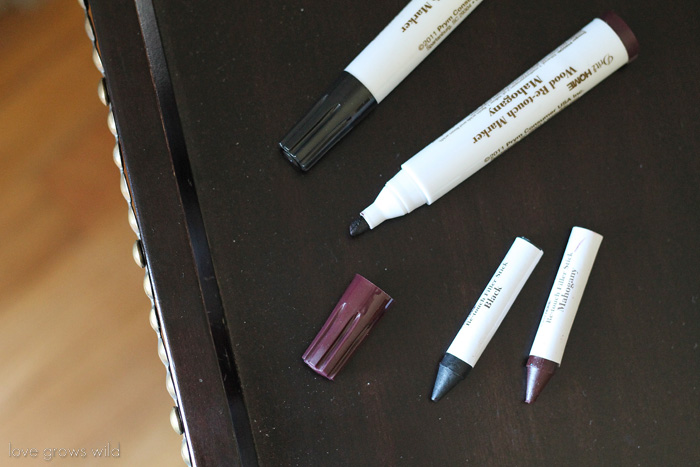
Since these end tables were a few years old, and I have little boys who like to drive their race cars on them, they definitely had their fair share of dings and dents. I found these awesome wood re-touch markers that filled in the marks perfectly! The markers covered up any scratches and the crayons even filled in the dents I found. I will definitely be keeping this set handy for future touch-ups!
You can find the re-touch set I used here: Dritz Dark Wood Re-Touch Marker Set, Assorted (Amazon affiliate link)
And in case you’re wondering, no I’m not getting paid by Dritz. I just found these awesome products and had to share them with you! 🙂
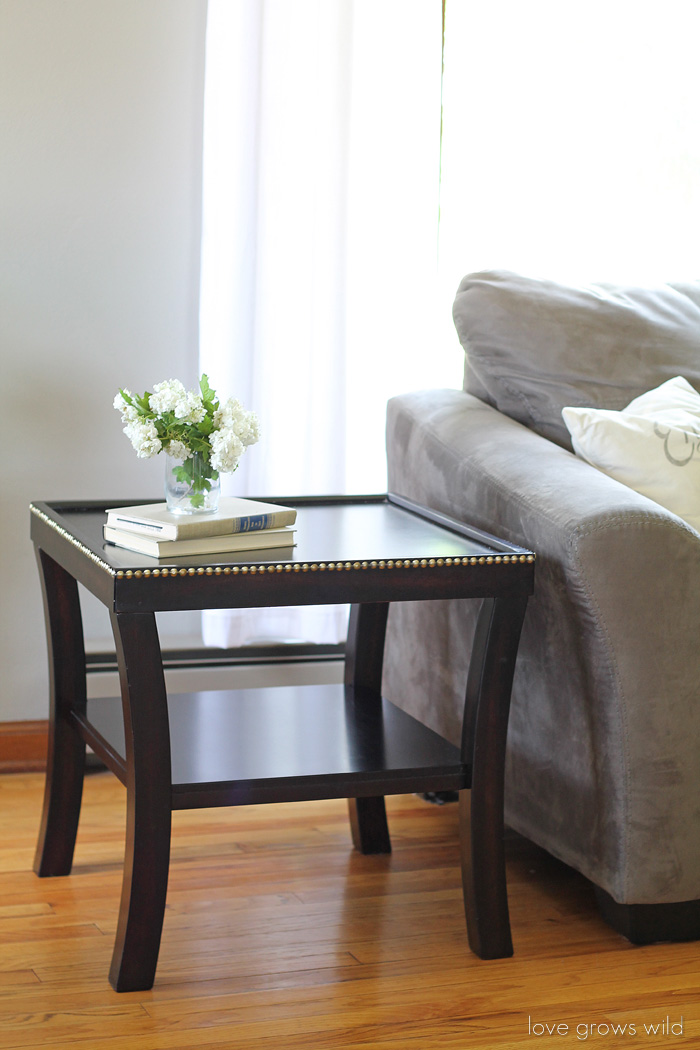
So from boring and boxy to high-end and chic, I absolutely love the new look of my end tables! They finally make a statement in the room, instead of just taking up space. And all of that came from just a little nailhead trim… and, I guess, a know-it-all husband who actually looks at something before he takes a saw to it. Thanks, honey!
These blooms from my backyard… I can’t get enough of them! I wish all these pretty spring flowers would last forever!
Thanks for checking out my furniture update today! What rooms would you love to update in your house?
Like what you see? Subscribe to Love Grows Wild so you’ll never miss a post!
Follow along on Pinterest, Google+, Instagram, and Facebook for more fun!
More projects from our living room:
Refinished Media Console with Chalk Paint
LET’S KEEP IN TOUCH!
Subscribe to Blog | Browse my Shop | Follow on Facebook | Follow on Twitter
Follow on Google+ | Follow on Pinterest | Follow on Instagram




I had no idea you could by nail heads as a trim! How cool! I needed an idea for my side tables and this is perfect! Thanks Liz!
Trust me, I was BEYOND excited about this discovery! I think you’ll really love adding the trim to your side tables!
The nail trim is perfect, Liz!!!! They look so chic now!
Isn’t that such a classic look? I just love it! Thanks for stopping by to show some love, Selene!
Hi Liz Awesome redo. Love easy, quick, inexepensive, my kind of redo. What a difference just taking that bottom support off did then the nail head trim, wowsa, girl. Do you get in mood especially this time of year to fix things up? I know I sure do. What’s next at your house?
We finally got our living room painted, light bluish gray, love it so much. This all started due to finding some light gray curtains/with white design all over at T.M.Maxx on sale. Then I made bunch of new art for walls and gallery wall. Our living room is now shabby chic/beachy/cottage. I am loving it so much. Then there was the awful, ugly dark couch. It was free but that didn’t mean I had to love it, too bad cause i never liked it, just not my style at all.
Dearest hubs and daughter (whom does not live here) decided one day I was gone with a friend to get rid of my great Broyhill sleeper sofa. We bought that couch in MT in 1992 after we bought our used trailer. We had cash from selling our place in San Diego so decided we’d buy a “good” couch for once since we’d always bought not so great bargains.
That couch was $1000, yikes but a very good couch. It was white with blue window pane design. It was getting little thin in some spots, needed reupholstering. I kept a slipcover on it. When we bought this place in 2006 I bought 2 slipcovers for it so thin spots not seen.
A friend of our youngest son was getting divorced and offered couch/love seat to son, he called us as he knew we were without a couch. Hubs/daughter went to get them without asking me. Daughter and I have very different homes and very different tastes in many things. I Hated it the day we got it. Sold love seat to neighbor as our living room is small. At least we got $50 out of it.
Wed. we were at Habitat as I had a 25% off coupon expiring tomorrow, 31st. Walked in spotted a sofa I liked right away. Looked at them all but one I bought I could afford and it was what I liked alot. Yeahooo. It’s white with window pane lines in gray, score. It has loose back cushions and loose seat cushions, and two little throw pillows. What a difference it makes in our l/r now, not like a big dark hole sitting there. I’ll be getting a slip cover for it soon. It was $125.00 and with 25% off and tax added came to $100.92. I wasn’t going to pass that couch up, no way. I’ll have to juggle couple things but have something I love, it’s clean, no smell. Love it. Now if I could get that awful high low brown carpet out of l/r all would be perfect.
Have more to tell you but think this was quite enuf for one day. I really do try to tell my stories with less words but somehow can’t make it happen. I love your tables now, like brand new. We have one bigger dark toned table but I put 1 1/2 yds of gray patterned fabric over it, works for me. I look forward to your next post.They seem to get better and better. Oh and I painted the arrow like yours in light aqua, it’s hanging under our shutter shelf. Have great weekend. Have some fun.
Wow, JaneEllen! That’s a great deal for a couch! Doesn’t lighter furniture make such a difference in the feel of a room? Thanks for sharing this with us! Hope you have a wonderful weekend! 🙂
I will be looking for this today! What a time-saver. The table looks amazing. I’m getting ready to re-do some of the pieces in my living room also.
So glad I found your site for inspiration!!
~Cheryl
Isn’t that trim a huge time-saver? Love it! Have fun re-doing your living room! 🙂
Your table makeover is awesome!! I would love to do something like that with a side table I got from Goodwill recently. I’d love for you to share this at my Motivational Monday Link Party that I just started today! Feel free to share other old or new posts that fit the theme as well if you have them!
{http://www.burlapandbabies.com/2014/06/motivational-monday-linky-1.html}
Thank you, Amanda!! Furniture makeovers are always fun! So glad you could stop by. 🙂
So, Great. I did not know about the nail trim. Great job.
Isn’t that a great product, Carmody? Saves SO much time and headache! I don’t think I could ever get those nails perfectly spaced if I had to do them on my own! Thanks for stopping by to check out my table makeover! 🙂
I love nailhead trim! What a great product. I’m featuring your table this week in my Friday Features… thanks for linking up to Inspire Me Monday.
Yay! Thanks for the sweet feature, Maryann! Isn’t that a genius product? It saved me so much time and headache!
Hi I love your side tables and I’ve been looking for new ones and I was wondering where you got yours? or if you knew of anywhere else that sold them?
Hi Victoria! I got these from an Ashley Furniture retail store. Not sure if they’re still selling them or not, but I hope this helps!