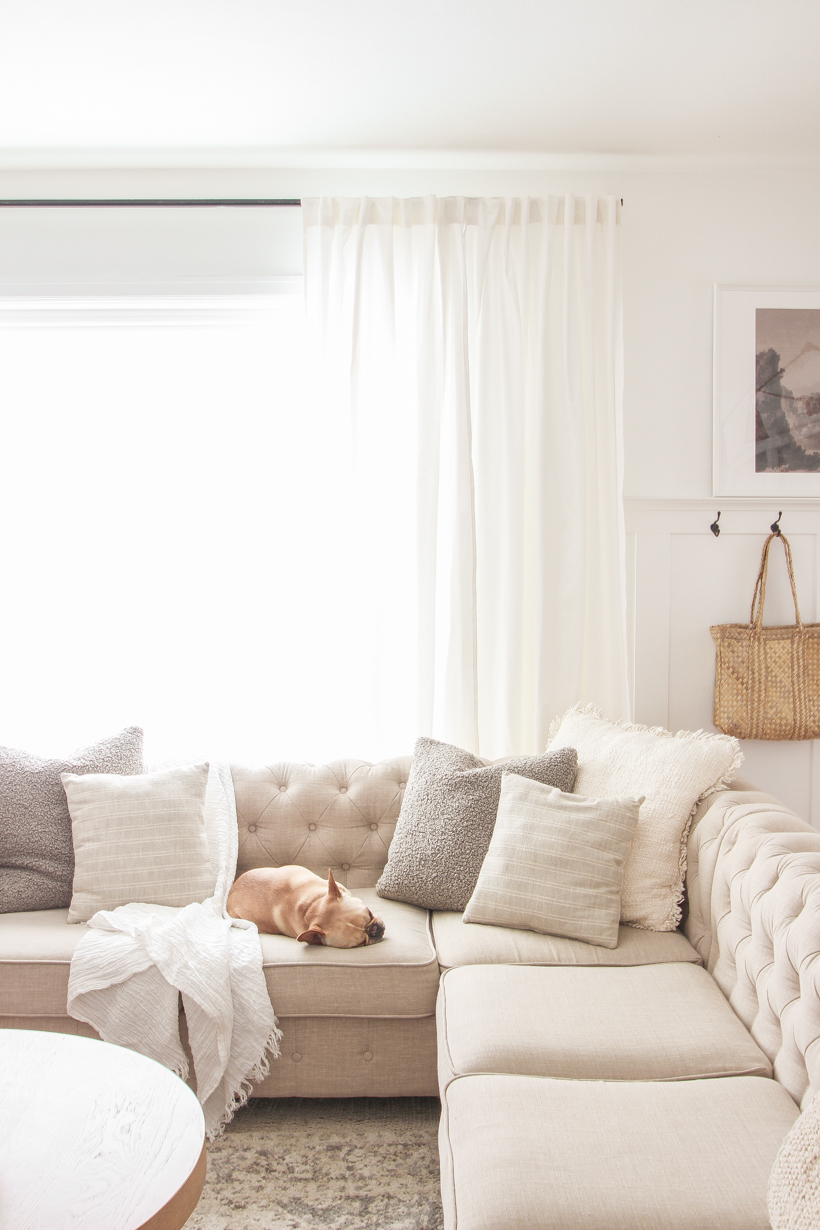
Today I want to talk about one of my favorite decorating “hacks” and one of the biggest suggestions I make to all my design clients. This simple trick can make the windows in your home look larger and more luxurious, make your ceilings appear taller, AND make your rooms feel extra cozy at the same time. Let’s dive into…
THE BEST WAY TO HANG CURTAINS

I will be honest and admit that for most of my adult life, where to hang curtains wasn’t even a thought in my mind. I assume I’ve always just hung curtains up where there was an existing rod or holes where you could tell a rod was previously installed. I didn’t put much thought into it beyond that. As a matter of fact, I want to say that the majority of windows in this house when I moved in either had just cheap tension rods inside the window frames or a curtain rod installed on top of the window trim.
Somewhere along the way I realized that if I hung the curtains not only HIGHER than the window, but also WIDER, the window instantly appeared so much larger and the curtains seemed to “fill” the room so much better.
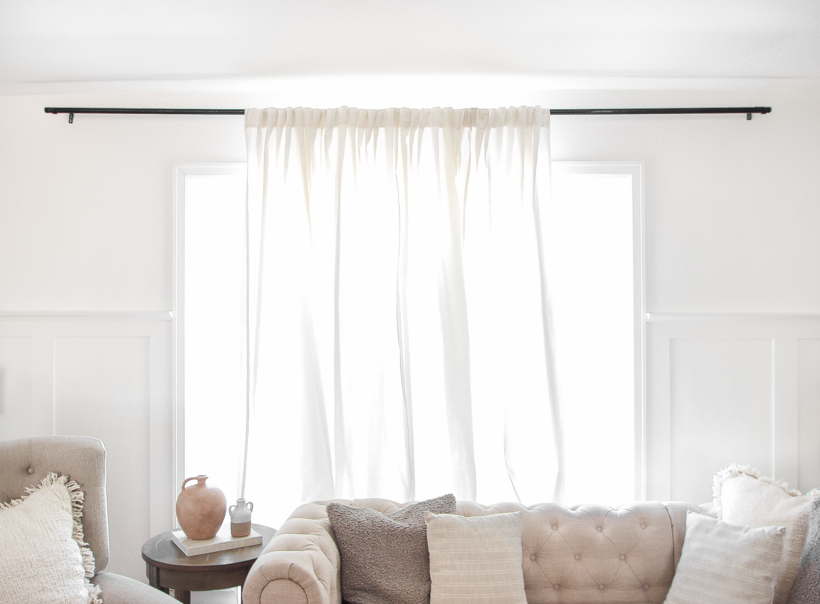
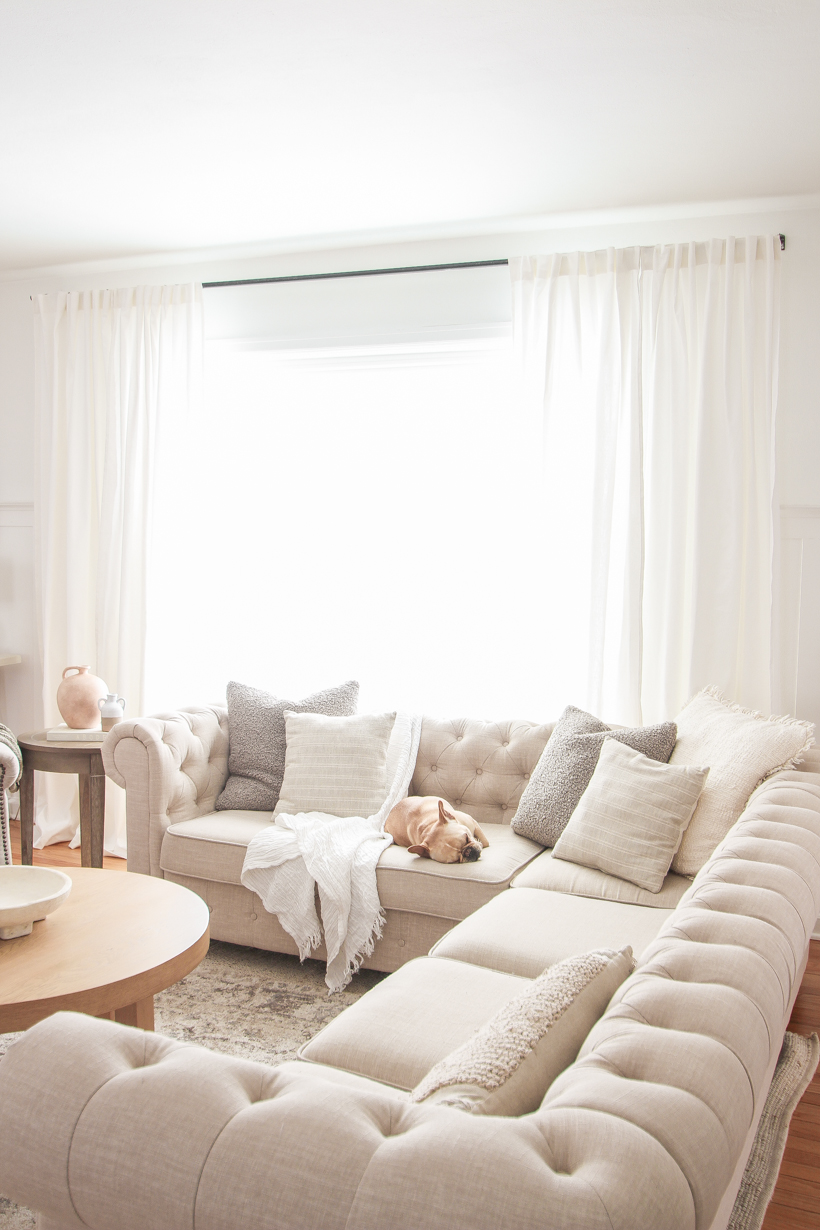
Let’s use the large picture window in my living room as an example. I scrunched the curtains together in the center of the rod so you could see the difference in where the actual window frame is vs. where the rod is installed!
P.S. yes, I did get new curtains! I love that these have the tab on the backside of the curtain, which I think gives them a much cleaner, more streamlined look! You can find them here. I bought 4 instead of just 2 since this window is so wide.
HEIGHT: Hanging the curtains above the window and closer to the ceiling gives the illusion that the ceilings are taller than they actually are. The general rule of thumb is to install the rod at least halfway between the top of the window casing and the ceiling, or at least a minimum of 2-4 inches above the top of the window casing.
WIDTH: You also want to hang the curtains wider than the actual window so that when you have the drapes pulled to the side during the day, you still have plenty of natural light coming in. This also gives the illusion that the window is wider than it really is. Install the brackets 4-10 inches beyond the edge of the window casing on both sides. This means you want your rod to be able to extend anywhere between 8-20 inches longer than the actual width of your window. You can see below that I installed this rod even wider to really showcase this picture window as the focal point in our living room!
LENGTH: The length of your curtains is somewhat of a personal preference in my opinion, but generally you want your curtains to hover just barely above the floor or even kiss the floor. Curtains that are shorter than that tend to look awkward and visually make the room look smaller. Curtains that are longer and puddle on the floor could potentially be a tripping hazard and collect dust easier. My recommendation is before you do anything, take measurements to determine exactly what length curtain you need and where the rod needs to be installed accordingly.
Another reason I like using this technique is how much it helps to “fill up” the room. If you’ve ever had a house with long stretches of wall space that feel impossible to decorate, you will appreciate this tip! By letting the curtains expand to take up more wall space, you’re adding more room for soft, pretty curtains to break up all that blank wall space, which ultimately creates a much more cozy atmosphere. Try it, and I bet you will be amazed how much of a difference this makes!
I should also mention that this particular curtain rod was a creative solution to a very minimal budget almost 9 years ago now. Wow… how time flies.
I remember being so excited to move into this cute, little farmhouse and being equally overwhelmed by the amount updating it needed and the amount of money that would require. I remember picking out the cheapest sheer white curtains from Walmart and cringing while doing the math of how many windows I had and how many curtain panels I would need. That alone was more money than I had to spend at the time.
I remember seeing the idea of using inexpensive electrical conduit as a curtain rod and thinking it would be the perfect solution for our massive picture window that would have cost a pretty penny to buy a curtain rod long enough to cover the entire thing. I spray painted it black, hung it up with curtain rod brackets, and here it still remains today…
I’ve thought about replacing it several times with an actual curtain rod that doesn’t have spray paint rubbing off in places from years of pulling curtains back and forth. But honestly, I kind of like having a reminder of where this journey started. Both for myself and for this house. So for now it stays so I never forget all the baby steps it took to get where I am today.
So to recap:
HEIGHT: at least halfway between the top of the window casing and the ceiling, or at least a minimum of 2-4 inches above the top of the window casing.
WIDTH: 4-10 inches beyond the edge of the window casing on both sides.
LENGTH: hovering just above or kissing the floor.
I hope this post was helpful to you! Let me know if you have any questions! xoxo Liz
– SOURCES –
sectional sofa | medallion rug | handwoven rug
coffee table | cross base bowl | fuzzy pillow
stripe pillow | lumbar pillow | fringe pillow
curtains | framed art | market bag
recliner | green blanket | jug vase
As always, I sincerely appreciate you shopping through the links I share, which allows me to make a small commission from your purchase while your purchase price stays the same. When you use my affiliate links, I’m better able to create content for this blog as well as support my family, and I thank you from the bottom of my heart for supporting what I do!
MORE SIMPLIFYING HOME BLOG POSTS:
Shelf Styling 101
The Easiest Way to Keep your Home Tidy
The Simple Pillow Formula for Your Sofa
Beautiful Books for Styling your Home
Designing Around a TV
How I Organize & Store my Home Decor
and more!




I love this tip and will keep it in mind when we’re done remodeling our family room. Thank you!
This was great information, so thanks for that!
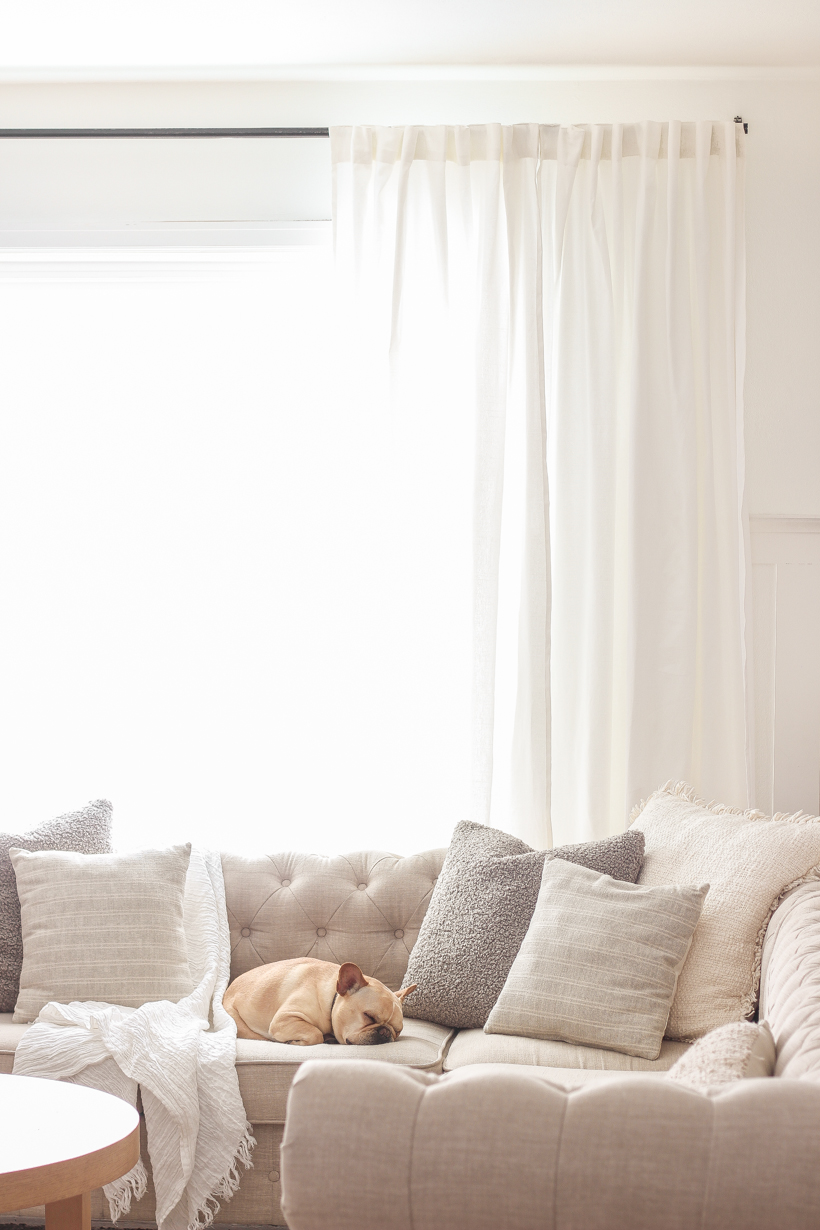
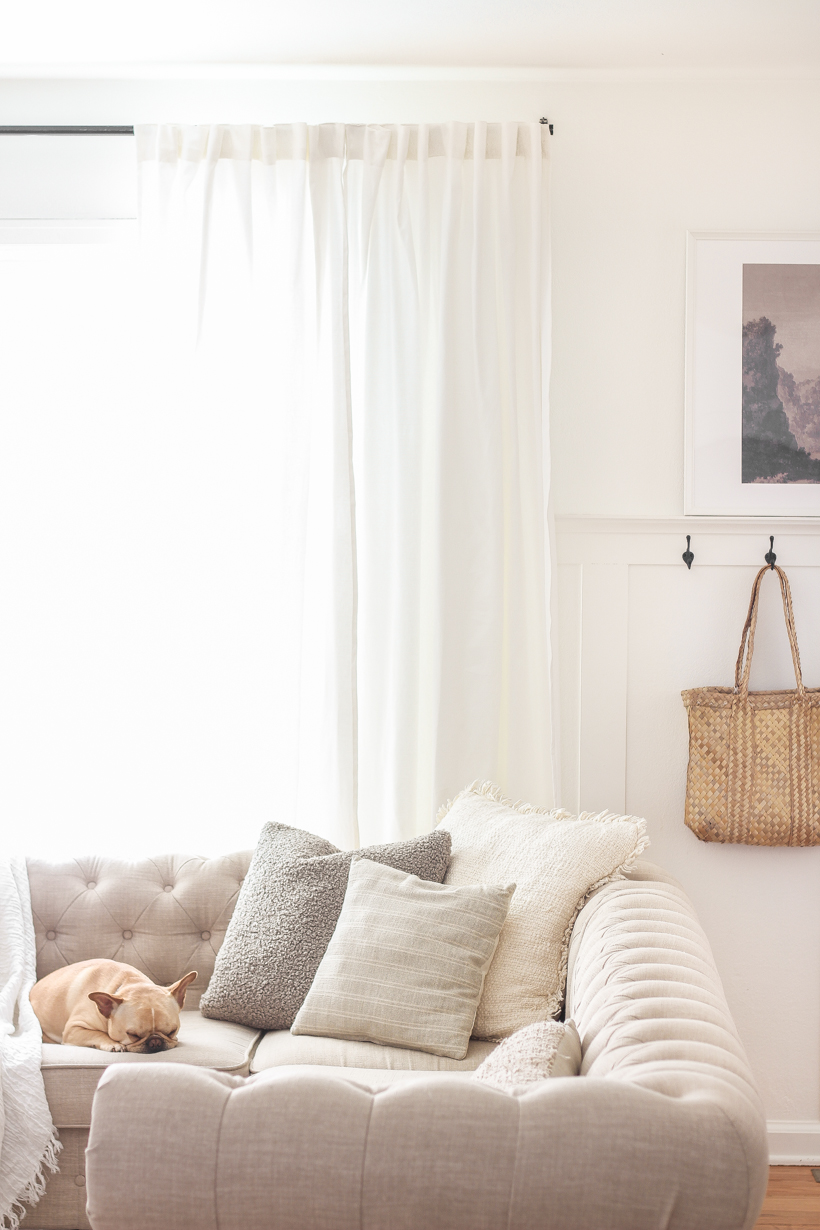
I just have to say that your little pup is so precious…i loved seeing each new pose it was in on all of your photos.
It was snuggling on that big comfy couch! <3
I love these tips! Did you put anything to cover the end of the conduit that you used for the curtain rods? Did they just fit normal brackets?
The conduit comes in different thickness measurements, so you can find the exact size you need for whatever bracket you’re going to use! And I did not create any kind of finial for the end of the rod, but you certainly could for a more finished look!
I disagree on the height of the curtains, I believe they should go all the way to the ceiling or just below the crown molding.