
It’s about time for a fun, new project from the office makeover, right? I thought so, too! With all the traveling and side projects I’ve been doing lately, it hasn’t left much time to work on the projects I’ve had up my sleeve, so it felt really good to bust this one out yesterday! Marquee letters are wildly popular right now, and I couldn’t wait to plow through this office makeover so I could DIY some for myself.
I knew from the start of this makeover that my office was going to be the new headquarters for Love Grows Wild. I create in here, write in here, get inspired in here, and frankly I eat and sometimes sleep in here too, but that’s besides the point. I had been brainstorming some kind of DIY sign that had my blog logo on it, but then it hit me… this is the perfect time to do those marquee letters I had been dreaming about! I thought this project would be a little intimidating, but it was honestly super easy to do, and I finished everything in just a few hours, including paint drying time and taking step-by-step photos for you guys to enjoy.

Supplies:
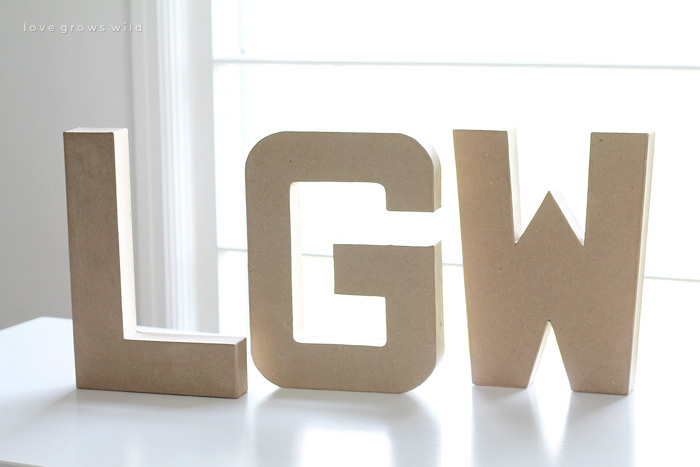
- cardboard letters (I found these at Joann’s)
- clear globe string lights
(I used these from Amazon)
- X-acto knife
- pencil and paper
- spray paint of choice (I used Rust-Oleum Semi-Gloss White
)
Step 1
Use an X-acto knife to cut along the seam of the back side of each letter.
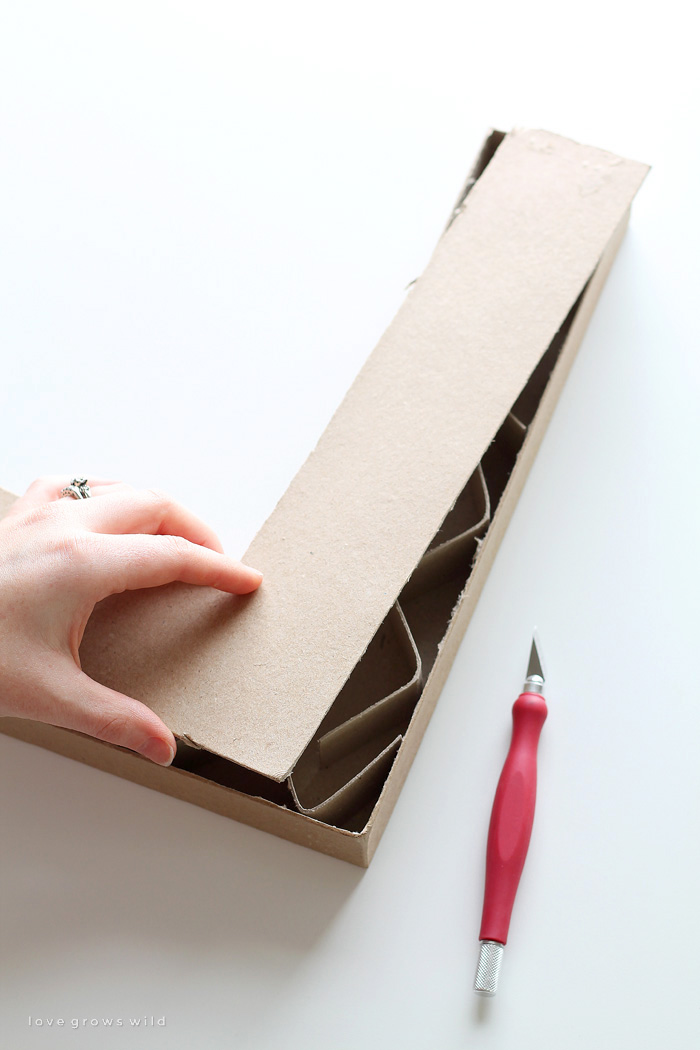
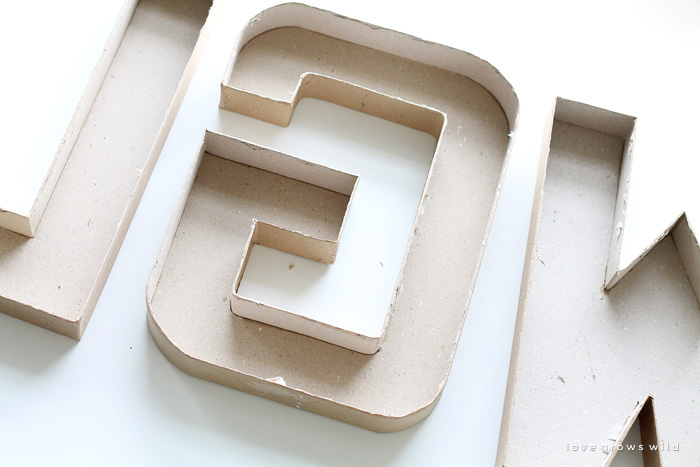
Step 2
Pull off the back piece and remove any cardboard pieces from inside the letters.
Step 3
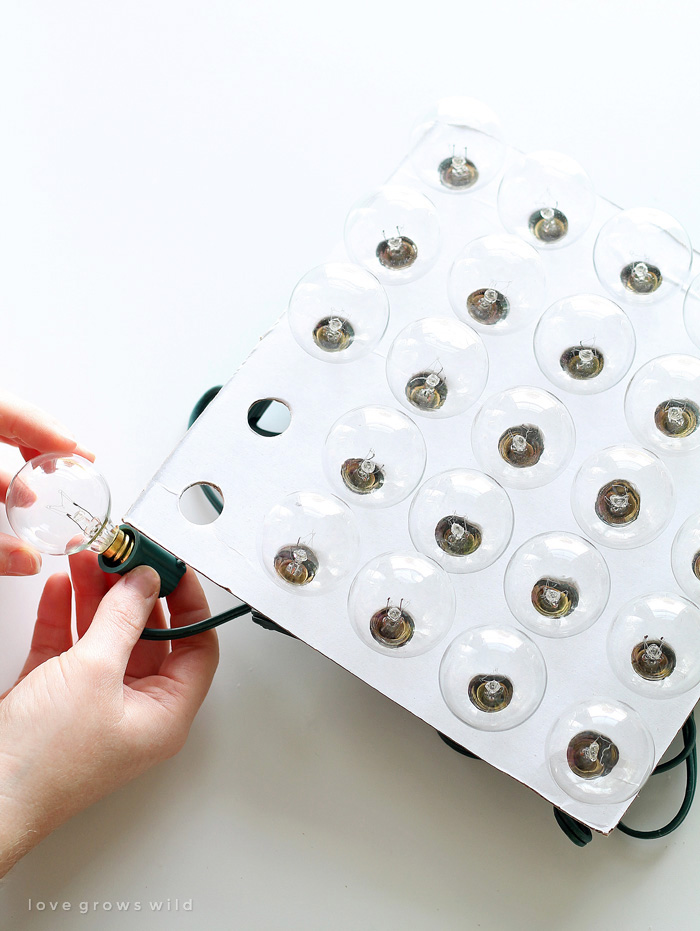
Determine where you want each light to go on your letters, and draw a small dot for each bulb.
This was probably the hardest part of the whole process, which isn’t that difficult, just takes a little bit of planning and measuring. My set of lights had 25 bulbs, so I spaced them out about 3″ – 4″ apart. Using a ruler helps to make sure your lights are evenly spaced. Note: I used 22 of my lights on 3 letters, so if you’re using larger or additional letters, you may need to purchase a second string of lights.
Unscrew a light bulb from the backing and trace around the smallest end of the bulb with a pencil and paper.
Step 4
Use the template you just created to draw a circle over each dot you drew on the cardboard letters. You want it to be just big enough for the bottom of the bulb to fit through.
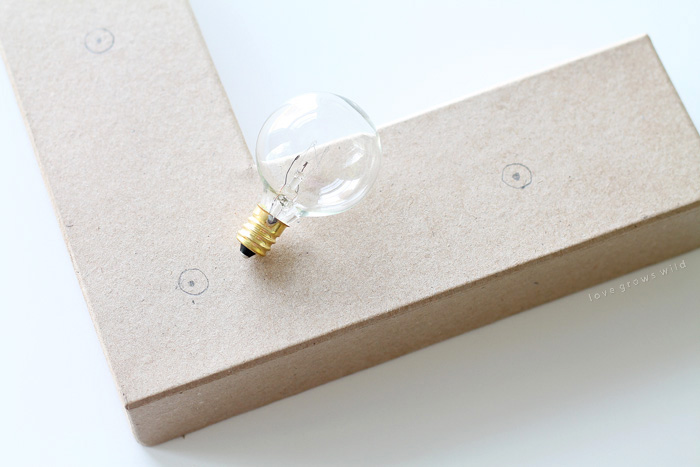
Step 5
Use an X-acto knife to cut an asterisk inside each circle, then punch through the circle using a pen or screwdriver (something about the size of the circle). Make sure your lightbulb will fit snugly inside.
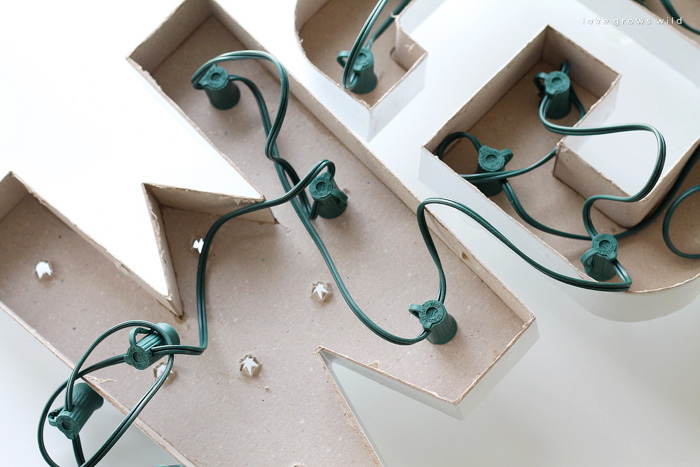
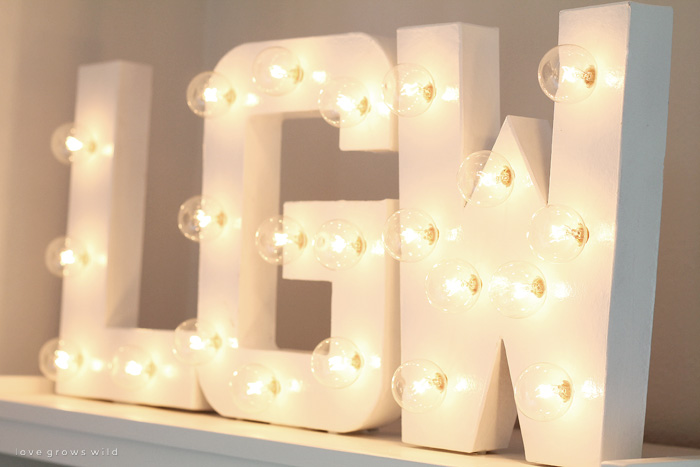
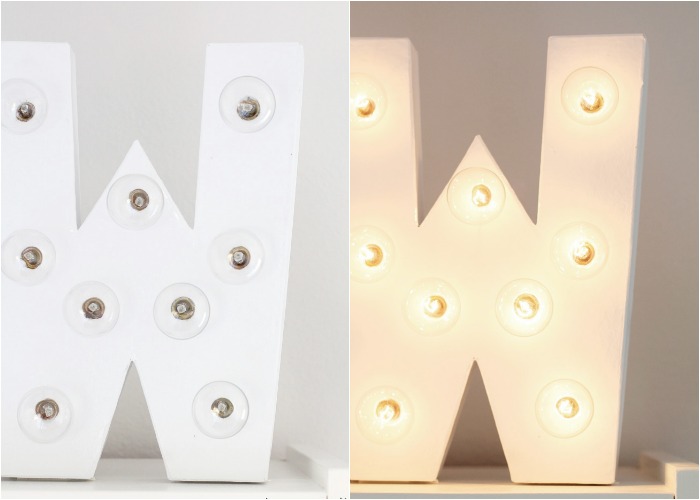
Spray paint the letters and let them dry completely. Place a light bulb in each hole and screw on the backing, connecting the letters as you go. (I started with the L, then the G, then finished with the W). Tuck the wires inside the cardboard and use the clips on the lights to secure the wires, if necessary. If your lights do not have clips, you can tape the wires in place as well.
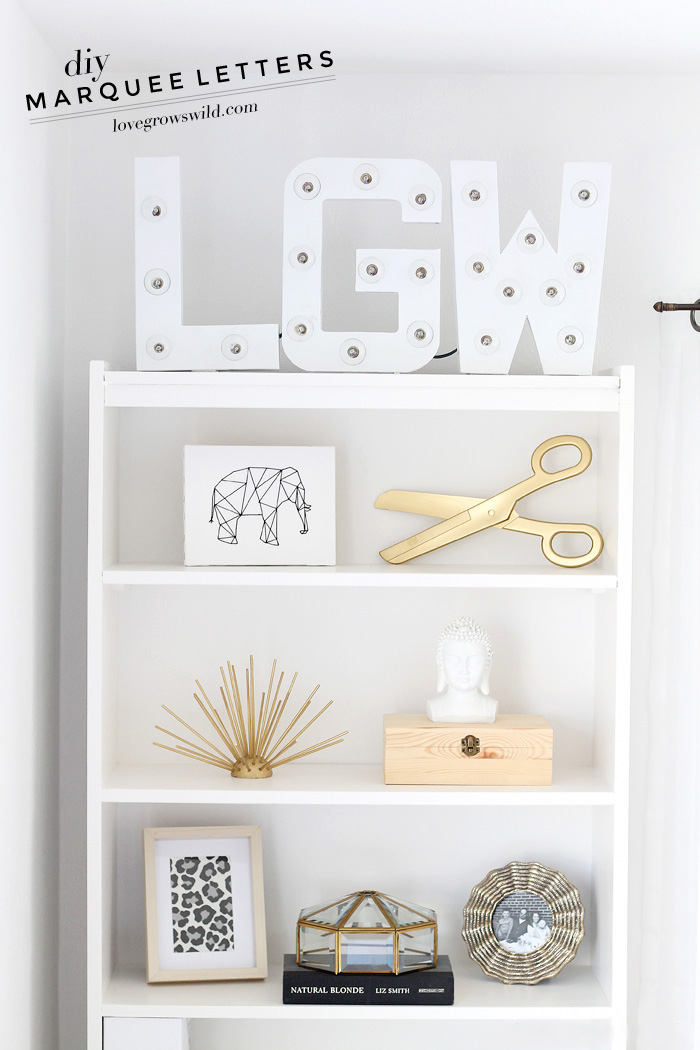
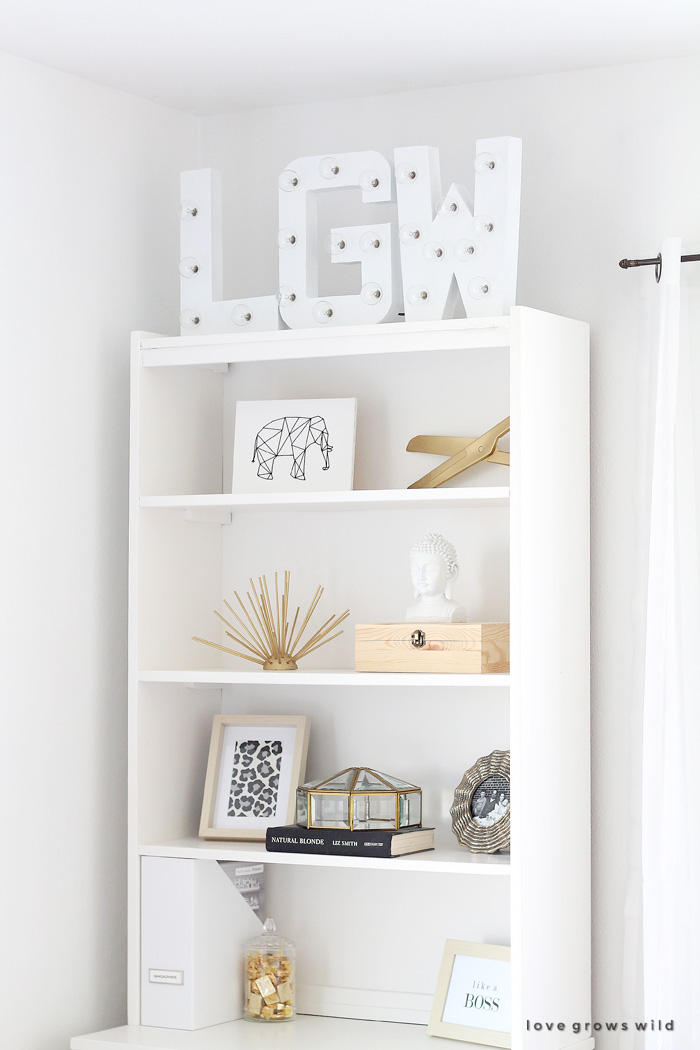
I wanted these letters to go on top of the new bookcase I just finished, but I was worried about them falling over. I used some of these Command strips on the bottoms of the letters to make sure they won’t budge if one of the boys’ runs headfirst into the cabinet below. Rambunctious things like that just tend to happen in this house, so one must be prepared for the worst! Is your house as cray-cray as mine is?
If you wanted to hang your letters on the wall like these from my pal, Amy, you could easily do that with a few nails in the wall since the backs of your letters are open.
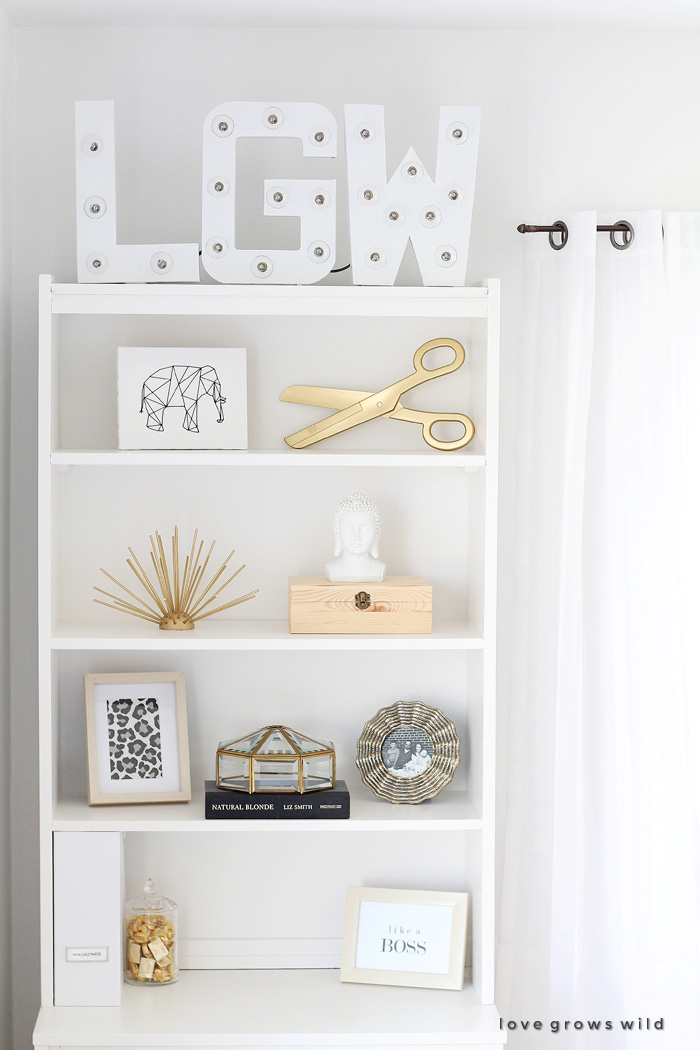
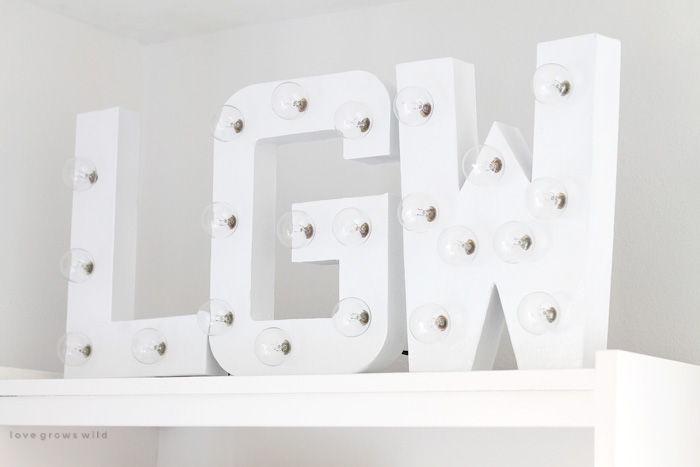
I can’t even begin to describe how much I adore these marquee letters in my office. They’re big and bold, but blend in nicely with the room because of the white paint I chose.
They’re gorgeous in the day time, but even more lovely when I turn the lights on at night.
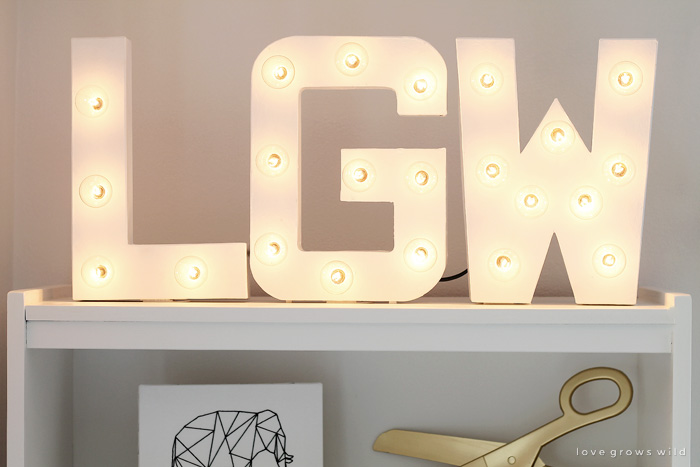
Not to get too sappy here, but seeing these letters all lit up and beautiful reminds me that even with all the long hours and late nights that this job entails, I’m working towards making my dreams come true with every post, every project, every recipe, and every photo. Thank you for being part of my community of awesome readers and believing in me!
Like what you see? Subscribe to Love Grows Wild so you’ll never miss a post!
Follow along on Pinterest, Google+, Instagram, and Facebook for more fun!
So tell me what YOU think! Do you like marquee letters? Where would you put them in your home?
Are you making this project? I’d LOVE to see it! Post a photo of your creation on Instagram and use the hashtag #MyLGWProject. It may just get featured!
More projects from my office:
LET’S KEEP IN TOUCH!
Subscribe to Blog | Browse my Shop | Follow on Facebook | Follow on Twitter
Follow on Google+ | Follow on Pinterest | Follow on Instagram
This post includes affiliate links. Thank you for supporting the brands that make this blog possible!

Wow, awesome letters! Thanks for the tutorial!
You’re so welcome, Ashley!! Glad you like them!
Thank you, Ashley!! So glad you like them!
These are too cute, Liz!!! You made the tutorial so easy to understand, too!!
I’m so happy to hear that, Selene!! Thank you for checking out my new office addition!
SOOOOO cool! Who knew these fab marquis letters were so easy to make? I can’t wait to make some of my own!!!
They really are! I can’t believe I waited so long to make them! Have fun making some for your house too. 🙂
OMg I am TOTALLY obsessed with these!!! You are amazing my friend, definitely going to try this out 🙂
You made my day, Camille!! You definitely need some of these in your office!
wayyyy cute Liz!! I love how you styled the whole hutch 🙂
Thanks, girl!! It’s my favorite part of the office right now!
You said you used 22 out of your 25 lights – did you tuck the remaining 3 lights into the cardboard box or are they just hanging down behind the bookshelf? If you wanted to hang these, I assume you’d have to hide the remaining 3 lights or make sure that your light placement allows for all of the bulbs to be used? Thanks!
Hey Arianne! Great question. I took the bulbs out of the remaining three sockets and stuffed the empty sockets inside the cardboard. I had enough space to easily fit them inside, so it was a pretty simple solution. I hope this helps! Let me know if you have any more questions!
Oooh, these are so fun!! I love the look of the marquee lights! On the top of the bookcase is the perfect spot for these. 🙂
Thank you, Amanda!! It helps to hide the cords hanging down too, which is a total bonus! Thanks so much for stopping by! 🙂
Love it! I am featuring you tomorrow 🙂
You are the best, Desiree! Thank you so much… I really appreciate the feature! Have a fantastic week, my friend. 🙂
The cutest!!! Love making these suckers- they’re so cheery and fun to make. 🙂 XOXO
I couldn’t agree more!! I love your girls’ “EEK” letters… so cute!!
These are SO cute! Thank you for the wonderful tutorial and link to the bulbs. I only wish they were battery operated so I could be more flexible with where I put the letters. Definitely going to make some though!
That WOULD be awesome! Hope you love these letters in your home as much as I do! 🙂
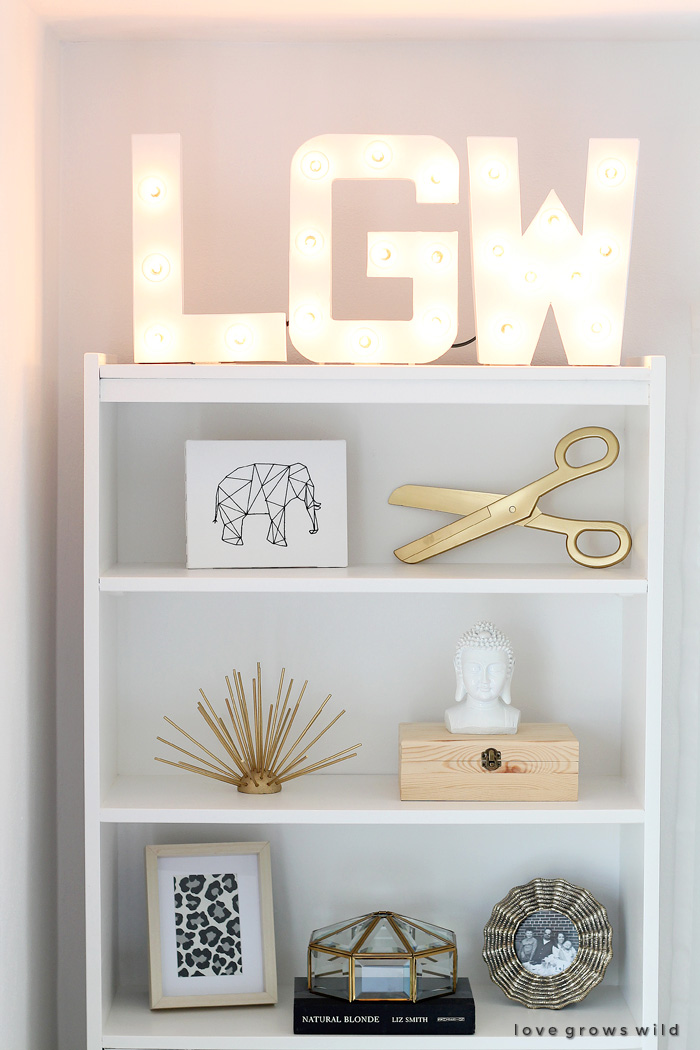
I love how warm the letters look when they’re lit up! They’re modern and beautiful! I may have to include one of these letters in my upcoming office makeover. Thanks so much for the inspiration!
Yes! I think you’re going to love them! They may just be my favorite part of the office makeover so far. Have fun with YOUR office makeover, and thanks for stopping by! 🙂
Hi Liz,
Thanks so much for posting this tutorial! I am super excited to make these – quick question! What size are the letters that you used for this project? 12″?
Thanks!
Megan
You are so welcome, Megan! Yes, I used 12″ letters for mine. Hope this helps!
HI Liz!
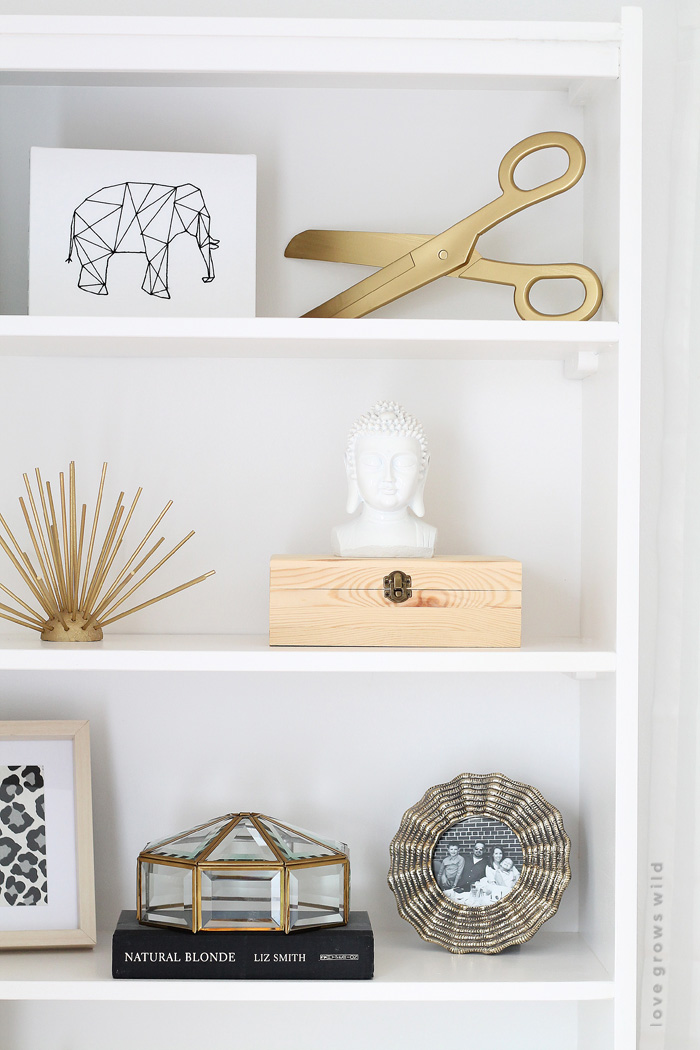
I have to say first, I LOVE your website! You are very talented. I was wondering where you got those cute scissors in your photograph.
Thanks!
Marti Leigh
You are too sweet, Marti! Thank you! The scissors actually came from Dollar Tree. They are plastic and were originally purple, so I just spray painted them! 🙂
Awesome! I actually saw that in another one of your posts right after I wrote it..
Hi there! I have a question and it may sound silly but is it safe to have the heat like that from the lightbulb on the cardboard? Nothing will start on fire?
I don’t leave the lights on all the time, but so far so good for us! 🙂
These are beautiful! Thank you for the inspiration! I bought the really large letters (L-O-V-E) at Joanne’s for my daughter’s wedding – the ones that are 2 feet tall, cut off the tops, drilled holes, and spray painted with a copper metallic paint. Used the strings of 25 small globe lights too. We put our lights on the inside, to create a vintage “can” letter, with the front off. They turned out beautiful! It was a bit more challenging than we planned, in order to figure out how to make them stand and be stable, but once we mounted them on a piece of 2 X 4 and spray painted it copper metallic, it worked great! The L-O-V-E letters will sit in front of my daughter’s sweetheart table at her industrial chic wedding.