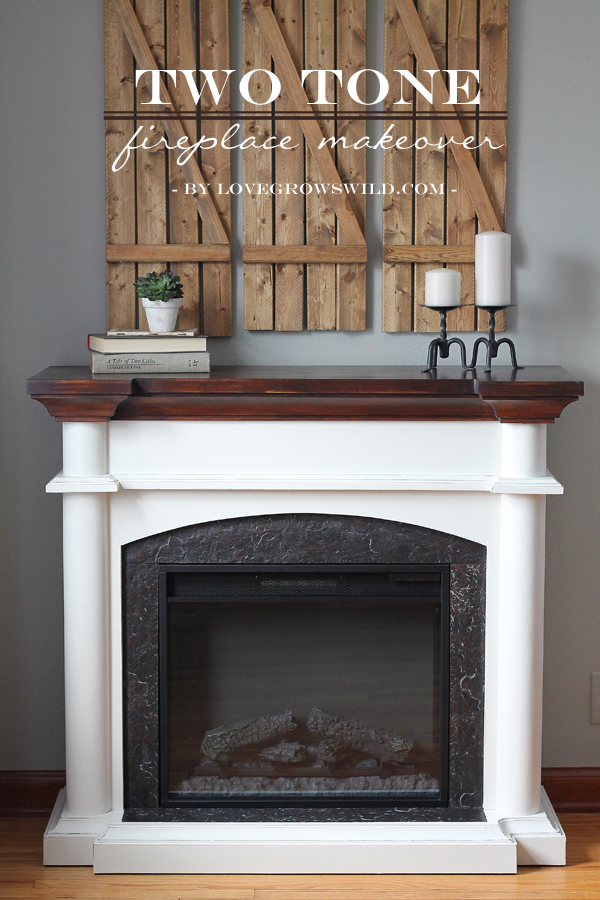
A few years ago, my mother-in-law and I were walking around a store (we’re awesome at shopping… just ask our husbands), and I spotted a gorgeous, white brick faux fireplace that I couldn’t help but fall in love with. Our new home in Indiana didn’t have a fireplace, and I was literally salivating over this beauty… It had all the grandeur of a big, cozy, built-in fireplace, and all I had to do was bring it home, plug it in, and turn it on! I was sold… I needed this faux fireplace. Being the savvy shopper my mother-in-law is, she found a great clearance deal at another store, and although these ones weren’t white or brick, I knew I could easily paint the fireplace later if I so desired.
And of course… I desired.
A year and a half with this fireplace in our house, and I’m finally getting around to it. Yay for progress!
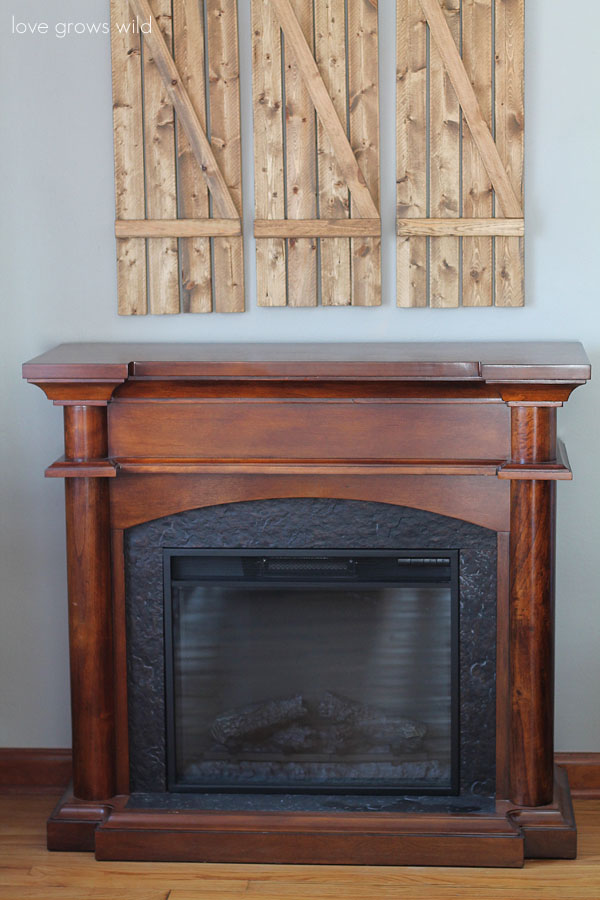
Here’s the fireplace before… very warm wood tone, very fake wood, very not-so-cute:
Yeah, it was bad. Maybe not in someone else’s home, but it definitely didn’t mesh in mine. She was due for a makeover!
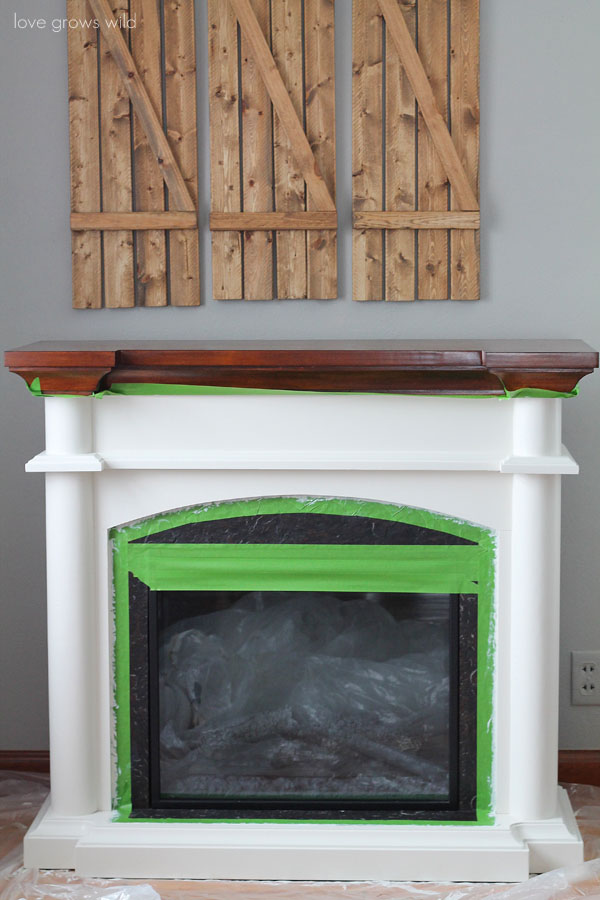
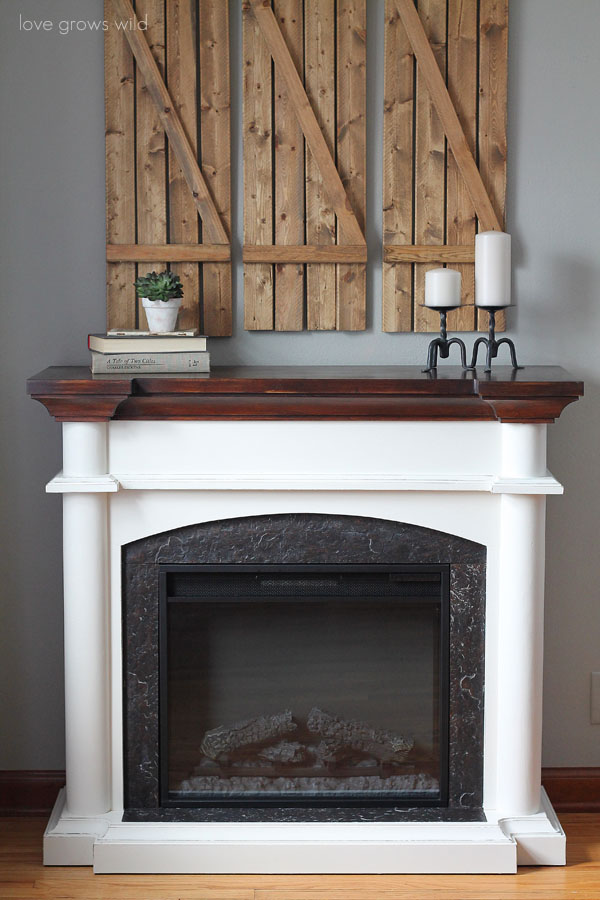
I started by taping off the top ledge of the fireplace (I had plans for it later) and the fireplace inset. Two coats of primer (I used Kilz) and two coats of my favorite Heirloom White paint (from Olympic) all done with a paintbrush, transformed this little fireplace into a light, bright, beautiful centerpiece for our living room.
But something was missing…
Call me crazy, but once I finished painting the creamy white fireplace I’ve envisioned for years now, it seemed to be just a little… TOO white. Too modern, not enough rustic. Too clean, not enough edge.
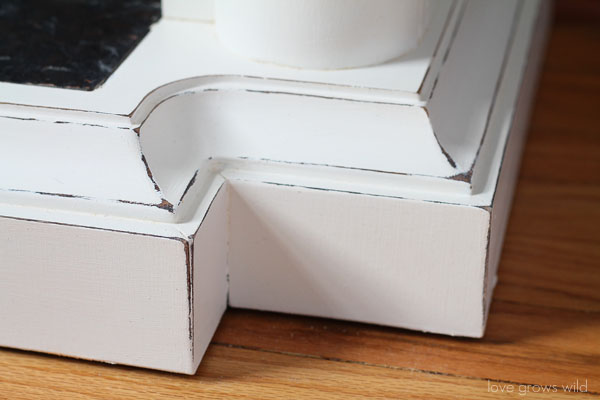
So what’s a girl to do? Whip out that sandpaper and distress those pretty edges!
This fireplace has lots of lines and ridges, and distressing them with sandpaper to take off just a bit of the white paint was exactly what the doctor ordered. I like to think of it as the eyeliner or mascara for your furniture… you need just a little bit to accentuate all those gorgeous features! <—- Seriously, write that down somewhere.
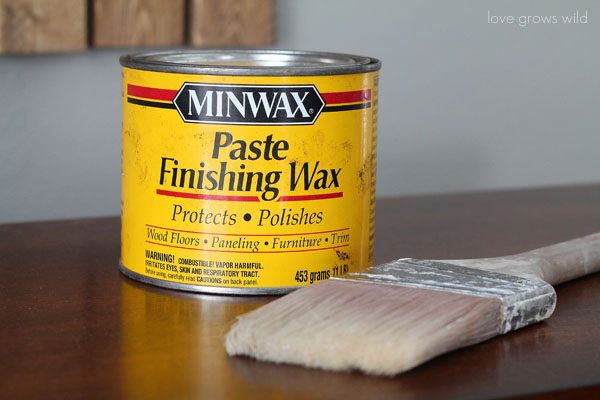
I finished the paint job with two coats of wax (I used Minwax Natural Paste Finishing Wax), which gives the piece a nice, subtle luster and great durability. The absolute easiest way I’ve found to apply wax is with a good, old paint brush. Just scoop a little bit of the wax onto a paper plate or even the wax can lid, and dab the brush into the wax. P.S. a little wax goes a long way! Brush the wax on the painted piece, and buff using a clean cloth. It’s as easy as that! Paint the wax on, buff the wax off. Piece of cake!
Now for the fun part… what to do with the top of the fireplace. I love pairing whites and wood tones together, but I wanted to darken the original wood color to more of a deep, dark walnut. But how do you re-stain wood that isn’t really real wood at all? What to do with fake wood?
Here’s the solution I came up with:
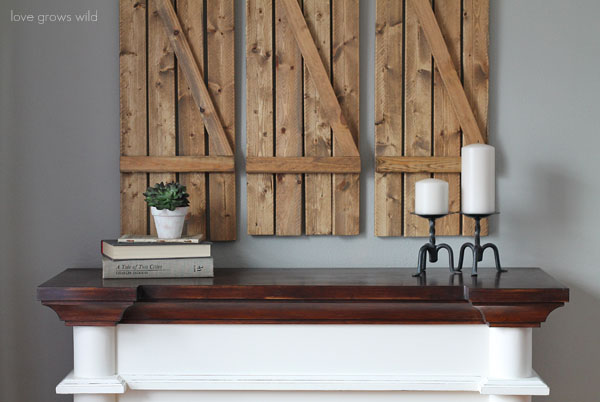
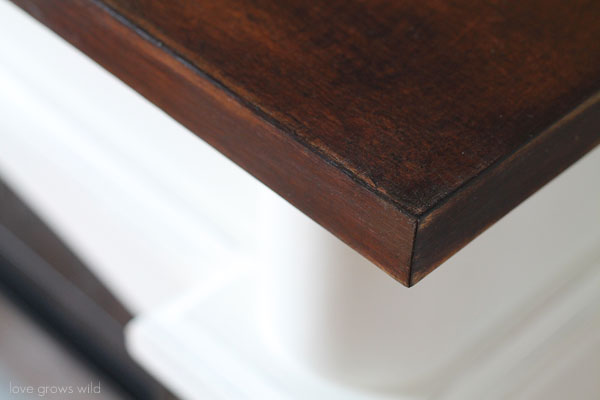
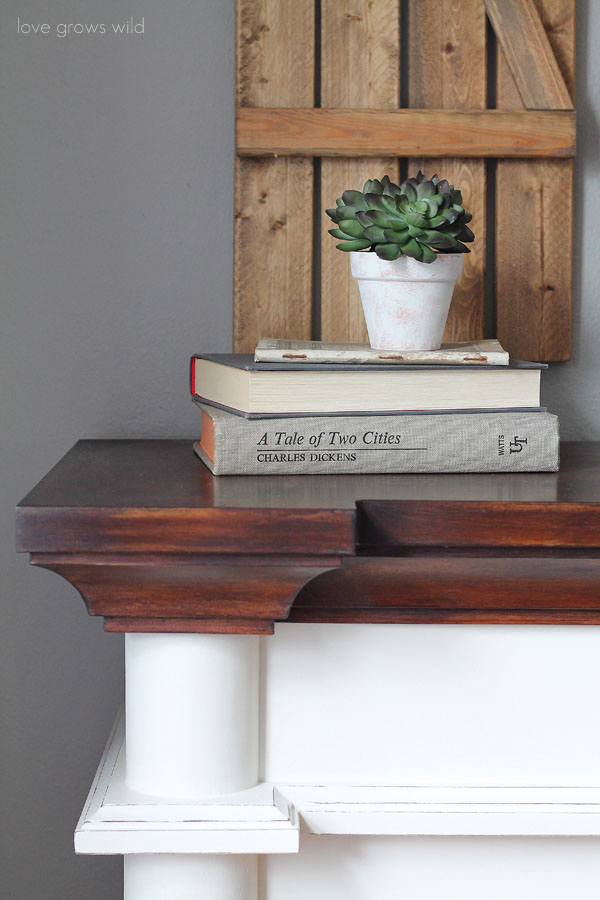
More wax. But this time… dark wax. The only wax I had on hand was a light, natural color, and I didn’t want to have to go buy another wax from the store. Okay, okay, fine… I really just didn’t want to change out of my yoga pants… guilty as charged! So to solve this dilemma, I scooped out some of the natural wax into a small cup and added black paint, little bits at a time, until I had a nice, dark wax to work with. Genius! Why didn’t I think of this before?? I applied the dark wax to the top of the fireplace in the same manner as before, painting on and buffing off. The wax deepened the tone of the wood just enough without completely covering it up like paint would do. A beautiful, creamy white, two-tone fireplace was born!
Look how well the edges of the fireplace picked up the dark wax… Gorgeous! I am SO happy with how this fireplace turned out!
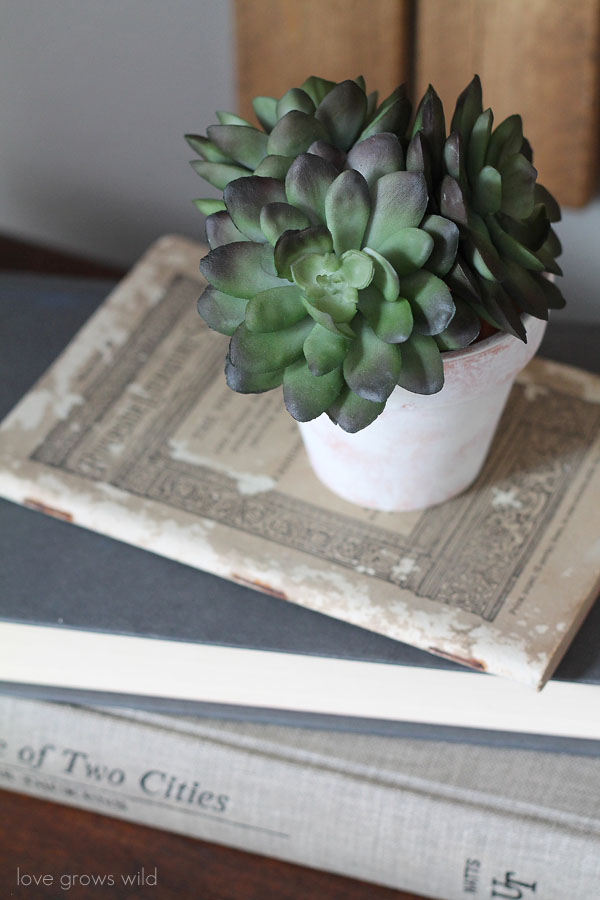
Side note – I have a very serious crush on succulents lately. Well, faux succulents in this case. You can pretty much count on seeing them in every room of my house from this point forward! You’ve been warned. 😉
Tell me what you think: Do you like the two-tone look?
Like what you see? Subscribe to Love Grows Wild so you’ll never miss a post!
Follow along on Pinterest, Google+, Instagram, and Facebook for more fun!
More from Love Grows Wild:
Let’s Keep in Touch!
Subscribe to Blog | Browse my Shop | Follow on Facebook | Follow on Twitter
Follow on Google+ | Follow on Pinterest | Follow on Instagram



Wow Liz!!!! Looks fabulous! I love how you distressed it just a bit!
And is that A Tale Of Two Cities I see? Love that book!
Yes, ma’am! A gorgeous Tale of Two Cities book found at Goodwill for cheap… I just love when I get lucky like that! Thanks so much for your sweet comments. Doesn’t the little bit of distressing make a big difference?
LOVE!! We have a real fireplace, but no mantel and I’ve been trying to look around for an affordable way to fake a mantel around the fireplace (since we are in a rental…otherwise I’d just build one!). I love the two-tone look as well especially when the wood is a deep dark rustic color. Love it!
I totally feel your pain with the rental situation! We’re in the same boat right now. I’m so glad you love the two tone look as much as I do! You just can’t go wrong with creamy white and dark, rustic wood! 🙂
Who makes this fireplace? Very nice looking piece. Nice makeover. I would certainly let it live at my house. 🙂 You kind of threw me when you called it a brick fireplace. I don’t see any bricks. Is that some kind of tile work around the opening? I like the arched opening.
Thank you, Linda! The fireplace is made by Twin Star Home. The first fireplace I saw was white brick, but this one that my mother in law found was not. A little white paint made it look pretty similar though! Thanks so much for stopping by!
This looks great! I just did a two tone stain/white paint dresser makeover! Would love if you linked this to Friday Favorites at http://imnotatrophywife.com
laura
Love the two tone look! Thanks so much for stopping by, Laura!
This turned out really great and adds a lot of interest to the fireplace.
Thank you so much, Carmody! I’m definitely enjoying the new look!
It’s beautiful Liz! I love what you did with it.
Thank you so much, Taryn! I am LOVING seeing all your house progress! Those concrete countertops… to die for!
What a beautiful makeover – love love love that you kept the mantel wood!
Thank you, Suzan! I love the contrast between white and wood, so this was the perfect piece to do it with! Even if it was just fake wood. 😉 Thanks so much for stopping by!
Seriously. That is the prettiest fireplace I’ve ever seen. Wonderful job!
You are too sweet! Thank you, Ashley!
This turned out wonderful, Liz! Great job! You are totally giving me inspiration to makeover our plug-in fireplace that is a dark cherry wood. I have been dreaming of painted in cream and distressing it for our master bedroom. After seeing yours, I think it will work!
xo,
Jennifer
Yes, go for it, Jennifer! I waited so long to paint ours, and I wish I would have tackled this project sooner! I bet that would look beautiful in your master. Thanks for stopping by!
Were you concerned at all with painting the fireplace due to the fact that it does get hot? I’ve thought about painting my fake fireplace but I have been nervous about safety. Am I over reacting?? LOL Thanks for your help!
You’re not overreacting at all! Always safety first. 🙂 I tested my fireplace to make sure any of the painted areas around the fireplace wouldn’t get too hot, and mine was okay. As long as it’s not touching right where the heat comes out, you should be okay! Have fun painting!
Wow!!! Liz, that looks fabulous. I totally love it. You are teaching me so much. Thank goodness I found your blog and Instagram.
Connie, I’m just tickled to hear that! I love sharing my journey to make my house feel like “home”, and it makes me so happy to be able to teach others what I’ve learned! Thanks for the love today! 🙂