
Hello there Love Grows Wild reader! Ashley from Cherished Bliss here again! I don’t know about you, but I am so ready for this winter to pass so I can get outside and paint, stain, and do outdoorsy things! I finally gave in and breathed in some fumes for this project down in the basement. Every girl has her breaking point right?! I’m so glad I did too, because I am in LOVE with my new vase : )

This is such a great way to bring character into a simple vase! Did I mention how cheap it is too? Wood shims are less than $2! So let’s dive right into make this! We will start with gathering up our supplies!
Supplies:
– Wood Shims
– Cylinder Vase
– Hot Glue Gun
– Twine
Optional:
– Paint
– Tutorial on how to get the weather wood look
– DIY Wood Stain
Tutorial:
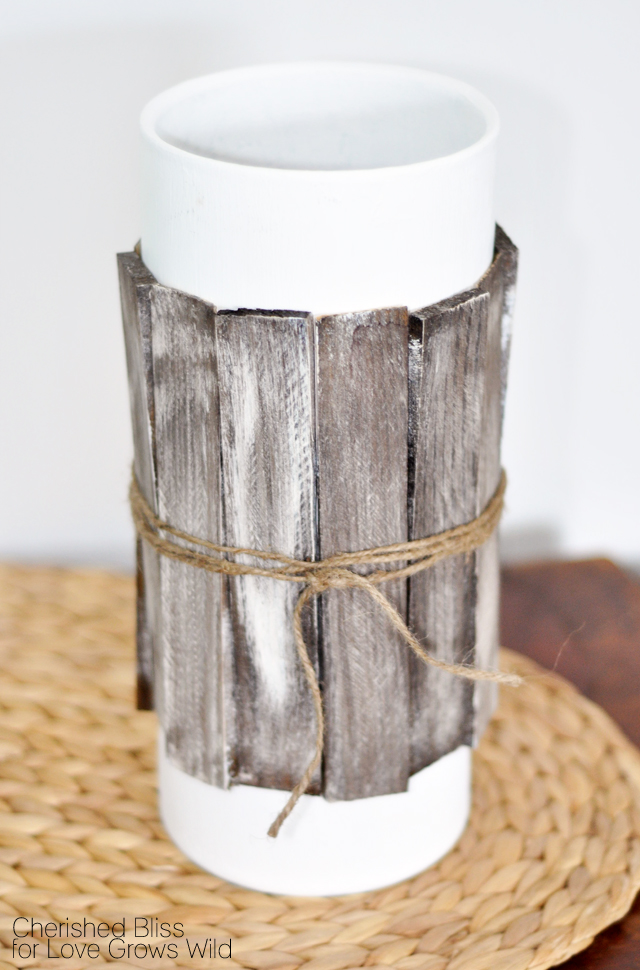
First, you will want to find the vase you want to use and you can paint it the color you want or leave it as is. Mine was an old black one I had and I chose to paint it white. You are going to want this to be a perfect cylinder though, or your wood shims won’t line up right. You’ll also want to figure out the sizing. My vase was about 12″ tall and I used 8″ wood shims. Just make sure you figure all that out before hand so you don’t have to make a second trip to the store! Unless you are like me and think it’s cool to forget everything you need and drive to the same store 3 times in one day ; )

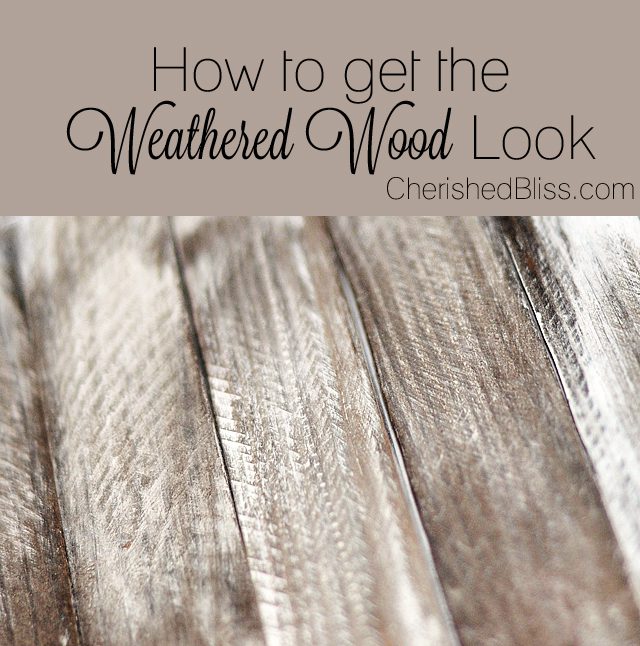
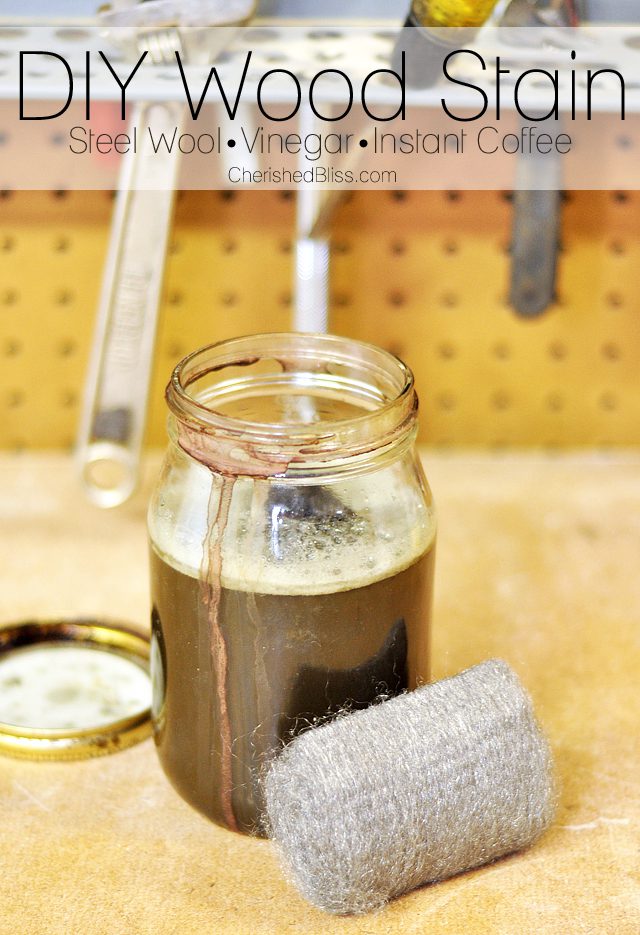
Once you have your vase ready to go, let’s mark the center. I used this as a guide when attaching my shims. Now you can either use your shims as they are right out of the package, or you can check out my tutorial on how to weather wood. It is how I finished these shims, and I LOVE the look it creates! I will be using it on a lot more pieces of wood to come! If you choose to weather your wood, you will also need to know how to make your very own DIY Wood Stain. AND I just happen to have a tutorial on that too ; )

Start in the front and get your first shim lined up. Then, using your hot glue gun, apply some thick strips of glue along the top, middle, and bottom of your shim and press firmly on your vase. Now repeat alternating the thick and thin edges of the shims. So the first one you want the thick side on top, then flip the next one and put the then side on the top. It gives it a great textured look!

Work all the way around. I had to space out my last two a little more than the others to make it fit right, but just make sure it’s in the back and you won’t even notice! Then once all your shims are glued on just tie some twine around the middle, and BAM, you are done! : )

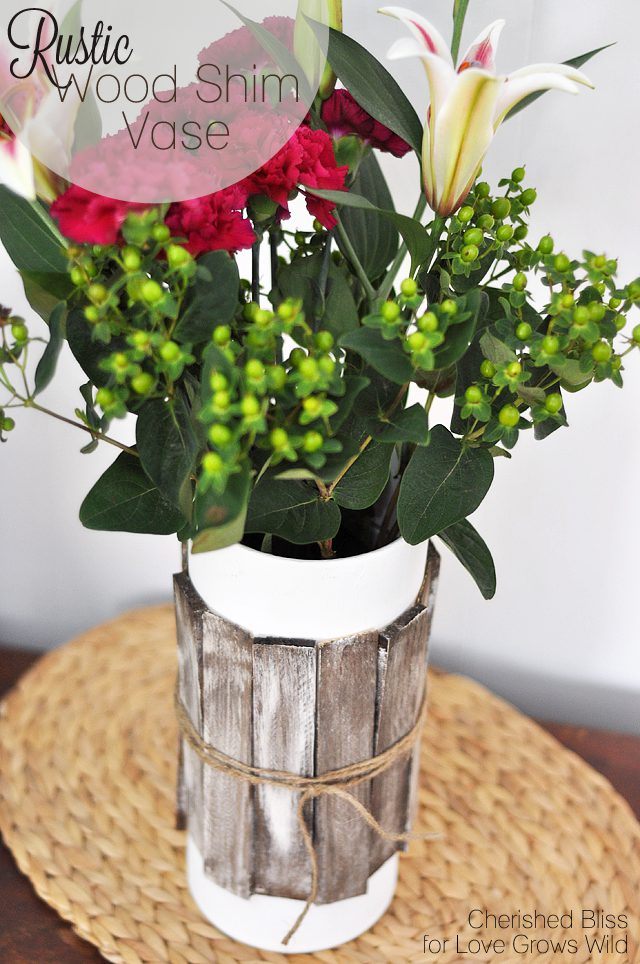
All that’s left is to add in some beautiful flowers so you can sit and stare at it all day while drinking a warm cup of coffee ; ) If I had my wedding to do over again, I would totally use these as the centerpieces! I’m not one to toot my own horn, but I am seriously loving these! : )


If you love this vase as much as I do, be sure and check out my tutorials on How to Weather Wood
and how to Make Your Own Wood Stain
Have a beautiful day!
More DIY decor projects:


I love the wood shim vase. It’s so unique yet beautiful. I laughed when you said that you went to the store 3 times. That sounds like me. No matter how hard I try to get all my supplies ahead of time, I always end up going back to the store for something I forgot. Thanks for the tutorial! Love it!!
Isn’t that how it always goes, Crystal? I can never get everything I need all in one trip! I’m so glad you enjoyed the tutorial, and thanks for stopping by!
The wood was a great touch…looks fantastic
I agree, Jen! Thanks so much for stopping by!
The wood adds a very classy touch. Definitely on my must-do list. Thanks for sharing! (Oh, and be happy you at least have a winter — we’re already burning up here in SoCal!)
The wood adds a beautiful touch, doesn’t it? I’m so glad you enjoyed this! And I’d take your SoCal weather ANY day!!:)
Love your shim vase, seems so simple, yet so cute!! I think I might have to try to make one. Thanks for sharing.
Visiting from http://www.thelifeofacraftcrazedmom.com
Thank you, Mellisa! I love simple, easy projects like this too. Glad you could stop by!
I love the simplicity of your wood shim vase. It has much better visual appeal than the plain white!
I agree, the weathered wood is the perfect little detail! Thanks for stopping by, Delia!
I loved your Tip Me Tuesday link this week. {thanks girl!} Would you like Tip Junkie to feature your blog post to over 200,000 creative women? If you upload this blog post into your Tip Junkie craft room using at least 2 images, 2 steps, and blog post URL then I can easily feature it in my RSS feed, home page, and all my social networks instantly. {squealing with delight} ~ Laurie {a.k.a. the Tip Junkie}
http://www.tipjunkie.com/post/how-to-add-a-craft-room-project-on-tip-junkie/