
Ruffles… texture… coffee… cheap, beautiful, easy DIY home decor…
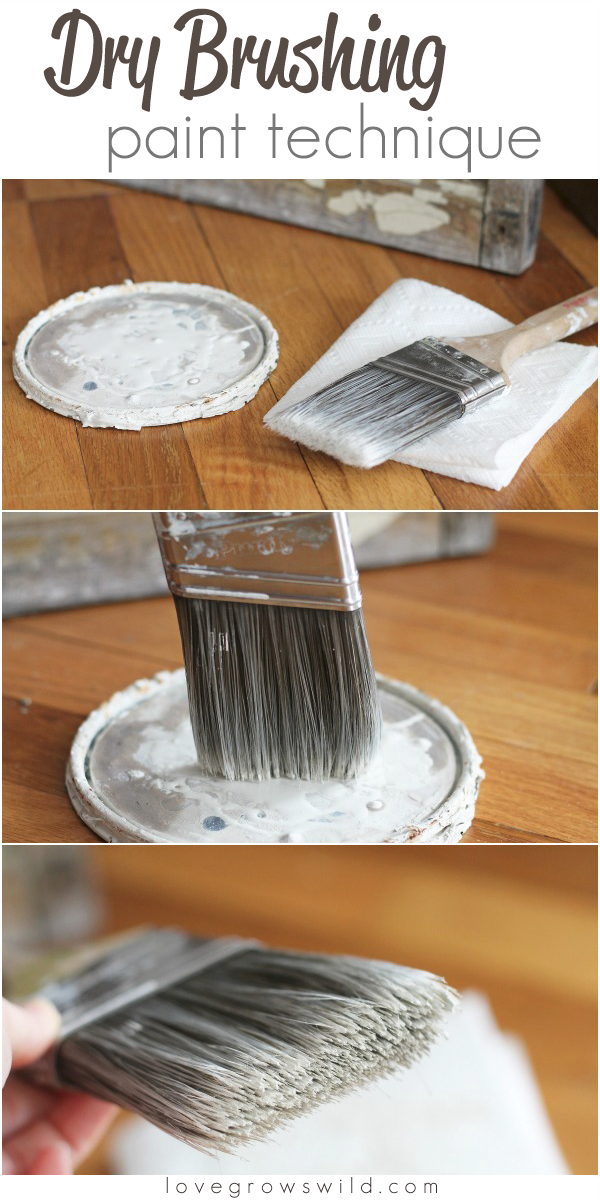
If you like any or all of the above things, you are going to love today’s post! If you remember a week or two ago, I shared an awesome-sauce dry brushing paint technique that I used on an old, antique window. If not, you should definitely go check it out! It’s okay, I’ll wait here. 🙂
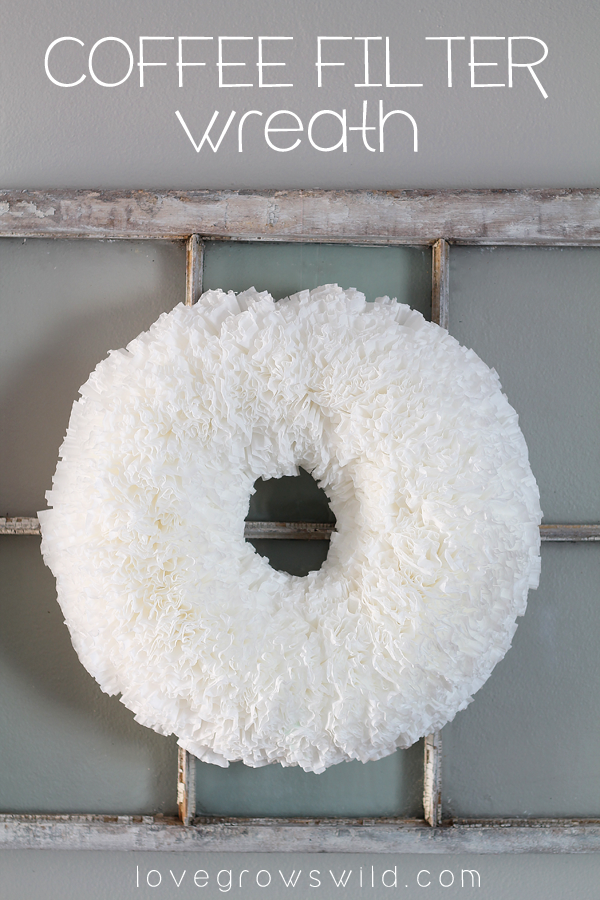
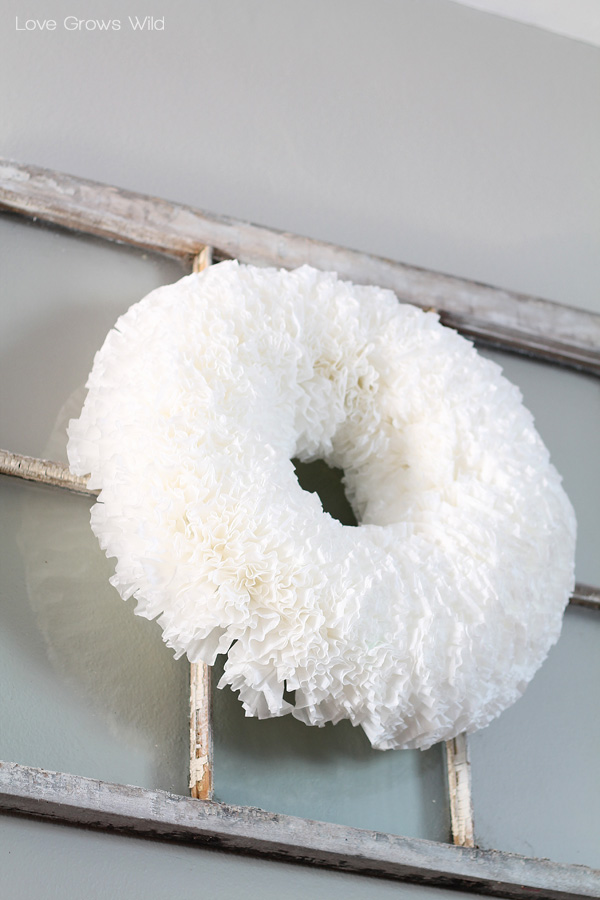
I only gave a little tease of the window all finished, because I wanted to reveal it fully decorated in all it’s gorgeous, vintage glory, and I’m so excited to share it with you today! From the second I picked up that window from the antique store, I knew I wanted to make a big, ruffled coffee filter wreath to hang over it, and if you have never made one before, I know you’re going to absolutely love this tutorial!

So let’s dive right in and start with the supplies. It really doesn’t get much cheaper than this, folks…
Supplies:
- coffee filters (I used 2 packages)
- foam wreath form (Mine was 12″)
- hot glue gun and glue sticks
- pen

So this is probably the simplest thing I’ve made all year, which is probably why I love it so much! Heat up the ol’ glue gun and have plenty of glue sticks on hand… you’re going to need them!
Here’s how easy this project is:
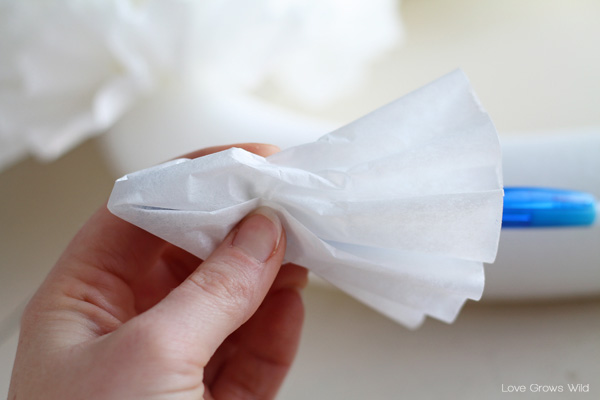
Wrap a coffee filter around the tip of a pen and add a dab of hot glue to the tip.
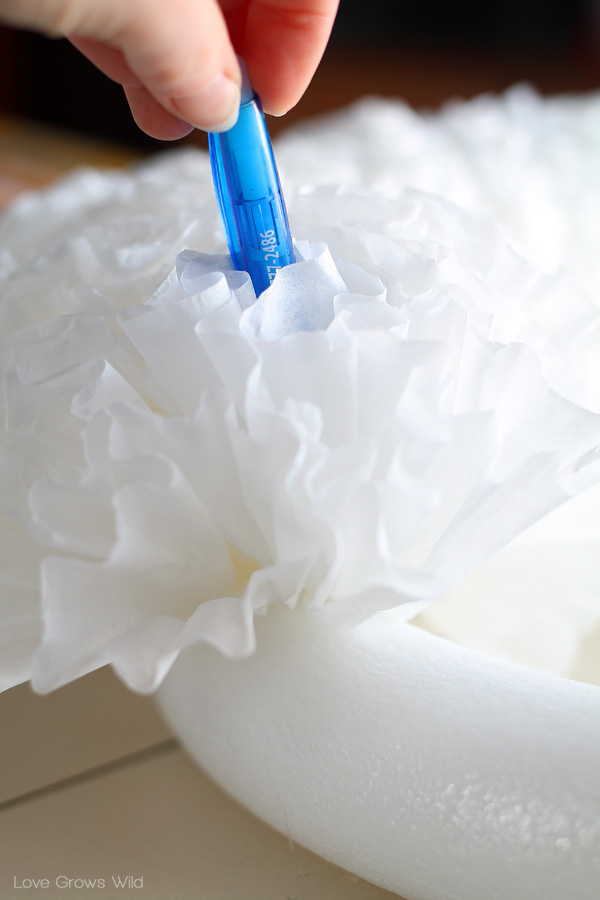
Then stick the tip of your pen into the foam wreath and pull out, leaving the coffee filter glued inside the wreath. That’s it!
I started in the center and worked my way around, keeping the coffee filters pretty close together. I used almost 2 packages of filters for my 12″ wreath, which made it really full and beautiful.
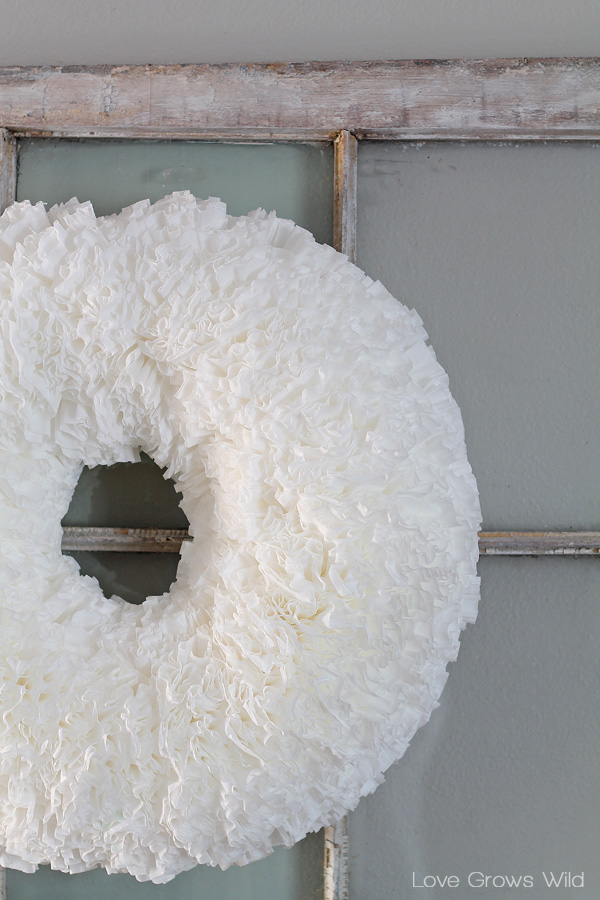
Once I had the entire front of the wreath covered in filters (the back will lay against the wall), I trimmed any uneven edges with scissors and hung it over the window with fishing wire. My poor husband wonders why his spool of fishing wire is always missing from the tackle box, but it is just so darn handy for hanging things like this “invisibly”. You can’t even see it!
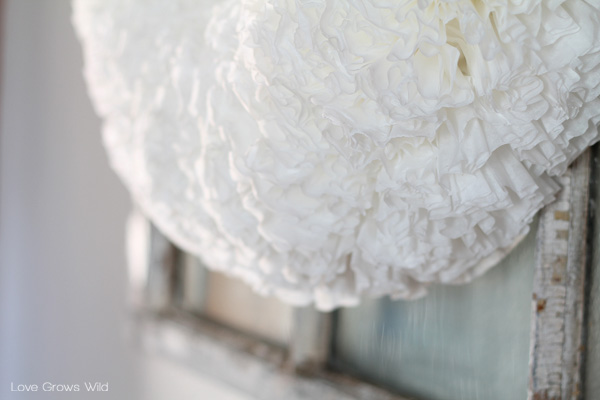
The texture and softness this wreath adds to our living room is incredible, and I absolutely love it against the rustic, chipped paint window frame. When my husband walked in the door and saw the wreath for the first time, his response was, “A little girly, ain’t it?”
Why yes… yes it is. I’m entitled to have a tiny bit of girly-ness in this house full of boys! Am I right?
Ruffles for days…
We hung the window frame and wreath on a wall in our living room between two big windows. We’re so lucky to have lots of big, beautiful windows in this house, and I love all the sunlight we get! Remember my fabric-covered roller shades complete with a handmade tassel from awhile back… they’re still there, and I still love ’em!
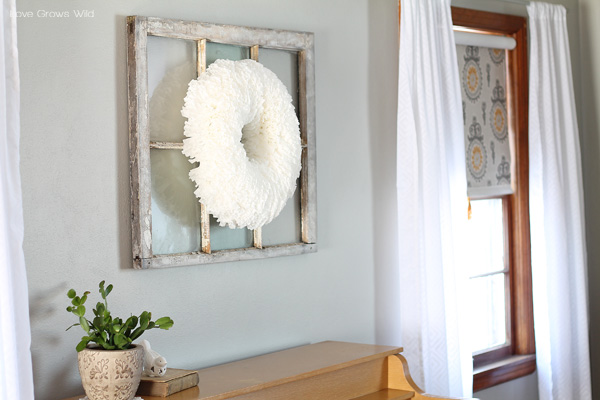
Want to know one of my least favorite parts of this old farm house? Baseboard heaters. I loathe them. They always get in the way. As you can see from the photo below, our piano isn’t able to sit centered between the two windows because of the heater on the right, but we decided to go ahead and center the window frame anyway. I have a few decorating ideas in mind to make it all balanced and cohesive… stay tuned for more on that!
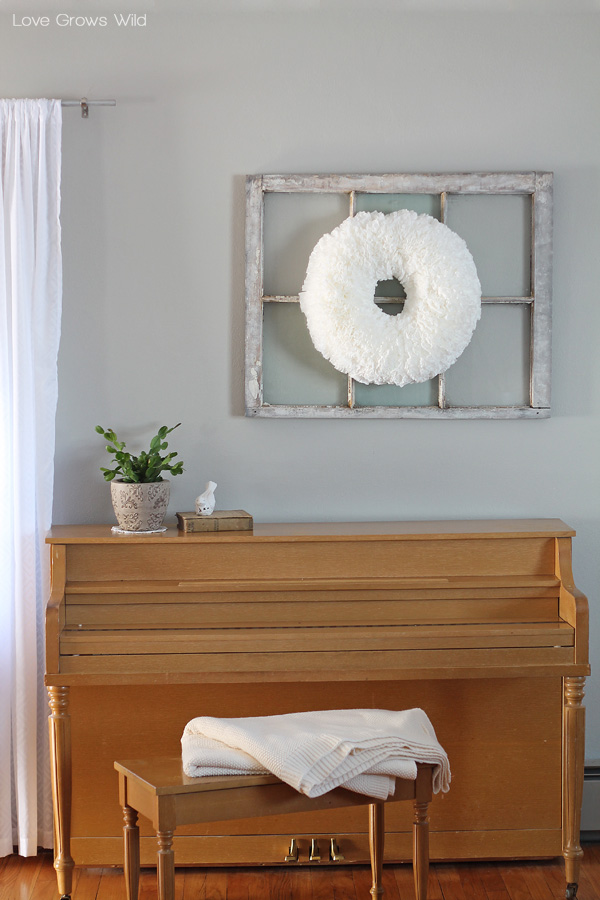
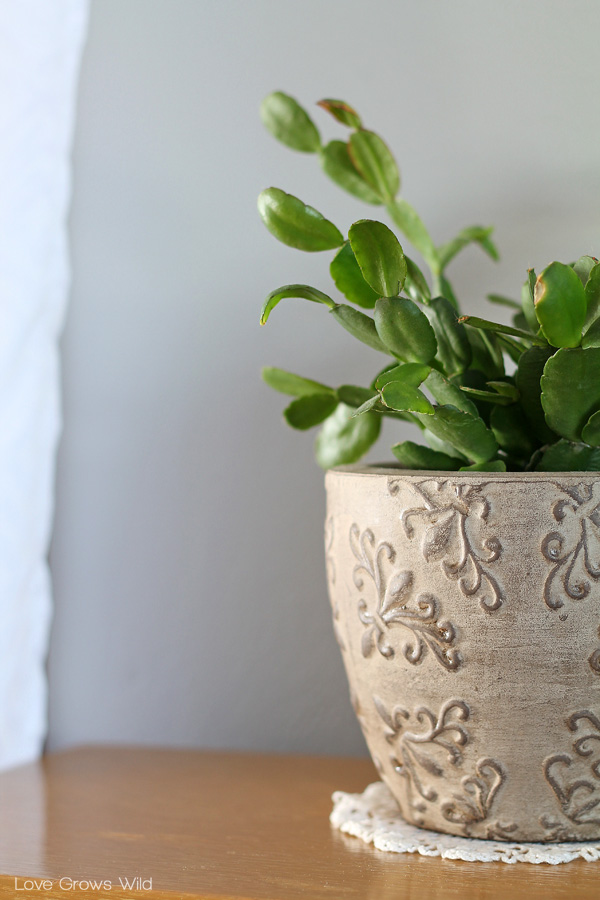
But for now, this pretty spring cactus my Mom gave me last Easter sits on the piano, along with a few vintage books. It’s a freaking miracle I haven’t killed this thing yet, so I thought it deserved a bit of face time on the old blog.
Now I know I’m not the first person to do a coffee filter wreath tutorial, and I’m sure I won’t be the last, but this gorgeous, ruffled wreath has become one of my absolute favorite things in my home, and I just had to document it and share with you! I’m willing to bet it will be one of the easiest, most inexpensive projects you’ve ever done, and I have a feeling you’re going to love it as much as I do!
Like what you see? Subscribe to Love Grows Wild so you’ll never miss a post!
Follow along on Pinterest, Google+, Instagram, and Facebook for more fun!
More DIY home decor projects:
Let’s Keep in Touch!
Subscribe to Blog | Browse my Shop | Follow on Facebook | Follow on Twitter
Follow on Google+ | Follow on Pinterest | Follow on Instagram

Love it Liz! I have been wanting to make an “everyday” wreath for when it’s not a holiday to put above my piano! I might have to do something like this! : )
I just love your beautiful piano! Sometimes I get tired of re-decorating for each season, so I love year-round decor like this. And white goes with anything!
I just thought maybe we could take food coloring or water colors and dip them in the edges of the coffee filters and make it more colorful?
I had a similar thought, but using a spray bottle with water and food colouring to VERY LIGHTLY mist the coffee filters, and then letting them dry, prior to making the wreath. 🙂
That sounds like a great idea. 😃😃
So pretty! I get that ‘girly’ comment too. Its me by my lonesome againt 4, so any bit of pretty i can get is important! Gonna hang my ginormous dropcloth curtain today and get rid of the broken plastic verticals. Yay! (Even though technically I am home with a sickie today…)
You know exactly how I feel then! I bet your drop cloth curtains are going to be gorgeous!
Cheap, check, simple, check, fabulous… check check! Love this Liz, and the old wooden window frame you put it over. So beautiful. You always make things look so easy! 🙂
You are such a doll! Thank you, Krista! I just love that old window and kind of want one in every room now… lol!
Great job! Thank you! I’m going to make one. Then add fairy lights and some berries for the holidays. Love ur old window too.
The wreath is gorgeous. I love how simple it was to make and how full and puffy it is. I actually like that you had to hang the window off center of the piano and think it looks great as is. Having said that, I’m looking forward to seeing what you come up with to get the balanced and cohesive look you want. (A big treble clef???)
Thank you, Paula! A treble clef would be very cute sitting up on the piano!
I’ve been wanting to make one of these forever, Liz…I think you may have just convinced me! Yours is beautiful, and I never realized it was so easy. But I do have a question for you…how in the heck do you avoid all of the glue strings when you work with a hot glue gun? Or does that just happen to me? 🙂
Nope, that doesn’t just happen to you! Glue strings all over the place comes with the territory. I usually just wait until I’m all finished and pull them, but I’ve also heard to use your hair dryer on hot glue projects for a few seconds until all the little strings melt away. I thought that was pretty genius!
This is STUNNING! I can’t wait to make one. Thank you so much for the tutorial!
I’m so glad you love it, Tasha! I really think you’ll love having one in your home as well! Thanks for stopping by!
I love it – your stuff is “simply” gorgeous!
You are too sweet! Thank you so much, Andrea! 🙂
This is beautiful, Liz! This will be perfect for my daughter’s Frozen birthday party. And then I can use it for Christmas too. I made one line this a few years ago out of felt and it is my absolute favorite wreath. I’m excited to see how the coffee filter version is going to look!
Thank you so much, Kelly! Every little girl’s dream… a Frozen birthday party! Have fun crafting, and I hope you love it as much as I love mine!
They look so beautiful but I am afraid it would be hard to store.
Hi Diane! I have a few hooks in one of my closets that I like to store my wreaths on. But I honestly haven’t taken this wreath down since I made it! I love the texture it gives to my living room.
I have a question. Did you have any problem finding the white wreaths that you use? I really wanted to make one of your wreaths but no one around here carries the white ones. I have been to Michaels and Hobby Lobby and they only have them in green. But when I checked on line, they are much more expensive when shipping is added in. Just wondered where you found yours.
Hey Terry! That’s a great question. I believe I purchased mine at Hobby Lobby, and I know that at our store, the green foam is found in the floral department, but the white foam wreaths are in a totally different section in the back of the store. Maybe they were just hiding in another part of your store too? If you didn’t already, I’d try checking with an employee there to help you find them… I couldn’t imagine they wouldn’t carry them! If you’re still having trouble, let me know!
Absolutely LOVE this idea. Thinking it would look GREAT in our bedroom. Do you think you could put a light coat of spray paint over it to add a little color to the tips? Just to give it a varagated look. Thanks!!!
That’s a great idea, Linda! I’d just be sure to do a very light spray at first to make sure you don’t saturate it too much. It’s easy to add paint, but not so easy to take it away. 🙂 I’d love to hear how this turns out!
I made the same wreath using pins. For my next one I’m going to try your way of using a pen and hot glue.
The wreath looks great on that window. Have you ever tried hanging the window the long way and putting a lift under your flowerpot? (Or using something taller on that side). Love the look!
Do you start in the middle circle or outside first?
Hey Nalisa! I started adding the filters right on top of the circle (the middle, I guess) and filled the inner and outer sides after. I honestly think you could start just about anywhere though!
find a tall ceramic cylinder vase maybe 22″ at least. Set it beside the piano in front of the baseboard heater an fill with curly willow. Curly willow cures all wall imperfections
Love it, love it, love it. Adding a little this in that to it for our wonderfully White Christmas….now if only we got a bit of snow?
As for your piano/heater problem, idk about that but i know those ugly abominations can be covered (the heater, obviously not the piano) and rather beautifully if you are any good with a few larger power tools. Idk yet, because this is my first (but not my last)time to your page.
The best direction Ican send you on the fly and in a hurry is none other than Nicole Curtis (Rehab Addict) with some 2×4’s and some metal mesh (Hobby Lobby has some beautiful sheets decently priced) you can build a beautiful cover for the thorn in your side that allows it to function without being so awful. Built the right way it should ever be sturdy enough to sit on when coming in from the cold. That’s my unsolicited two cents. Thanks for your Wreath DIY.
Love the advice, Kristin! Thank you, friend!!
I love your wreath idea. But for the health and tuning of your piano, it should never be on a window wall and never beside the heater. Too much variation in temperature. Check with your piano tuner on this. Sandy