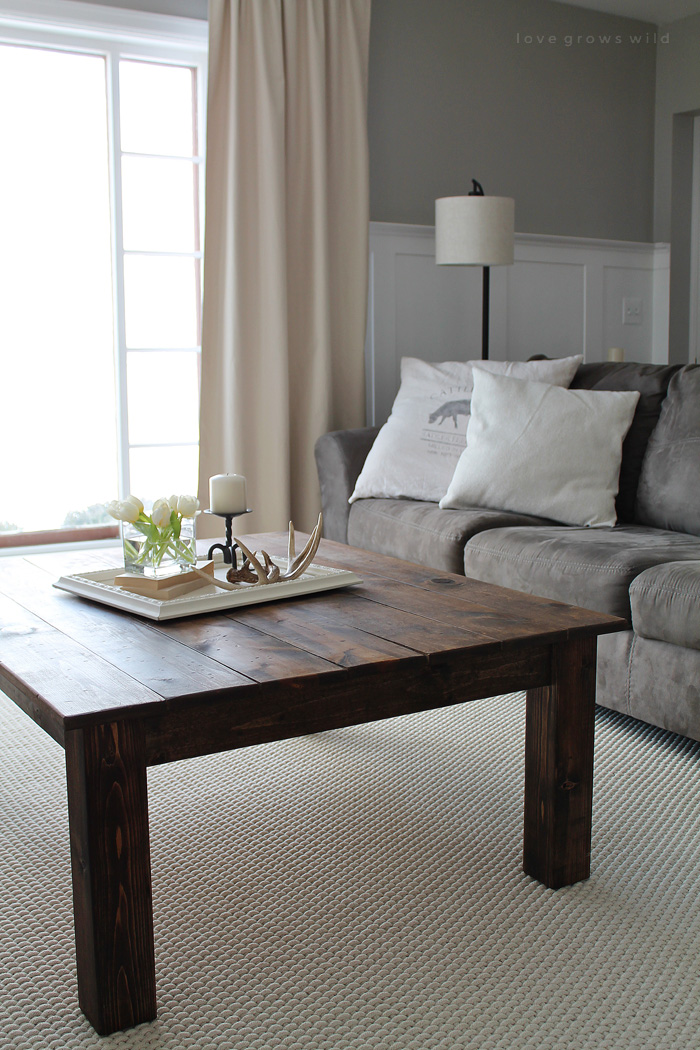
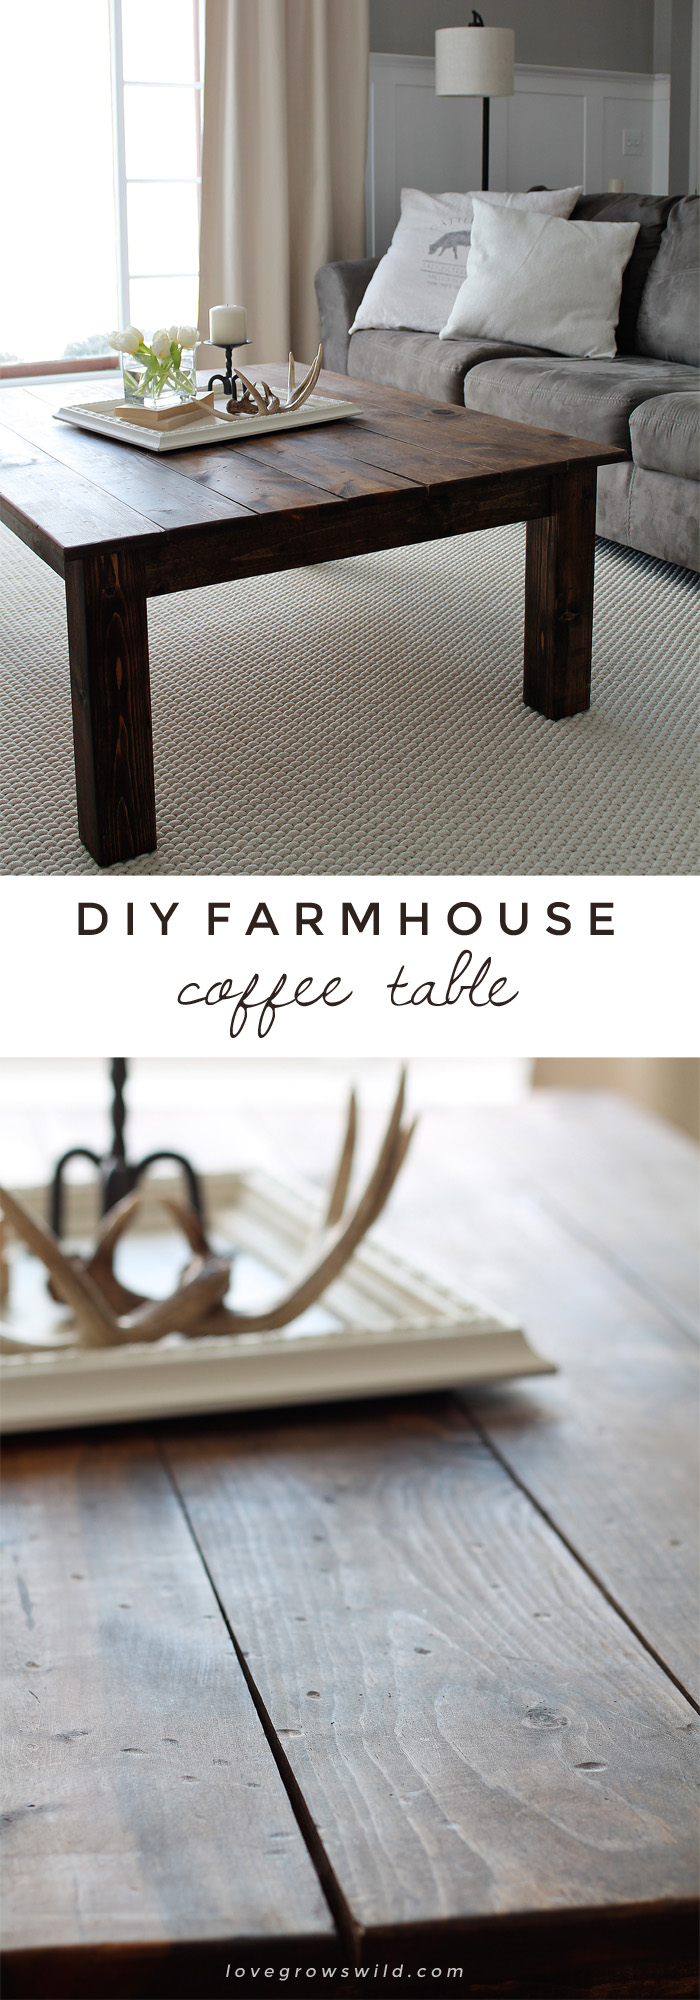
Last week I showed you the big reveal of our living room makeover progress, and this week I’m sharing one of the most-requested tutorials from that post… our DIY Farmhouse Coffee Table!
When I started planning this makeover, I knew I wanted to get rid of the glass coffee table I had and go with something more rustic and cozy… something with beautiful wood grain that looks like it’s been in an old farmhouse somewhere for ages. So rather than searching every single antique store in town or buying something off the shelf at a big box store, I gathered up my tools, picked up some lumber, and made myself a new coffee table!
I’ve gained a lot more confidence in my woodworking capabilities over the last year, so I wanted to tackle this project solo (a.k.a. without the assistance or supervision of Jeremy), and I was actually really surprised at how easy and fast this table came together. I was able to shop for my supplies, make my cuts, and build the table all within just a few hours. Not bad for a little afternoon project!
I’ve been wanting an excuse to buy a Kreg Jig for probably a year now, and with a long DIY to-do list of building tables, benches, and more for our living and dining room, I decided now was a good time to make the purchase. This project is in no way sponsored by Kreg Jig, but I was so impressed with how much easier this tool made my life, I just had to share it with you guys! This tutorial (and probably most builds from here on out) will be shown using the Kreg Jig, so if you enjoy building things for your home, I highly recommend getting yourself one! You can purchase the kit I have here: Kreg Jig K4 Pocket Hole System.
The plan I’m using is a modified version of a table from Shabby Creek Cottage, and mine came out to be a whopping 46 1/2″ x 38 1/2″. It’s big, beautiful, and a perfect fit for our space, but if you don’t need a massive table like this one, you can either: make adjustments to these plans OR check out Gina’s table, which is quite a bit smaller. Okay, let’s build!
Supplies needed:
4 – 4×4 cut to 18″ long (legs)
2 – 1×4 cut to 37″ long (long apron)
2 – 1×4 cut to 29″ long (short apron)
3 – 1×4 cut to 32 3/4″ long (supports – *cut these to fit, see note below)
7 – 1×6 cut to 46 1/2″ long (top)
scrap piece of 1×4 (for a spacer around the apron of the table)
miter saw
Kreg Jig
tape measure
drill
2″ Kreg Jig screws
1 1/4″ Kreg Jig screws
palm sander
stain or paint of choice (I used Minwax dark walnut and Annie Sloan dark wax)
Instructions:
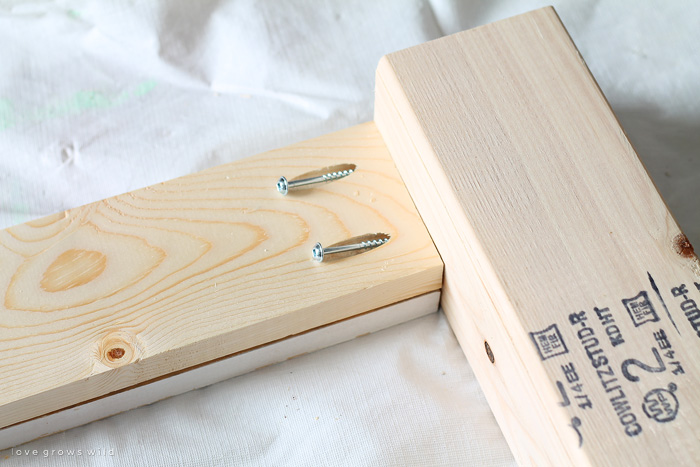
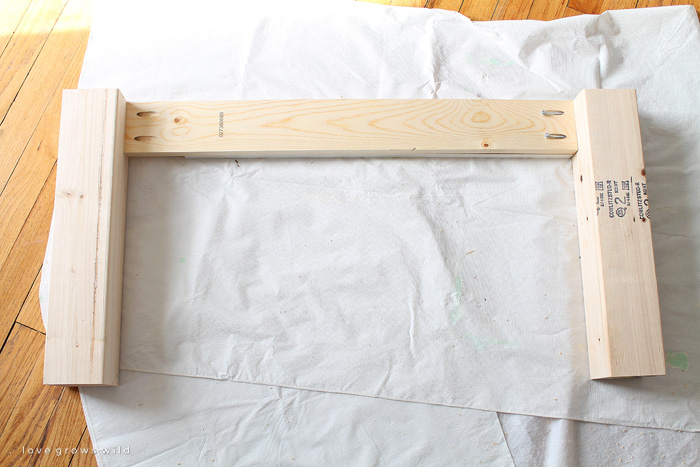
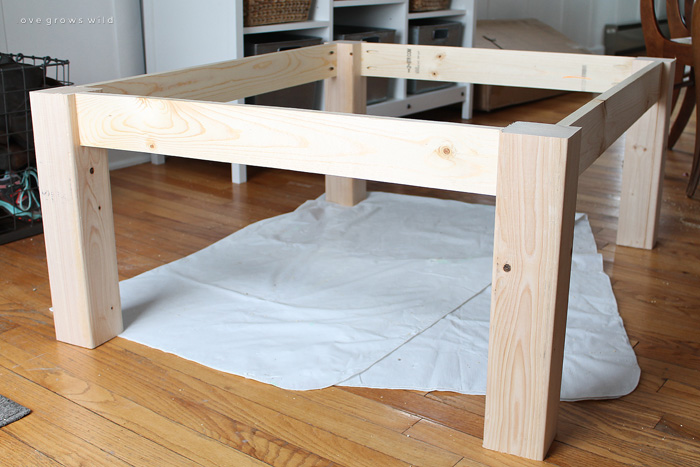
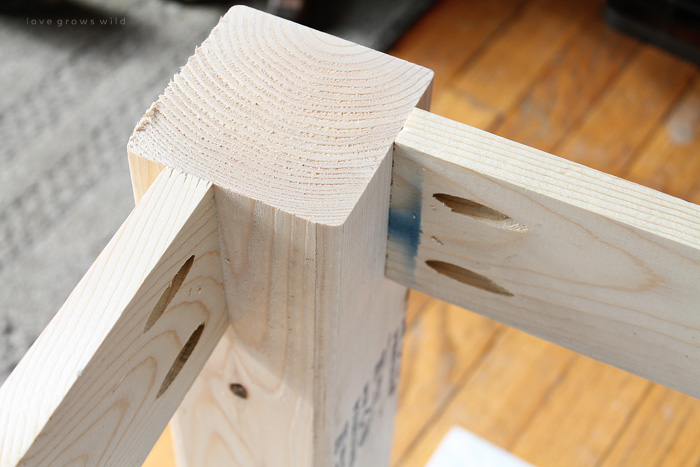
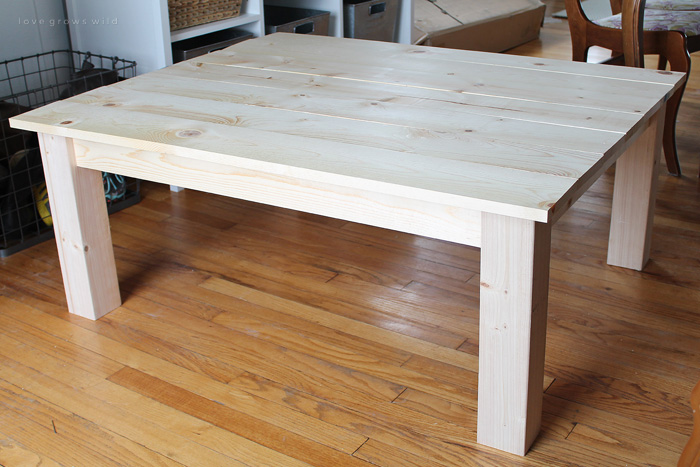
Start by attaching the apron flush with the top of the 4×4 legs. Drill 2 pocket holes on each end of the apron boards and use 2″ Kreg Jig screws to attach them to the legs. Set a scrap piece of 1×4 underneath the apron to create an inset.
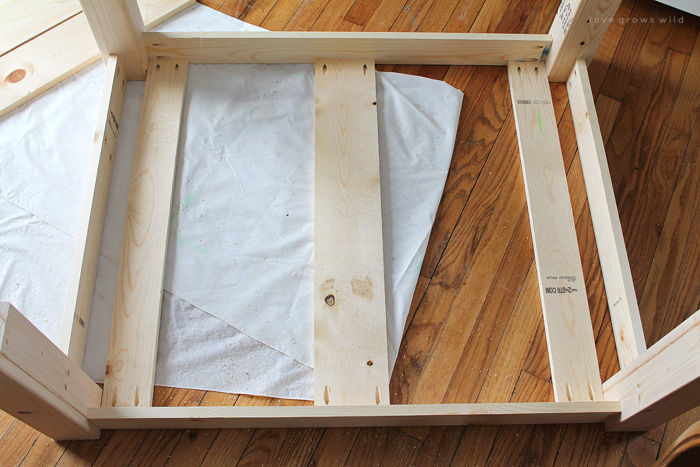
* Once the long and short aprons are attached to the legs, add the supports. I recommend waiting until you are at this step to cut the supports for an exact measurement. Use two pocket holes on each end of the support boards and 1 1/4″ Kreg Jig screws to secure them flush with the apron.
You’ll notice that I used a 1×6 in the middle, instead of a 1×4. I ran out of 1×4’s and had a scrap piece of 1×6 handy, so I just used that for the middle support.
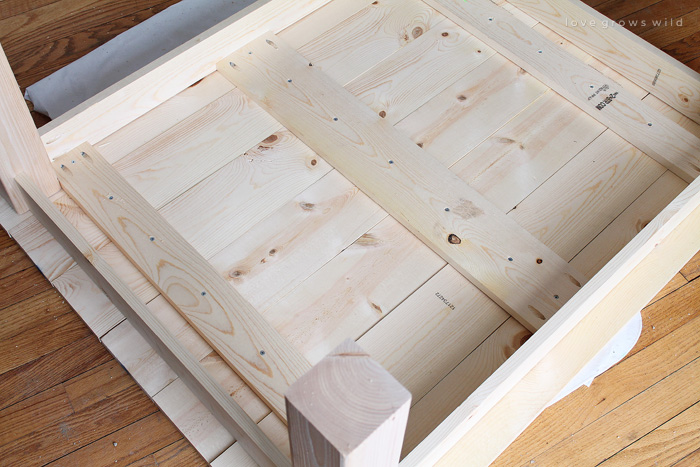
Now it’s time to attach the top of the table. Line up the 1×6 boards and place the frame you built upside down and centered on the boards. Drill 1 1/4″ screws through the supports into each board to secure them to the table. I used regular wood screws for this step originally, but the heads were sinking into the supports and not pulling the top boards down tight like I wanted. So I swapped them out for the Kreg Jig screws, which have washer heads, and they worked like a charm. If you’re having trouble getting those top boards secured tight, I’d try switching to the Kreg Jig screws!
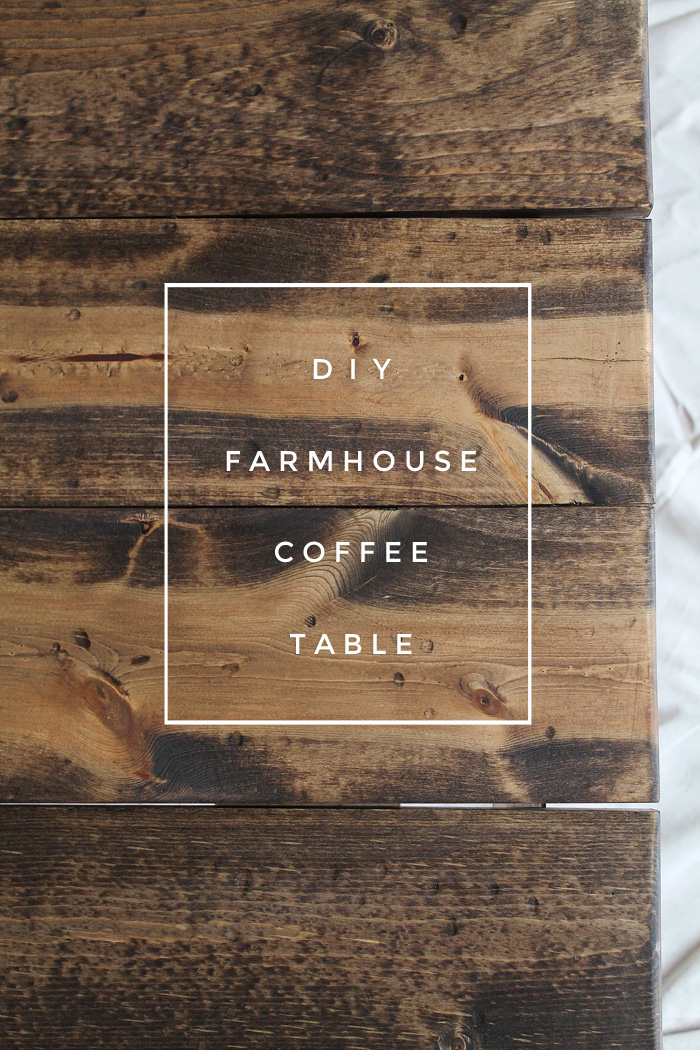
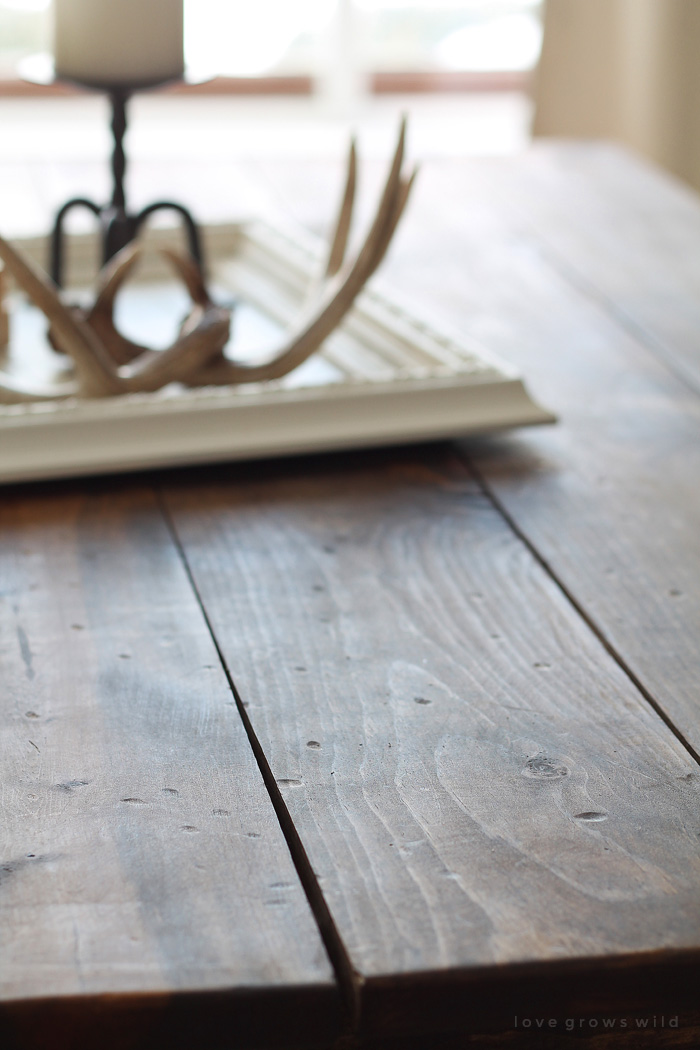
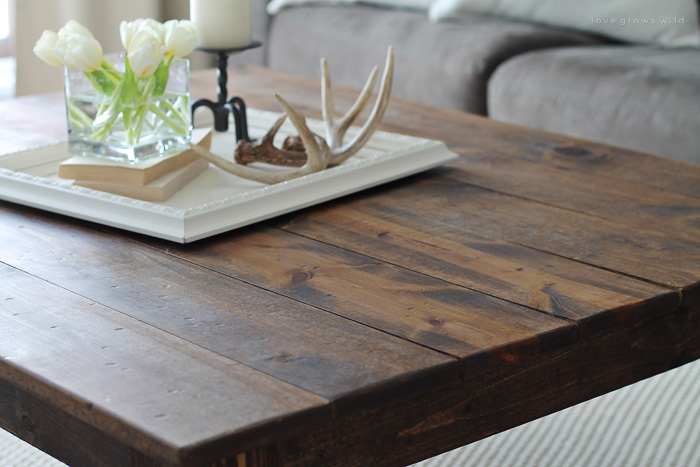
To finish the table, I sanded the whole thing down and rounded all the edges to make the table look old and timeworn. The wood looked a little too “fresh” and perfect, so I used some rocks to beat the table up a bit, making marks and indents all over the top and the legs.
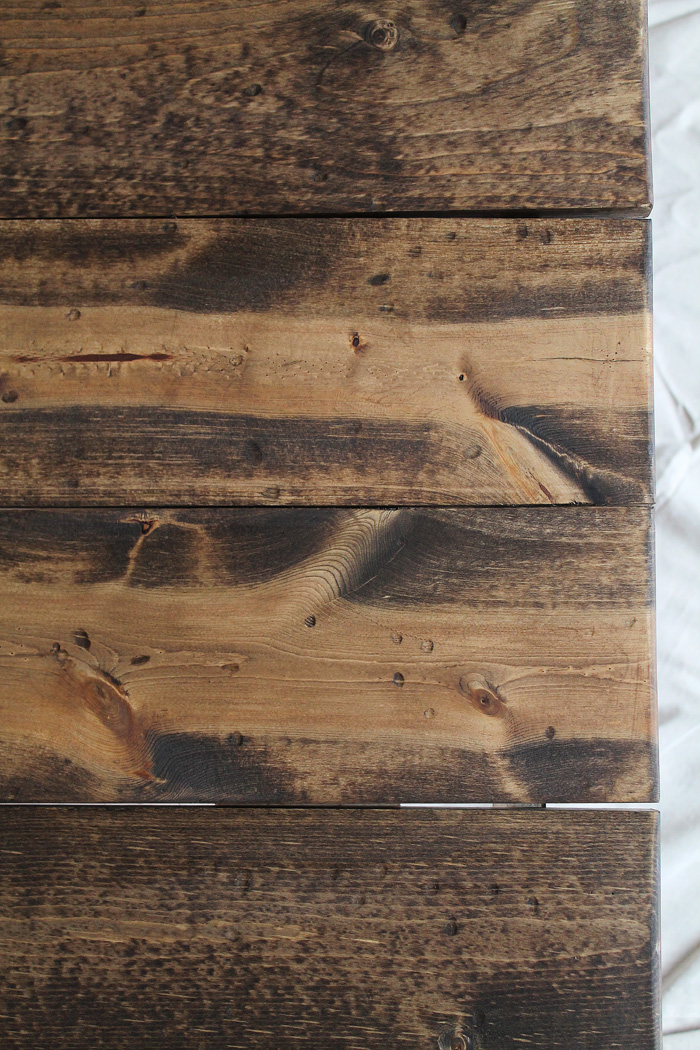
I stained the table with Minwax Dark Walnut and sealed it with Annie Sloan dark wax. The stain pulls out the different wood grain in each board and highlights the distressed marks we added.
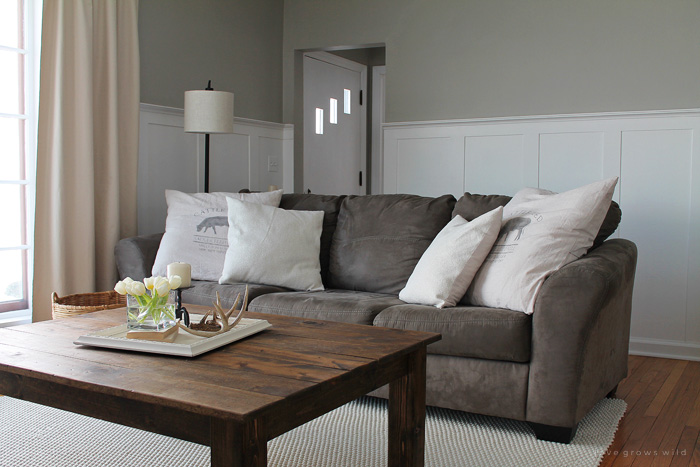
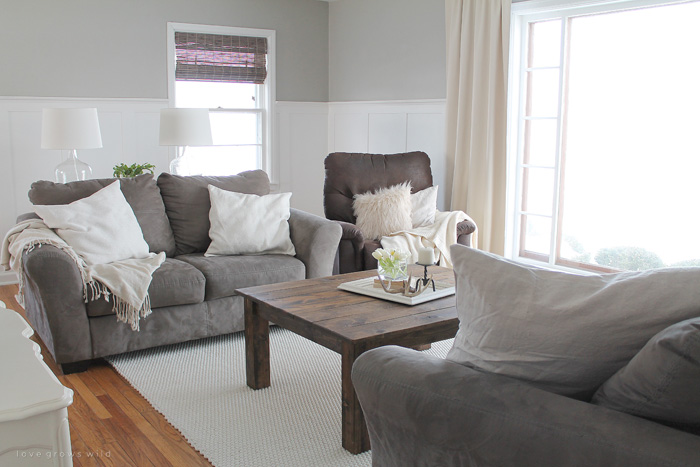
I love how the new table warms up the room, balancing the cool gray and white on the walls. It’s the perfect spot for having a coffee date with friends, playing a board game with the kids, or building a fort out of pillow and blankets… the boys have had a blast doing this lately!
I’m so pleased with how this build turned out, and it definitely inspired me to build some more furniture for our living room/dining room…
Spoiler Alert! There’s going to be a matching farmhouse table and benches in our dining room! Eek! Stay tuned. 🙂
TELL ME WHAT YOU THINK! Leave me a comment below and share your thoughts on the new table and if you’d like to see more build plans like this on the blog. I can’t wait to hear your feedback!
Are you making this project? I’d LOVE to see it! Post a photo of your creation on Instagram and use the hashtag #MyLGWProject. It may just get featured!
Like what you see? Subscribe to Love Grows Wild so you’ll never miss a post!
Follow along on Pinterest, Google+, Instagram, and Facebook for more fun!
Check out more posts from our living room makeover!
The Beginning of our Farmhouse Living Room Makeover
Our Living Room “Before” Video Tour
LET’S KEEP IN TOUCH!
Subscribe to Blog | Browse my Shop | Follow on Facebook | Follow on Twitter
Follow on Google+ | Follow on Pinterest | Follow on Instagram
– There are affiliate links within this post that I am able to earn a commission from. Thank you for helping support this blog!




You did a great job on the table. Love the stain you used. You give me hope. If you can shop for the supplies, make the cuts and put it together; I am sure I can too.
Beautiful, Liz! I love the look. I want to build a farmhouse dining table too…eventually 🙂
The table looks beautiful! You did a great job! I would love to see more building plans on your blog:) I’m definitely going to give this one a try! Thanks for sharing!
This really makes me want to get a Kreg Jig now!!! I love the way this table turned out! Great job
It is absolutely stunning!
Pinning and hoping you will share your table with our Thursday Link Up Party- Idea box:
http://milaslittlethings.com/2015/03/idea-box-thursday-link-party.html
xx
Mila
milaslittlethings.com
I have enjoyed all things Wild on your blog. Thank you for detailed tutorial and the encouragement. more building mote lovely photos Blessings, Ann
That table is absolutely gorgeous! It really inspires me to try it for myself!
I wish I needed a table, I would SO make this; it’s just beautiful!
This a beautiful table…what do you think about putting in pockets wholes into the top…so all the boards come together perfectly….You did an awesome Job…I will be doing a version of this soon!
Thank you so much, Fawn!! I think using pocket holes to connect the top boards is a fantastic idea, and we actually did that with the bigger dining room table we did a few weeks ago. For our coffee table, I kind of liked the look of small gaps in between each board… gives it a more rustic look I think! 🙂 Have fun building your table… I’d love to see it! Tag me on Instagram!
I love this simple yet chic table! I want to make one that is about 60 in long. Do you suggest any more reinforcements?
Thank you!! If you want to add one more support board underneath the table, that should do the trick. Have fun building your new table! 🙂
Could one use polyurethane to seal the table instead of the wax? Just curious. Is the wax better? Love the table. Just gorgeous. Going to try this now.
Hi Gen! Yes, you could definitely use poly. I just prefer the more soft, natural look the wax gives. Poly is probably slightly more durable than the wax, but I usually stick with wax for stained wood pieces and go for poly when I use paint. Hope this helps!
Hey just curious what type of wood you used. It is hard to find untreated 4x4s!
Hey James! I used basic white wood 4×4’s from the hardware store. I hope this helps!
Have you come up with any ideas for adding drawers or storage space below it?
That is a great question, Michael! I think the best solution would be to make or buy some wood crates and add wheels to the bottom so you could tuck them underneath the coffee table and pull them out easily when needed. I just might have to do that in my living room now that you mention it! 🙂 I hope this helps!
I love that idea too!
How much did this project cost? Is there a link to the smaller table?
Here’s the link to the smaller table I mentioned: http://www.theshabbycreekcottage.com/2014/04/easy-diy-coffee-table.html
Love this table!! Really considering making one for my own living room. About how much did this project cost you? (Not including the kreg jig!) 🙂
Hey Hallie! Probably less than $30-$40 in lumber, and I had just about everything else on hand already. This makes a pretty big table, so a smaller one would cost even less!
Do you think screwing the table top boards in place will allow for enough wood movement over time?
Hey Jeremy! Yes, I haven’t had any problems with mine so far. If the table was going to be outside, the wood would move more, but indoors you shouldn’t have a problem!
I love that table! I think it’s the double layer of wood at the end that does it for me. The nails are amazing and it’s going to be awesome in your breezeway. Will the breezeway be completely closed in? Or is it partially outside? (I don’t really know what a breezeway is, obviously.)
I collect things from the street certainly has given me some fresh ideas about recycling !
Hi Liz,
I’m currently working on a dining room table with this color in mind (I also plan on a coffee table soon). I’ve been testing out stain colors and dark walnut is currently in the lead. I love the way this coffee table turned out in color. How many coats of stain did you use? Also, did the dark wax make a big difference in color? I was planning on using a satin poly for sealant (mostly because it’s what is most convenient and what I’m accustomed to), but I’m interested in the dark wax after seeing this post. Any recommendations you have are much appreciated.
Hi Alex! I usually only do one coat of stain for darker colors like Dark Walnut. The dark wax doesn’t make a huge difference in the color since the stain is already pretty dark, but I like using wax on furniture to give it more of a natural finish versus a poly. For pieces that get used and abused heavily (like our dining room table) I use a matte finish poly, but for the coffee table wax worked just fine. I hope this helps!
Well I did it! I am not handy at all but my brother in law has the tools so I gave your table a whirl. I completed it in one weekend. It looks great sitting in our living room!
My husband and I did a modified version of this table. Ours was 3ftx3ft with English Chestnut stain. http://imgur.com/EF6LMAs
A very beautiful coffee table and exceptional craftsmanship. If I am to be honest I hardly think I would be able to finalize such a craft. You have my admiration dear, huge congratulations !
Great job. I love coffee tables but the way my living room is set up I can’t have one…takes up to much room. But I would not mind having one that nice.
Approximately how much did it cost you to make this? I love it! I’ve been looking for this since we moved into our home two years ago!
Hey Amanda! I built it so long ago that I can’t quite remember how much the lumber cost… not much though! It’s a great inexpensive, easy build!
Hi Liz,
you did a really great job, the table looks antique but super cool. Thanks for taking all the photos while doing the woodworking photos i will ask my man if he can make one for our house. Thank you!
A great build. I have just built my own coffee table, there’s something so satisfying about making your own rather than buying one isn’t there?
Hi Liz,
I stumbled on your project while looking for a good coffee table plan. Your table was perfect, and easy to re-scale to the specific size I wanted which was 33″ square.
I edge glued clear pine and used a router to round over the perimeter edges. Beveled the bottom inch of all sides of each leg which gives it a nice look. Stained it dark also.
Great job on yours and thanks for the inspiration, I had been looking for a reason to buy a pocket screw jig.
Hi Liz,
Thanks for sharing this project! I recently purchased a Kreg Jig and had a lot of fun building my first apron for a 300 year old door. I enjoyed learning how to use it and thinking about my next project !