
Earlier this summer I shared my big news of the latest project I’m working on, The Armstrong House. In a nutshell, a friend of mine bought a little house to renovate and rent out, and he asked me to help him with the design aspects. I saw so much potential in the place that I immediately showed it to my Momma, who decided she wanted to rent it before we even started any of the renovations! She must have an awful lot of faith in us because the current state of the house was pretty scary! You can go back and read this blog post to catch up on before photos and the first phase of renovations. And today I’m so excited to bring you a brand new update on phase 2 of what we’ve been up to at the Armstrong Project!

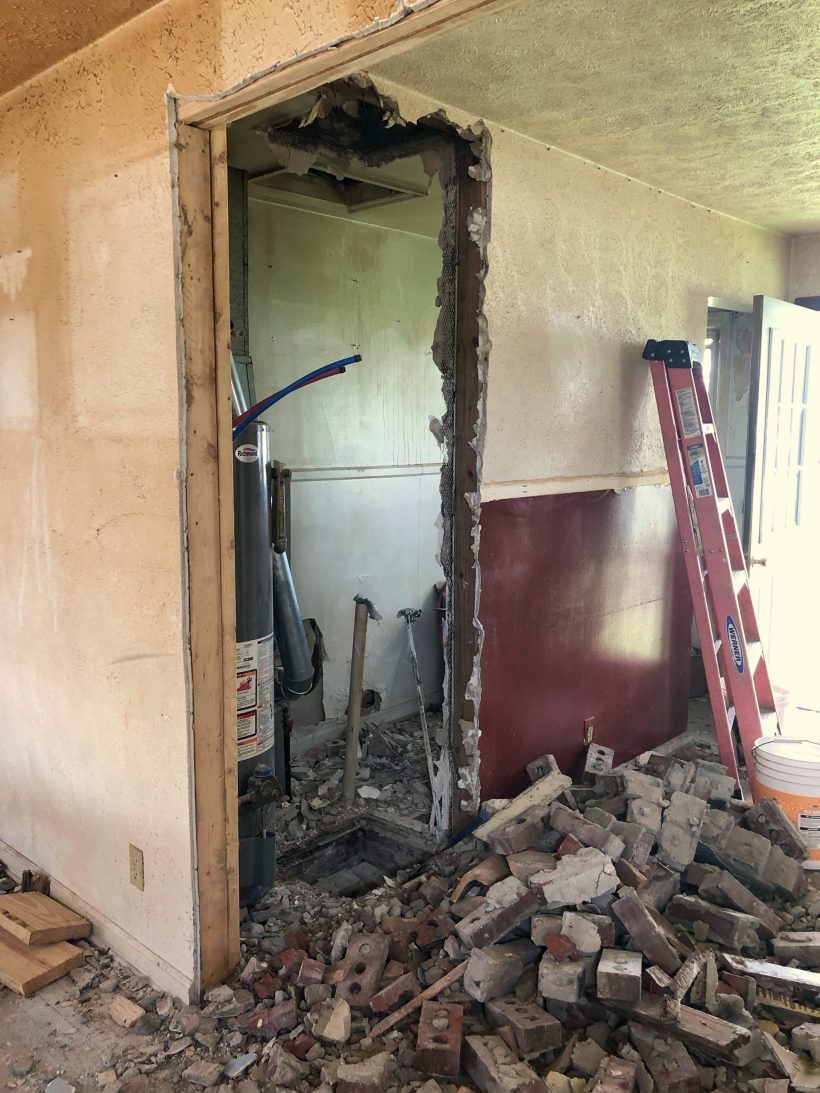
Renovations started in the middle of May, and the guys wasted no time starting demo. They opened up the narrow doorway between the kitchen and living room so the two spaces would be completely open to each other. This alone made such a difference in making such a tiny house feel larger because now when you walk in you can see from the front door straight to the back of the house.
In the kitchen we decided to remove the water heater (we’ll be switching to a tankless version) and an old chimney to make space for a closet that can be used as a pantry for extra storage space in this tiny kitchen.
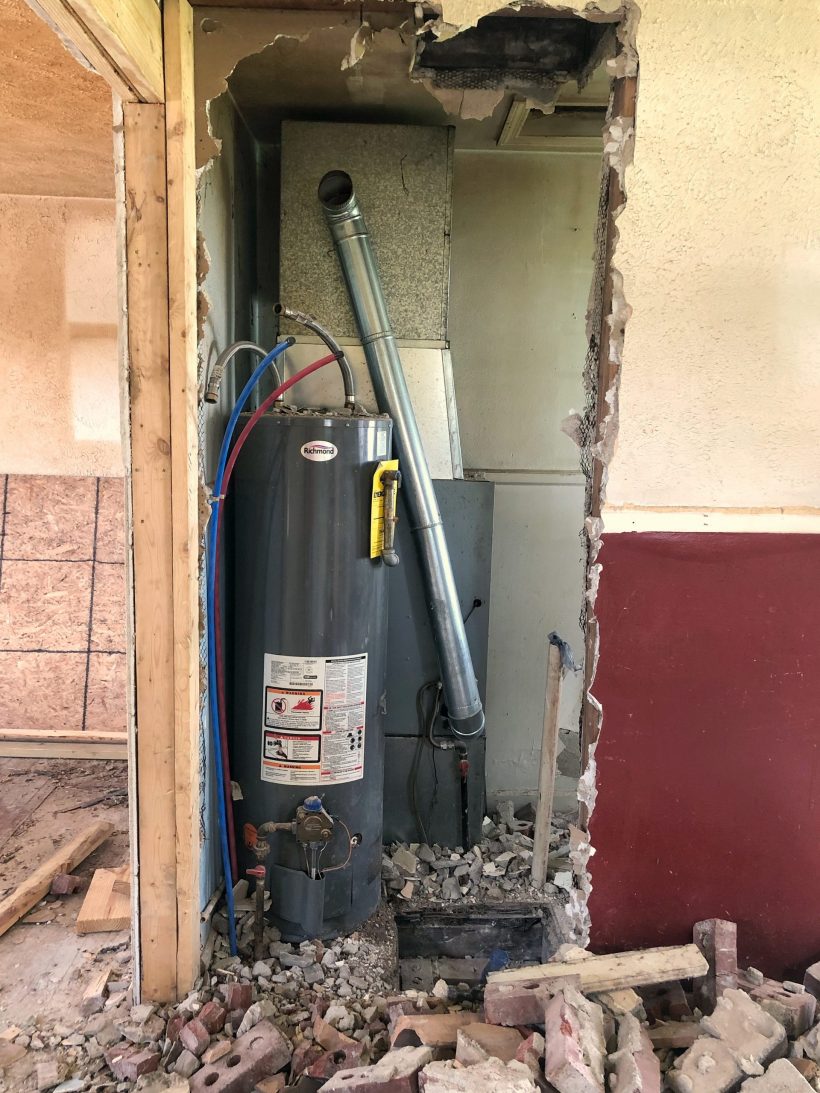
May 30, 2020
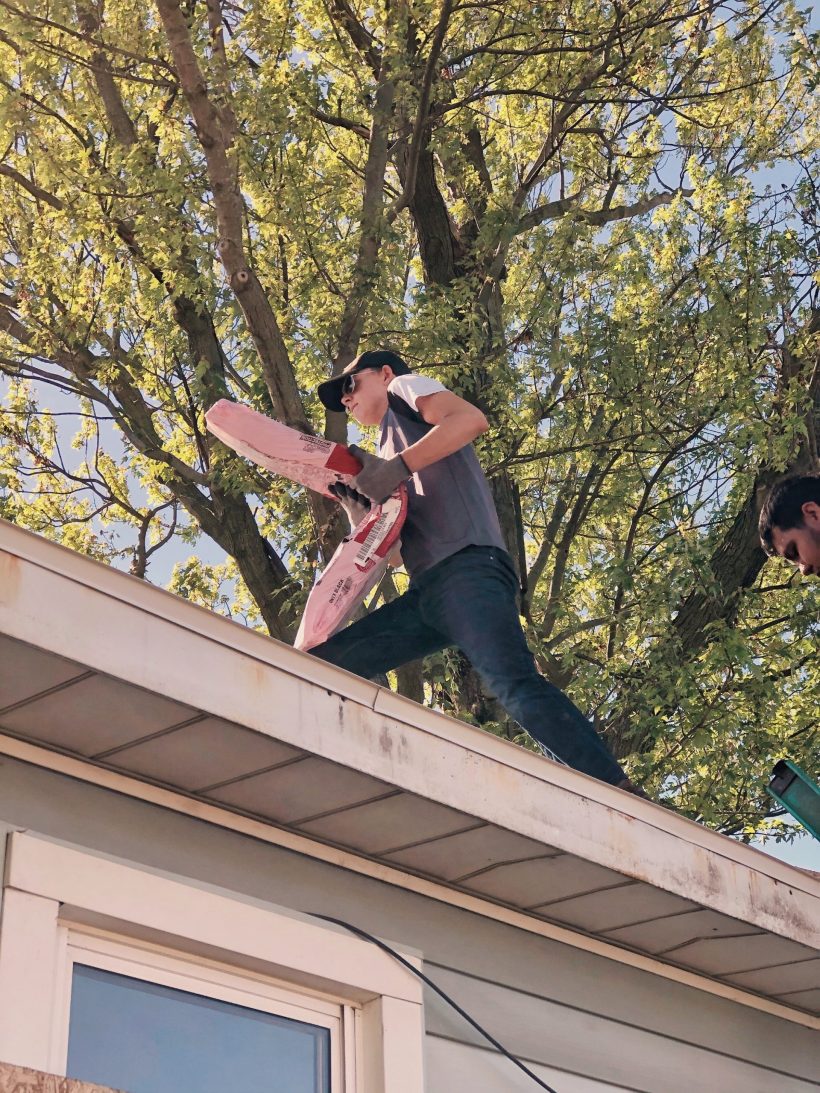
The next major project was replacing the entire roof, which this house desperately needed. I was on clean-up duty as they scraped the old shingles off the roof, and my boys were even able to get in on this part of the project. My oldest carried stacks of shingles up the ladder to the guys, and my little guy helped me clean all the mess in the yard. I love that they’ll be able to say they helped renovate Grandma’s new house once she moves in.
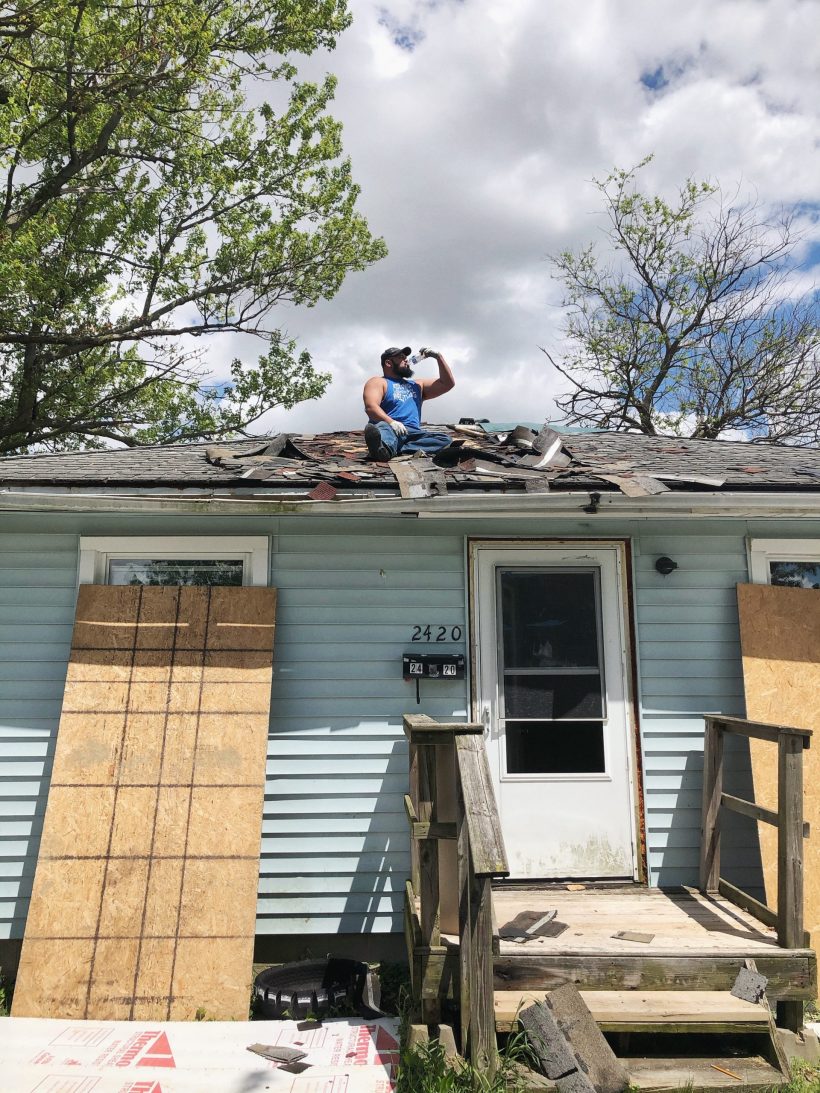
Somehow they even got me to climb up on the roof… basically just long enough to take this picture. 😂


June 5, 2020
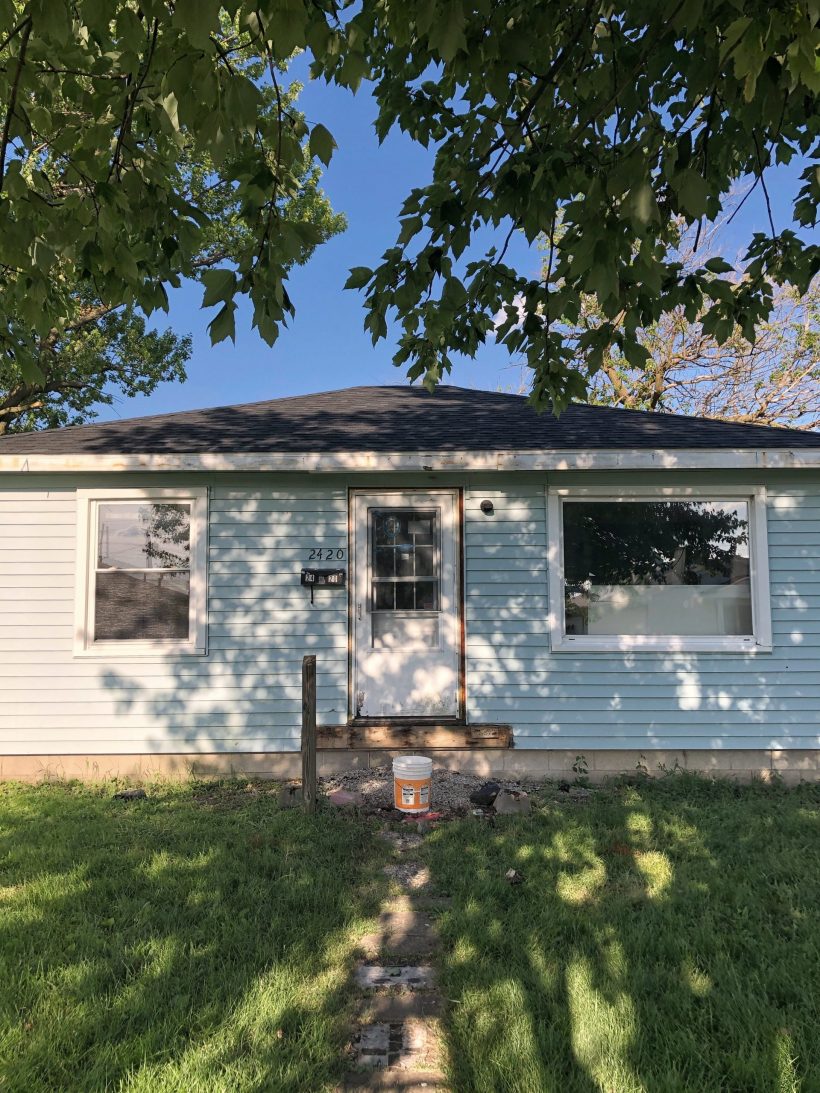
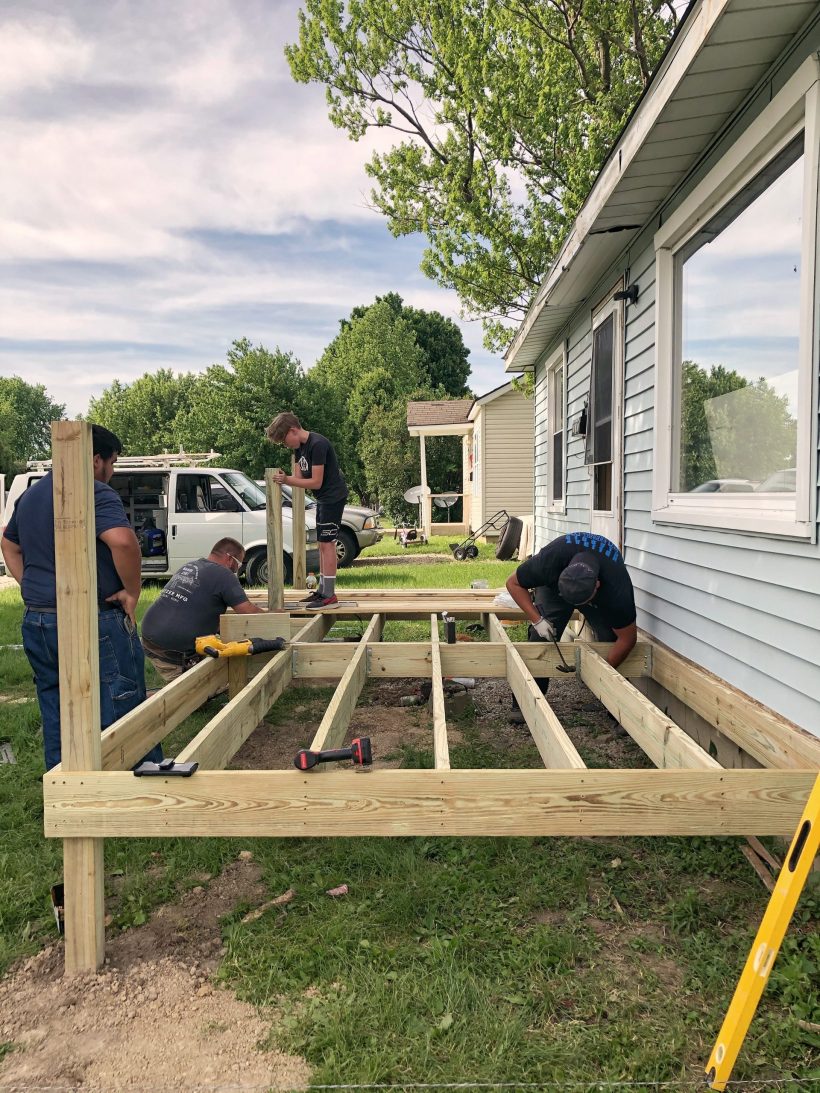
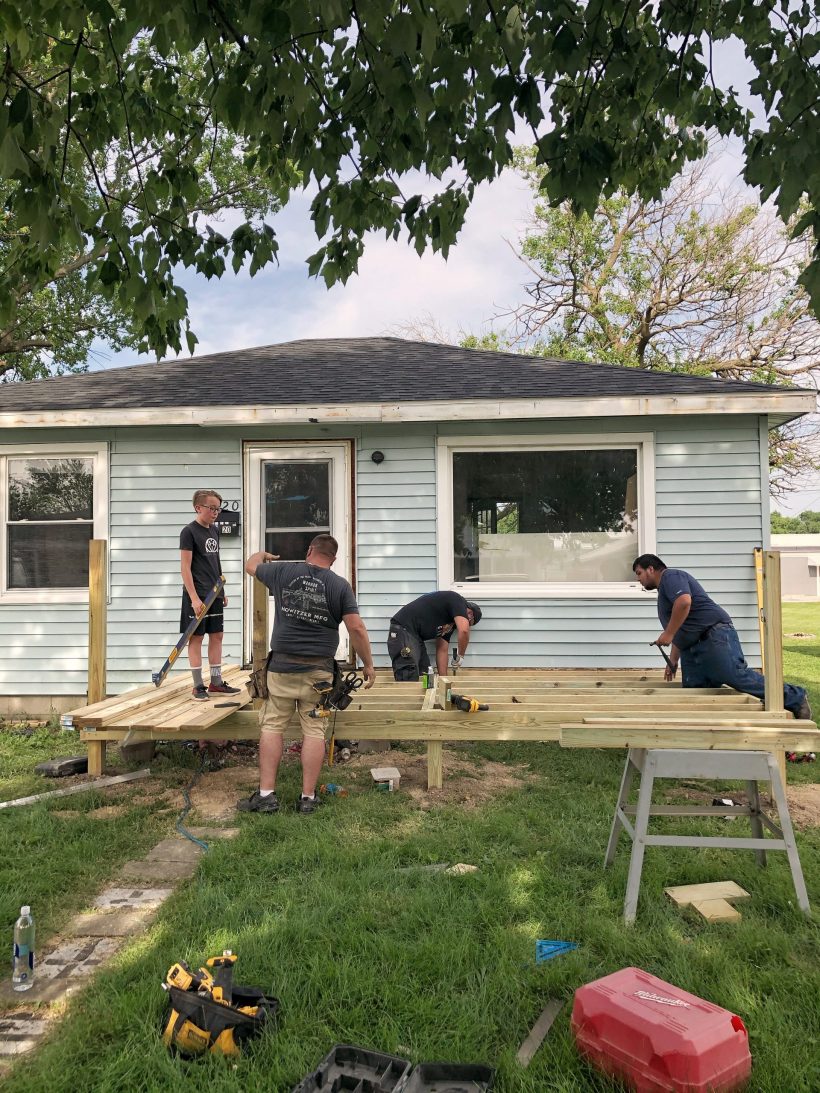
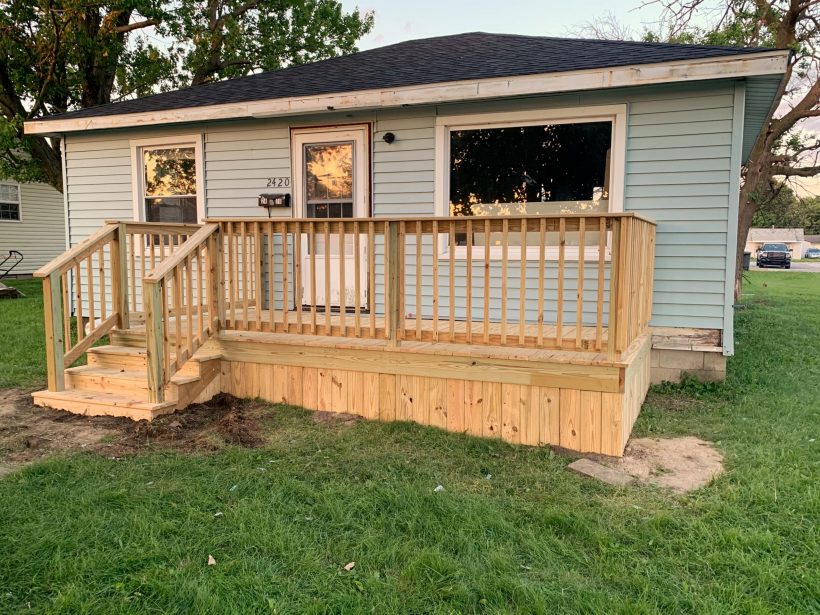
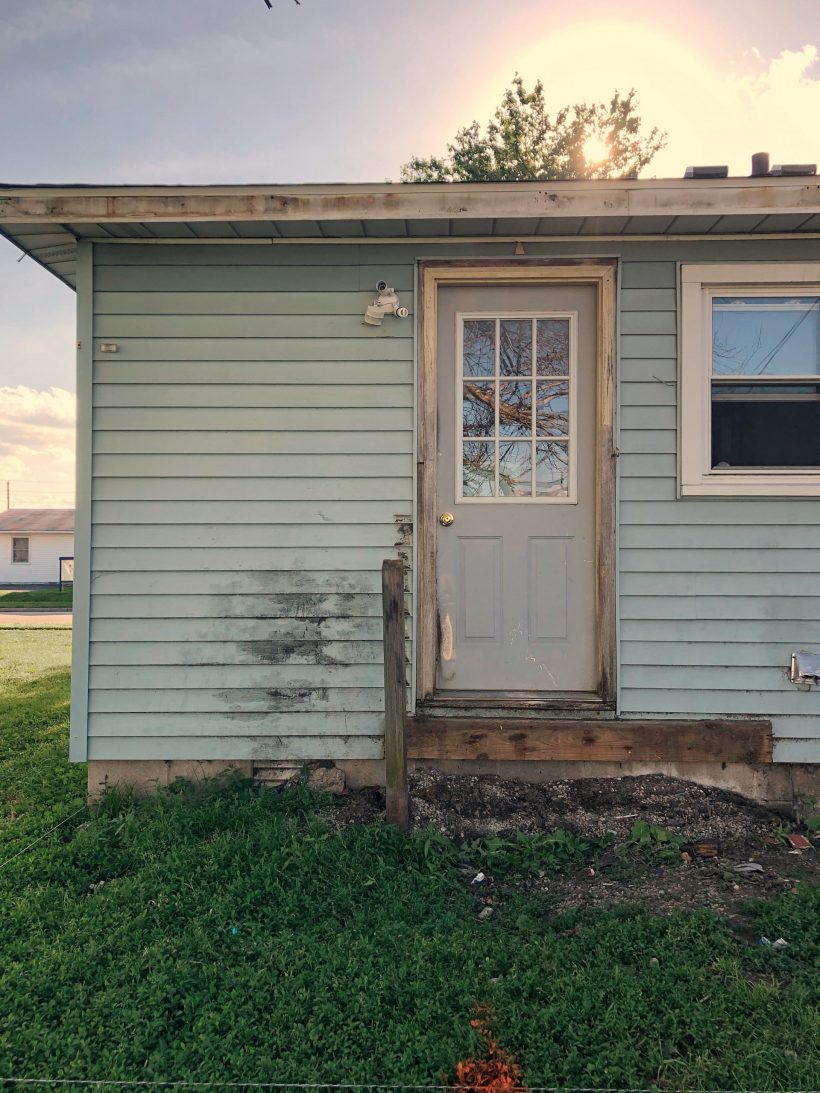
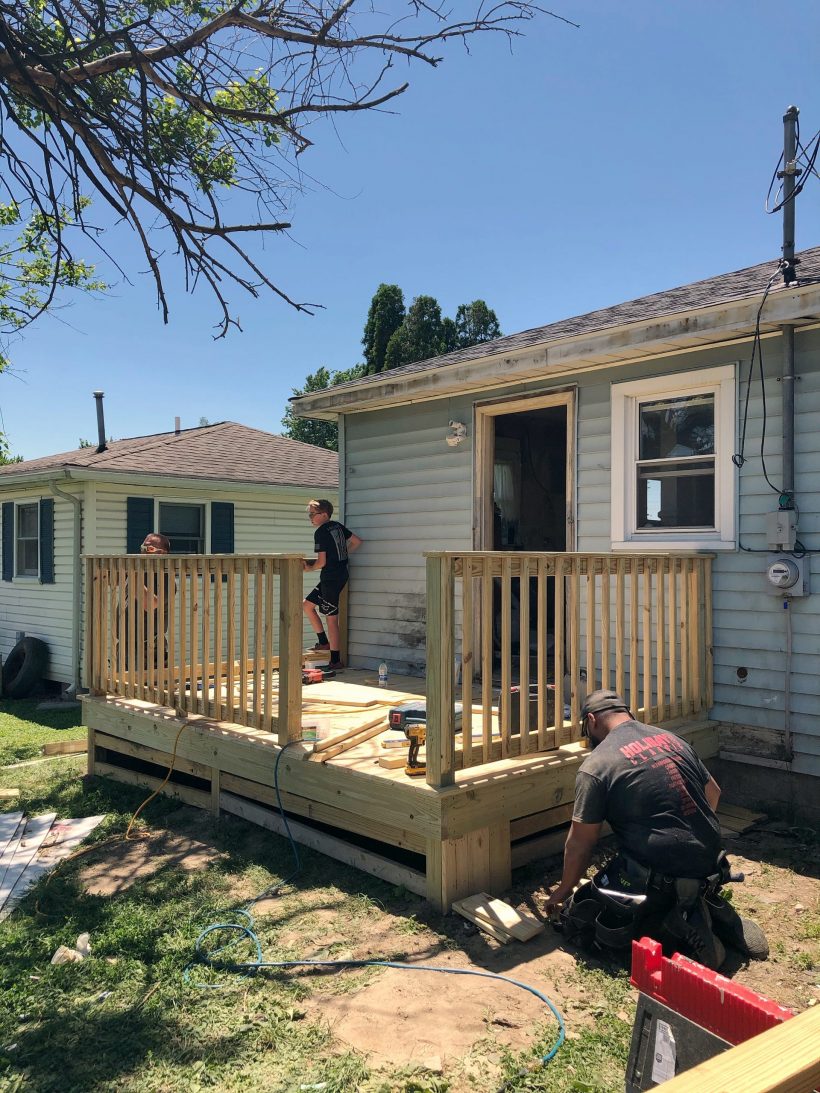
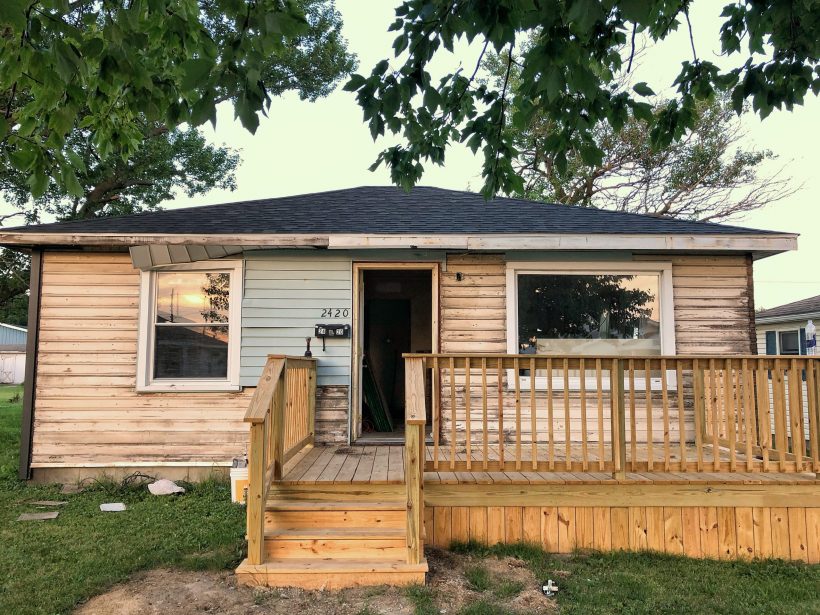
Once the roof was finished, we turned our attention to the front and back steps that were nearly falling apart. The guys ripped the old steps off and decided to replace them with a larger deck in both the front and back.
Side note: Oscar and I are still mastering the art of “want” vs. “need” when it comes to flipping homes or renovating a rental property. This was one case where we probably could have saved some money by just replacing the steps with new lumber, but we went ahead and extended them to give the tenant more usable outdoor living space. Hopefully that investment will pay off in the long run.
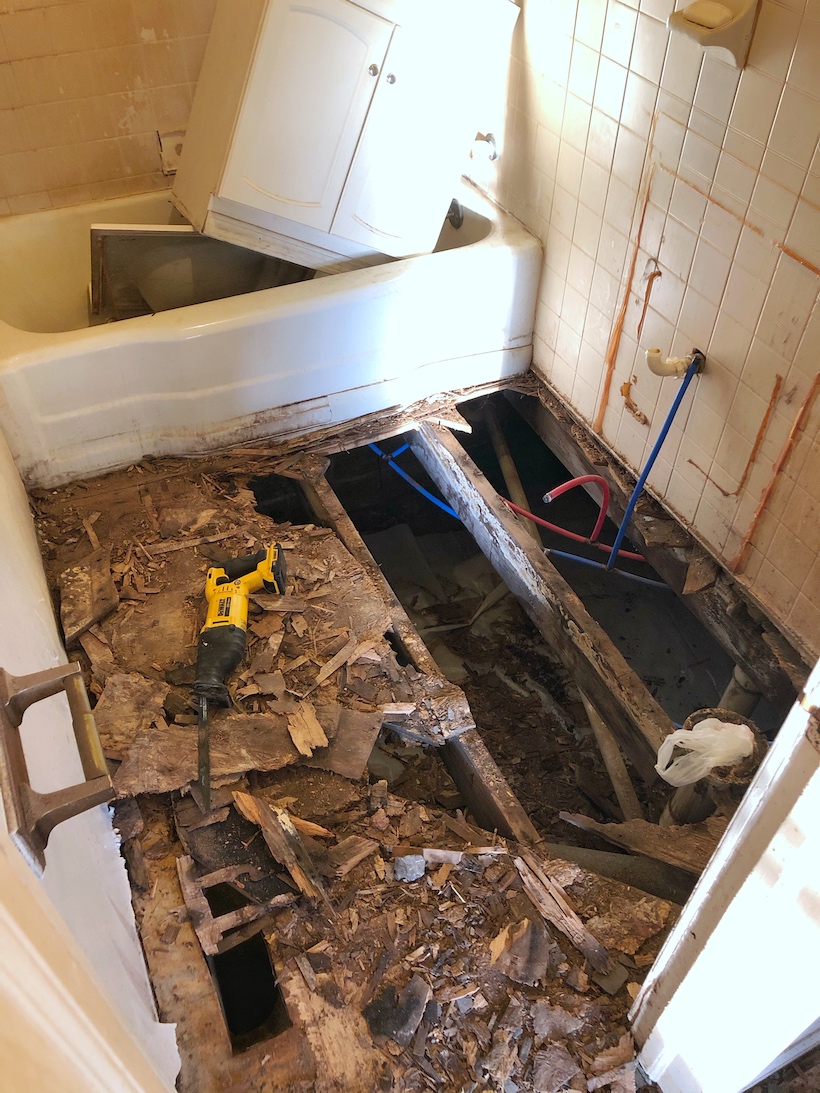
As projects were being completed outside, the inside started seeing some progress too. Unfortunately in the bathroom progress was one step forward and twelve steps back. We were originally hoping to get by with some quick, inexpensive cosmetic updates in the bathroom, but it was pretty obvious that something wasn’t right with the floor and we quickly found out why.
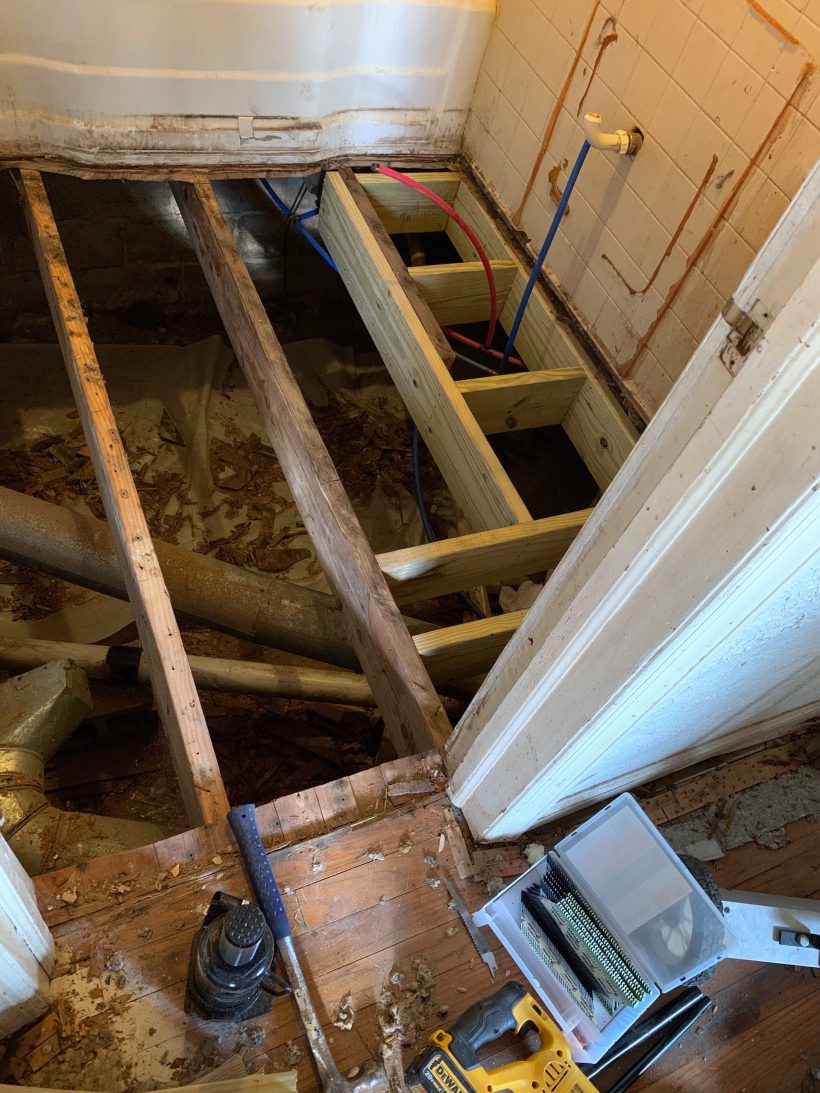
It sloped downward towards the right wall where the sink and toilet sat, and after further investigation we found two problems: a leak and parts of floor joists that had been cut and removed at some point.
July 13, 2020
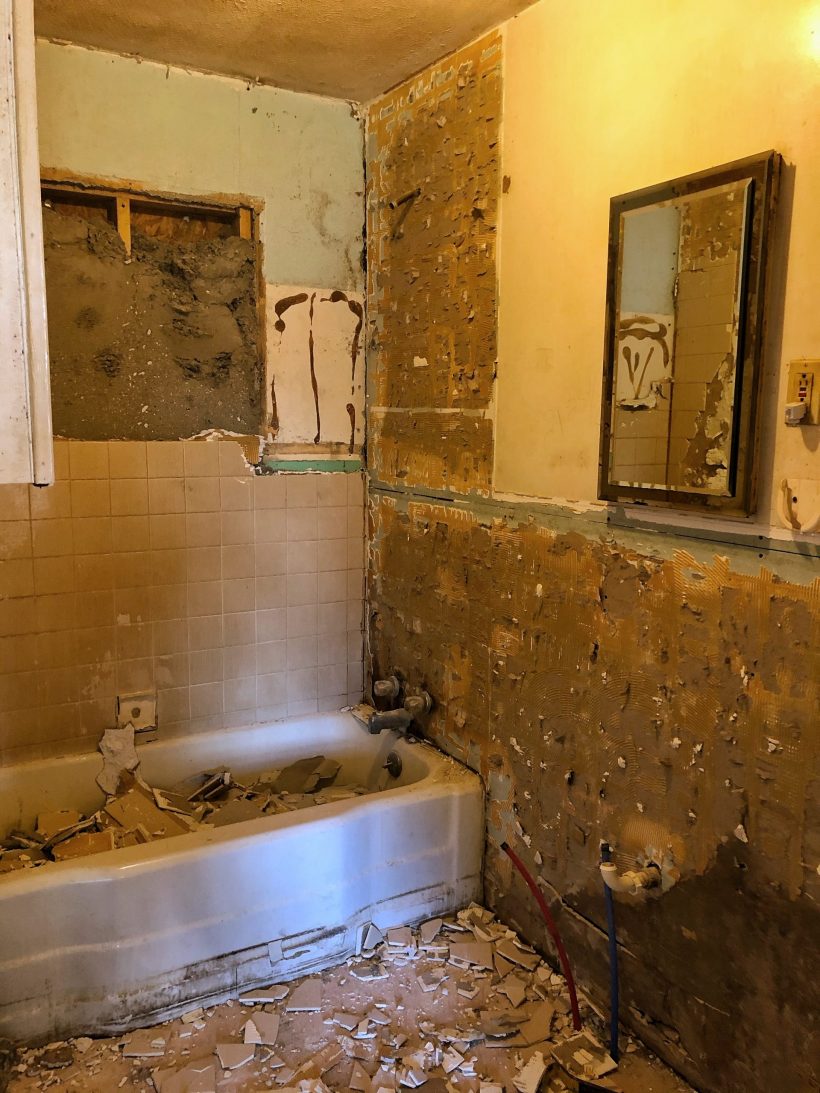
The guys tore up the bathroom floor, repaired and replaced floor joists, laid a new subfloor, and made sure everything now sits level. Then came the fun part… deciding how much of the wall tile and tub area we were going to replace or save. Once they started removing areas of tile on the wall, we noticed the drywall underneath was pretty damaged and needed replaced.
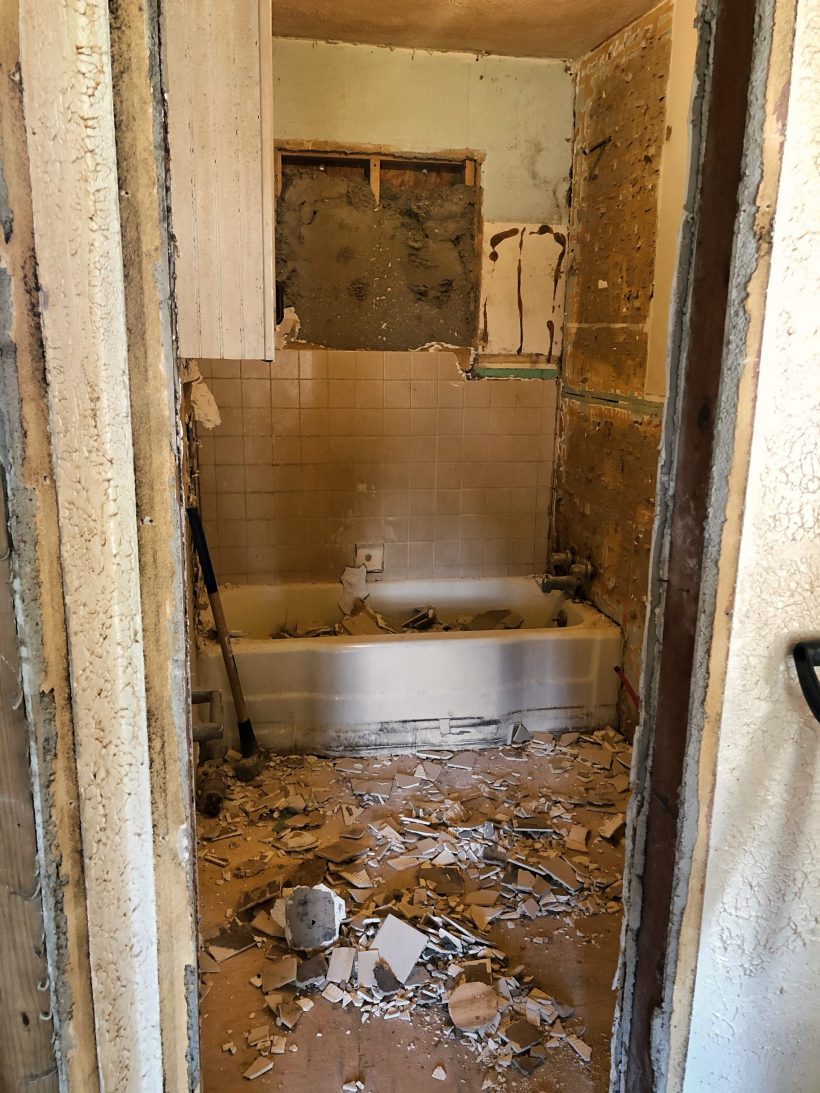
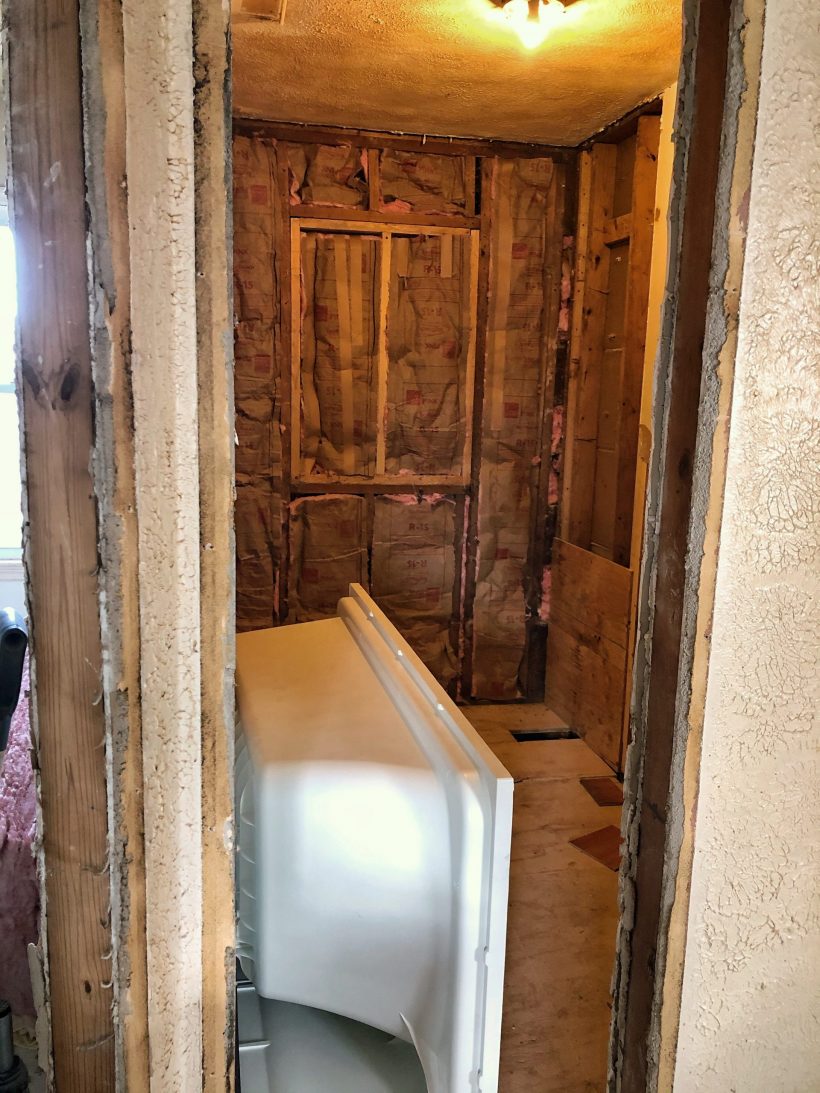
Oscar had been holding onto hope that we could at least salvage the bathtub, but after ripping out nearly this entire bathroom down to the studs, he decided to go ahead and buy a new tub and shower surround to update everything while it was already torn apart. Currently we’re working on a whole lot of drywall repair in here and installing the new tub before we can move on to the next phase of the bathroom renovation.
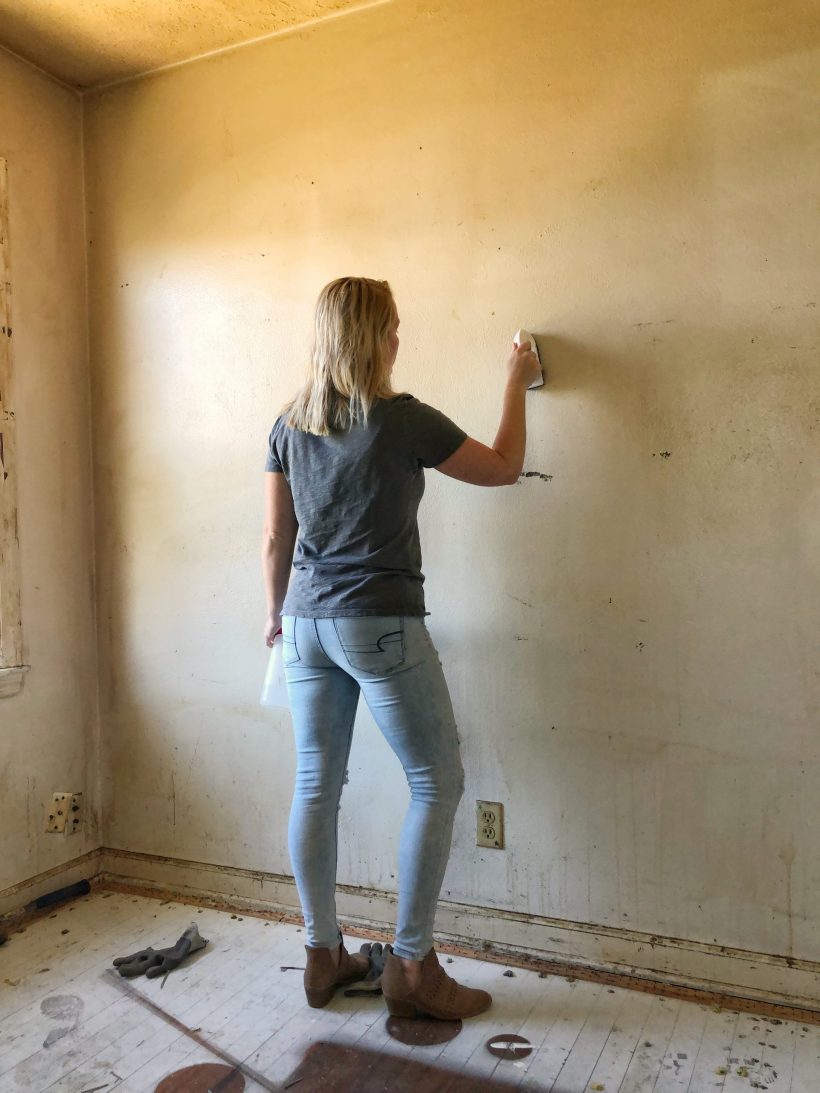
The kitchen and bathroom are still a work in progress, but the two bedrooms only needed some minor repairs and a whole lot of cleaning before paint and new flooring could happen. All the carpet in the house was immediately ripped out as soon as Oscar got the keys to the place because the heavy smell of years of smoke damage was overwhelming to be in. And as you probably remember from the last blog post, every inch of every wall was COVERED in thick nicotine and smoke stains. I go into more detail on how I cleaned the walls to prep them for paint in the video towards the end of this blog post, but here is what I found worked best for removing residue/smoke from walls:
How to Remove Residue and Smoke from Walls
What you’ll need:
industrial cleaner (I used Simple Green)
vinegar
spray bottle
hot water
several sponges
hard bristle scrub brush
two buckets of water
Mix the cleaning solution according to the package directions, adding a few splashes of vinegar to the mixture. Pour the cleaner into a spray bottle, and heavily spray the walls and trim with the solution. Use a damp sponge to scrub and wipe the walls, using a bucket of water to rinse the sponge as you go. Use the hard bristle brush to get hard to reach areas like corners, heavily textured walls, and small grooves in trim. Repeat this process as many times as necessary to remove the majority of the stains (I sprayed and wiped the bedroom walls really well twice). Then take a clean bucket of water and a clean sponge and wipe the walls with clean water to remove any remaining residue and cleaner. Choose a stain-blocking primer (I like Zinsser or KILZ) and a quality paint to prevent any future bleed through.
July 1, 2020
Oscar’s original plans for the exterior included replacing the roof now and waiting until next year to think about the siding and gutters. But he managed to score a ridiculous deal on siding, and the old gutters ended up getting pulled down too since everything else was going to be brand new.
Side note: a major key to flipping houses or managing rental properties is saving money anywhere you possibly can. Oscar and his guys did the majority of the work themselves, bringing in just a few friends of his to help with things like installing the new roof (we removed the old ourselves), plumbing, and drywall/plaster repairs. On one of our many material runs, Oscar spotted a pile of siding sitting off to the side. He asked how much they had sitting there and found out it was a return from a customer who ordered something wrong. Oscar shot them a price, halfway joking, and they agreed just to get it off their hands. We re-sided the house for next to nothing because Oscar isn’t afraid to negotiate and also knows a guy in just about every field of construction and home repair!
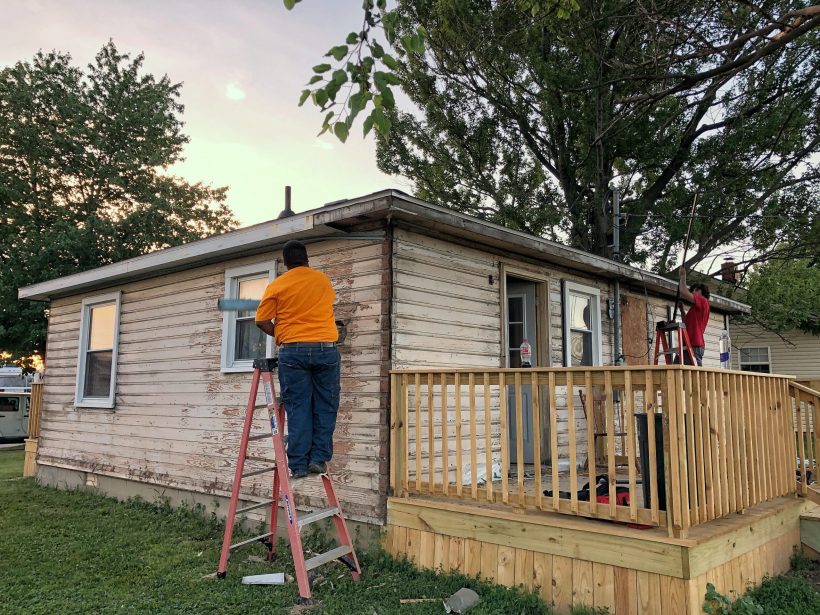
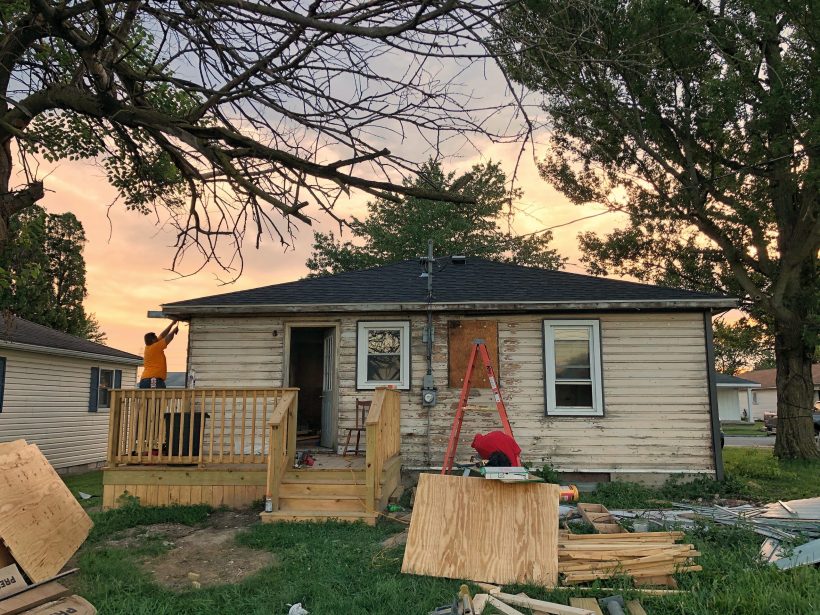
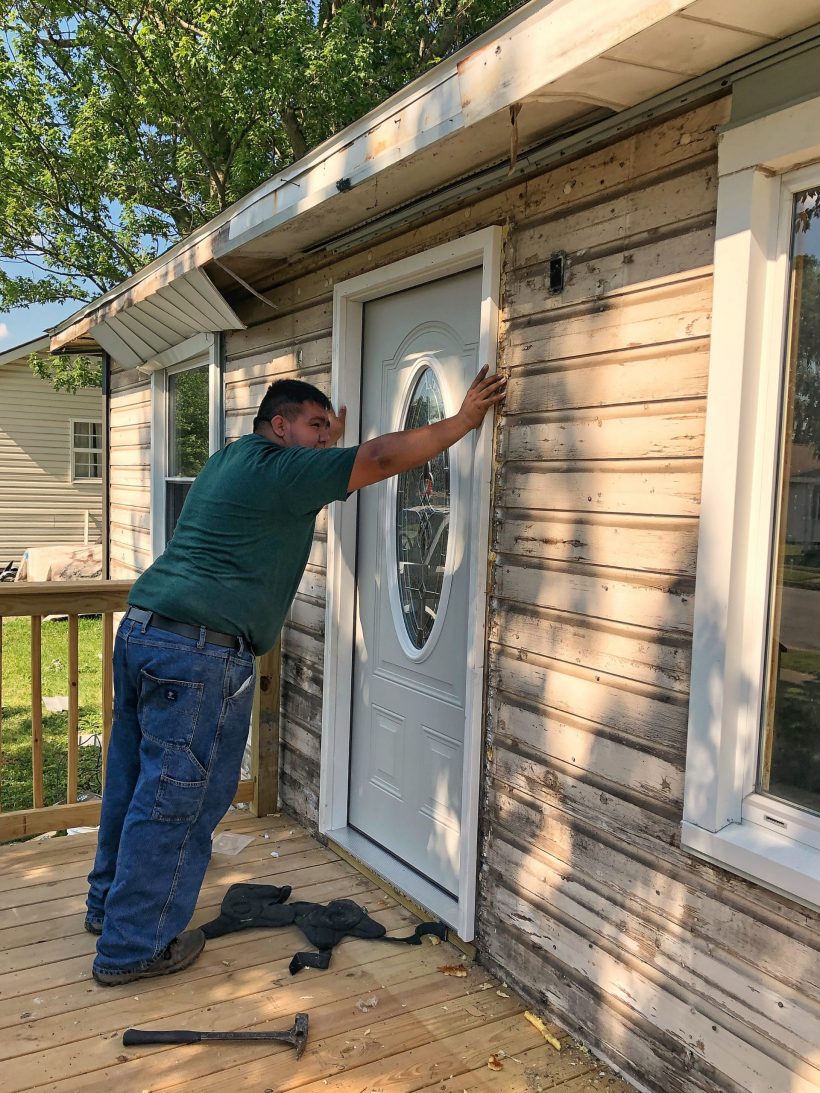
New exterior doors and storm doors were installed on both the front and back of the house.
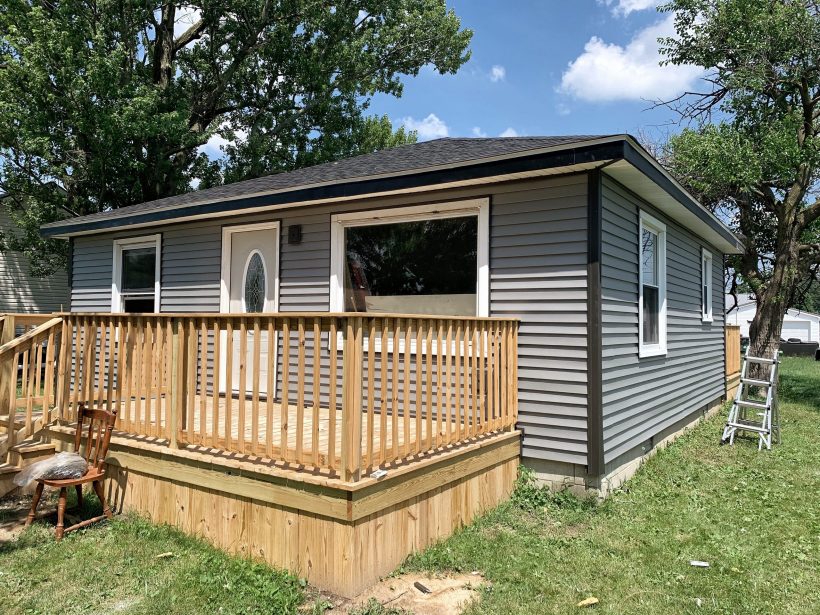
And the new siding was installed! Talk about a transformation…
If I was picking out a siding for myself, I probably wouldn’t have gone with such a dark color for the corner and trim pieces, but I think it gave the house a much more modern look that looks stunning now when you drive by. And I think the white around the doors and windows is a nice balance, and the gutters will be white also once those are installed.
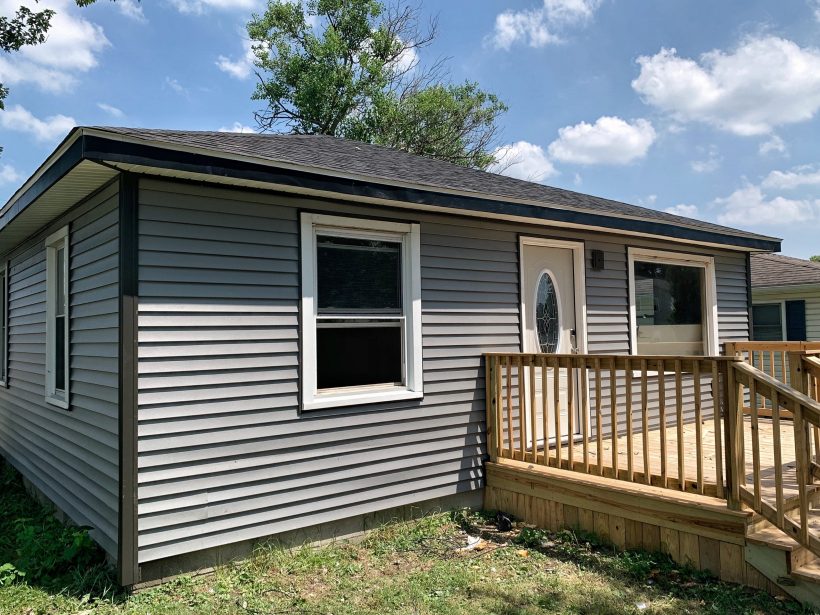
The Armstrong House looks completely different on the outside now, and we’re starting to focus on getting the inside there as well. Here’s where we are at currently:
Done:
demo kitchen + bath
replaced roof
replaced siding
new porch + back deck
new exterior doors
leveled bathroom floor
drywall repairs
ordered kitchen cabinets + flooring
To-do:
finish plumbing + electrical
paint walls, trim, ceilings
install new interior doors
build out new pantry in kitchen
install cabinets, flooring, gutters, light fixtures
Make sure to follow along on Instagram so you don’t miss any new updates on the Armstrong project, and check out the video below for Episode Two of the renovation!
I WANT TO HEAR WHAT YOU THINK!
What do you think about our progress so far? Do you have any questions for us? Are you excited to see the next phase of renovations and the big reveal?? Thank you so much for being here and supporting this new adventure of ours! xoxo Liz


Amazing and so exciting. I wish you could have put in the door you just got for the front, but maybe that is your Mom’s choice? I love the kitchen plans. The mock up really helped me envision what it will be like. The inspo pic on the sample wall is nice… The addition of the decks was a really nice touch too.
WOW! You guys have done so much! It looks great! The new decks were a good decision. Can’t wait to see the inside changes!
Honestly, it was probably best to do some of the things you thought you would put off a year or two. It will just be done. No trying to schedule time, help and lug tools back to the house. The deck will add much needed living space to a small cottage,
Great progress! I’m sure your mother is excited.
Everyone needs an “Oscar” in their life! All of that hard work is really going to pay off and the fact you have your boys helping is so wonderful, not just for memories, but learning skills that will last a lifetime. This house is going to be such a blessing to your mother!