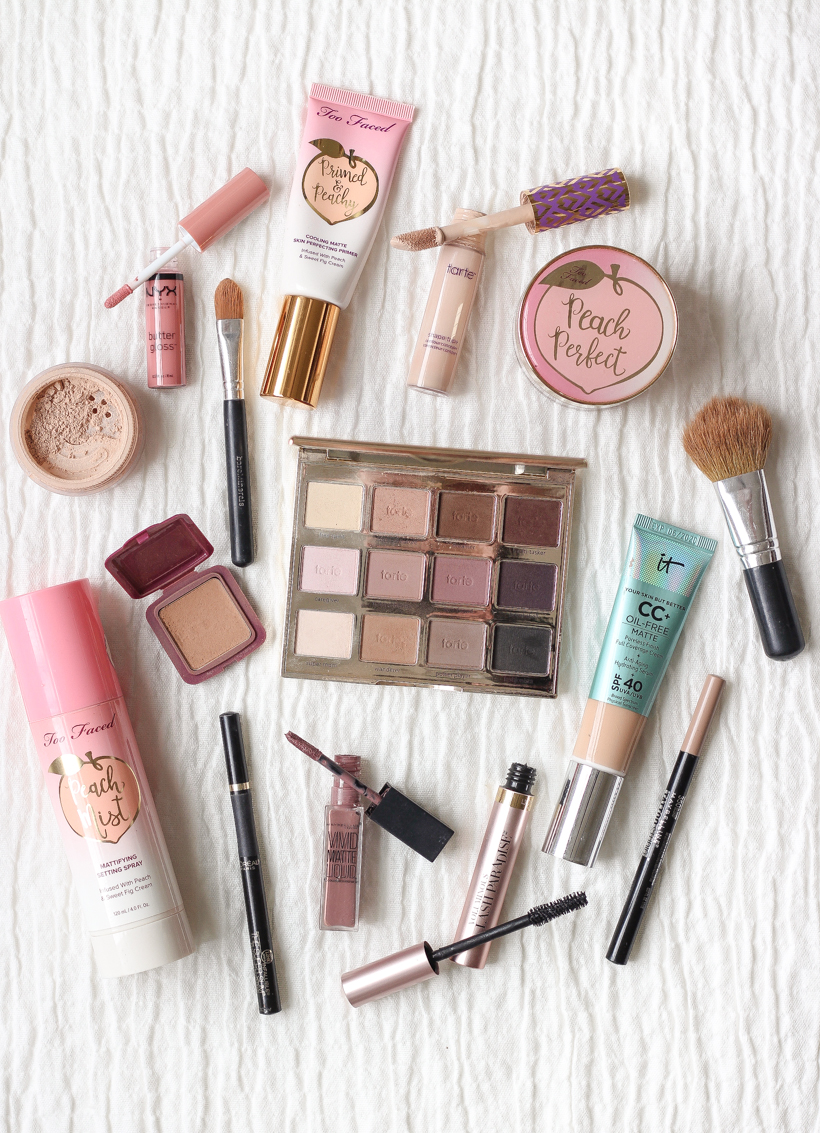
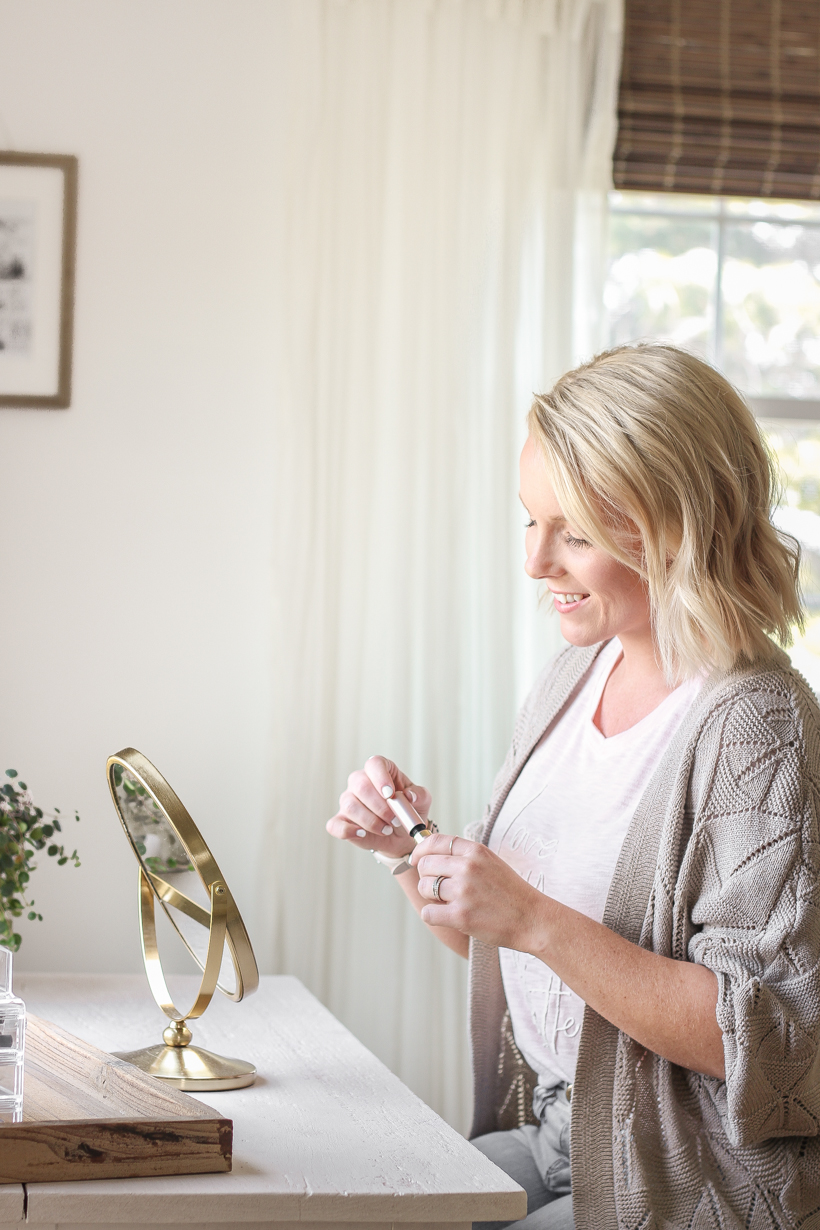
One question I get over and over on Instagram is what makeup I use and how I do it, and sweet friends, today I’m finally sharing all of my favorite makeup products with you! I’m breaking down when I splurge on high-end brands and which items are totally not worth the extra money because the drug store versions are just as good! I’ll also be sharing how I switch products from summer to winter depending on what my skin needs. The makeup look I do most days is soft and natural, and this routine only takes about 10 minutes at most from start to finish. Let’s dive into my favorite makeup!
Note: Some of the links in this post are affiliate links, which allows me to make a small commission from your purchase, but your purchase price stays the same. When you use these links, I’m able to keep this blog going and make it better, so thank you from the bottom of my heart for your support!
Below you’ll find all the products I use and a brief description of how I apply them, but I will be sharing a video makeup tutorial on my Instagram stories that will go much more in depth! I hope you’ll come follow me on IG and watch the tutorial that will be live in stories for 24 hours and then saved in my highlights under “makeup”!
Step 1 || Face
I start by washing my face every morning and applying a light moisturizer. You can read all about my natural skin care routine here and my updated skin care I started using for acne + anti-aging here. I wait about 15 minutes to allow the moisturizer to completely soak into my skin before I start applying any makeup.
– Primer –
The first product I apply is always a primer. It serves as a base for your foundation and evens out your skin’s hydration, whether too oily or too dry, smooths fine lines and large pores, and helps your makeup to last all day. I started using a line of products last year by Too Faced that you will see me mention multiple times in this post because I love it so much! The Too Faced Primed & Peachy Cooling Matte Skin Perfecting Primer is perfect for people with more oily skin or during the summer when you’re sweating more because it keeps your makeup matte and in place, even on the hottest days. It has a yummy peach scent too! I just smooth a small amount all over my face using my fingers.
– Foundation –
Next I apply my foundation. For this I use a damp beauty blender, which helps apply the foundation evenly and gently. The key is to use it WET, not dry! Run it under some water until it is completely wet, then squeeze it to remove the excess moisture. The original beauty blender costs $20 per sponge, but this pack from Amazon comes with 5 for just $8.99. Such a better deal, and very similar quality!
I mentioned before that some makeup is worth the high-end splurge, while others are perfectly fine going the drug store route. Because my skin is my biggest struggle with acne and scarring and fine lines starting to appear, I always go for the good stuff when it comes to my foundation. My all-time favorite is It Cosmetics Your Skin But Better CC+, and I use the shade Light. It is hydrating, has great coverage, and SPF 50. I just recently bought their new It Cosmetics CC+ Oil-Free Matte Foundation in the color Light Medium, which is better for more oily skin and helps pores appear smaller, and I’m starting to use this one more now that we’re heading into warmer weather. I just squirt a small amount on the back of my hand and use the damp beauty blender to apply the foundation all over my face and down onto my neck in a gentle dabbing (not wiping) motion.
Another favorite: In the really hot summer months, I switch to using the Too Faced Peach Perfect Comfort Matte Foundation, which is from the same line as my primer. It is oil-free, long lasting, and keeps your face matte and oil under control all day! I got a slightly darker shade in Natural Beige since I’m usually more tan in the summer when I use this.
Update 2/20: In a pinch I tried L’Oreal Infallible Pro-Matte Foundation and have been using it ever since. It’s so much less expensive, and I find that it lasts much longer than what I was using before! If you have normal to oily skin and like a matte finish, I highly recommend this!
– Concealer –
This is the concealer I buy over and over again because it really is the best I’ve EVER used. I have very dark circles under my eyes, and no matter how well I take care of my skin, I still need a good concealer when I do my makeup. I use Tarte Shape Tape in the color Light, and it works better than anything I’ve ever tried (which is a lot). The consistency is very workable and easy to blend and gives full coverage without looking thick and cakey. I use my damp beauty blender to gently dab the concealer under each eye, focusing on the darkest area and blending out. I would recommend going a shade just slightly lighter than your foundation, which doubles as a highlighter under your eyes.
Another favorite: This Fit Me Concealer from Maybelline is a less expensive option that has a little more light, natural coverage. Sometimes I will use this as my concealer and only apply the Shape Tape in the darkest part of my undereyes.
– Powder –
To set my foundation and concealer, I use the Too Faced Peach Perfect Mattifying Loose Setting Powder in the color Translucent Peach, which again is great for oily skin that needs a matte finish, and it smells so good! A good powder is what helps hold your foundation in place, and I use mine in two different ways:
First I press my damp beauty blender into the powder and dab it under my eyes where I just applied the concealer. This will help your concealer last all day! Then I use a brush to gently apply the powder all over the rest of my face. I recommend getting a makeup brush set like this BH Cosmetics Crystal Quartz 12 Piece Set that comes with a cosmetic bag. This will give you a variety of brushes that you will need for your face and eyes, and this set is good quality for a great price.
– Bronzer –
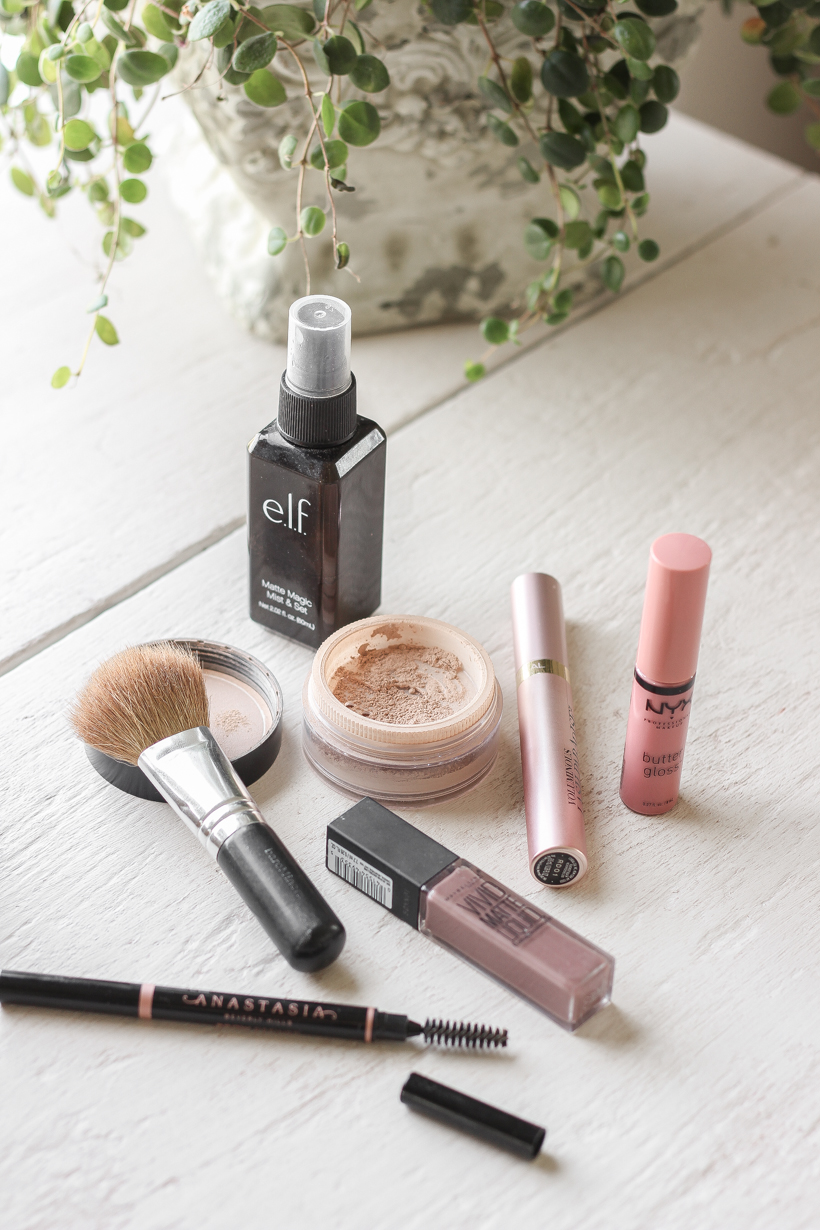
I got a sample of the Benefit Hoola Bronzing Powder in Natural Bronze and love the color (more of a neutral than a warm orange) and coverage, but I feel like a bronzer is one place you could save a little bit of money since the base of your face is already set and you’re just adding a bit of sun-kissed glow and contour. NYX Matte Bronzer is a great alternative with a neutral color base and no shimmer, which I personally do not like in a bronzer. I also love that it has different color options for women like me with a lighter skin tone. I use a brush to apply the bronzer on the upper portion of my forehead around the hairline, just under the cheekbones, and around my jawline.
– Blush –
I also go with a less expensive option for my blush since I use such a small amount. Right now I have L’Oreal True Match Super Blendable Blush in the color Baby Blossom, which is a pretty light pink for my fair skin. I just apply a small amount to the apples of my cheeks and blend it in well. Ulta Beauty Mineral Blush would be another great option!
– Setting Spray –
It’s so important to use a setting spray after you apply your face makeup because it helps lock everything in place and keep your makeup looking fresh all day. It also helps you from looking too powdery, which is when I think makeup looks unnatural and like you’re wearing too much. First, give the bottle a good shake, then mist your face about 8-10 inches away. The setting spray will give you a slightly dewy look without looking oily, and I have two brands that I love! My first choice during the hot summer months is Too Faced Peach Mist Mattifying Setting Spray, which helps control oil and maintain a matte finish all day. The combination of all the Too Faced Matte Peach products I mentioned are a MUST for me during summer!
Another favorite: The e.l.f. Matte Magic Mist & Set is MUCH less expensive and works well too!
Shop Face:
Step 2 || Eyes
– Eyebrows –
My eyebrows are super light and not very full or even, so filling them in is a must. Eyebrows help frame your face, and even just a little bit of time filling them in will make a big difference in your overall look! I’ve tried a ton of different products and recently started using the Anastasia Brow Definer in Blonde. I’m in LOVE with this eyebrow pencil. It has a triangular tip so you can line the edges with the smaller pointed end and then fill them in with the thicker end. It also has a spooley end that helps you blend after you apply, which I find very helpful. The Brow Definer goes on smooth and looks very natural!
Another favorite: I also have e.l.f. Cosmetics Eyebrow Kit in the light color, which comes with a creamy pigment and a setting powder that I apply with an angled eyebrow brush.
– Eyeshadow –
Eyeshadows are one of the items I could easily save money and use drug store brands, but I have a few higher end palettes that I’ve gotten as Christmas gifts and love too. I like having a palette with warm neutrals and mostly matte colors with a few shimmery shades. If you are in need of new eyeshadows now, I would recommend checking out options like NYX Warm Neutrals Ultimate Eyeshadow Palette and putting the Tarte Tartelette 2 In Bloom Clay Eyeshadow Palette on your Christmas or birthday list!
You can see more of a detailed eyeshadow tutorial in my Instagram makeup tutorial (saved in my highlights), but here are the basics:
– I first use a large blending brush to apply a light white/cream shadow all over my lid and up to the brow. If there is a lighter white with a touch of shimmer in the palette, I will apply a small amount right under my brow and on the inner corner of my lid also.
– Next I use a tapered blending brush to apply a medium tan/warm shadow in and just above the crease, focusing more color on the outer edge of my eye.
– Last I add a little bit of depth by applying a darker shadow just in the crease and only on the outer edge of my eye.
– Eyeliner –
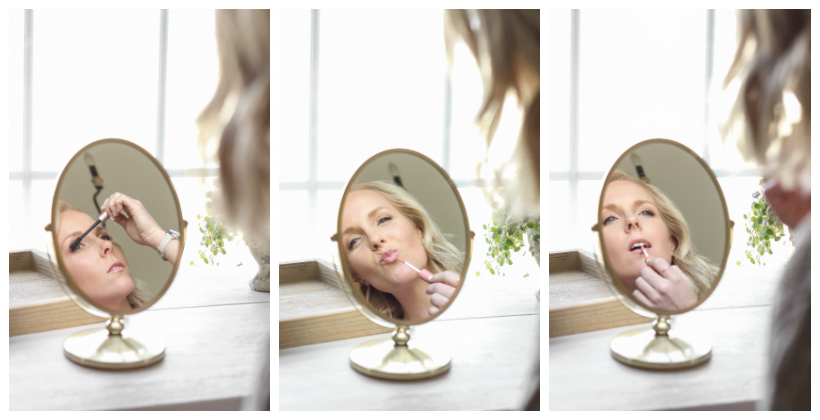
There are many expensive eyeliners you can buy, but I find that the L’Oreal Infallible Super Slim Liquid Eyeliner Pen works really well, is easy to apply, and lasts all day! I use the black color since my eyelashes are so light, and I need a little bit of definition on the upper eye lid. I apply the liquid eyeliner ONLY on the top lid starting at the outer corner and stopping just past the middle of the eye. When you use liner all the way to the inner corner, it makes your eyes look smaller!
I like to soften and blend my liner so it’s not such a harsh line. I get my eyeshadow palette back out and use the darker shadow I used in my crease and a short eyeliner brush to smudge and blend along the liquid liner. Then I use the medium shadow and an eyeliner brush along the lower lash line, again starting at the outer corner and stopping at the middle of the eye.
Tip: Once I’m done with my eyeshadow and liner, I always dust a little bit of the loose powder I use on my face underneath my eyes to clean up any shadow that might have fallen, and it also keeps your eyeliner from smudging below your eye throughout the day!
– Mascara –
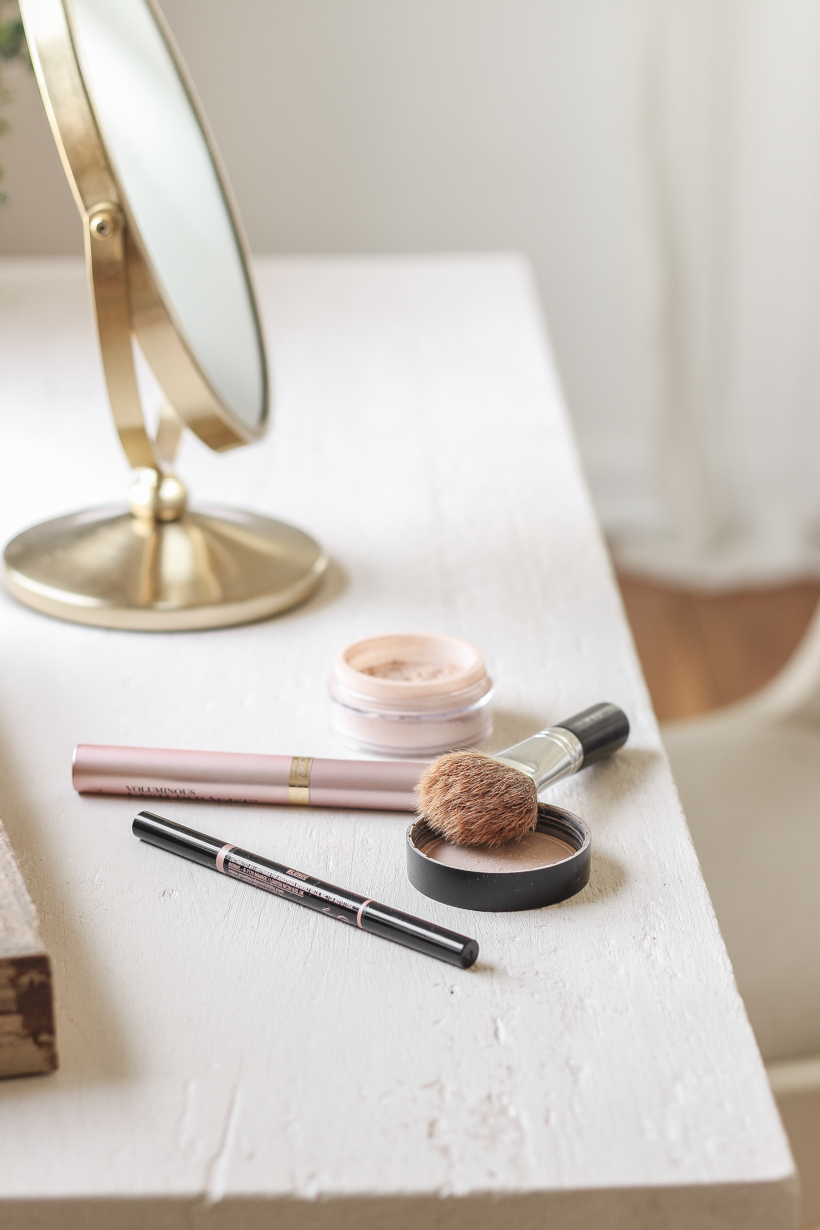
I’ve tried a million different mascaras, and my favorite by far is L’Oreal Voluminous Lash Paradise! It’s inexpensive, goes on without clumping, and lasts all day. I think mascara really comes down to the brush and your personal preference, and I personally like a brush that lengthens and separates vs. a brush that thickens and clumps eyelashes together. This mascara is perfect for adding length and volume without clumping!
Shop Eyes:
Step 3 || Lips
– Lipliner –
Right now I’m loving the NYX Slim Pencil that comes in a ton of colors and is less than $5. Nude Pink and Nude Beige are both pretty colors for a simple lip!
– Lipstick/Lipgloss –
I can’t tell you how many lip products I’ve purchased and didn’t like the color or the way they felt on my lips, but I have three go-to products now that I can’t live without! The first is NXY Butter Gloss in the color Creme Brulee. It’s smooth and not at all sticky, lasts a long time, and is the perfect every day pinky nude color. The second is when I’m wanting something a little darker, matte, and more dramatic: Maybelline Vivid Matte Liquid in the color Grey Envy. The last is nothing fancy, but I wear it night and day to keep my lips from drying out: Carmex Classic Lip Balm!
Shop Lips:
If you guys have any questions about the products or how I apply, just let me know! The easiest place to get a quick response is on Instagram since that’s where I spend a lot of my time answering comments and messages, and I hope you’ll go check out the makeup tutorial as well! Thank you so much for coming to the blog today, and I hope these recommendations help you the next time you buy some makeup! xoxo Liz



Your $20 Beauty Blender at Sephora is $1.98 at Target and Walmart. No way would I spend that on a little makeup sponge.
For this size sponge, there are options around $5, and I did just add one to my post as an alternative! I find that the quality is different, but I like having a high/low option! Thanks for the feedback. 🙂
That $1.98 sponge is not likely a Beauty Blender, it’s more likely a cheap knockoff. I have a BB, a Real Techniques sponge, and a cheap Walmart one — there is definitely a big difference in quality of application and finish. You get what you pay for.
Yes! Thank you for sharing your experience with the different qualities. It is very helpful, and I agree… you get what you pay for! I save money where I can on less expensive products, but when it comes to getting the best finish on my skin and foundation, I prefer the Beauty Blender!
Such a great post, thanks for sharing all this valuable info! You always look great!
My skin has changed so much the last few years…… Ugh!!!! I read your blog and I’m hoping to try some of the products you have listed. Have never used one of those make-up sponges. Seems like that might be a good idea. Thanks for sharing. Becky
I always enjoy your information. Thank you for all the details! I just found IT foundation this year and I really love it.