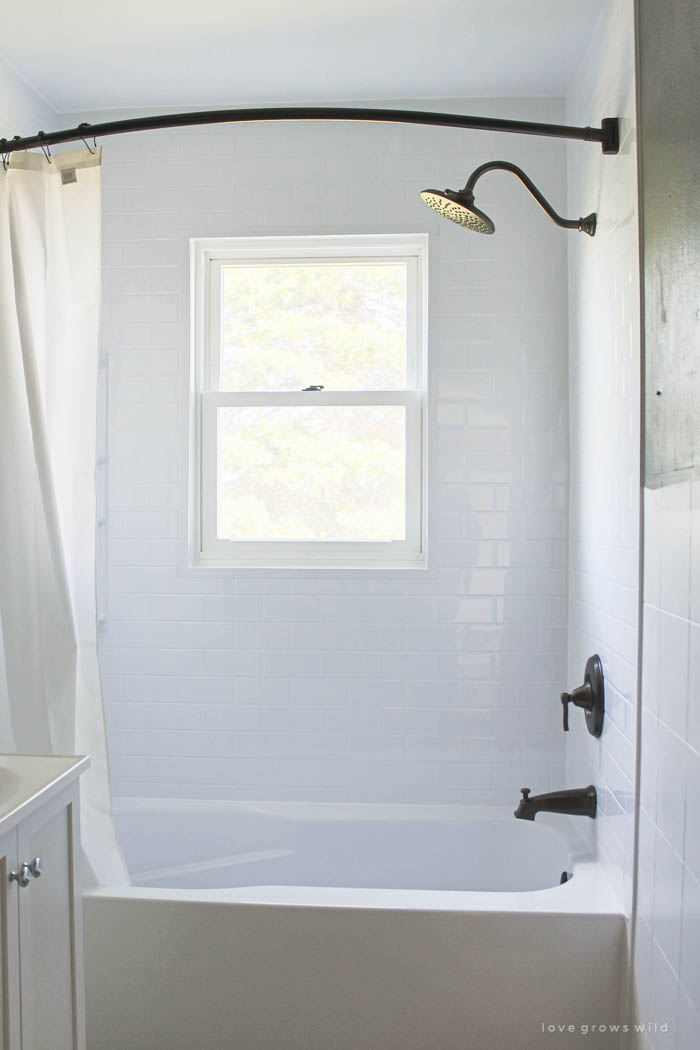
We’re giving our bathroom a big makeover! This week our bathtub and shower installation happened… you can catch up on the rest of the bathroom series here! This post is brought to you by our friends at Bath Fitter.
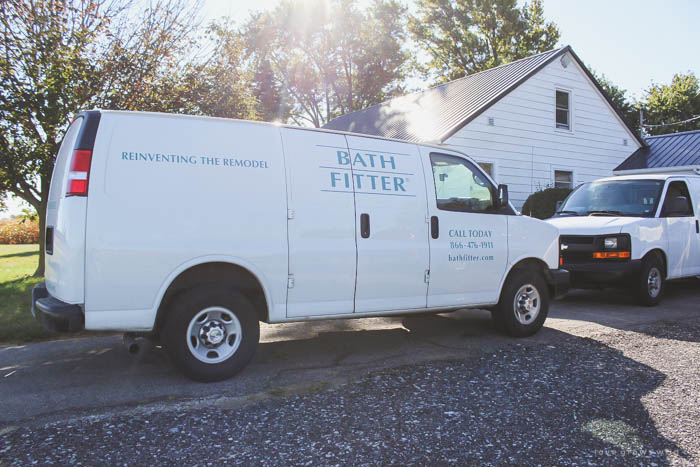
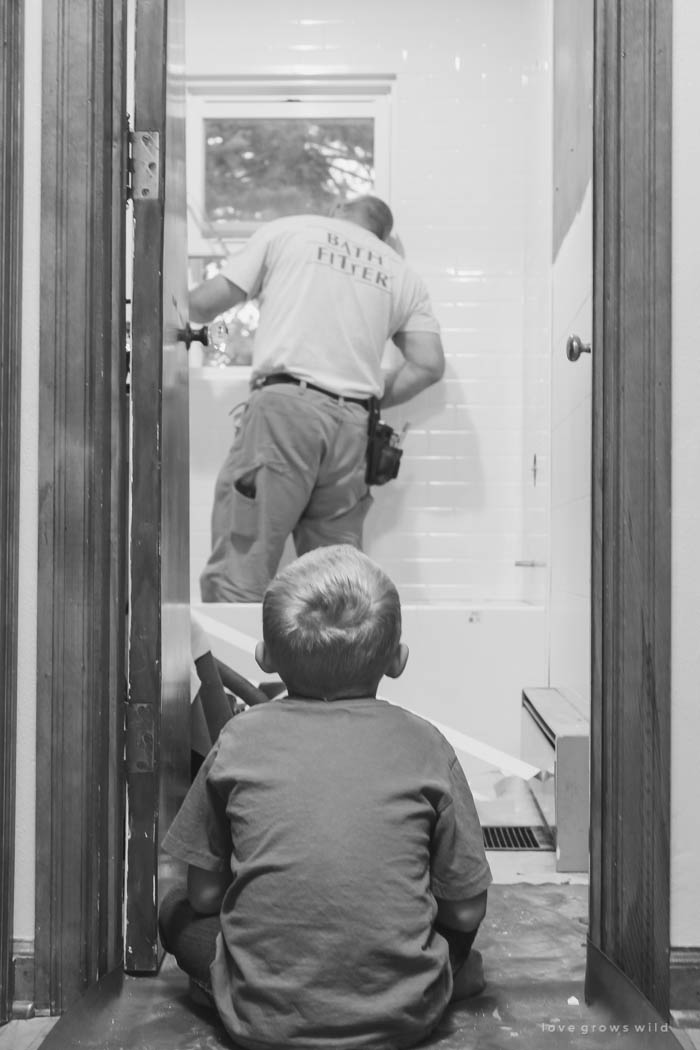
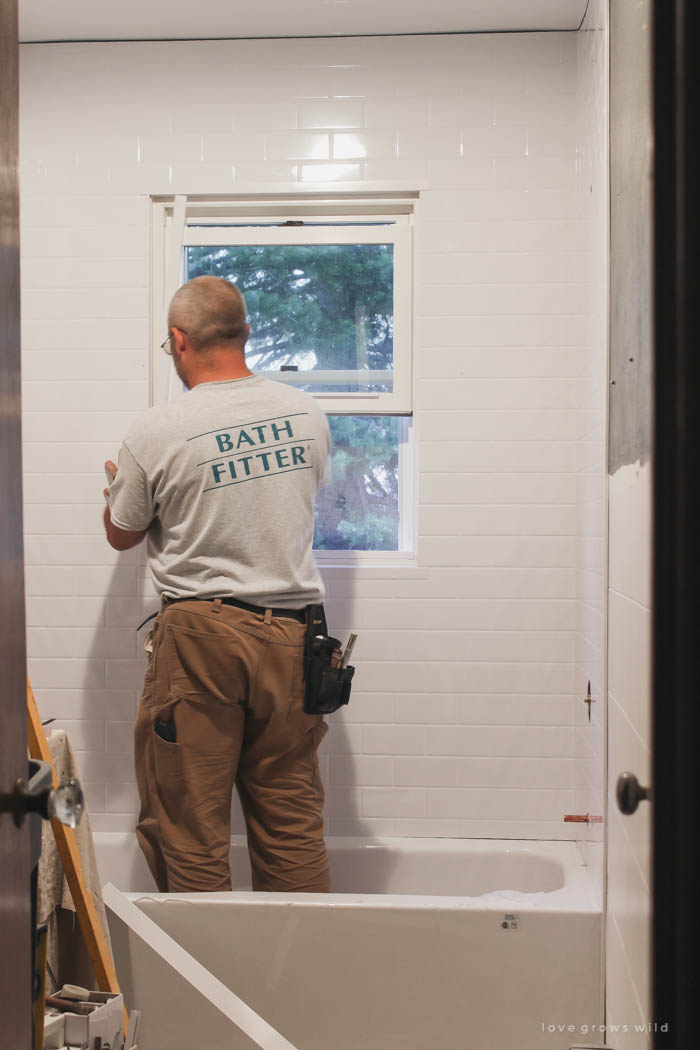
This was a pretty big week for the bathroom makeover. Our tub and shower got a COMPLETE overhaul. The Bath Fitter vans pulled in just as we got the boys on the school bus, and the rest of the day I pretty much sat in my office, caught up on blog work, and let the installer do his thing.
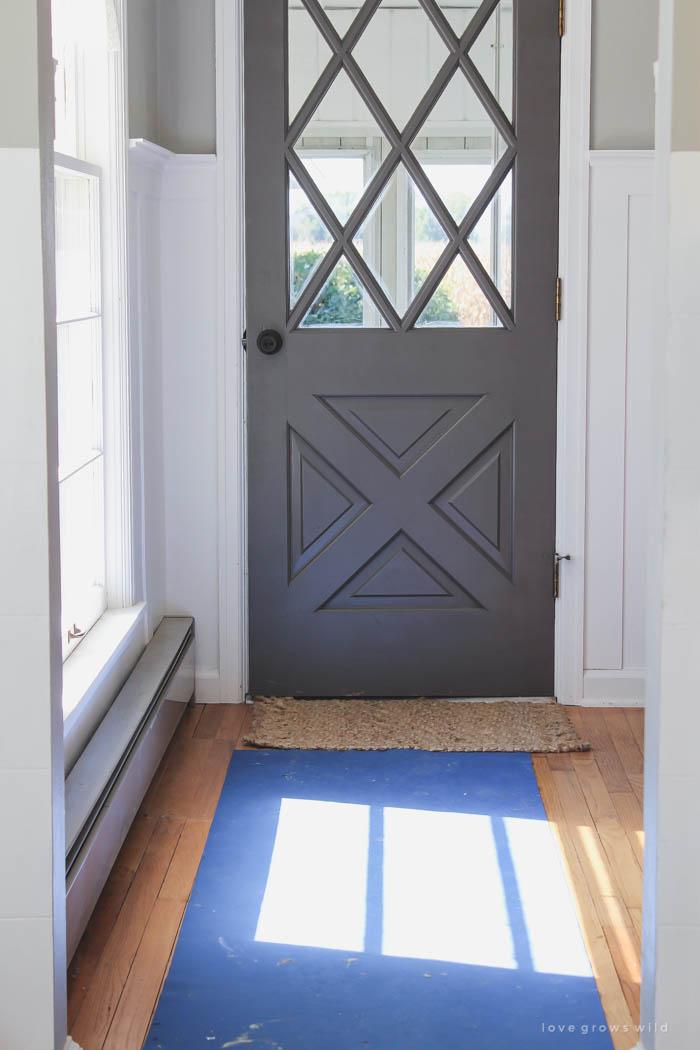
As soon as they stepped foot into the house, a blue carpet was laid all the way back to the bathroom so they weren’t tracking things in and out of the house, which was much appreciated. I said it in last week’s post about our consultation appointment, and I’ll say it again now: it truly is the little details like this that make a company really stand out from the rest.
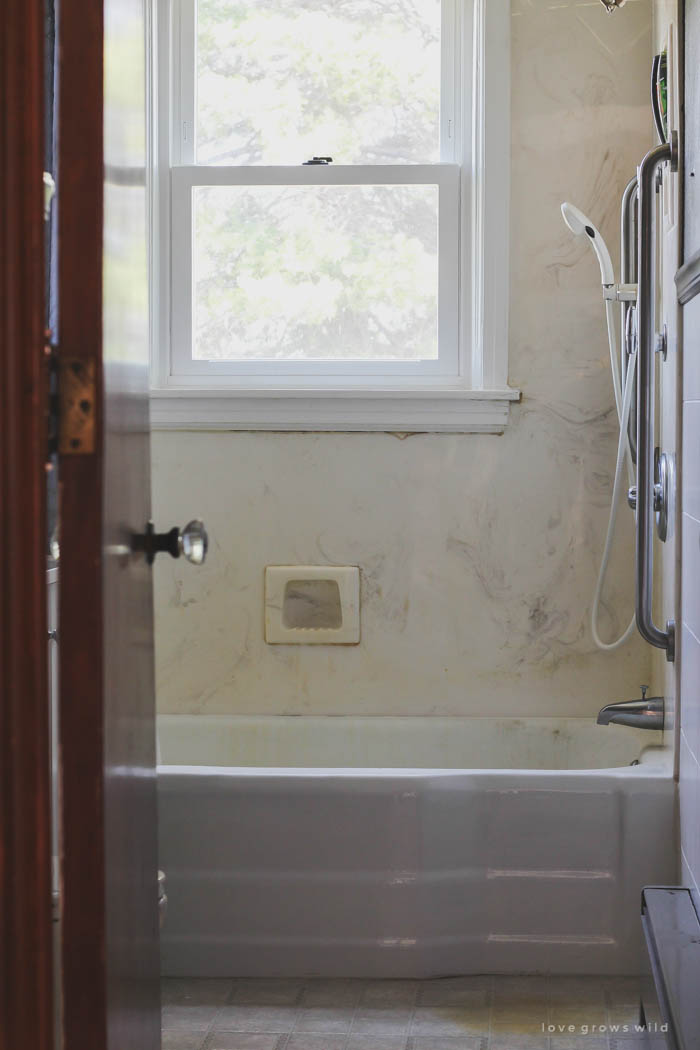
So just as a reminder, this is what our tub and shower looked like before:
The installer got to work prepping the space for our new tub, and the plumber worked on… well, the plumbing. Another thing that I really like about using Bath Fitter is that all the work is done by their own employees. They don’t contract out the plumbing or other aspects of the job, which gives them full control over the quality of their service. Have you ever done a renovation project that required 2, 3, or 4 different companies to get the job finished? It’s not fun, and often times the project suffers because of it.
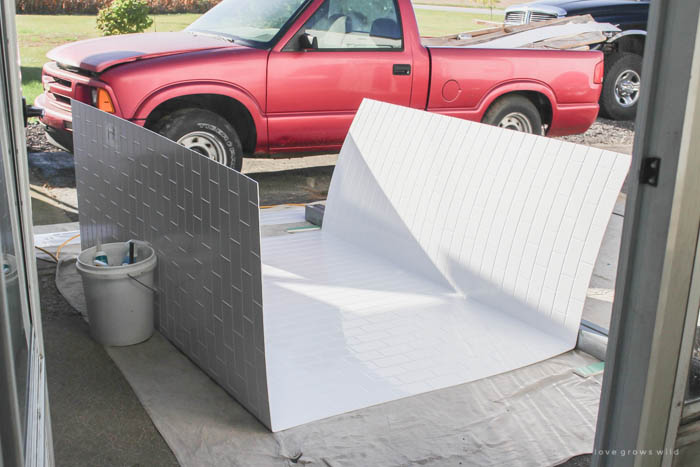
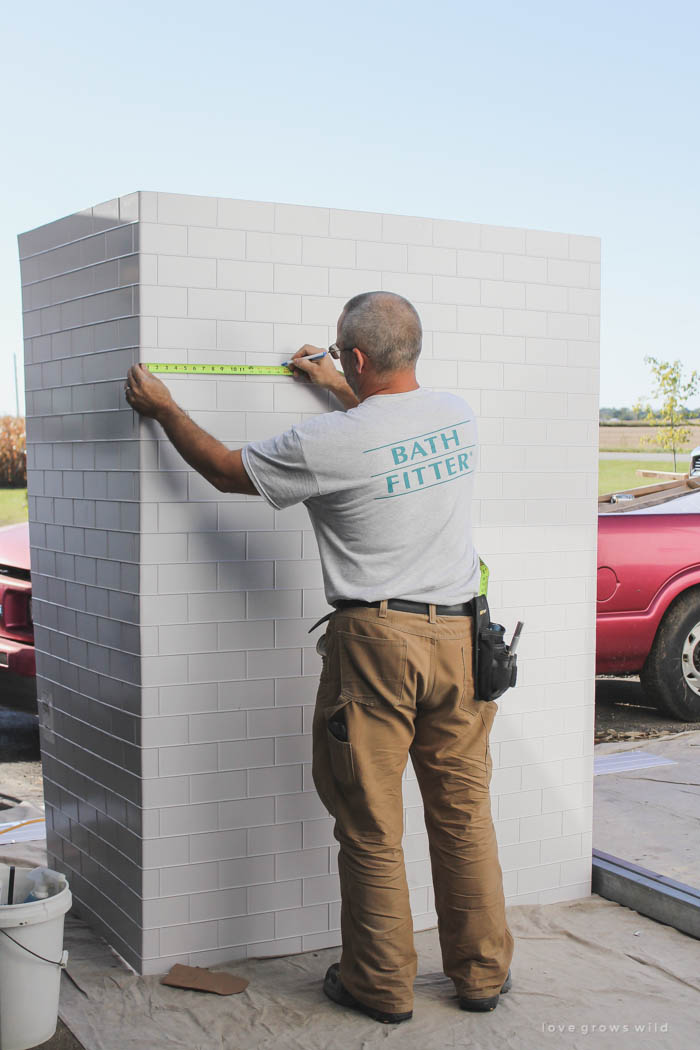
Once the plumbing and wall prep work was finished, our installer brought in the tub, which was custom made to fit our bathroom like a glove. After that, it was time for the shower walls to go up. This was the part I kind of geeked out over! Bath Fitter uses a unique one-piece unit with seamless corners, which guarantees a watertight fit. The wall starts off as a big, flat sheet of acrylic, and the installer uses a long heater to carefully create a bend where each corner goes.
As the acrylic cools, it holds the shape of the new wall surround. I LOVE that there are no seams where water can seep through!
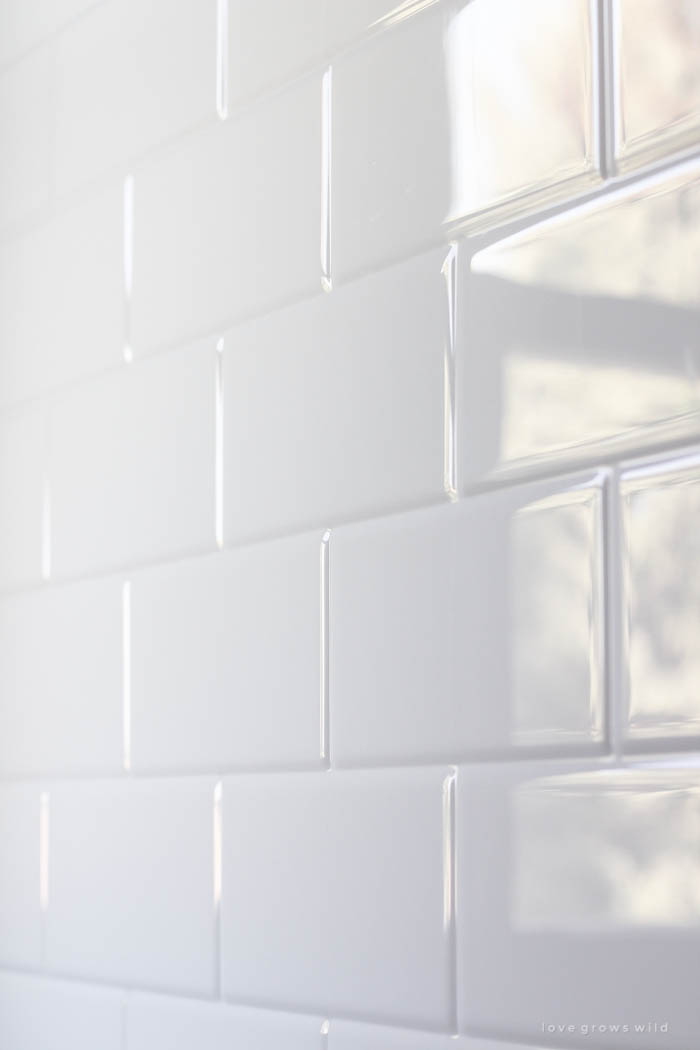
And um… do you see that subway tile pattern?? Swoon… for sure.
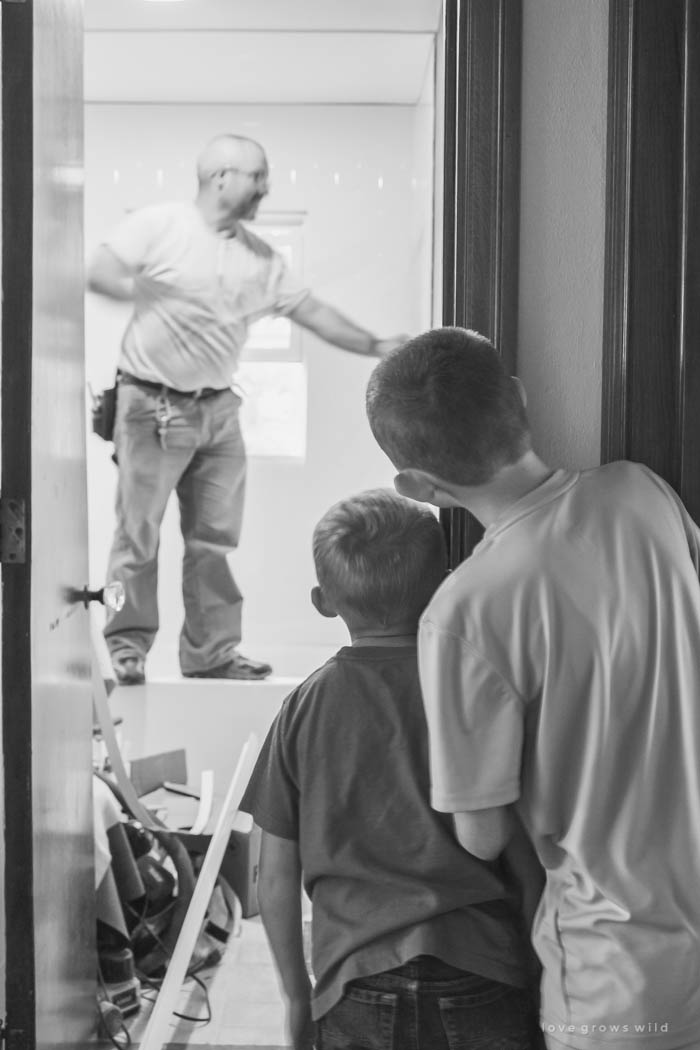
After the boys got home from school, they thought this was a pretty interesting process to watch and cheered him on as he finished each step. My 9 year old must have been feeling very inspired and poetic that day, because he told the installer more than once, “Sir, you do your job so well that it makes Van Gogh look like he doesn’t even know how to paint a sunflower.” It gave us a good chuckle, for sure!
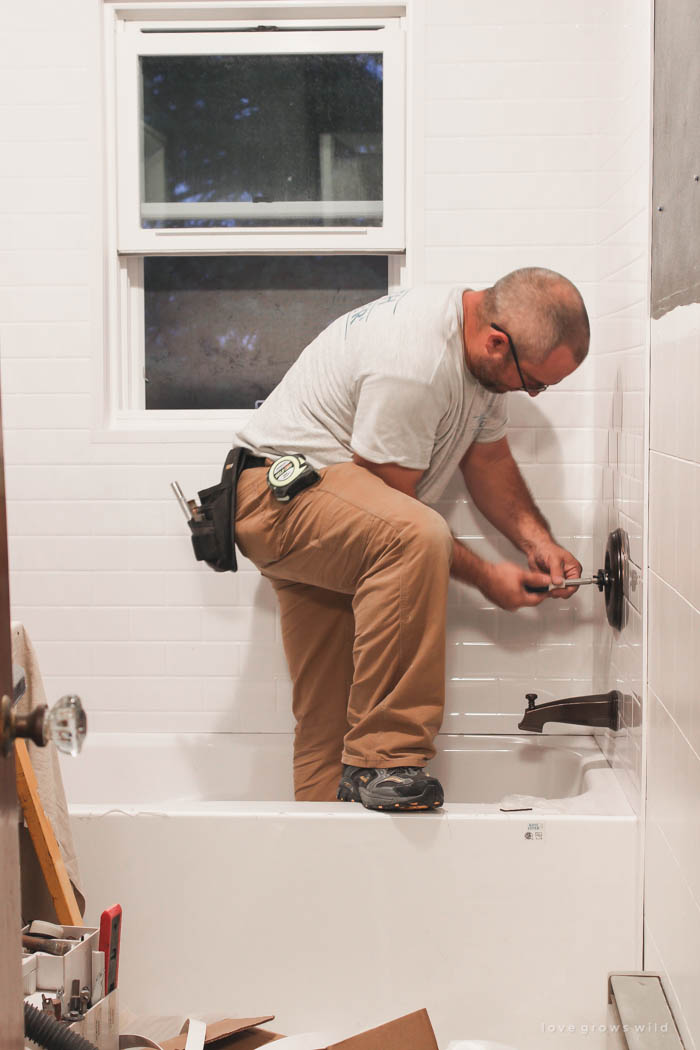
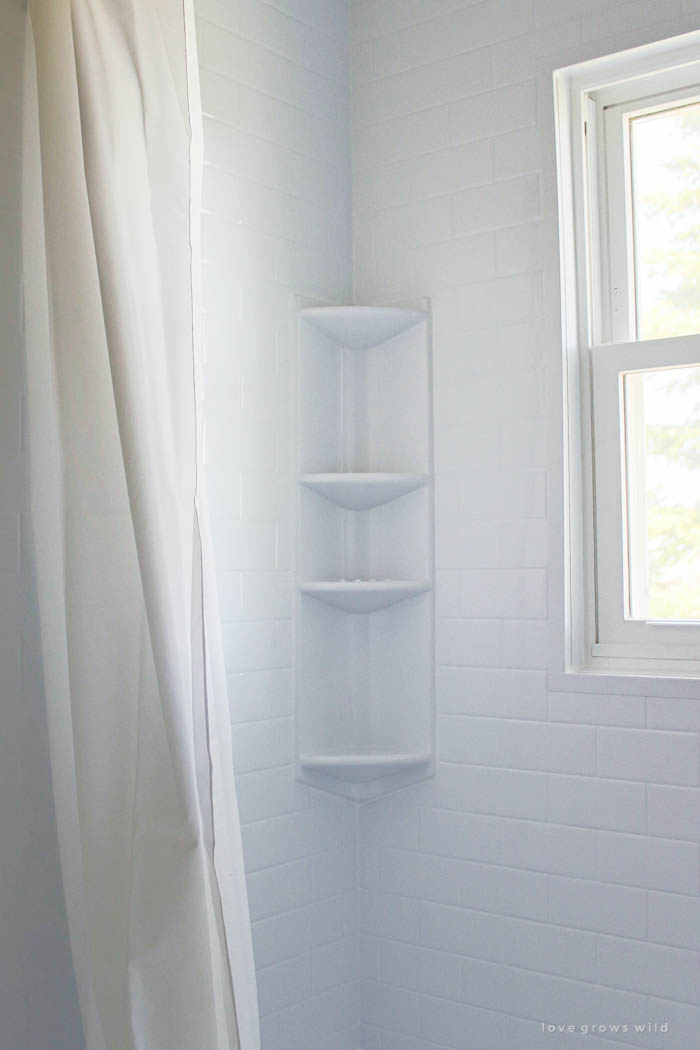
Once the tub and walls were in, trim was added around the window and walls to give a nice finished edge. We had an old wood frame window in here before, and I was so excited to see the new vinyl window go in with the shower trim sealing tightly around it. No more rotting wood, no more caulking and painting constantly… this is so much better!
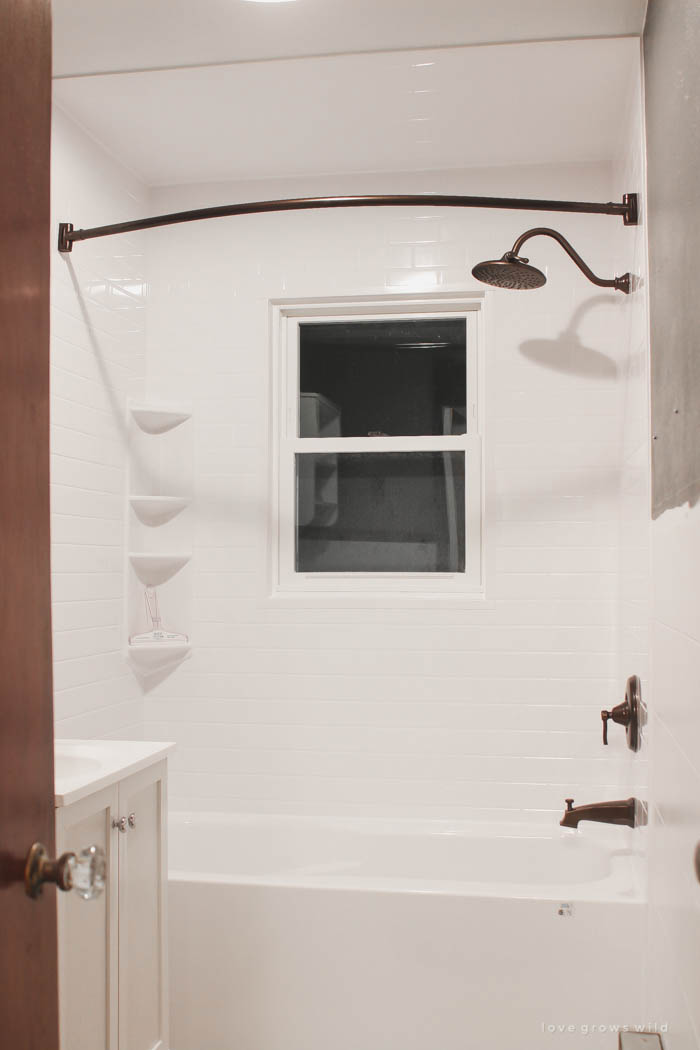
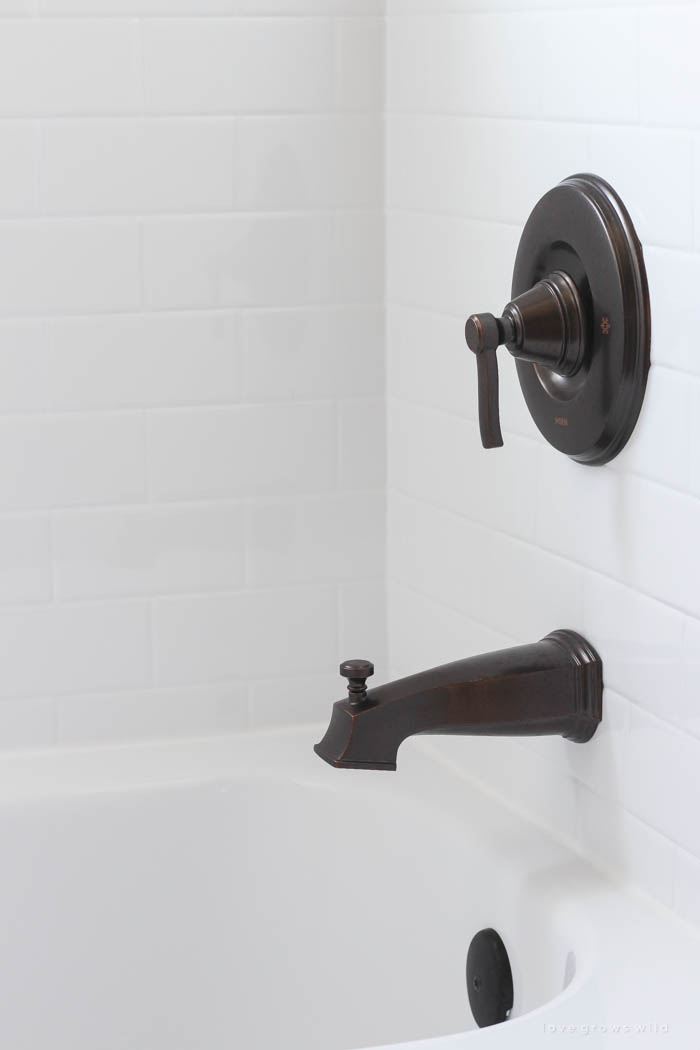
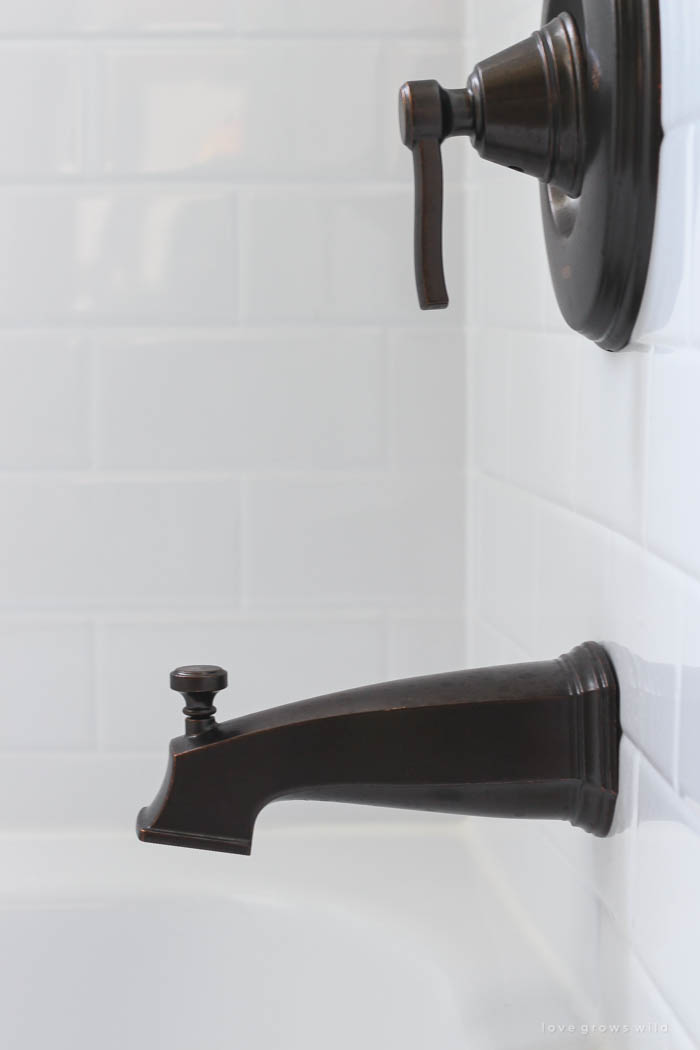
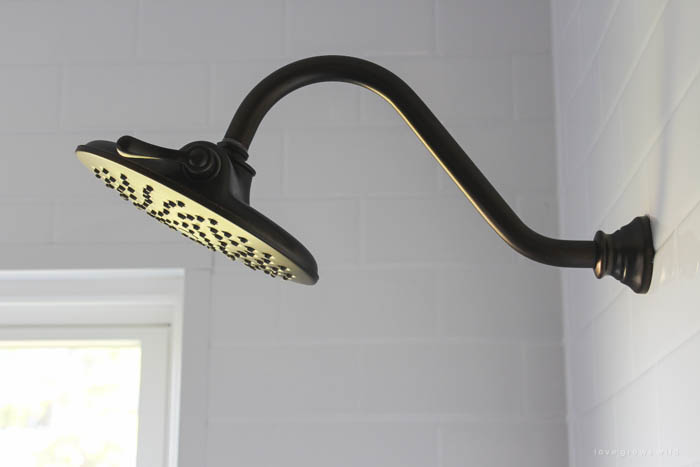
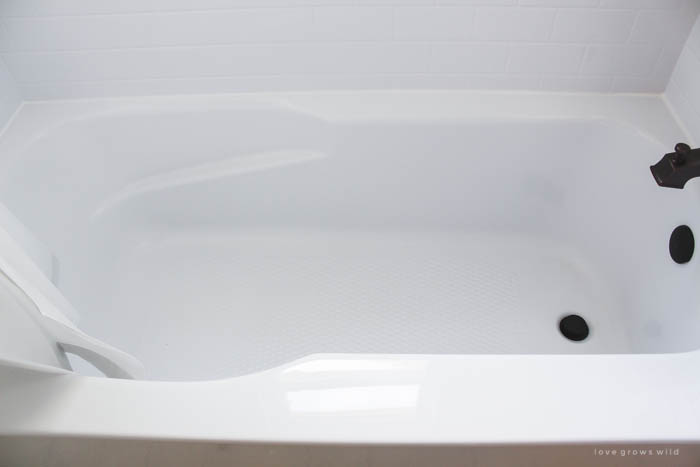
Then the gorgeous oil-rubbed bronze fixtures we picked out in the design meeting were installed.
Is this really the same bathroom??
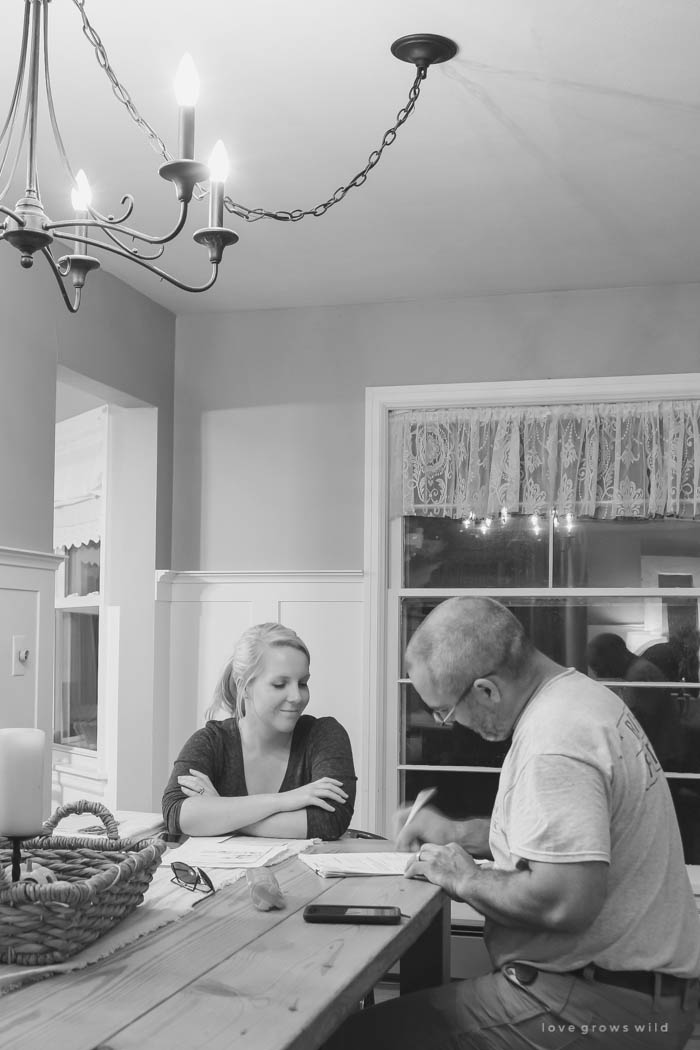
The final papers were signed, and the entire bathroom was cleaned before he left. This is probably a small detail to some, but being a DIY’er, I know how hard it is to get caulk lines that don’t look like a 5 year old did them. His were all PERFECT, and I made sure he knew how much I appreciated that. I think we made him blush more than once that day.
The subway tile pattern is exactly what I was looking for, and the tub is really spacious. I love the contrast of the dark oil-rubbed bronze against the bright white backdrop. The acrylic is so shiny and easy to clean, and the big corner shelf they installed in the back of the shower holds all of our soaps and shampoos perfectly.
Our installation was scheduled for the day before our youngest son, Wyatt’s, birthday, and we joked with him that his gift this year was a new bathtub. He couldn’t wait to take his first bubble bath in here! We’ve only had a few showers in here so far, but I am beyond thrilled with the results. It looks amazing, feels so clean and fresh, and is better than I even could have imagined. Next week, we tackle the floors in here, so stay tuned for the next bathroom update! If you’re interested in a Bath Fitter installation in YOUR home, click here or call (888) 673-3458 to schedule a consultation. You’ll be very happy you did!
LET’S KEEP IN TOUCH!
Subscribe to Blog | Browse my Shop | Follow on Facebook | Follow on Twitter
Follow on Google+ | Follow on Pinterest | Follow on Instagram
This post is sponsored by Bath Fitter, but all thoughts and opinions are 100% my own. Thank you for supporting the brands that make this blog possible!



Great article. I will be going through many of
these issues as well..
Wow, what an amazing difference! The shaped “tile” walls are the coolest thing I have ever seen! Sometime down the track, I would love to know how you find cleaning this wall surface. I am pinning this for my future bathroom reno. Have a great day 🙂
Isn’t that amazing?? Bath Fitter gave me a list of approved cleaners for their tub and wall surrounds as well as instructions for easy cleaning. I just spray a little bit of bathroom cleaner (right now I’m using Method’s natural tub cleaner) and wipe it down with a rag. The surface is really easy to keep clean!
It is beautiful! I can see why you are so excited! How fun!
Hello Liz,
I just found your blog via Pinterest. I’ve enjoyed perusing your blog! We are just about to do our bathroom this winter. It’s going to have a similar layout to yours went we are done. We will also have a window in the shower once we rearrange everything. Are you going to do anything with the window (frost or something like that)? Still trying to figure out what to do with our window as our neighbor’s house it literally 20ft from our house.
Can’t wait to see how you finish out the bathroom!
P.S. I am also a fellow blogger: thishouseofdreams.com.
Hey Laura! Welcome to Love Grows Wild! 🙂
We’re actually not planning on frosting the glass, but only because we live out in the country (no close neighbors) and two huge evergreen trees sit just outside the window. I know you can buy frosted spray paint (like this) or even a frosted window film (like this one) if you don’t want to do anything permanent to the window. Having windows in the shower can let it a lot of beautiful sunlight, but I know it’s also pretty awkward! Best of luck with your bathroom redo!
We recently did a bath reno and we did not have to frost You can buy various window films at Home Depot < Cut to size and use soapy water to apply. Easy peasy
I would love to do this to finish off our guest bath. I just love how this turned out. The subway pattern is great – best part no grout. That is the one thing that keeps me from doing more tile- I hate cleaning grout. I love this option!
Beautiful Liz!!!!
Great new look! I like your bathroom
I have the exact same layout with an old single pane window. I’m a single mom with 3 children and just bought this 1948 house that we love but need a shower. Do you mind me asking what your project cost, rough estimate?
Hi Celeste! Gotta love those old homes with shower windows, right? Honestly, every Bath Fitter install is different, so the cost can vary quite a bit depending on your needs. Because we partnered with Bath Fitter for this project, I don’t have a number I can give you, but I definitely recommend giving them a call for a consultation! Even if you have to save awhile before doing the installation, at least you’ll know what number you’re looking at. The Bath Fitter guys are super helpful and will let you know what will work best for you bathroom. I hope this helps! 🙂
Did Bath Fitter install the new vinyl window? Or was that something y’all had to do on your own? We have an old wooden window in our shower, and are debating on getting a vinyl window or just walling it up!