

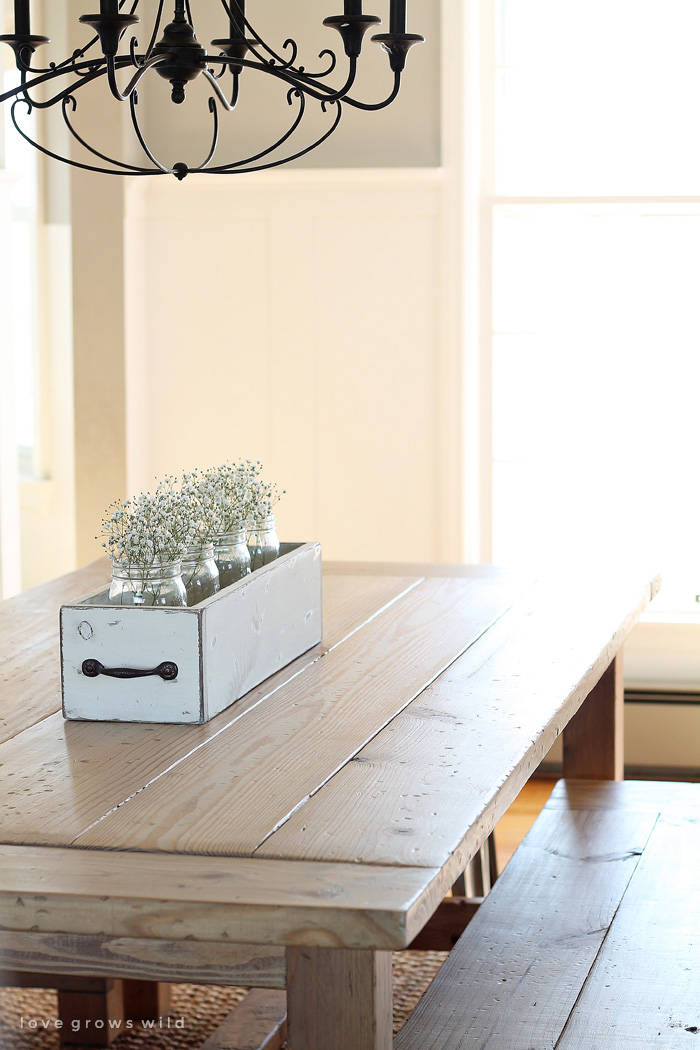
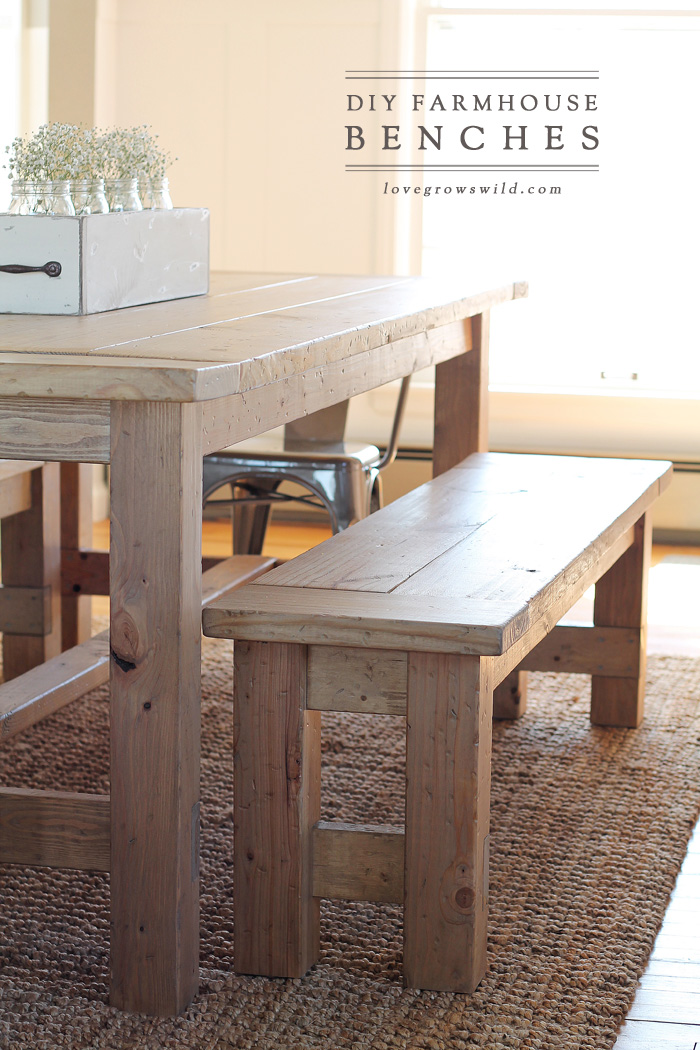
As soon as we finished building our massive farmhouse dining table, I knew that we would need some kind of centerpiece to cozy up the space. I didn’t want anything too big that would clutter the whole table, but something that would fit in with our farmhouse vibe and allow me to display some pretty seasonal flowers or other decorative items whenever the mood strikes.

I thought about doing some kind of lazy susan or a shallow basket at first, but I ended up going with a simple wood box because a) it’s super versatile and can be used in all kinds of different ways and b) it was really easy to make!
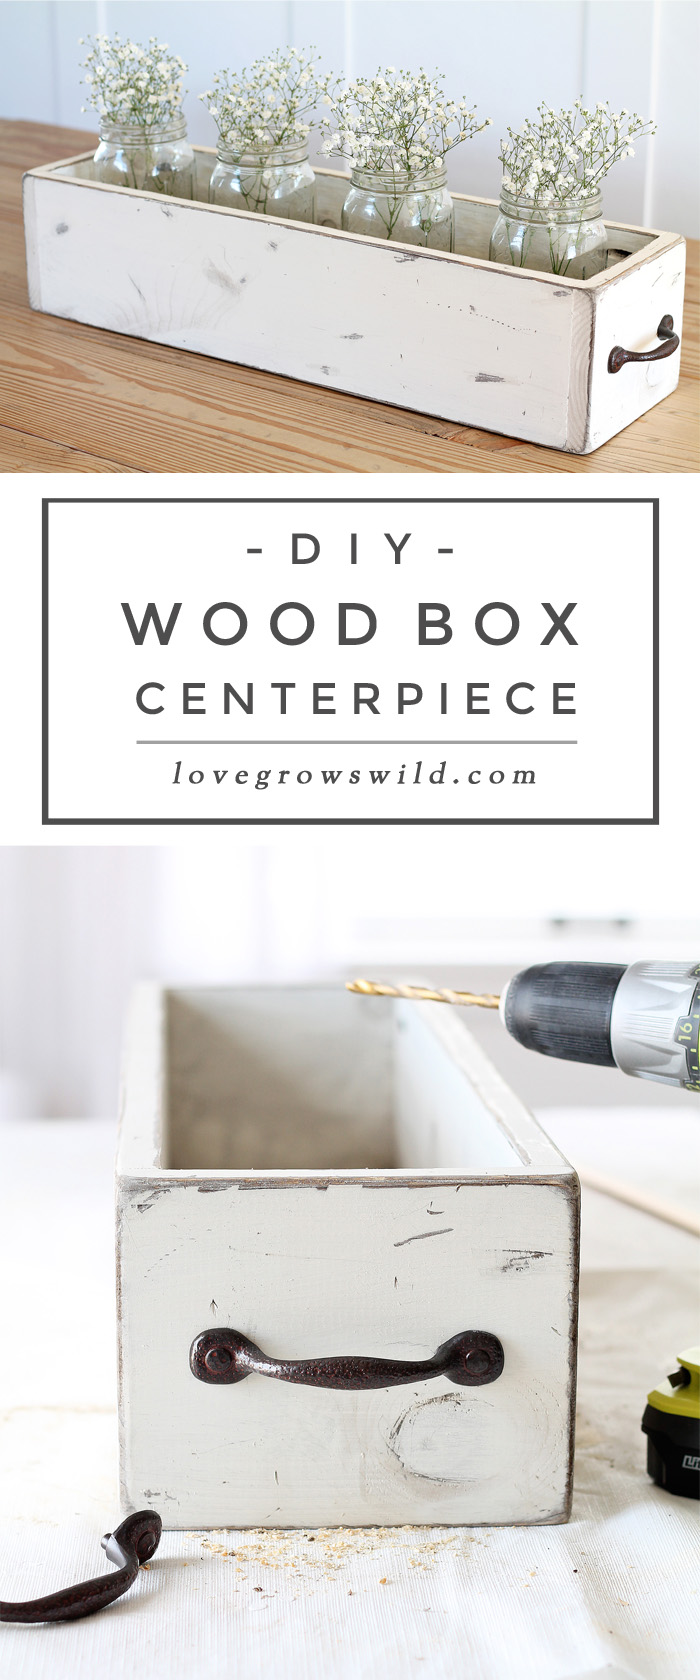
I built the long, narrow box out of 1 x 6 boards and gave it a rustic, distressed look with a combination of stain, chalk paint, and some “old” drawer pulls.
Supplies:
3 – 1 x 6 cut to 22.5″
2 – 1 x 6 cut to 7″
miter saw and/or circular saw
Kreg Jig
tape measure
drill
1 1/4″ Kreg Jig Screws
palm sander
paint or stain of choice
2 – drawer pulls
* These dimensions will give you a box that is 2′ long by 7″ wide.
Instructions:
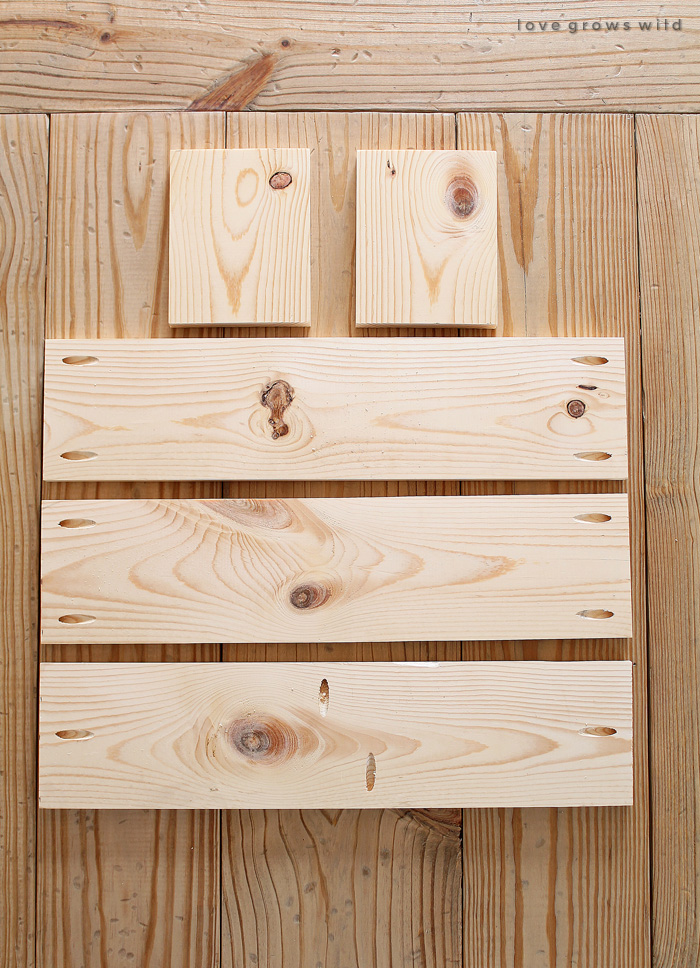
First, cut all your 1 x 6 pieces then drill pocket holes with the Kreg Jig as I’ve shown below. The top two pieces are the short sides, the next two pieces with pocket holes in each corner are the long sides, and the bottom piece will be the bottom of the box.
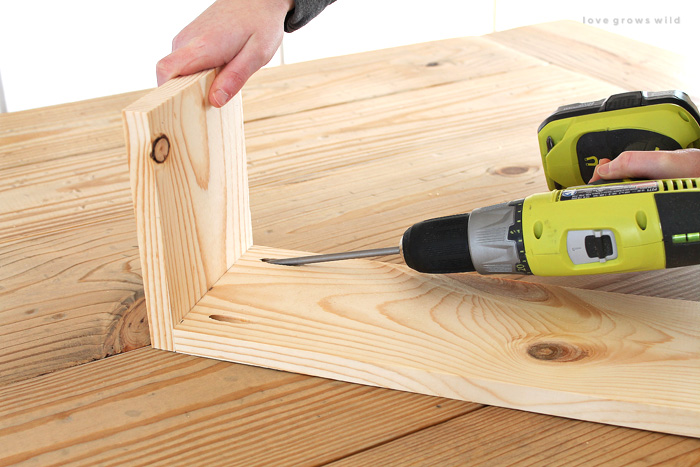
Use 1 1/4″ screws to attach the short sides to the long sides through the pre-drilled pocket holes.
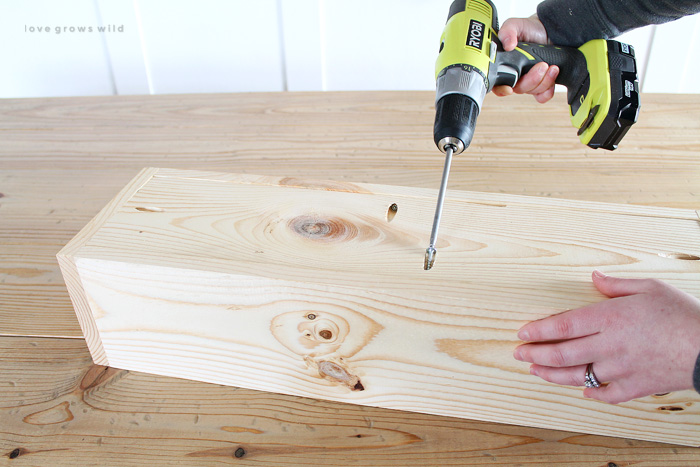
Then drop the bottom piece inside the box you’ve created and add screws to secure. I set some cups inside the box to prop up the bottom while I was drilling so that everything stayed flush. Sand all the edges down smooth and wipe the box to remove any dust.
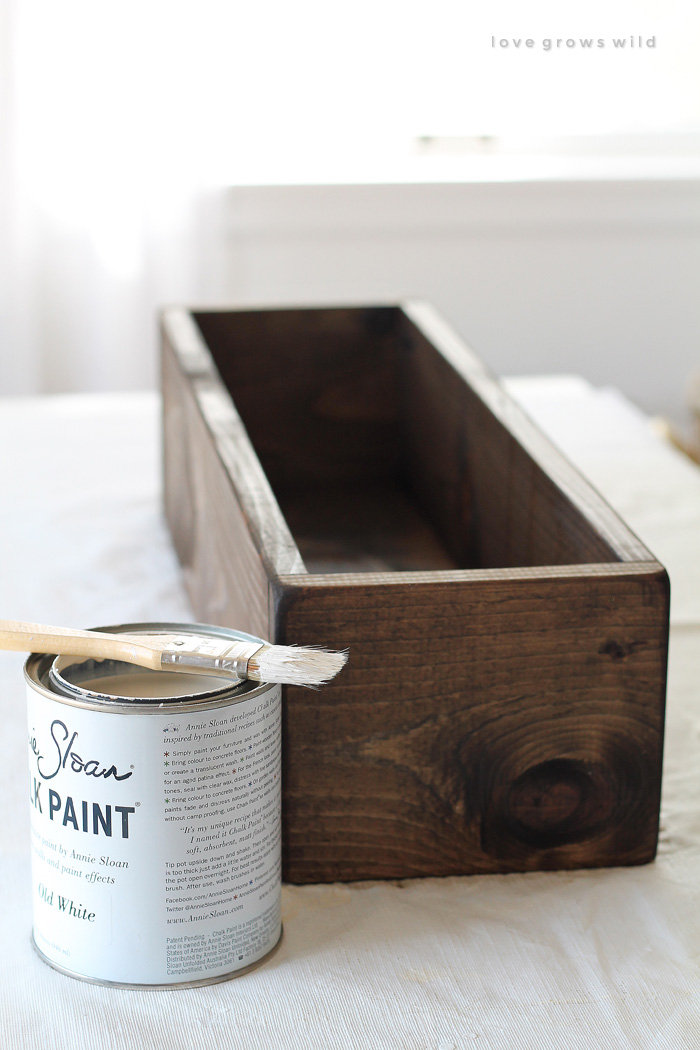
After the box is built, you can add whatever finish you like. I wanted mine to have chippy white paint on top with a darker stain on the wood underneath. I started with a coat of Minwax Dark Walnut, then painted over the stain with Annie Sloan’s Chalk Paint in Old White.
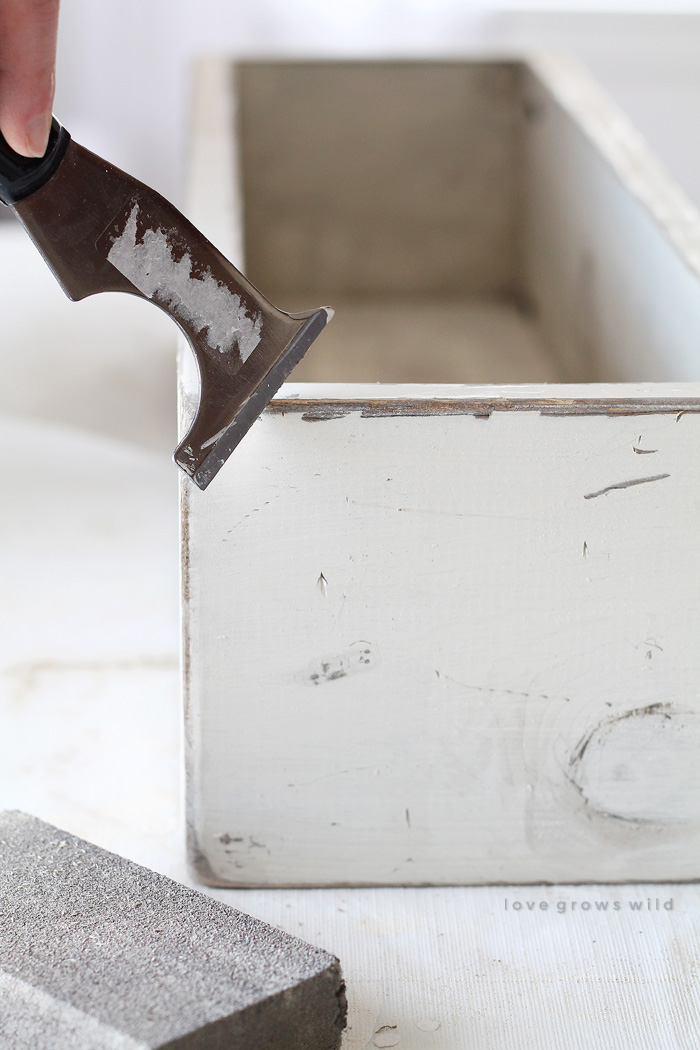
Usually when I distress something, I use sandpaper, but I wanted more of a rough, chippy look on this centerpiece, so I tried using a scraper/putty knife this time and LOVED the results. I just ran the scraper up and down the edges of the box, and the chalk paint chipped right off, exposing the dark wood underneath. I think this method gives you a lot more control over the distressing, and you can do a very clean, straight edge or make jagged, rough lines like I chose to do here. Once all the edges were done, I made some marks, dings, and scratches on the sides of the box to make it look not so “freshly painted”. If you have any knots in the wood, make sure to scrape over those… it will add a lot of character!
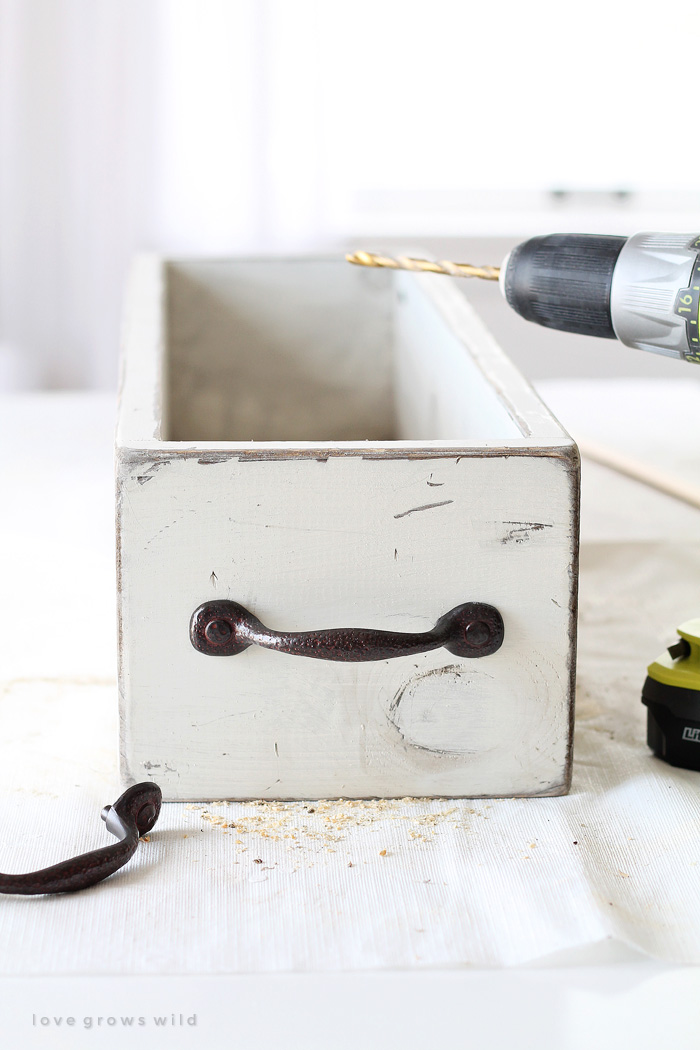
Once you’re happy with the distressing, add a drawer pull to each of the short sides. I picked up these antique-looking pulls from Menard’s for just a few bucks each.
The best part about projects like this is that there’s no right or wrong way to do it. The more you distress it, the better it looks. You really can’t mess it up! It’s really easy to adjust the dimensions of the box too, if you need a different size.
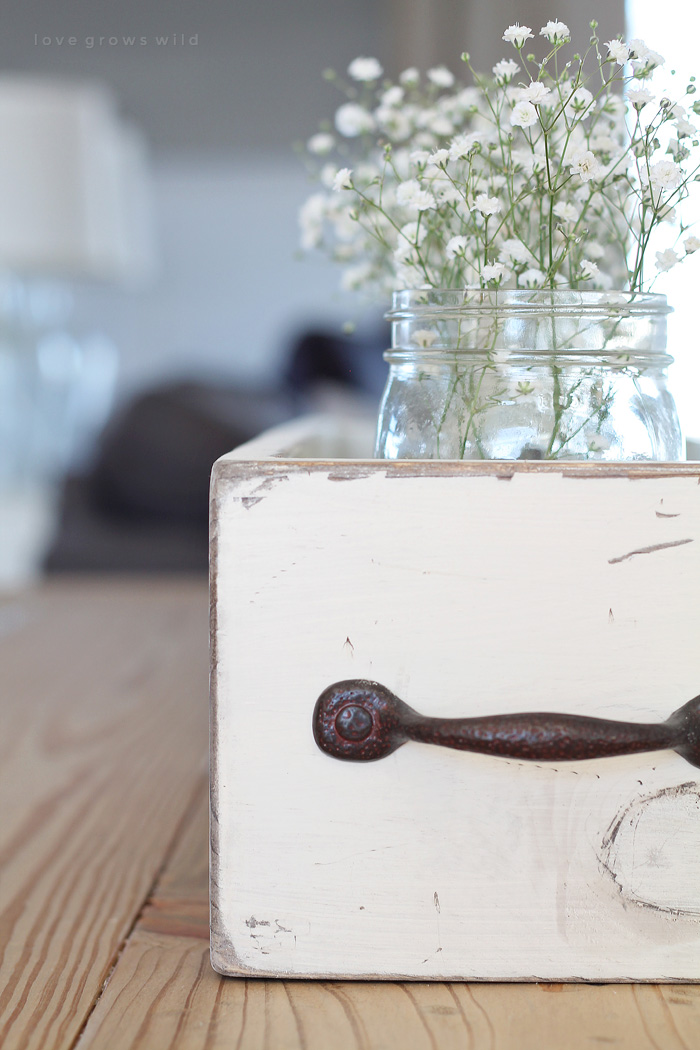
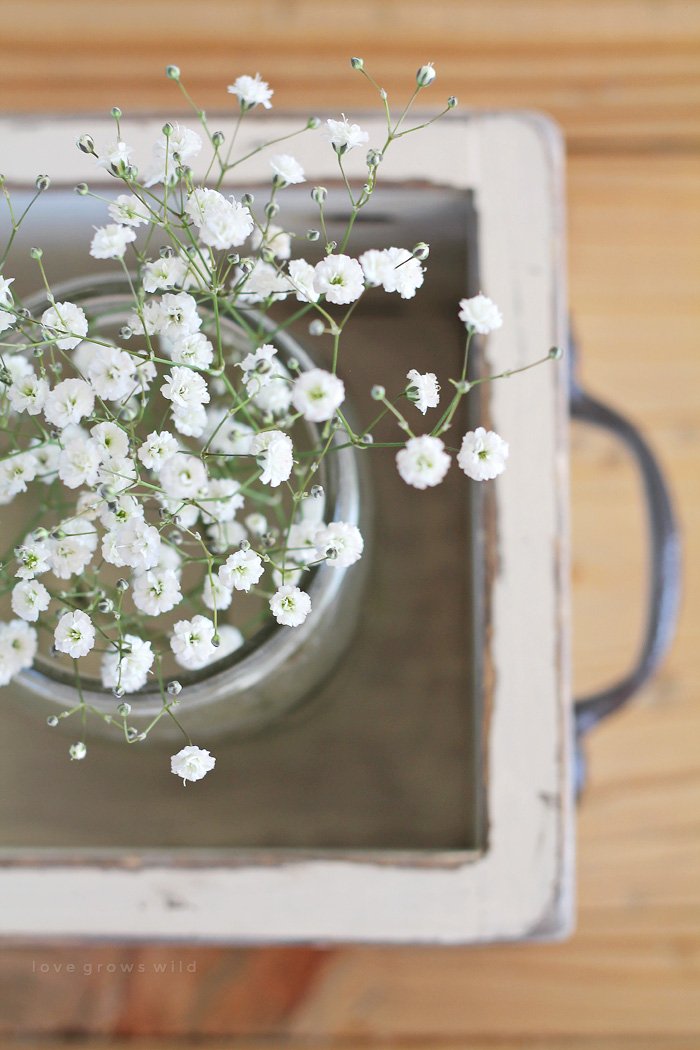
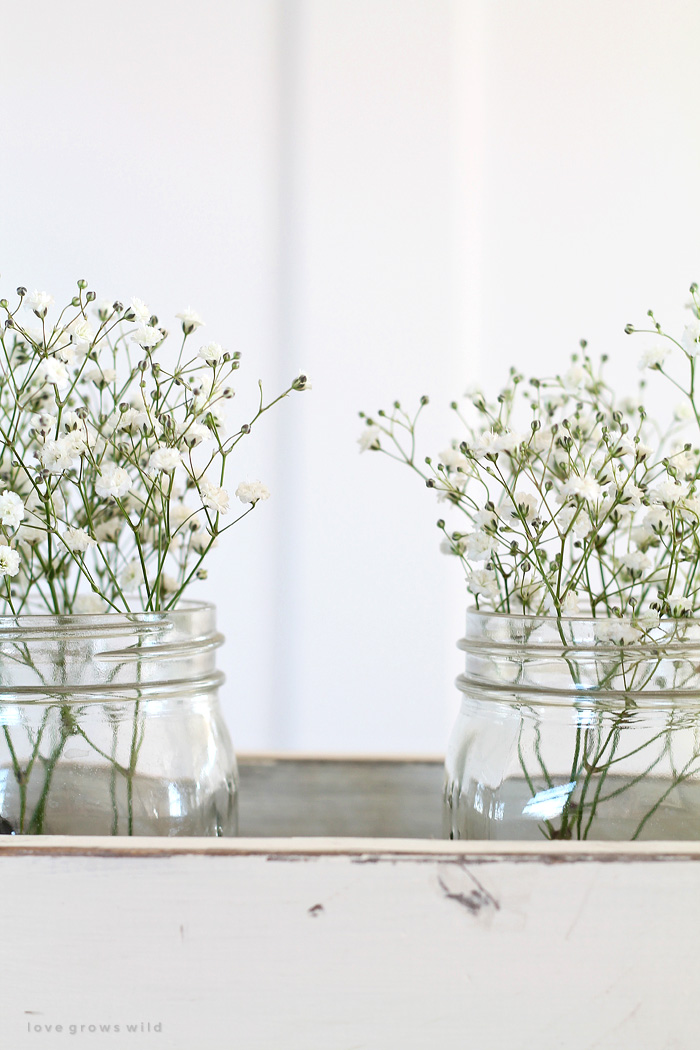
I’ve had mason jars filled with baby’s breath sitting in this box for the past few weeks (love!!), but I’m excited to add some different flowers for spring… leaves, twigs, and acorns for fall… evergreen branches and ornaments for Christmas… the possibilities are endless!
I’d love to hear your ideas… What would YOU put in a centerpiece box like this?
Are you making this project? I’d LOVE to see it! Post a photo of your creation on Instagram and use the hashtag #MyLGWProject. It may just get featured!
More project inspiration:
LET’S KEEP IN TOUCH!
Subscribe to Blog | Browse my Shop | Follow on Facebook | Follow on Twitter
Follow on Google+ | Follow on Pinterest | Follow on Instagram
* These are affiliate links included in this post. Thank you for helping support our blog!

How beautiful, Liz! What a gorgeous centerpiece, it goes beautifully with your table and benches! I also wanted to tell you that you’ve inspired me so much with all your awesome home makeover posts, that I just started a big dining room makeover project too (with the help of my husband, of course, ha!) so we are in the process of sanding down our current table and chairs! I’m a little nervous about it, but hoping it will turn out great! Thanks for all the beautiful inspiration that you share! Have a great weekend!
Oh wow, Maria… that is awesome!! I hope you love your new dining room as much as we love ours! Thank you so much for sharing your makeover adventure with us… I’d love to hear how it goes!
This is so stunning. Totally my style! Pinning this now. Thank you for the inspiration!
I love the wood box! I keep saying I going to make some, I need to just do it. It makes a great centerpiece. I love the wood table and bench too! Thanks for sharing your tutorial! Pinning!
What a cute box….and i LOVE your table!!! I am so lucky to be featured with you on MY Uncommon Slice of Suburbia
Brooke
startathome.blogspot.com
You have got such a wonderful gift! Your work is very beautiful, classy and charming !!
Very cool, great tutorial!
I loved this so much that I just started making it right away!! I should have took the time to find a measuring tape and followed it better because I ended up barely getting my Kraig screws in (I shortened my box) but I absolutely love mine so it was worth it! I gave it to a friend and she loves it too!!! Thank you so much for the inspiration!! (I’m new to all this blogging but I hope it’s okay that I put a link to this tutorial (Yours wasn’t laced with all the “where I messed up was…” like mine)!
Lol, I’m so glad you liked it, Billie!
What a perfect rustic centerpiece! Love the baby’s breath 🙂 And that table – SWOON!
Hi there! Do you think this technique would work with just interior paint like you’d use in your walls for the white? I don’t have chalk paint and know it’s quite expensive to buy…. Thanks in advance!
Absolutely! I’d just recommend using a flat sheen of paint instead of something glossy. Have fun creating!
Thanks for the inspiration and plans. My husband and I built 2 of them last weekend. I happened to have some dried hydrangea that I put in my mason jars. Looks great!
Very nice and easy to follow tutorial. I’m inspired to make one of my own!
Love the box. How did you round the top corner edges?
Thank you, Anne
I don’t have a Kreg Jig. Is there something else you would recommend??
Hi Brooke! You can definitely still build this project! You can just add the screws from the outside of the box (rather than having them hidden inside the pocket holes) or even use a hammer and nails and wood glue if you don’t own many power tools. I hope this helps! 🙂
Lovely! Making a few sets for Mother’s Day! Wondering if the mason jars were your regular 16oz? They fit perfectly!
That is such a sweet idea! I used the 32-ounce quart size mason jars in mine, but either would work! 🙂
What is a Kreg jig? Never heard of them out here.
Hi Roger! A Kreg Jig is a tool that helps you build projects and attach two pieces of wood together quickly, strongly, and easily. I love mine! Here is a video that shows what it can do: https://www.youtube.com/watch?v=Q0BaOma-6×0&feature=youtu.be
And here is where you can purchase one if you’re interested! (affiliate link) http://amzn.to/2bBWlDq
I am using your idea for my centerpieces at my wedding April 2017! Love it!
Where did you find the handles .. I’m looking for these in particular. Thanks!
I found them at Menard’s!
One “Error” or correction I’d like to mention is the measurements. You were a bit long and loose with the measurements and they don’t work out as you gave them.
It all comes down the the thickness which you didn’t mention. since 1×6’s are not actually 1 inch thick (and don’t work out that way anyway) you either CAN’T have the ends at 7 inches or you can’t have the floor at the same as the two sides at 6″. My students tried to copy this project and were required to make the floor smaller (or they would have had to make all the wood 1/2″ thick to accommodate 6″ plus 1/2″ by 1/2″ to equal 7 inches.)
So if all the wood is exactly 6 inches wide and lets say 3/4″ thick from a store, the width of the ends needs to be 7 1/2″ if you want the floor to be the same as the sides. I’d make it just slightly bigger (1/16″ over) and sand flush after assembly,
OR you figure out the width of the floor after determining the total width of the two side in comparison to the width of the ends depending on how wide you actually want this. (sometimes dependent on what you intend to place in the finished project.
Aside from that my students are 1/3 way through making 5 or these this week
Great tutorial! I found another step by step on how to make the rustic jars for inside the box at sunshineandapplesauce.com. I’m going to do both for my dining room table!
Love this so much, I’ve decided to make 6 of these in different sizes for Christmas gifts for friends. I’ve got the boxes built, stained and just finishing up painting. Just wondering though, after you used the scraper, did you sand as well? If so, what grit did you use? Really hoping mine turn out as nice as yours!
I really like the distressing & the handles. Such a nice touch.
How much did you pay for materials for the box?