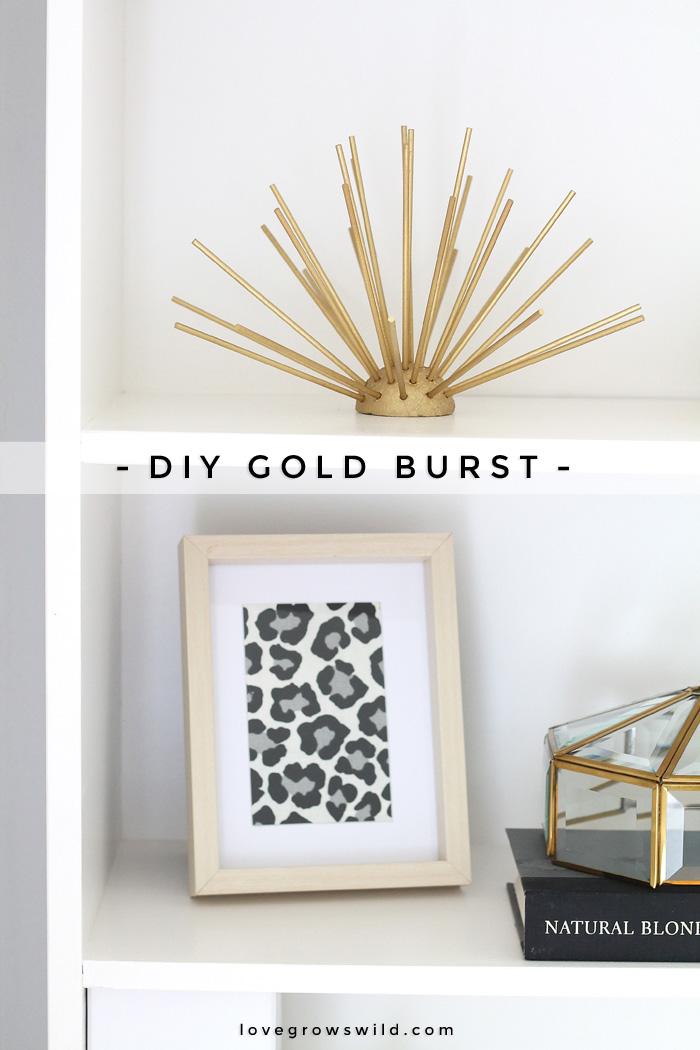
As I’m getting some of the bigger projects finished in my office, it’s time to start thinking about the finer details…. accessories, pillows, and the fun stuff! This is the first room in my house that I had a really clear vision of what I wanted, and I knew exactly what my color scheme would be from the beginning. It’s no surprise that going lighter and whiter has been a big part of the room’s makeover, and my mint desk makeover gave the perfect pop of color to the space. I love the simple, classic look of black and white decor, and gold is a natural pairing, adding a touch of glam in the room.
For months now, I’ve walked past a black and gold display in Hobby Lobby that catches my eye every time. It’s full of gold antlers, gold feathers, gold lamps, and these amazing gold bursts that I just adore! I’m always tempted to toss a couple into my cart for my office makeover, but I look at them and think, “I could easily make those for way cheaper.” Typical Liz, right? Well, now that I have space for accessories on the bookshelves I just finished (I’m sharing that reveal next week, so enjoy this sneak peek!), I finally got around to making a gorgeous DIY Gold Burst for my office, and I couldn’t be more excited to share this tutorial with you!
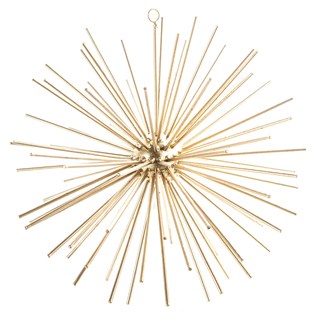
Here’s what their version looks like:
I’ve seen a few different shapes and sizes in the display, but I decided to make my burst a half sphere so #1 it would fit nicely on my shelves, and #2 it would sit flat and not wobble around too much.
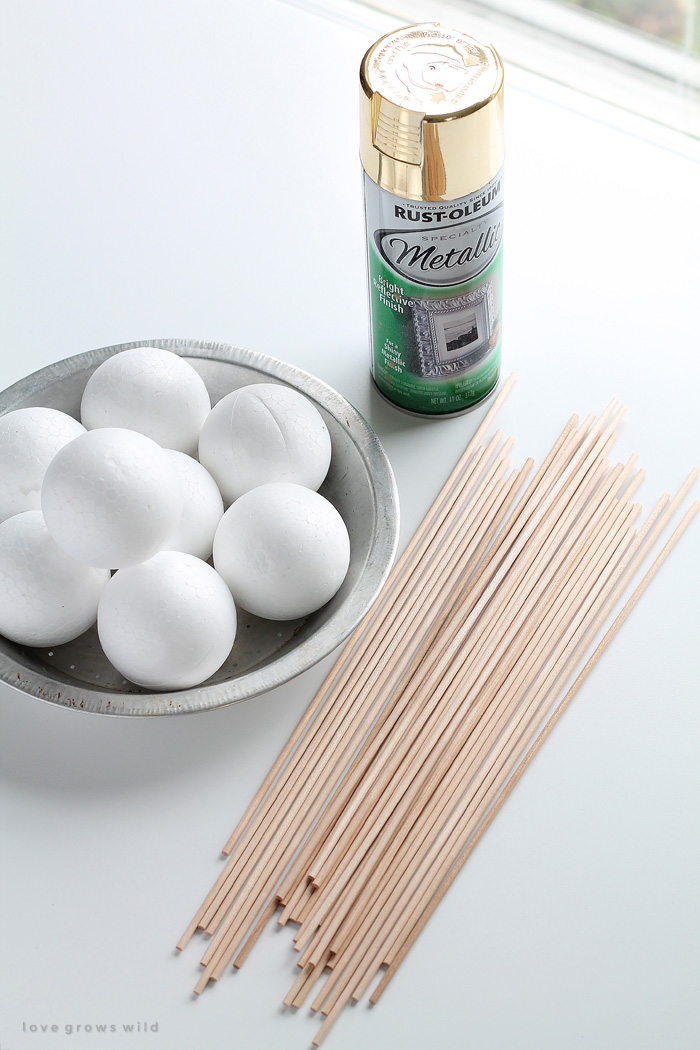
Supplies:
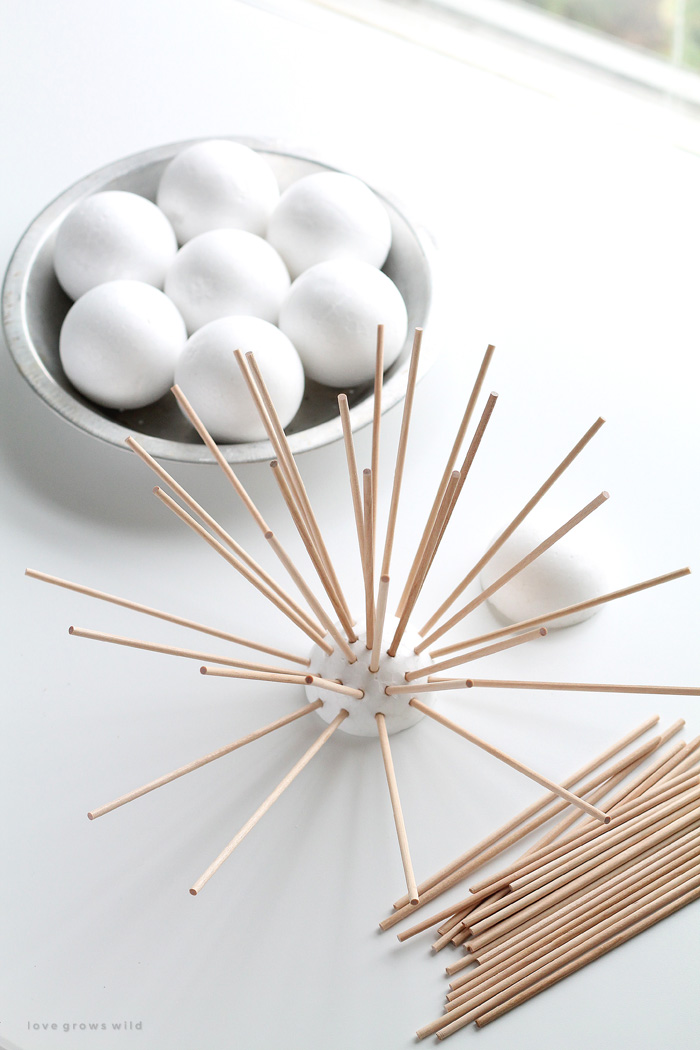
- styrofoam balls
- wood dowels (mine were 12″ long)
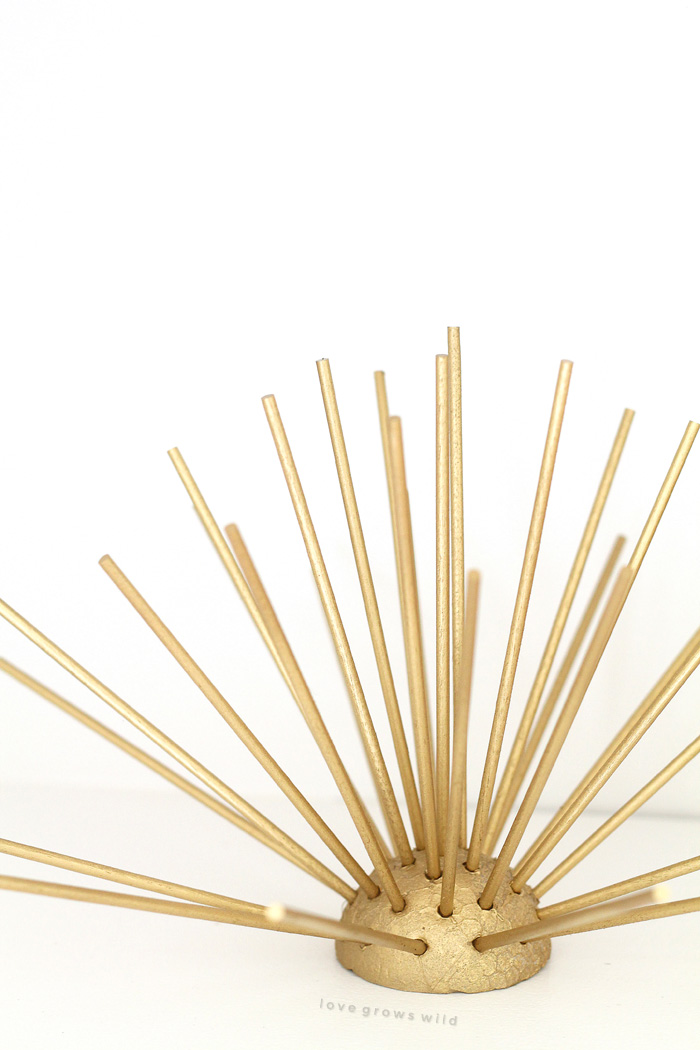
- gold paint
- hot glue gun and glue
Step One:
Cut a foam ball in half. I used a serrated knife to cut through the foam on a cutting board. You want the bottom of your foam to be nice and flat, so you can lightly sand the bottom with a piece of sandpaper to make it smooth and even, if necessary.
Step Two:
Cut the dowel rods to desired length. I cut mine in half (to 6″) using wire cutters.
Step Three:
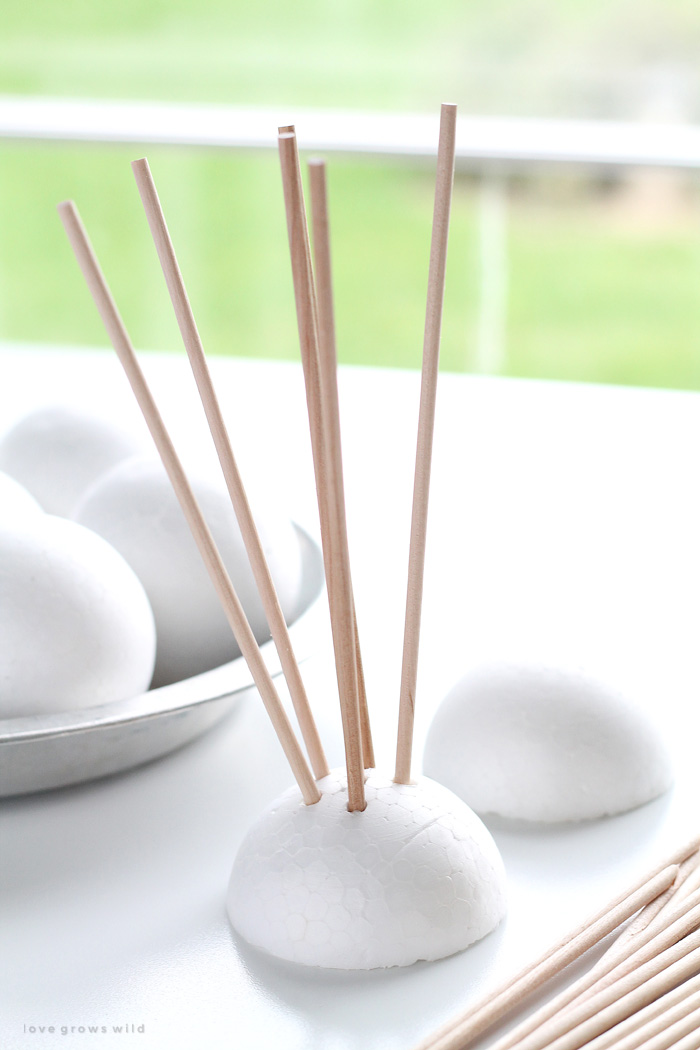
Poke a small hole in the top of the foam (I used the tip of a small screwdriver), and place a drop of hot glue into the hole. Stick the cut end of the dowel rod into the hole, pushing it down in the glue, but not through the bottom of the foam. Continue adding dowel rods to the foam, working your way around the the bottom and keeping them evenly spaced.
Step Four:
Time for paint! I didn’t want to take the time to individually paint each dowel rod, so I chose to go the spray paint route. PLEASE read this first before painting! Yes, I know styrofoam typically does NOT do well with spray paint. But since I already had the spray paint and I wanted to save time (plus I Googled it, and everything you read on the internet is true… right?), I decided to give it a go anyway. I took the burst out to my barn (a.k.a. paint studio) and made sure to hold the can at least 11″ – 12″ away from the foam as I was spraying. If you get too close to the foam, it will basically melt and disintegrate, so be very careful! Both my bursts (I actually made two of them) turned out perfectly, with only a small spot of melted foam on one side. So these CAN be spray painted, just very carefully!
Option #2 would be to paint the foam with gold acrylic craft paint before adding the dowel rods. You can choose whichever method you prefer!
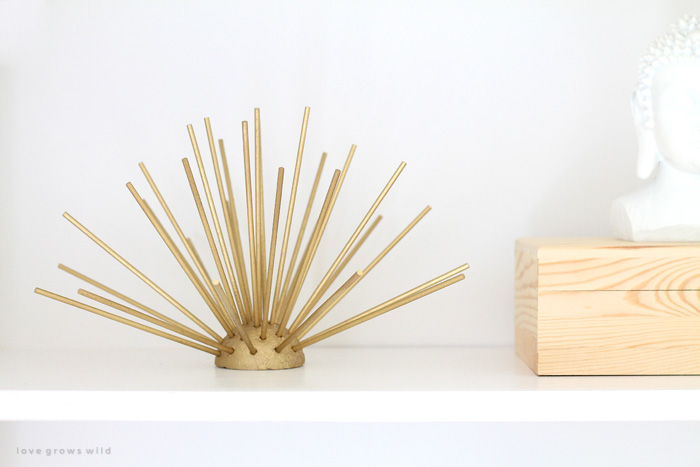
I was so excited to add this glam gold burst to my new bookshelves and get everything styled. The spikes give a fantastic “sculptural” element to the shelves, and the gold makes them really pop against the white backdrop! Stay tuned to see more photos of the office makeover next week!
So what do YOU think? Have you ever tried to re-create something you saw in a store? Did it turn out the way you had hoped? Do you love the gold trend happening right now? Leave me a comment and tell me your thoughts!
Are you making this project? I’d LOVE to see it! Post a photo of your creation on Instagram and use the hashtag #MyLGWProject. It may just get featured!
Like what you see? Subscribe to Love Grows Wild so you’ll never miss a post!
Follow along on Pinterest, Google+, Instagram, and Facebook for more fun!
More Home Decor Ideas:
LET’S KEEP IN TOUCH!
Subscribe to Blog | Browse my Shop | Follow on Facebook | Follow on Twitter
Follow on Google+ | Follow on Pinterest | Follow on Instagram



I love your DIY posts. I’ve book marked a number of them to try to do when I have the chance. And it’s very cliche (given my blog name), but I truly do love GOLD. Haha. This is a great idea. So clever, easy, and inexpensive!
Haha, I love the name! Thanks so much for checking out my post, Sarah!
What a cute idea! And such an easy craft. Gold is like my favorite color, so I might make this soon, although my crafting skills are almost nonexistent. 🙂
Mine too! I can’t get enough pretty gold things lately. 🙂 I know you could tackle this project for sure!
This is so cool. I actually made one but I made a whole one. I think I like the half one better.
I wanted to try a whole one too, but ran out of supplies! I’ll have to try that in the future! Thanks so much for stopping by, Trish!
Adorable. I’m loving all things gold for Fall. Visiting from Monday Funday linky 😉
Me too, Ursula! Thanks so much for stopping by!
Love the gold Sea Urchin, going to try and make one this weekend and of course credit your awesome website. I stumbled on your blog today and I’m going to start stopping by.
Thank you, Naomi! Have fun crafting! 🙂
love this! I actually had the exact same idea after seeing a similar piece in one of my favorite stores, ZGallerie! I’ll def. have to give it a try after seeing how great yours turned out!
Love Z Gallerie!