
Hey guys! I hopped on an airplane yesterday and landed in beautiful Utah for a couple days to attend a blog conference (hey, SNAP buddies!), so I just wanted to check in with a quick tutorial today from my living room gallery wall. Haven’t seen the wall yet? Be sure to head over there after you’re done here!
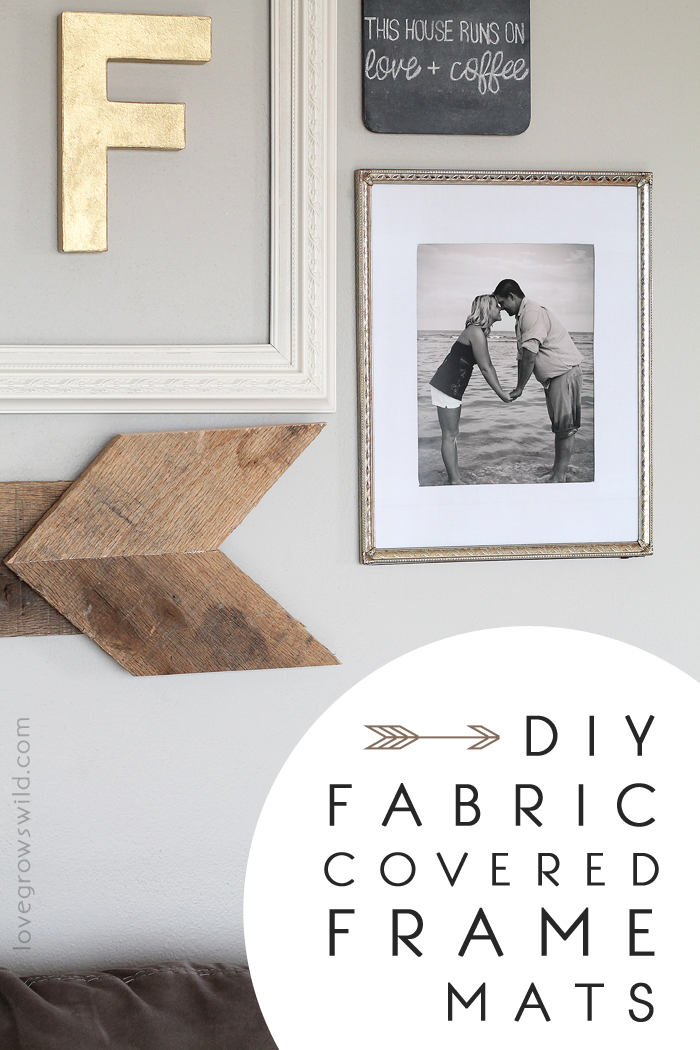
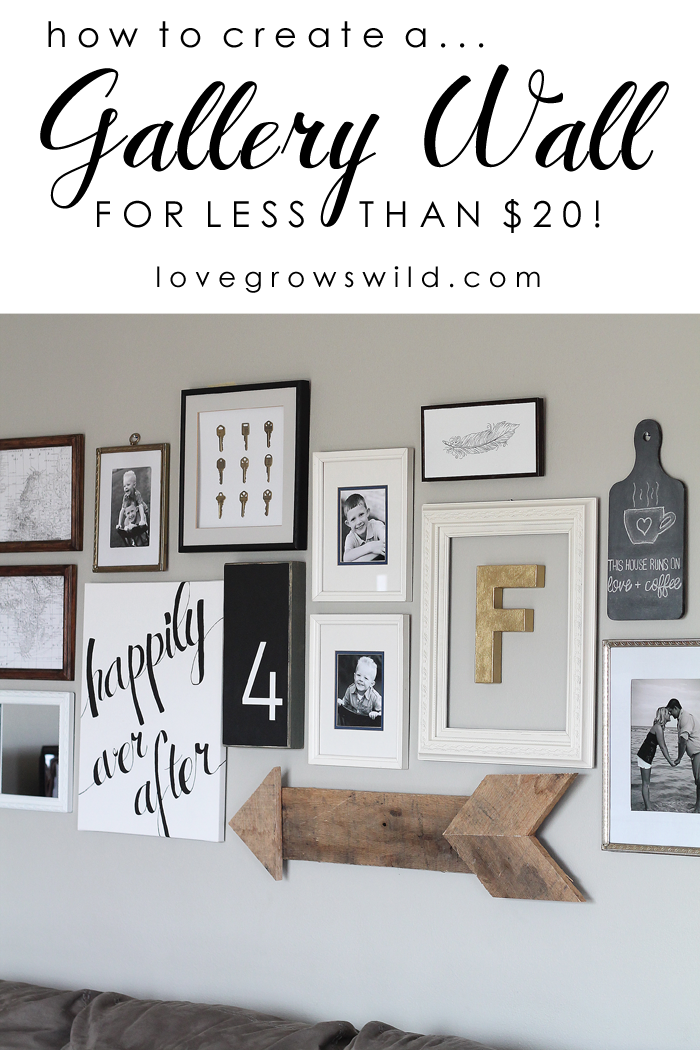
Even though there are plenty of unique items in my gallery wall like chalkboards, monograms, maps, and a fabulous wood pallet arrow, I had some photos of our family that I wanted framed for the wall too, and BOY is it expensive to get things framed. It hurts my wallet even thinking about it! You all know I’ll try to DIY just about anything, and I found a way to frame these photos with a custom mat for next to NOTHING! Are you ready for this? Trust me, you’ll want to save this idea for the future!

You may have already seen a sneak peek of this little project on my Instagram feed… I’m telling you, my Instagram friends get to see all the good stuff! (You can follow me here!)
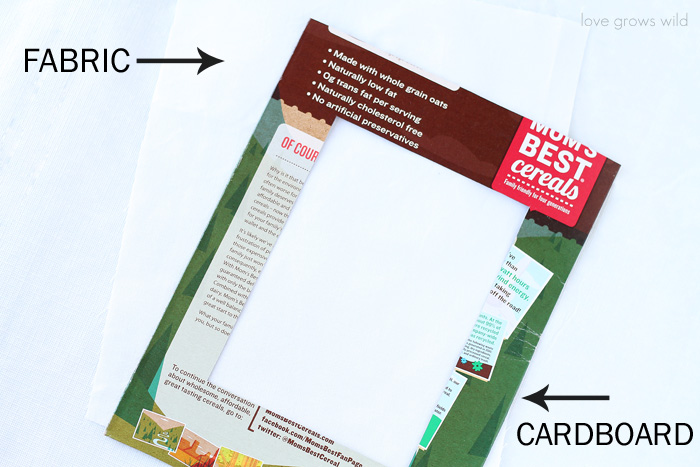
I started with some vintage metal thrift store frames that cost less than a dollar or two. Then I grabbed a stack of white fabric leftovers from another project and a cereal box. Yep… a cereal box! Is there anything more wonderful than a big bowl of Lucky Charms late at night? 🙂
Of course, if you’re not a cereal fan, any cardboard will do. I like the cereal boxes because they’re nice and thin and won’t add too much bulk to my frames. I found that they are the perfect size for 8″ x 10″ frames or smaller. Using the frame as a guide, I cut the cardboard to fit inside and used a craft knife to make the smaller box in the center.
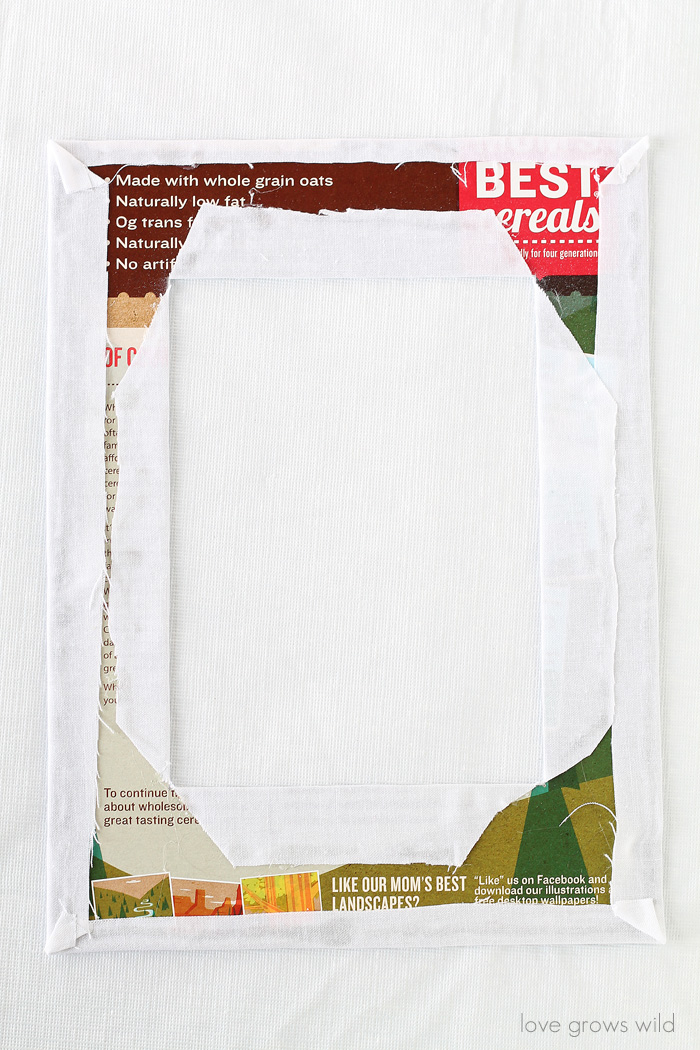
Since my fabric was white, I spray painted one side of the cardboard so that you wouldn’t see it through the fabric. If the fabric you’re using is dark, you might be able to skip this step.
Once the spray paint was dry, I laid the cardboard mat on my fabric and traced all the edges, adding about 1″ extra fabric on each side.
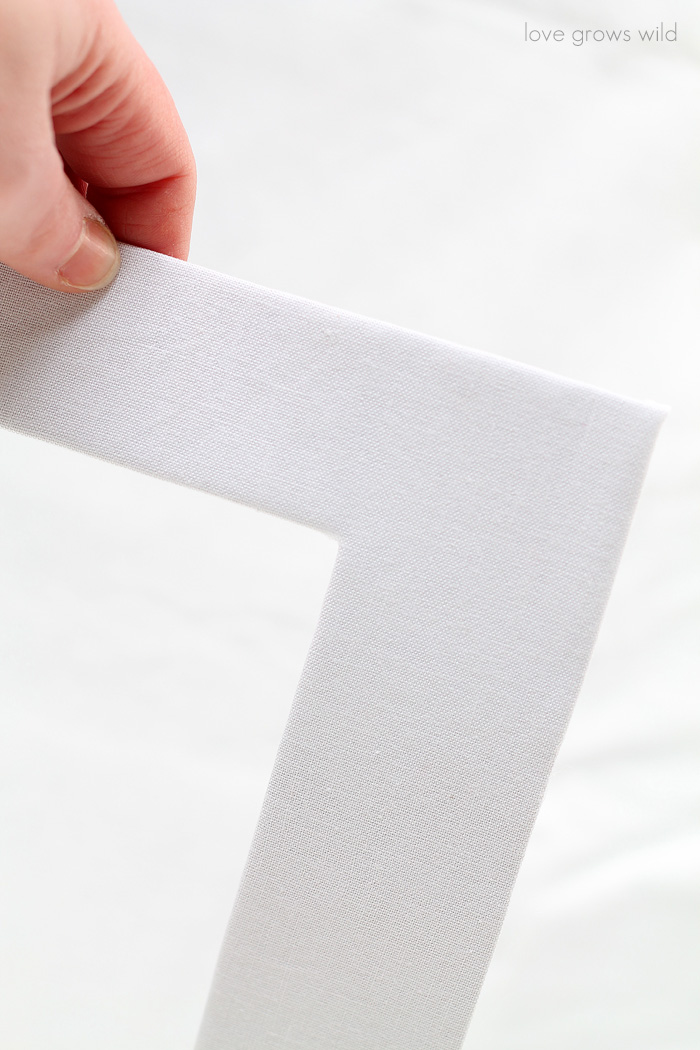
I folded the fabric behind the cardboard, pulling it taut, and used hot glue to secure the fabric in place.
And there you go! A custom, fabric-covered frame mat that didn’t even cost me a penny!
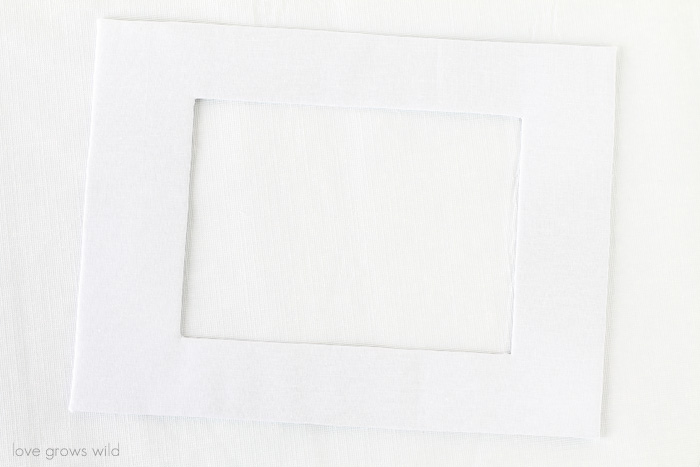
Even if you don’t have extra fabric laying around, you could utilize some old curtains or a tablecloth. You could even hit up a thrift store for an old shirt! So next time you finish a box of cereal, think about saving it to frame some pictures! Your husband will probably think you’re totally crazy like mine. 🙂
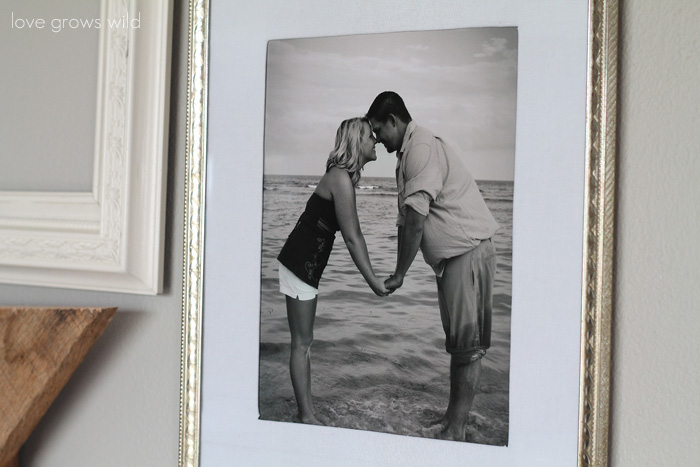
I love the way frames with mats look. It just seems more finished and the negative space draws your eye right to the photo. These simple white mats fit in perfectly with the neutral colors in my gallery wall, but I think a fun, textured fabric would look awesome too.
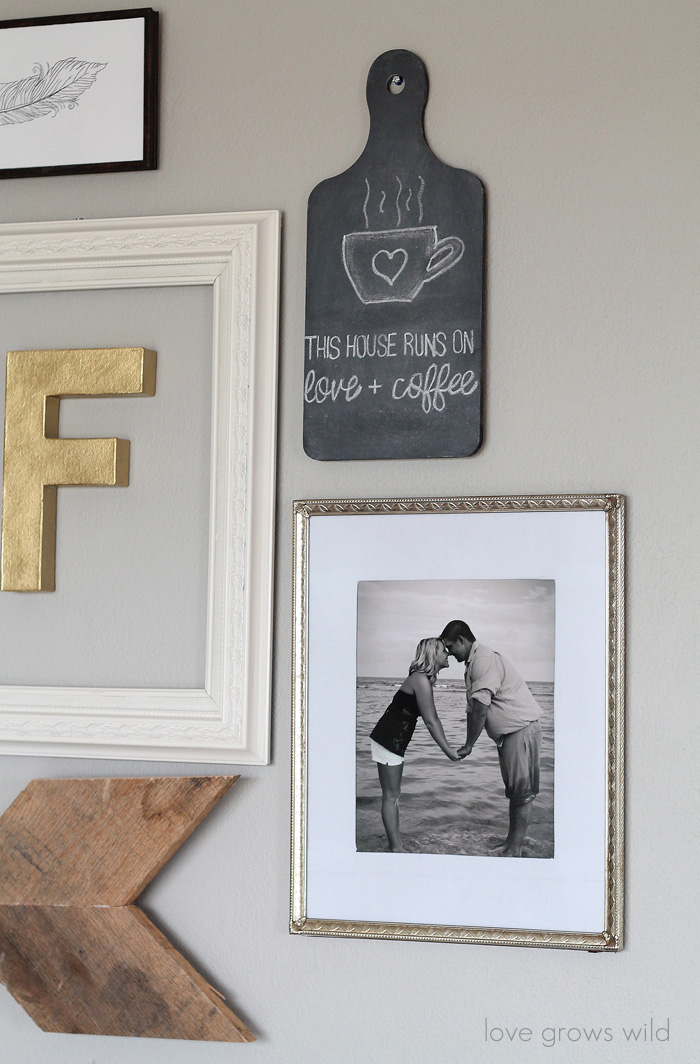
Gosh… what I wouldn’t give to be back on that beach in Riviera Maya right now! We had this sweet photo taken on our honeymoon. Those tan and toned legs you see? I don’t think they looked so toned after laying poolside eating nachos, cheeseburgers, and steak for a week. It was a glorious trip, for sure!
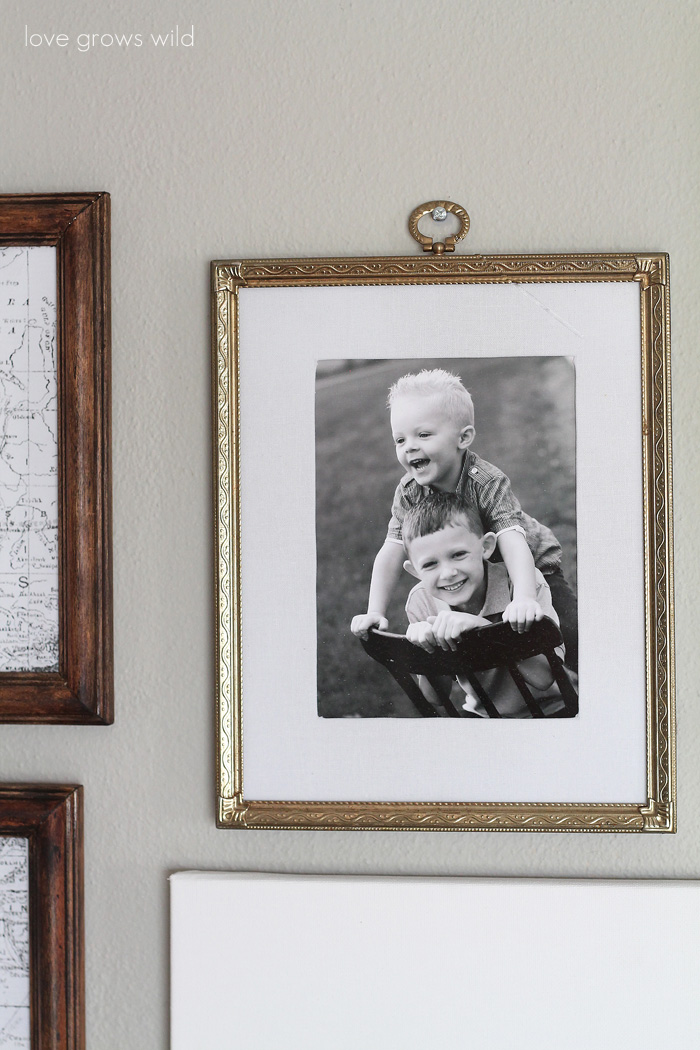
I also made a custom mat for this photo of my two little cuties who aren’t so little anymore. Who gave them permission to grow up?
And here’s the full view of the gallery wall! It makes my living room a very happy place to be in now.

Hope you enjoyed this easy, little project! To see all the project tutorials from our living room gallery wall, click the links below:
Living Room Gallery Wall
DIY Wood Pallet Arrow
DIY Canvas Script Art
Key Specimen Art
Like what you see? Subscribe to Love Grows Wild so you’ll never miss a post!
Follow along on Pinterest, Google+, Instagram, and Facebook for more fun!
More Home Decor Ideas:
![]()
LET’S KEEP IN TOUCH!
Subscribe to Blog | Browse my Shop | Follow on Facebook | Follow on Twitter
Follow on Google+ | Follow on Pinterest | Follow on Instagram

Great project! Thanks!
You’re so very welcome!
What a cool idea, Liz!!!! And I love all the photos!
Isn’t that such an easy trick? Much cheaper than custom mats!
Liz!! This gallery wall is to DIE for ! Would you mind sharing the dimensions of each of the other items on your wall (like each of the frames)? I am SO awful at this, but trying hard to recreate! 🙂 I am OBSESSED with it!
Hi Meghan! I’m so glad you like the gallery wall! I have a few larger 11×14 frames that hold 8×10 photos and a few smaller 8×10 frames that hold 5×7 photos. I hope this helps!
I am obsessed with your gallery wall! I need you to come to my house and put one together for me. This is such a good idea for making your own custom mats, too.
That would be fun!! I promise you can do it too though! There’s no wrong way to put together a gallery wall, in my opinion. 🙂 Thanks so much for stopping by, Jenna!
Oh my word!! How do you come up with this stuff?? This is so genius!!!
Thank you, Dawn! I could never justify spending the money on professional framing, so naturally old cereal boxes were the next best thing! Lol 🙂
Wow! Your whole gallery wall is gorgeous!
Thank you, Samantha!! I’m so happy with how it turned out! I love sitting in my living room now. 🙂
Thanks, Liz,
Specifically , what size is the open frame around
the F? And what color/brand yellow did you
use for the F? 🙂
Also, what size are the frames with the maps
on the top left?
If you can’t tell, I’m trying to recreate! Lol! I’m
the worst at this stuff.
I’m assuming the two white frames with your boys
are the 8×10 frames with 5×7 photos?
Thanks soooo much for your help!!!
I did the framed specimen art and it turned out
amazing!!!!
Thank you, Meghan! The white frame around the letter F measures 18″ x 15″ and the map frames are 9 1/2″ x 17 1/2″. And yes, the frames with the kids’ photos are the 8″ x 10″ frames. I hope this helps! Have fun with your gallery wall!
What a great idea! We’ve got mattes coming out of our ears. I purchased a big ol’ bag full from a thrift store for just $.50 a few months ago. Would be fun to even cover them with some colorful fabric! I love your gallery wall Liz!
What a steal! I bet you could have all kinds of fun painting or covering them in fabric! Thanks for stopping by! 🙂
Thank you so much for this!!! I have a few pictures I need to matte and frame and the prices are outrageous! Love, love, love your gallery wall too! Where did you find the beautiful image of the feather?
I definitely couldn’t afford to have my pictures professionally framed! So glad you enjoyed the tutorial! And I actually drew the image of the feather with a pencil first, then a Sharpie. I just found a feather image I liked on Google images. Thanks for stopping by!
I am so inspired when people look at creative ways to reuse things that will otherwise be thrown away. Also, did you do that “F” initial art? What type of background fabric did you use please? Thank you.
Hi Grace! Yes, I did make the gold “F” that hangs on the wall. I used a cardboard letter from the craft store, painted it with gold spray paint, and hung it on the wall with a white frame hung around it. So the background you see is actually just my wall color! I hope this helps! 🙂