
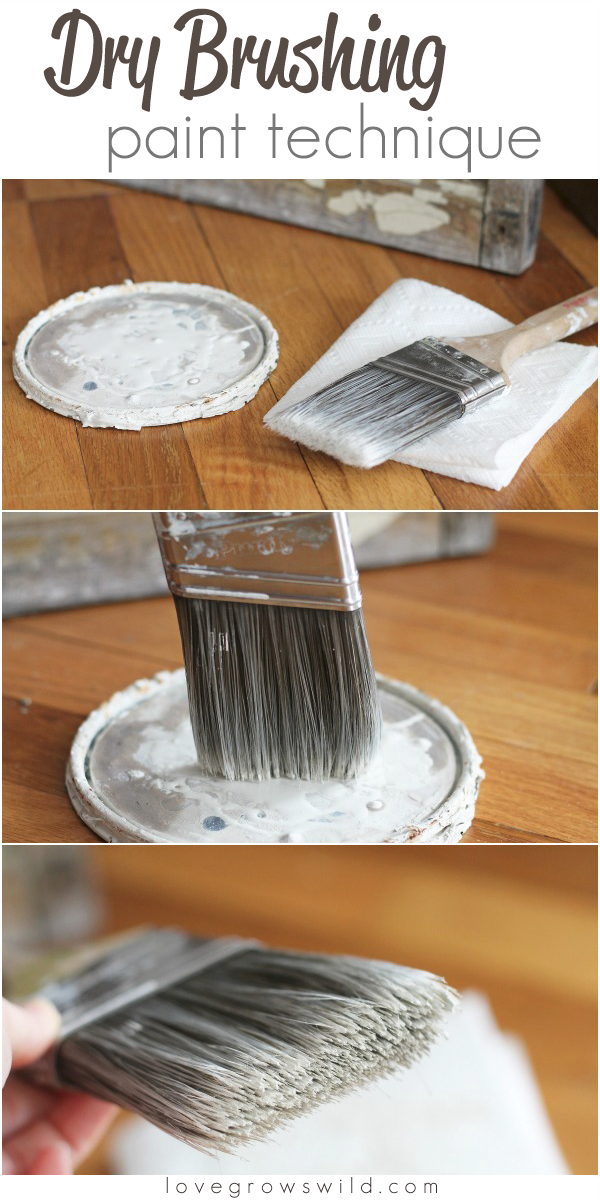
Learn this easy Dry Brushing Paint Technique to use on furniture, crafts, artwork, and more! It’s the perfect way to add a bit of color and texture to a piece without completely hiding its natural beauty. Follow this step-by-step tutorial to get started!

This winter has been brutal, hasn’t it? Here in Indiana we’ve had more snow days and school cancellations than I can ever remember having, and we’ve been stuck inside the house for what seems like forever. Bad for my sanity, but good for productivity!
For example, this window:
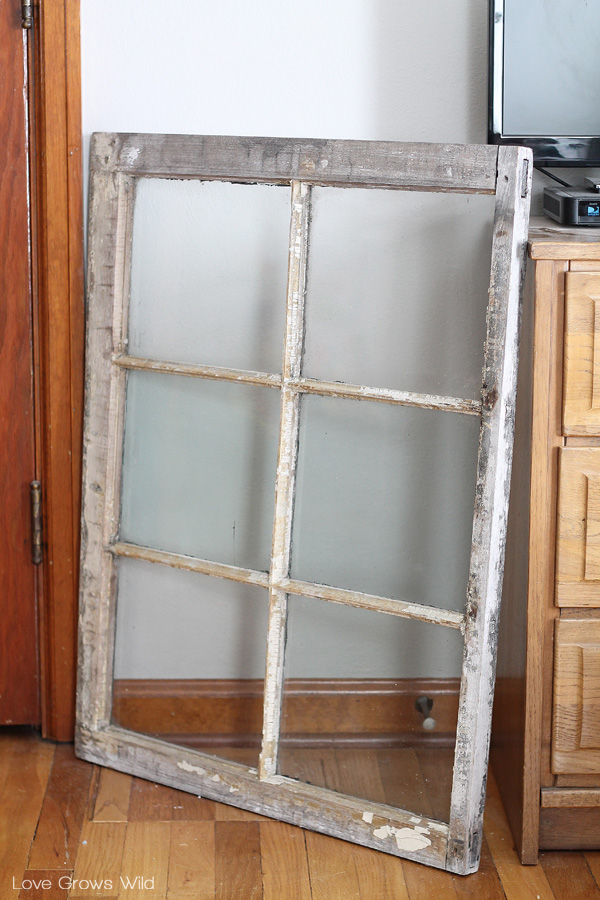
This may look like a giant hunk of junk to some people (like, say, my husband), but to my fellow rustic-loving, antique-collecting friends, this is a treasure! There’s something about an old, chipped paint window that looks absolutely gorgeous hung on a wall, and that’s exactly what I had in mind when I spotted this beauty in a local antique store a few months ago! Yes… months ago. This sat in my office all through Christmas, up until about a week ago.
Here’s why…
Don’t get me wrong, I LOVE a good aged finish, but this old window hardly had any paint left on it at all. Homegirl has seen MUCH better days. The weathered gray wood looked pretty bland against my colonial gray walls, so I broke out some white paint and the old dry brushing trick to bring the frame back to life a bit. Guess what… it worked like a charm! So today I’m going to share this easy dry brush technique with you that can be used on furniture, artwork, crafts, and more!
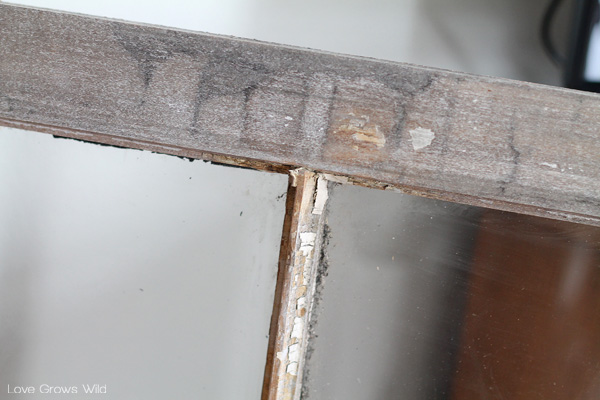
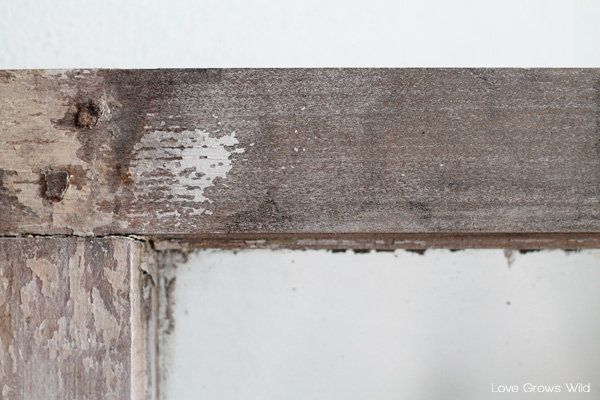
So the above photo is a close up of the window frame. You can see some sparse chips of white paint, but the majority is back to bare wood. I didn’t want to hide all that gorgeous weathered wood by painting a thick layer of paint on top, so I lightly dry brushed the frame to give it a “wash” of color without totally covering it. Here’s how I did it:
Supplies:
paint
paint brush
paint can lid
paper towel
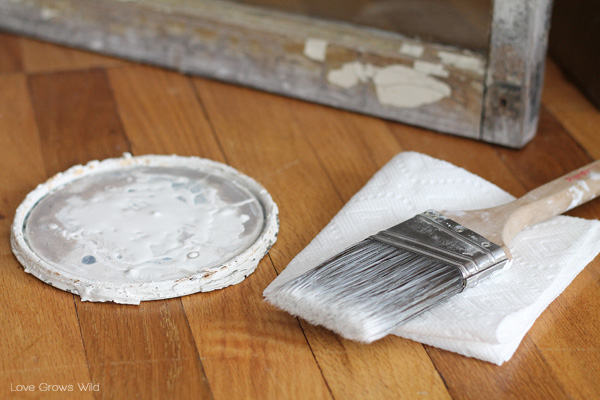
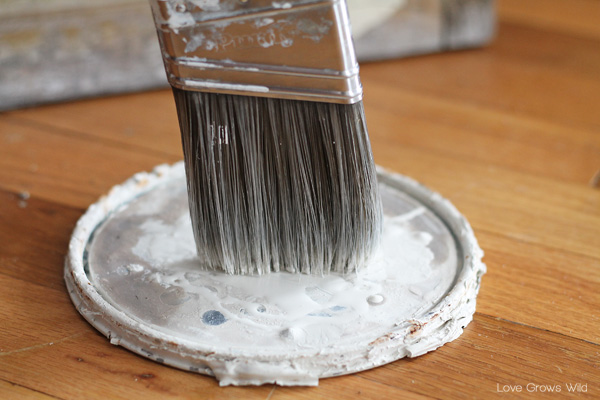
First I dribbled a very small amount of paint on the underside of the paint can lid. You could also use a paper plate or paint tray, but the lid works just as well! Paint stirring sticks are super handy for the dribbling portion of this process, FYI.
Then I very gently dabbed the tip of a dry paint brush into the paint and dabbed it on a paper towel to remove any excess paint. You want to keep the tip of your paint brush “dry” and not saturated with paint, so I suggest starting off with just a tiny bit of paint and adding more as you get comfortable with the technique.
See how most of the bristles are still separated and not soaked in paint? This is what you are going for!

To dry brush the window frame, I used short, quick brush strokes in different directions to give it a textured, non-uniform look. This allowed me to brighten up the frame without completely covering the existing chipped paint that gives it so much character.
There’s no right or wrong way to dry brush, so get creative with your painting! For this piece, I started with the short brush strokes to lighten the entire frame, then used a “dotting” motion to add specks of paint in various places. You can stick with one color, or use different shades to create a beautiful layered look.
Here’s how the frame started:
And here’s how it looked once I was done dry brushing:
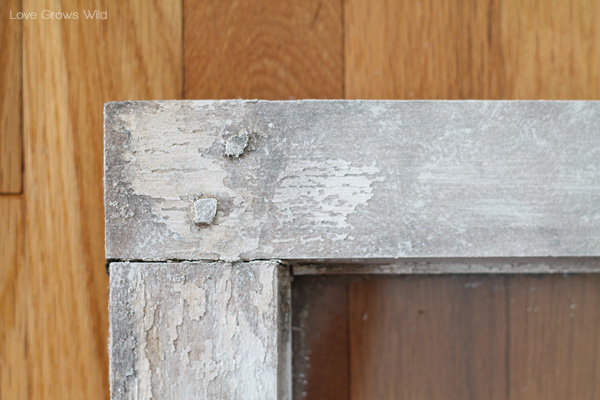
It gave the frame a much lighter, brighter appearance without losing the details and texture that already existed. I LOVE the way this window turned out!
After months and months of sitting in my office, I finally got this beauty hung on the wall, but you’ll just have to wait until next week to see the reveal! Oh I know… the agony! I’ll be sharing the finished product, along with a super easy and inexpensive DIY project to go along with it! Trust me, it’s definitely worth the wait!! Hope you enjoyed learning this great paint technique!
Have you ever dry brushed anything? What could you use this technique on?
More DIY Paint Projects from Love Grows Wild:
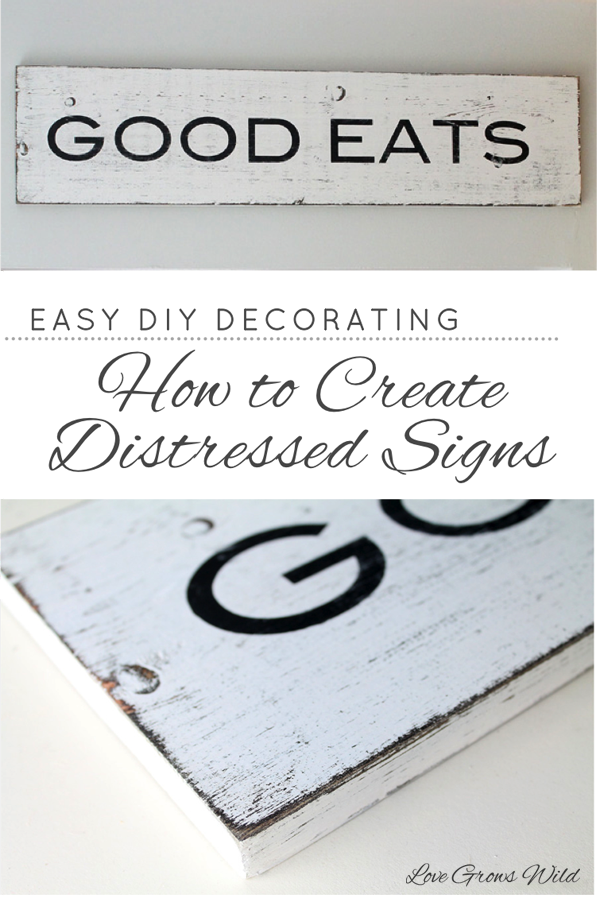
How to Create Distressed Signs

DIY Rustic Box: Aged Wood Technique
How to Completely Refinish Your Dining Chairs
Let’s Keep in Touch!
Subscribe to Blog | Browse my Shop | Follow on Facebook | Follow on Twitter
Follow on Google+ | Follow on Pinterest | Follow on Instagram

Thanks for showing this — I’ve seen so many blog posts say “use the Dry Brush technique” to achieve whatever look they created & I’d always think, “Yeah, but….paint is wet so any dry brush will automatically not be dry anymore….so….how do I do that?” Haha I just felt too ridiculous to ask. Thanks!
Haha, I’ve thought the same thing! Never feel too ridiculous to ask! I’m so glad that this tutorial was helpful. Let me know if you ever have any questions, and I’m happy to help 🙂
I love your technique. Refinishing / refurb’ ing furniture is a hobby. I really like the touch of color without a completely painted frame.
Thank you, Tammi! I love furniture makeovers too, and sometimes a piece just needs a subtle finishing touch instead of a full-blown paint job. I’m glad you like how it turned out!
Love your site!
That’s a gorgeous old window! I wouldn’t have thought to use dry brushing on it, what a great way to give it new life without smothering it. Don’t you love it when a project goes the way you want it to? Great job!
I just had to bring it home with me when I spotted it at the antique store! Dry brushing the frame turned out to be the perfect solution. Thanks so much for your sweet compliments, Michelle!!
I would like to change the look of a knotty pine room from dark and yellowed to perhaps a faintly aqua tinted “pickled” look, making it brighter and more interesting. I’ve been told many times that this is just not possible, but I don’t understand why not. I would think a more or less “dry brush” technique might just do the trick. What do YOU think?
You can accomplish just about anything with paint, Betty! Without seeing the room, I think maybe starting by whitewashing the wood then dry brushing other colors on top might give you the look you’re going for. Best of luck!
Hi thanks for showing this. I am going to do my first dry brush on a mirror frame. The only paint I have is a Plascon Super Universal Interior/Exterior White. The frame is a cheap plastic frame. Can I try doing dry brush with this paint on a cheap plastic frame. Thank you.
You’re so welcome, Debbie! I think the dry brush technique would work perfectly on your mirror frame. Best of luck with your project!!
Nice. I have a hard time getting this right. Always on the edges it looks like a brush jammed into the space. Not good. This helped me quite a bit!
I did learn in the meanwhile, after leaving a couple antique doors in the yard for over a year, that to preserve the actual paint chips that would brush off with your hand, that using a decoupage medium (i.e. white glue and water) on the chips lets you keep them, then you can dry brush to your heart’s content!
Thanks for explaining that better.
That’s a great tip, Christine! I’ll have to remember that in the future! Thanks for stopping by. 🙂
What color gray paint is in your home? You said colonial gray? Looks nice in the backround and I love a good gray paint color…..
Hey Lisa! Yes, it’s called Woodlawn Colonial Gray, and I think it’s a great gray-beige combination. Not too cool, not too warm. There’s a Goldilocks joke in their somewhere… 🙂
Thanks for the awesome tips! I love the dry brush method and the effect it gives. I included your post in my post about upcyling framed art.
http://hellohomemaking.com/diy-instagram-frame-upcyclefarmhouserustic/
Thank you for the shoutout, Mandie! Hugs! 🙂
You’ve really inspired me to tackle my verandah coffee table. It’s covered in years of paint from lots of kids (including my own of course) using it as a painting, art and craft table. They’re all grown up now and the table needs a little love and attention. I’d been afraid of painting it all over as I don’t want to lose all those memories held within the dribbled paint of years past. This is the perfect solution. Thanks!
Thank you so much for sharing this tutorial with us Liz. I have an extra mirror on one of my bedroom doors we are no longer using….so I think it is going to be re-purposed like in your tutorial. Yours turned out so beautiful.
It’s awesome that you are from Indianapolis, Indiana. I am from Bluffton IN which is close to Fort Wayne. I’ts a small world. So happy to have found your blog.
It is a small world! Hello, neighbor! 🙂
sorry, I did not add my website address correctly the first comment I left. This one should now work.
Very nice technique..definitely worth trying. I want to what paint you use, acrylic or enamel?
This is what I’d like too do to a couple of wood Fences in the back yard. As I planned on aprox 4 color’s to start and alternate each color. However you said waiting a week to show this window. Is this good too do outside? Due to wait time. Thanks and Live this tequnique.