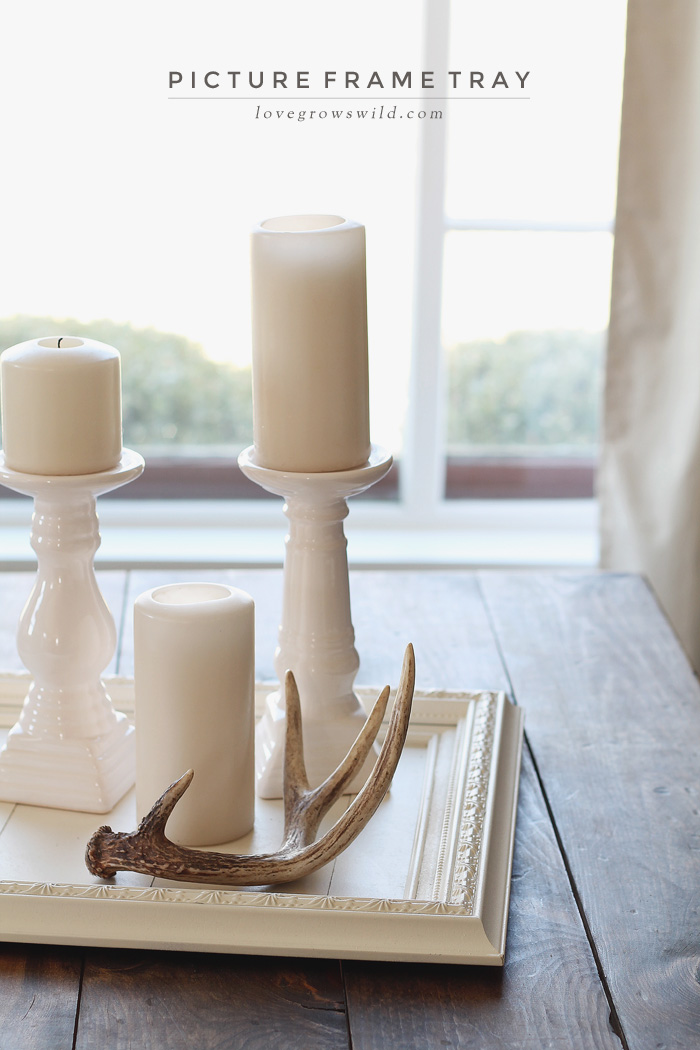
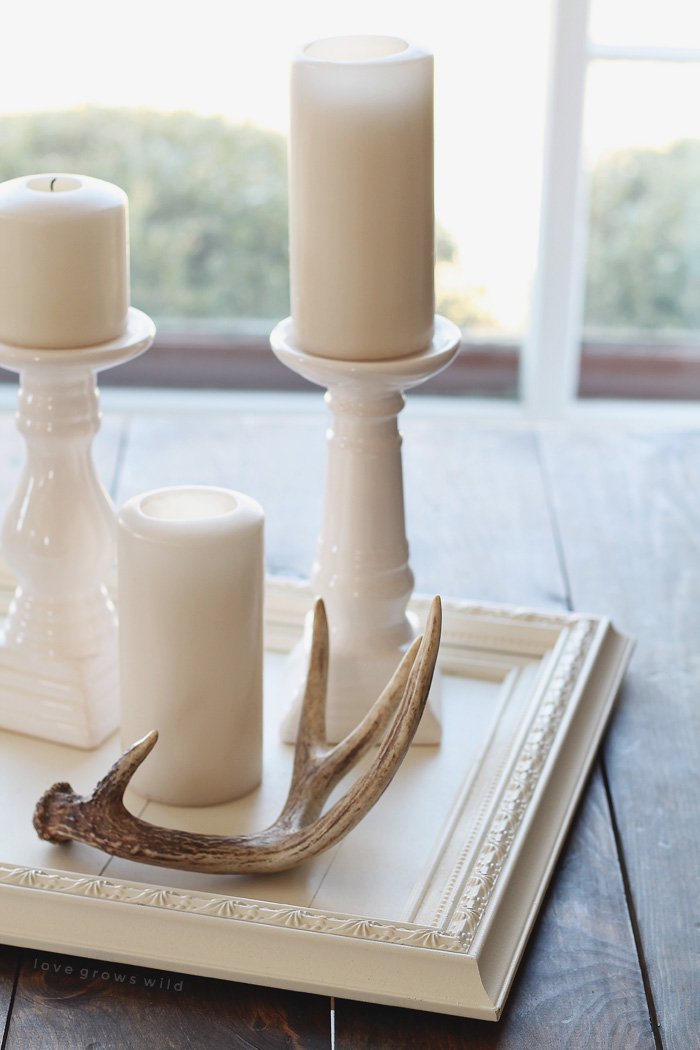
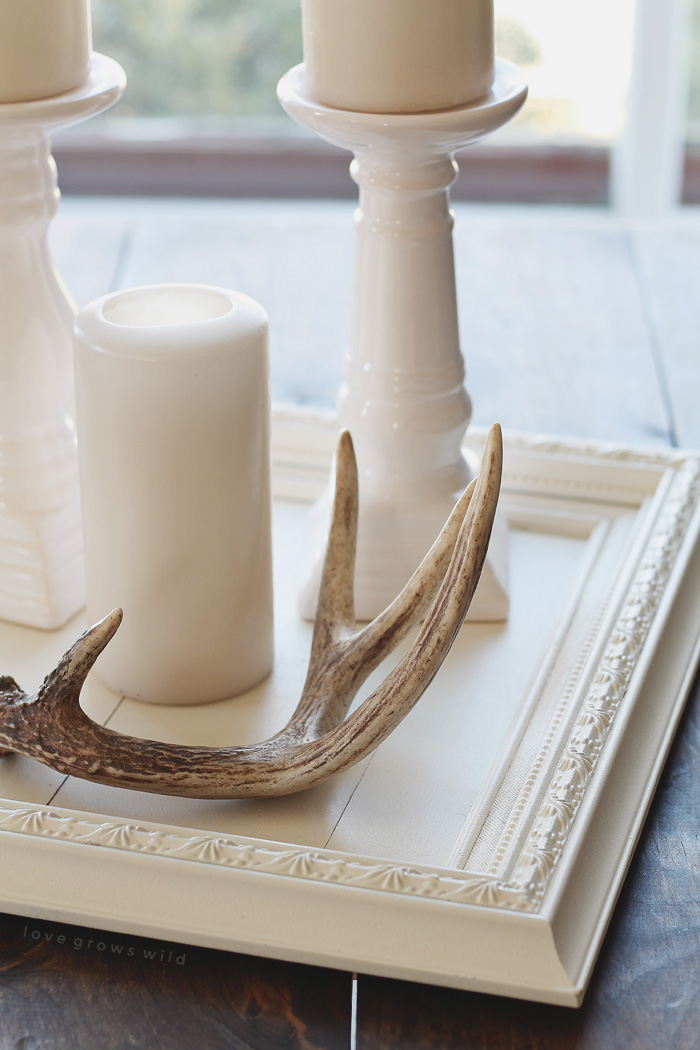
I rarely throw away old picture frames because they can be reused in so many different ways. A few weeks ago, I whipped up this decorative Picture Frame Tray in no time with supplies I already had on hand, and it makes a beautiful centerpiece for the coffee table we built.
You’ve seen this tray showcased in many posts lately, and I’ve had a few questions on how I put it all together. So today I’m sharing a quick and easy tutorial for transforming all those old picture frames you have into functional, versatile, and super easy decorative trays!
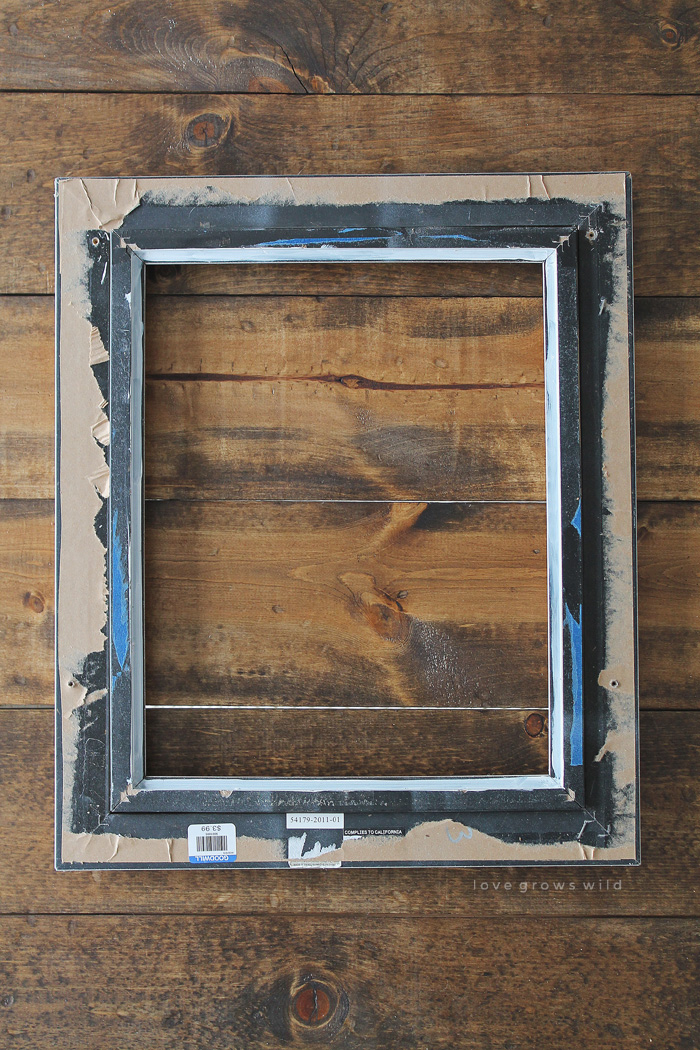
The frame I used came from a thrift store awhile back for $3.99 and has beautiful detailing all around the frame. Try to find frames with really unique details even if it’s not the right color… don’t worry, we’ll fix that later!
Supplies needed:
picture frame (mine was 11×14)
thin plywood or MDF (I used leftover 1/4″ MDF from our board and batten project)
miter saw (a circular saw or jig saw would also work)
glue (Gorilla Glue, Liquid Nails, etc.)
spray paint
Instructions:
Set the frame upside down and remove the glass and back cover.
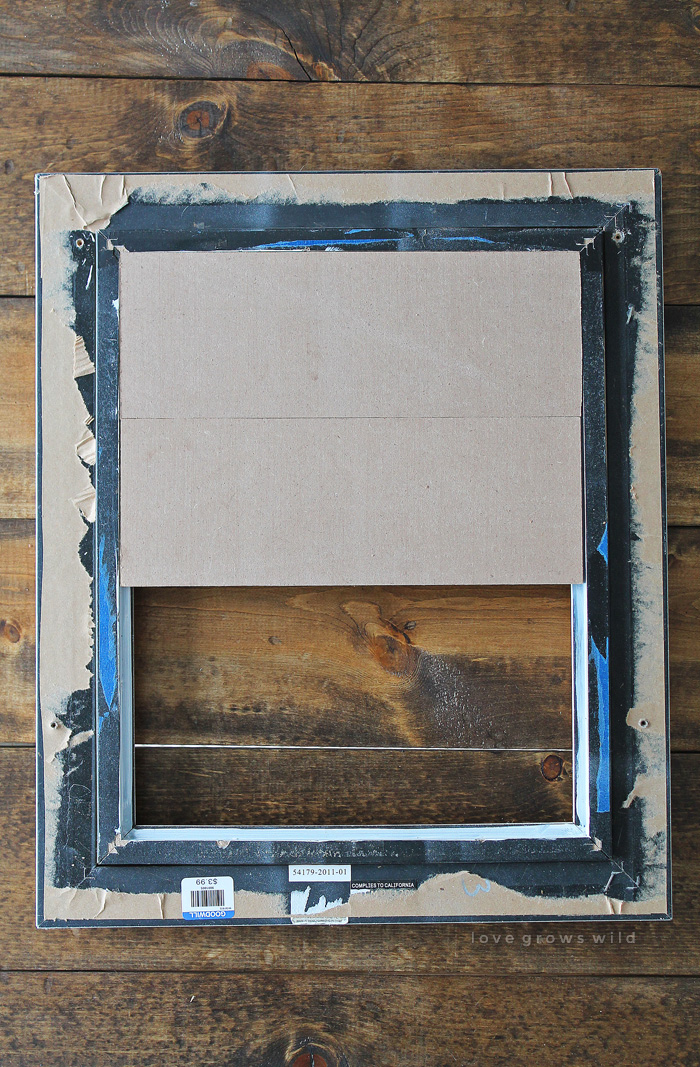
Measure and cut your MDF to fit inside the frame.
– 1/4″ MDF was the perfect thickness to sit flush with the back of my frame. We had 4″ wide planks already cut from our board and batten project, so I some scrap pieces to fill in the frame. You can go with this planked look if you like, or just cut one big piece to fit the entire frame.
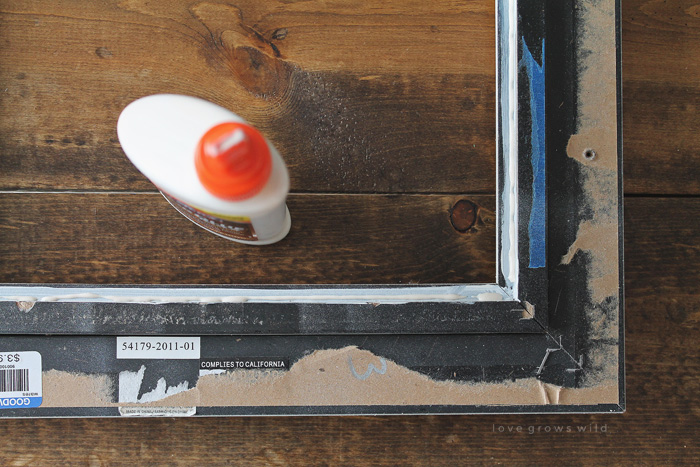
Remove the MDF and apply a line of glue on the inner lip of the frame where the glass would typically rest. Set the MDF pieces back inside the frame and let the glue dry at least a few hours to overnight.
– I set a few heavy books on top of mine to help create a tight bond while the glue dried.
Once the glue dries, spray paint the entire tray in whatever color you like.
– I used Rust-Oleum Heirloom White.
I use trays like this ALL over my house… in our entryway to catch spare change, sunglasses, and keys… in my bedroom to organize jewelry… on my desk to corral pens and notepads… and on just about any tabletop to give a resting place for decorative items like these candles in our living room.
You can find old picture frames like this pretty easily in thrift stores or use some you already have sitting around the house, which makes this project REALLY budget-friendly!
What do you think of this project? Where would you use a tray like this in your house? I’d love to hear your feedback!
Are you making this project? I’d LOVE to see it! Post a photo of your creation on Instagram and use the hashtag #MyLGWProject. It may just get featured!
Want to see more project ideas?
Distressing Paint with Vaseline
LET’S KEEP IN TOUCH!
Subscribe to Blog | Browse my Shop | Follow on Facebook | Follow on Twitter
Follow on Google+ | Follow on Pinterest | Follow on Instagram




This is really cute, and seems so easy to make! This might be a project in my future 🙂 Thanks for the tutorial.
I love the simplicity of this project. Unique frames are so easy to find at thrift stores and a white piece just makes the space feel fresh. Thanks for sharing!
What a cool way to use a picture frame! It looks great! 🙂
What a great idea, I absolutely love this! You could make multiples of these and use different colors and sizes, ohhh you have my creative juices flowing! Thank you for sharing!