

All summer I’ve been helping out on a big house flip project, and we are so close to the reveal! If you missed the progress I’ve shared so far, you’ll definitely want to go back and read part 1 and part 2. We’ve done plenty of demo, replaced the roof and siding, gutted the bathroom and kitchen, and tore out all the old flooring. Now we are ready to start putting the house back together and paint it all top to bottom! Here’s what we’ve been up to:
AUGUST 2, 2020
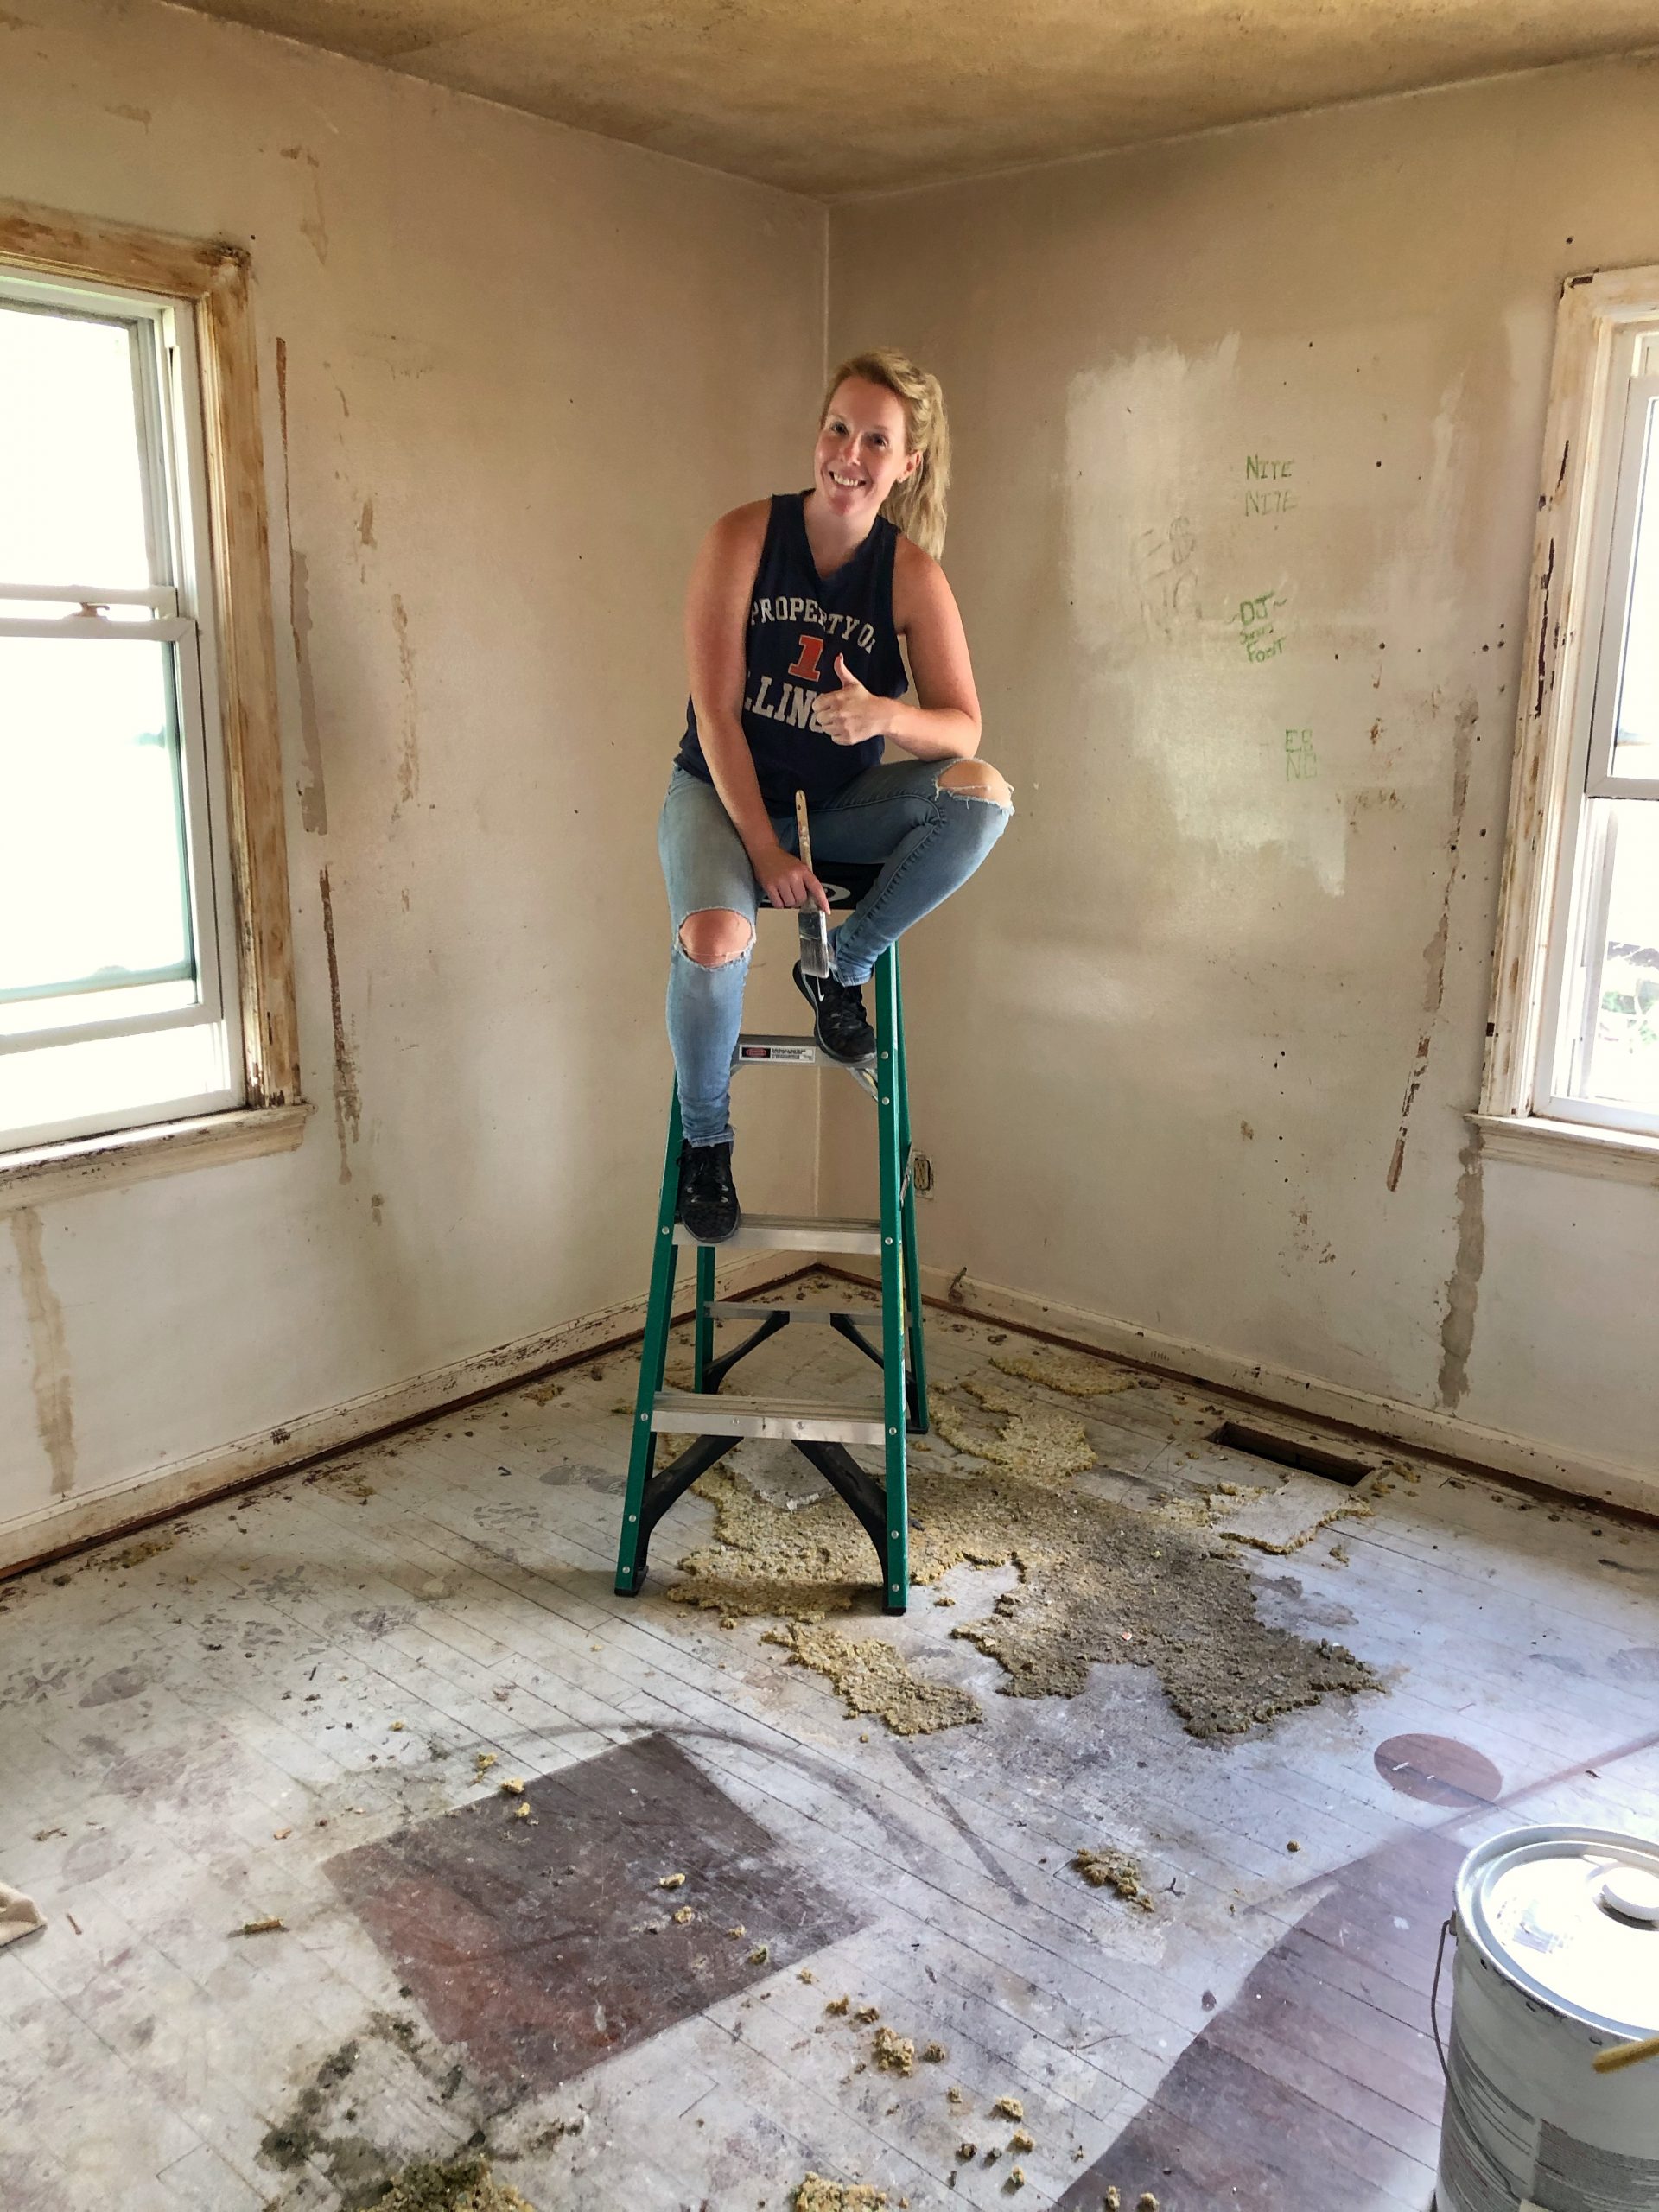
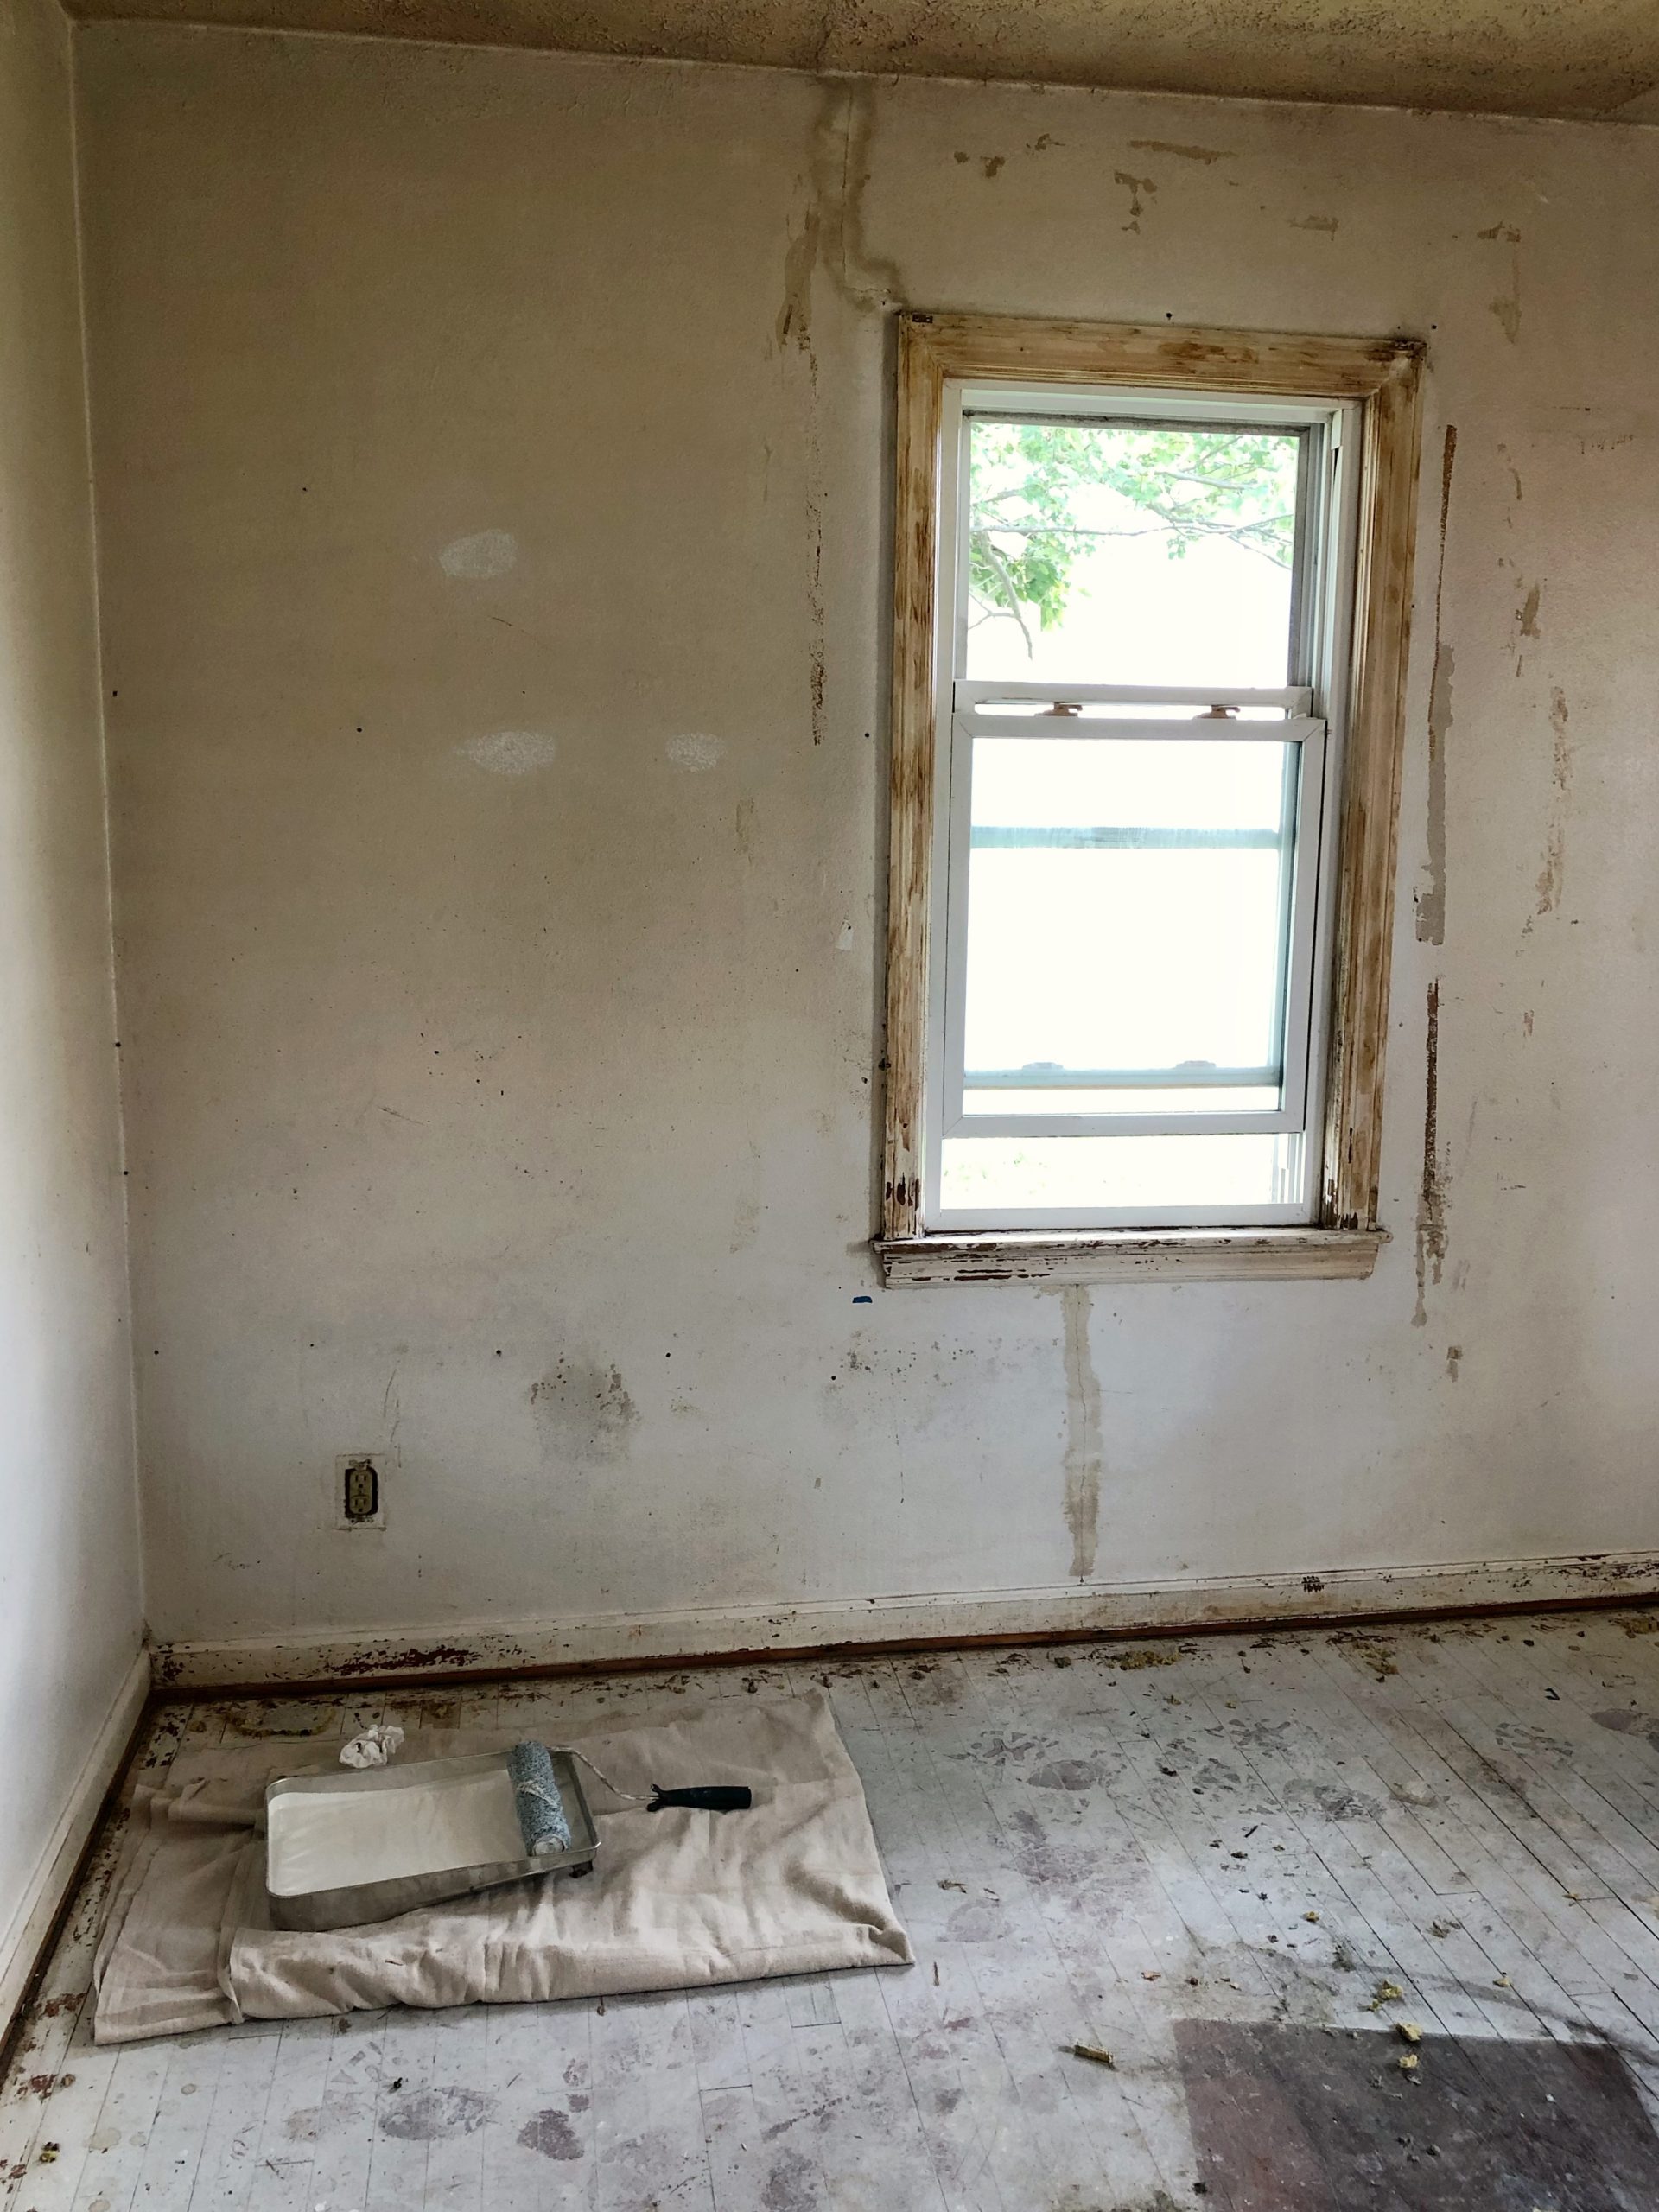
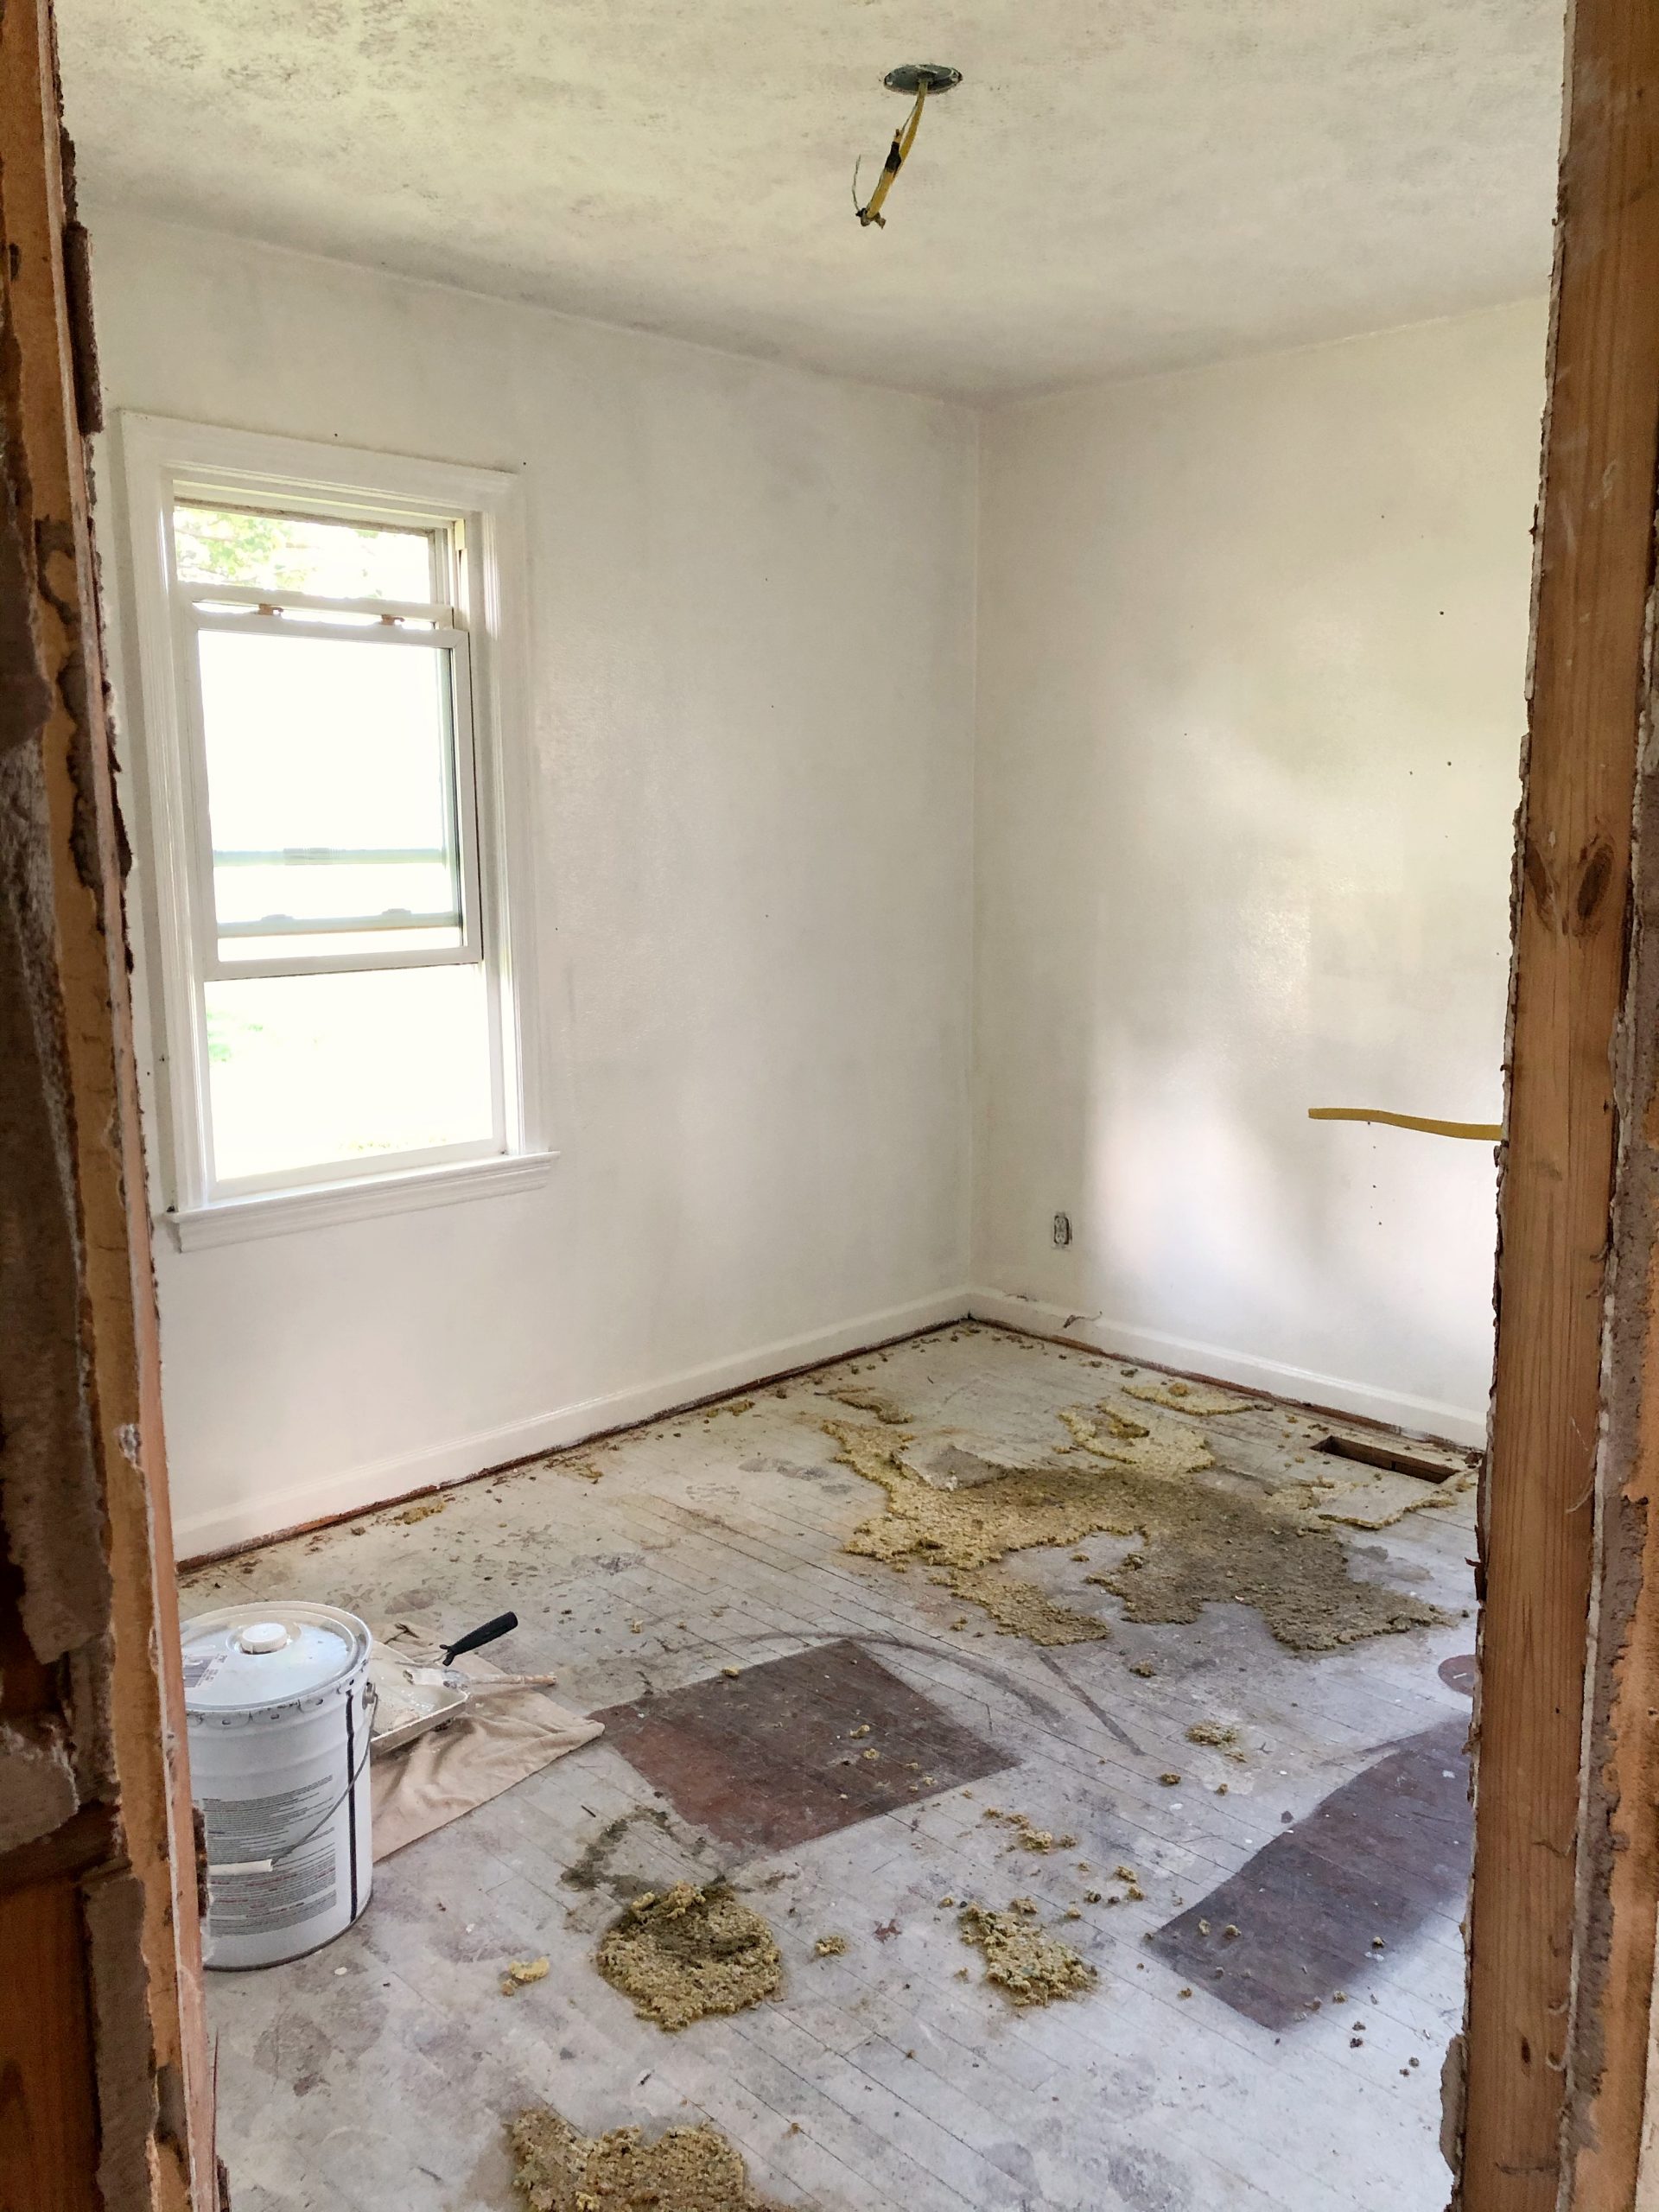
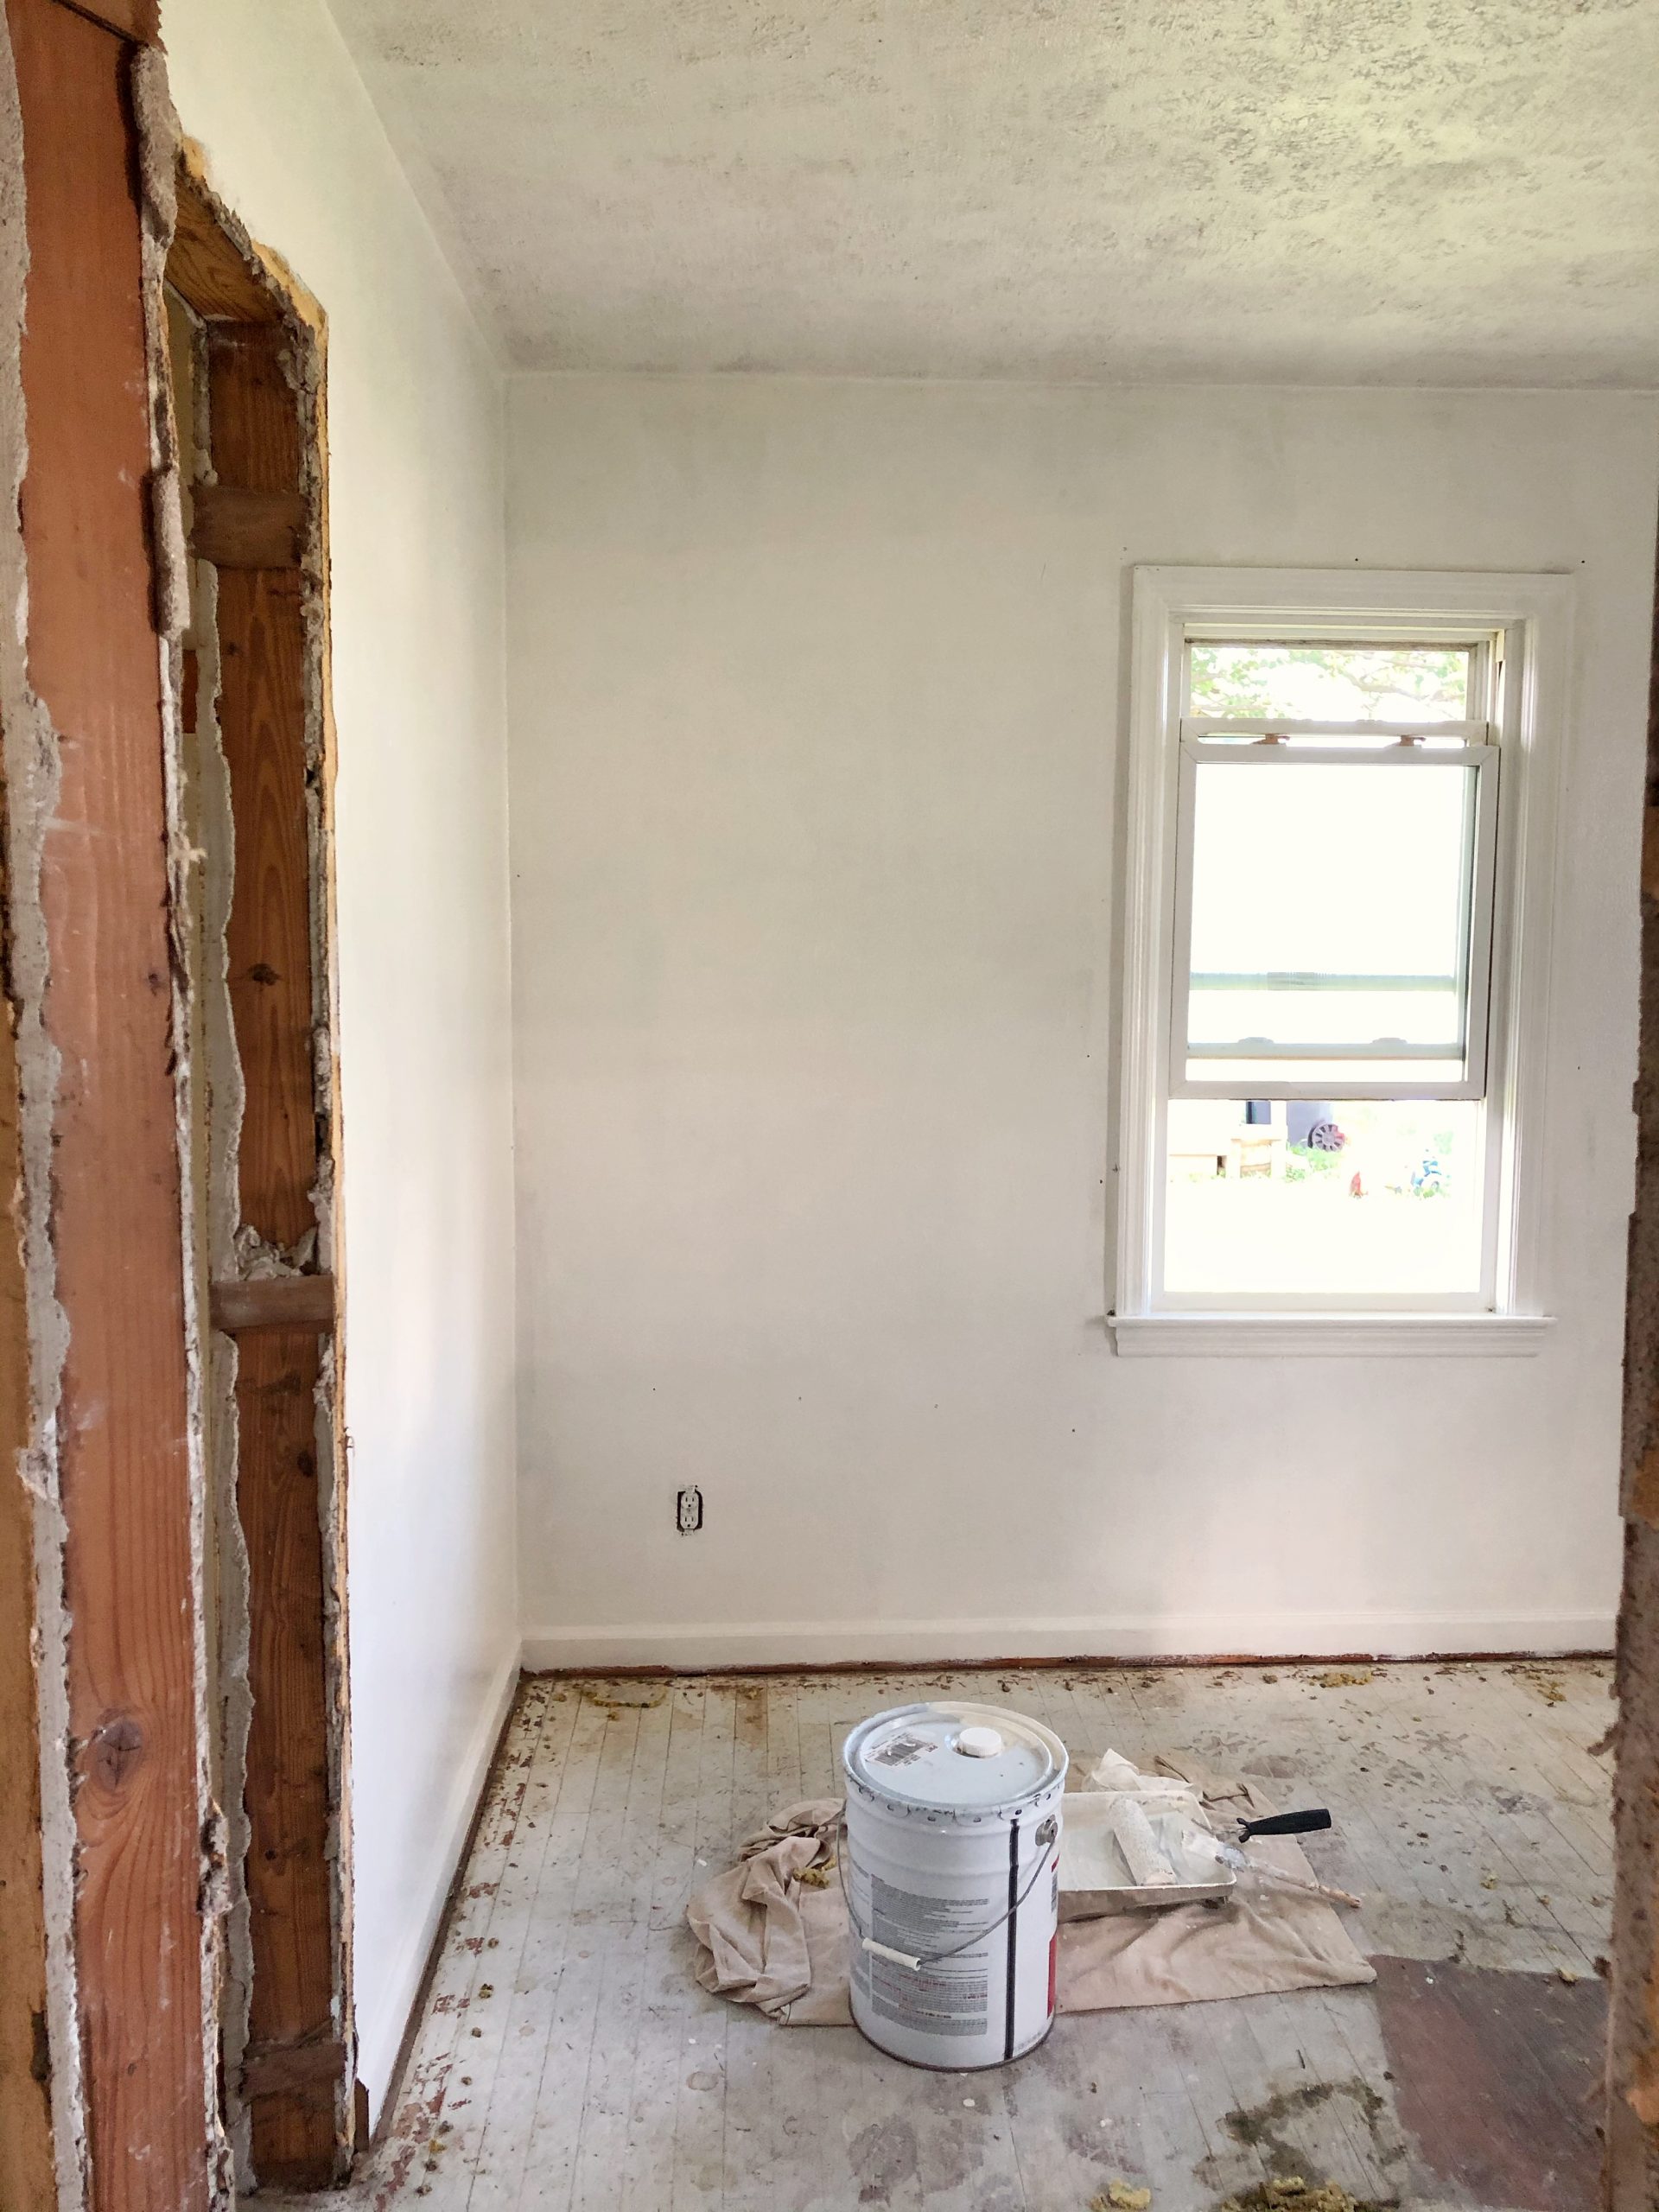
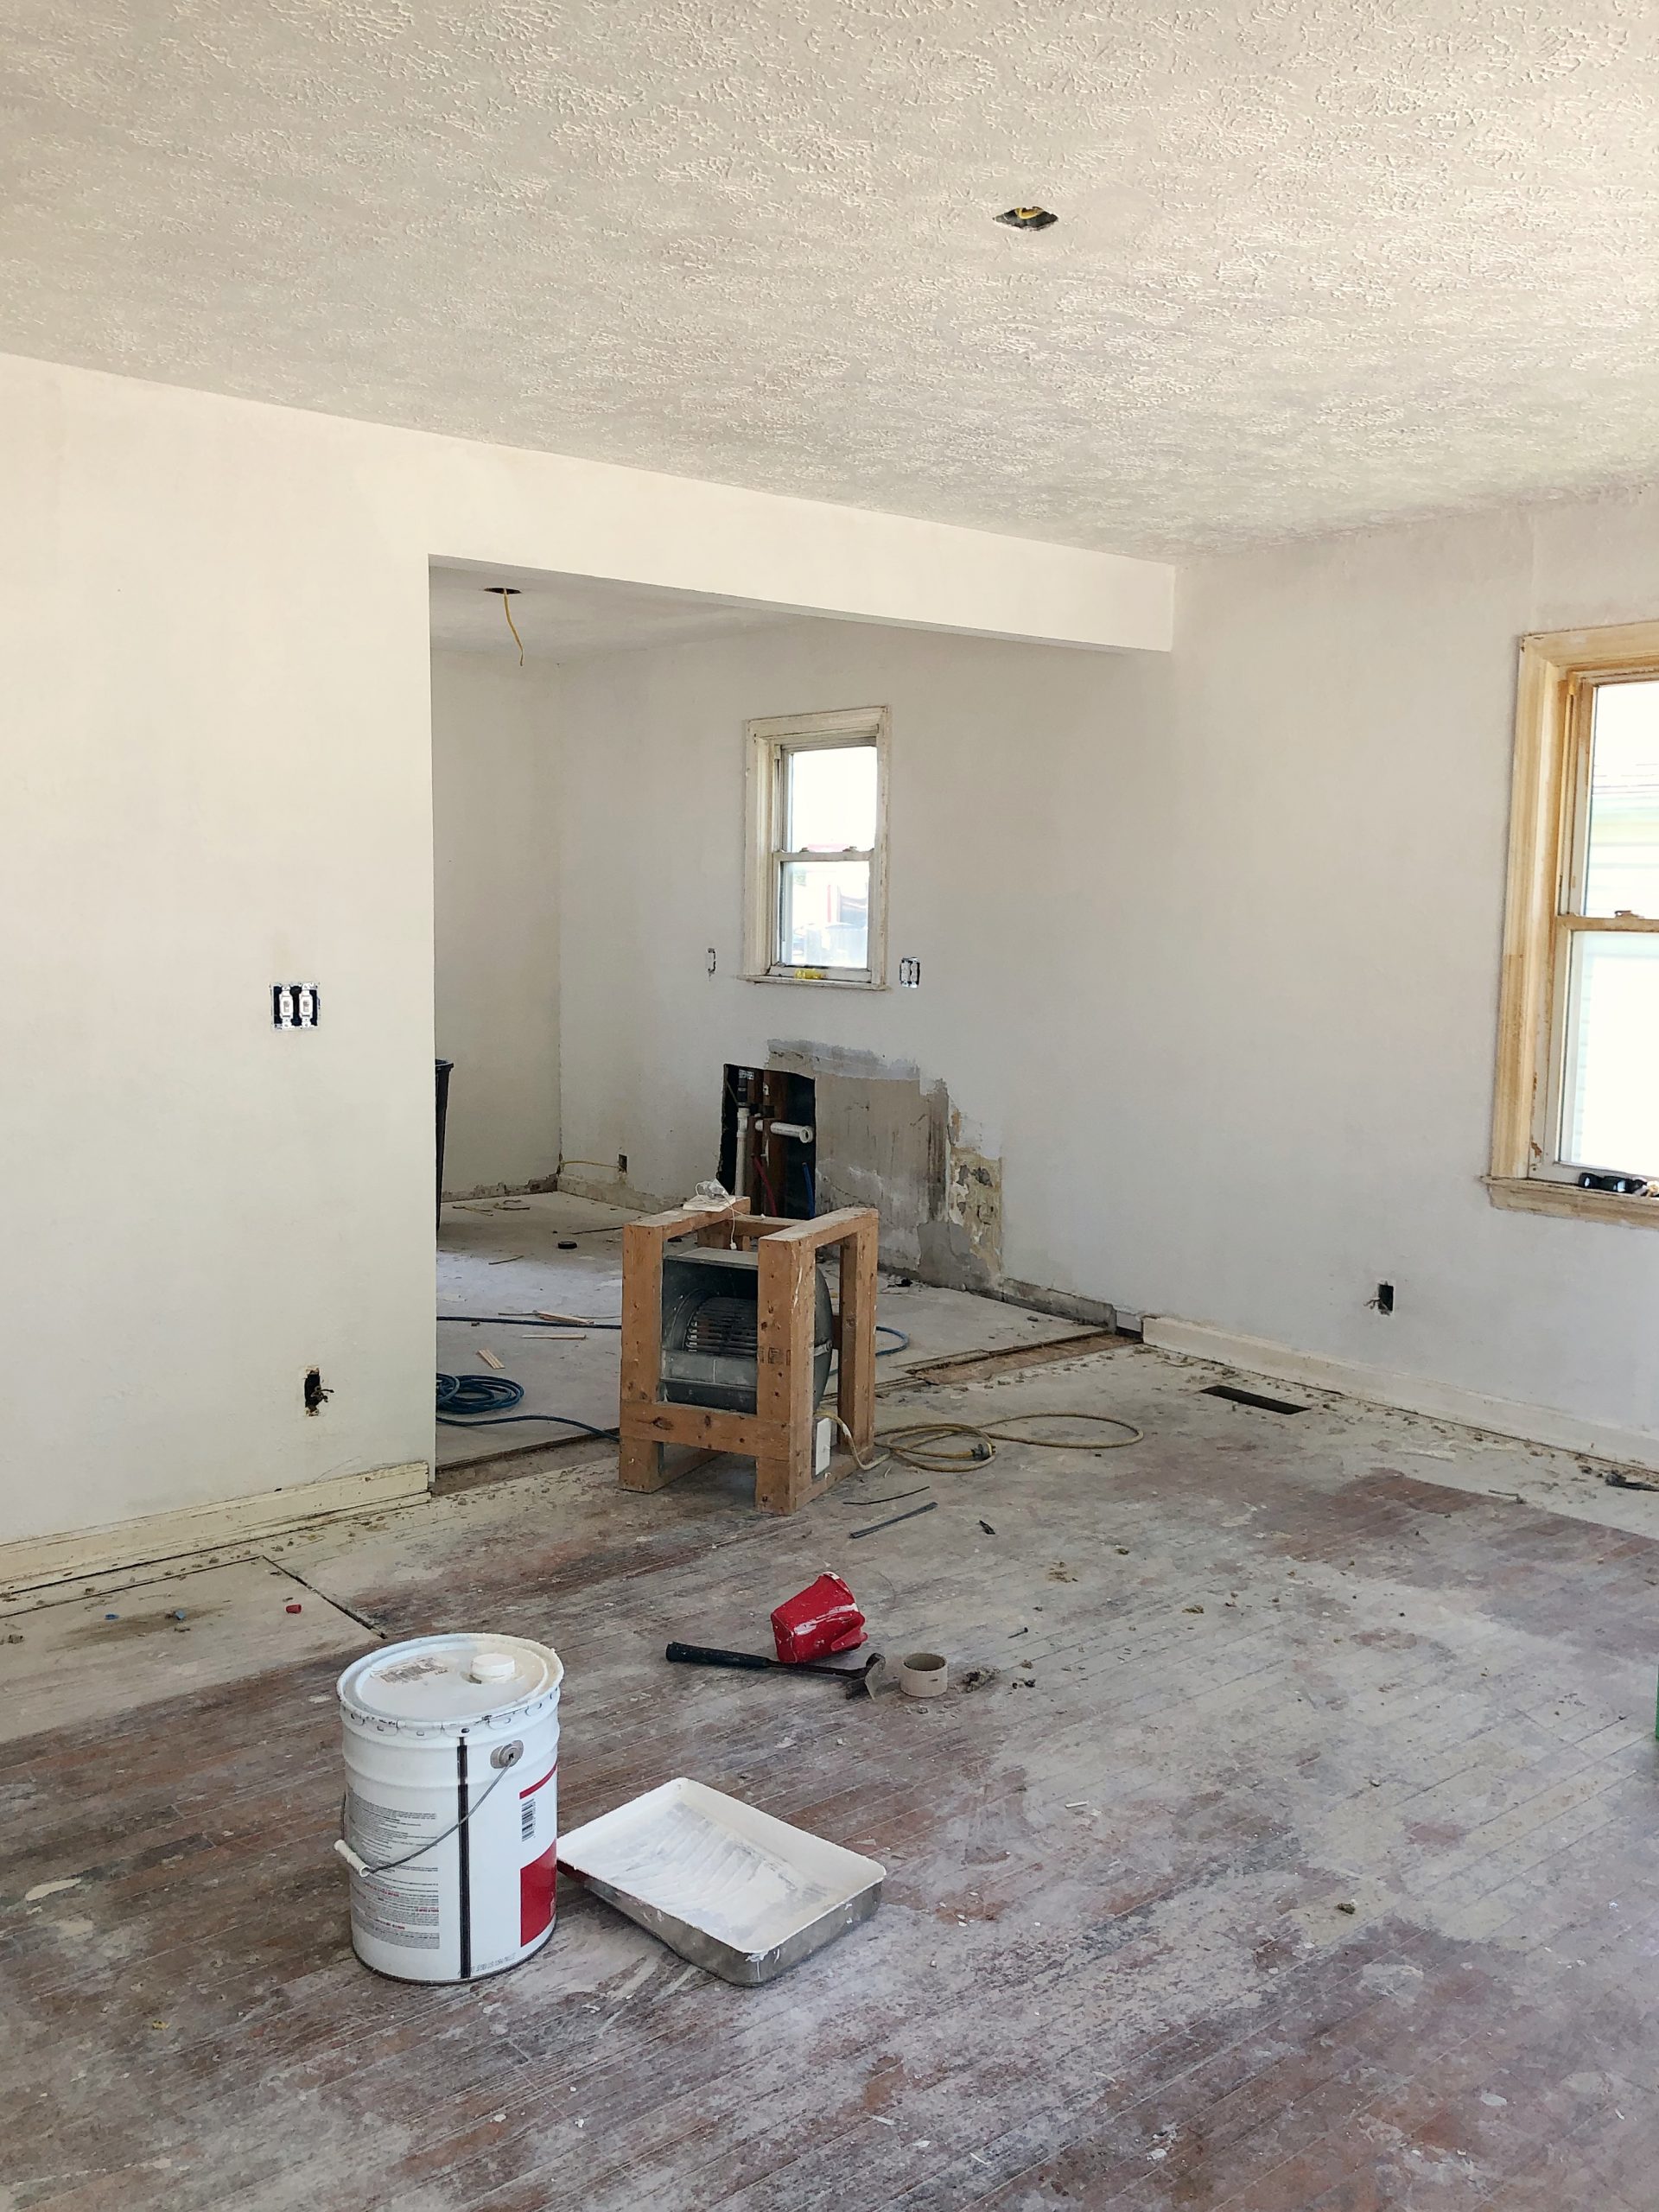
While the guys were working on the kitchen and bathroom, I got to work cleaning and painting the bedrooms. Looking back on photos of where these rooms started, I can hardly believe this is even the same house now. Total proof that with the miracle of paint and a whole lot of elbow grease and sweat equity (literally… we had no air conditioning while working all summer!), you can completely transform any space.
You can read here about the process and products I used to scrub every inch of these walls, windows, trim, and ceiling!
After the walls were thoroughly cleaned, I painted everything with an oil-based KILZ primer. I did two coats on most of the house, except the living room where the nicotine stains were by far the worst.
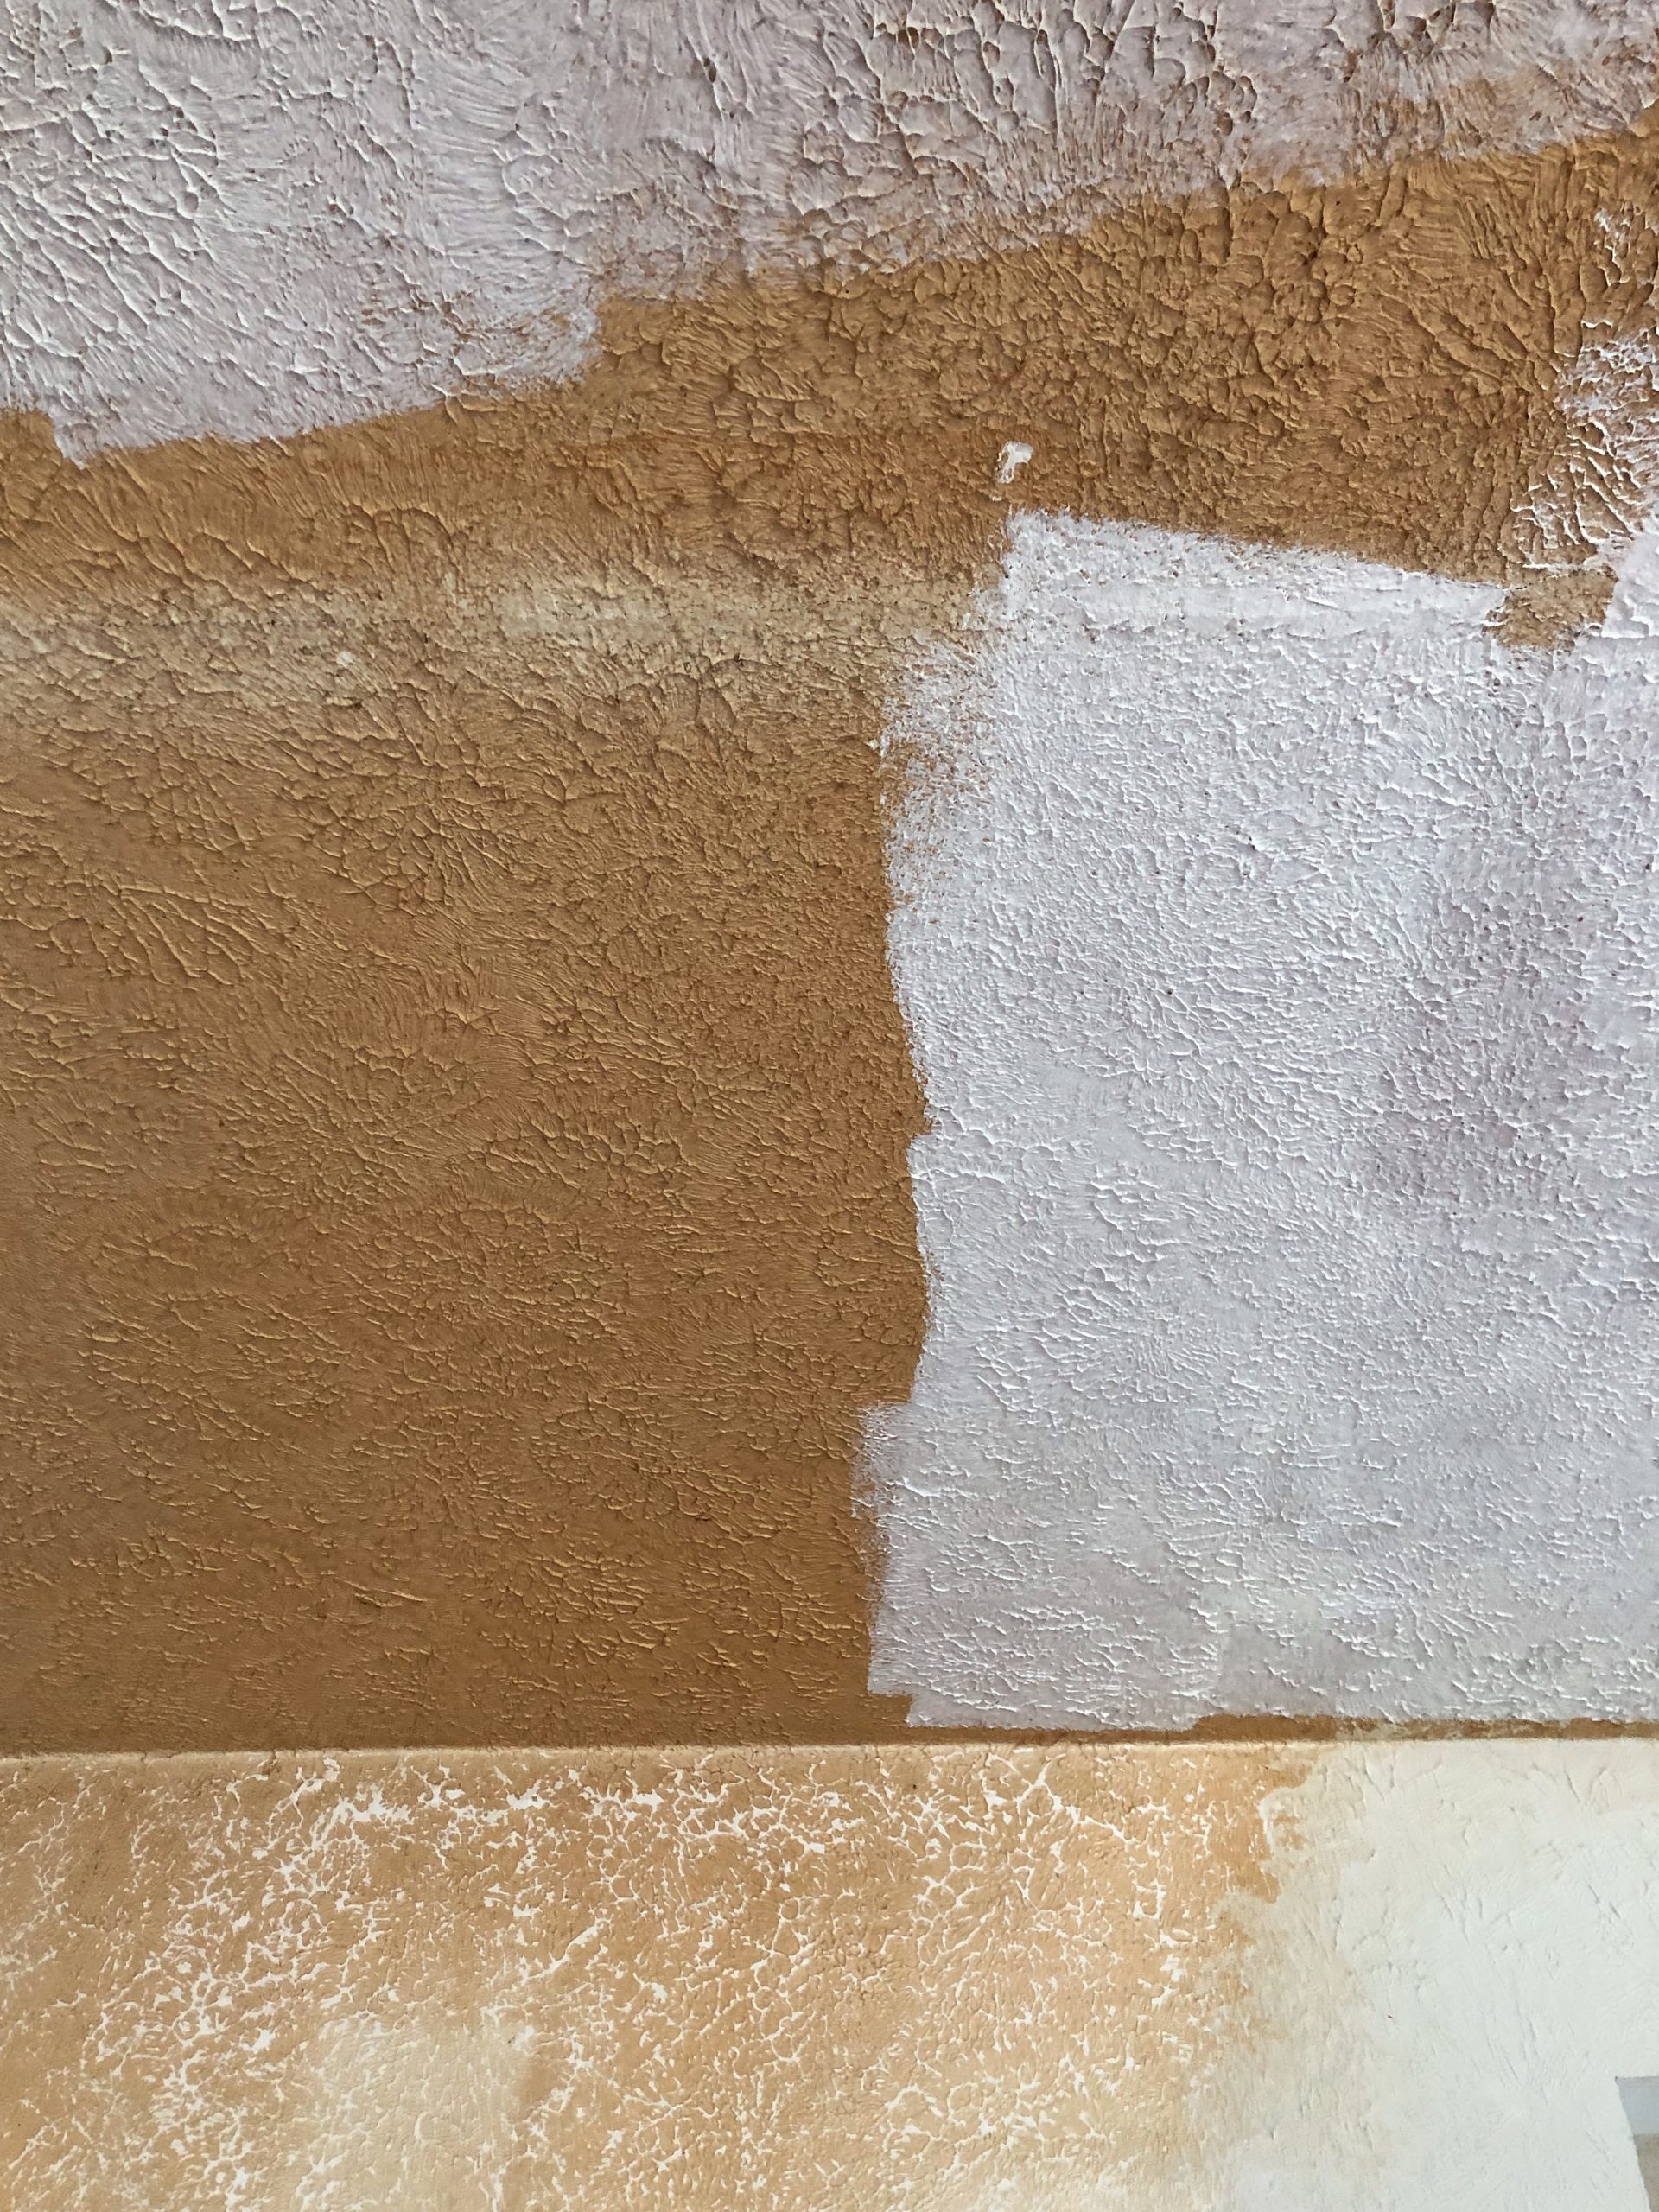
This photo shocks me every time I see it. This is the ceiling in the living room where we started painting primer over all the smoke and nicotine stains. I ended up doing three coats of primer in this room.
After the primer was all finished, we moved on to paint. Because Oscar has several different rental properties he owns, he prefers to use the same color on the walls, trim and ceiling, which simplifies things on his end. And after doing the majority of the painting in this house myself, I completely agree with his theory. I didn’t use a single piece of painter’s tape. Just a good quality paint brush and some good tunes to make the time go by. He likes to use Valspar Signature interior paint + primer in satin in the color Summer Gray (7006-17). It’s just slightly darker than a pure white that creates a great blank canvas for any renter he has in here.
August 7, 2020
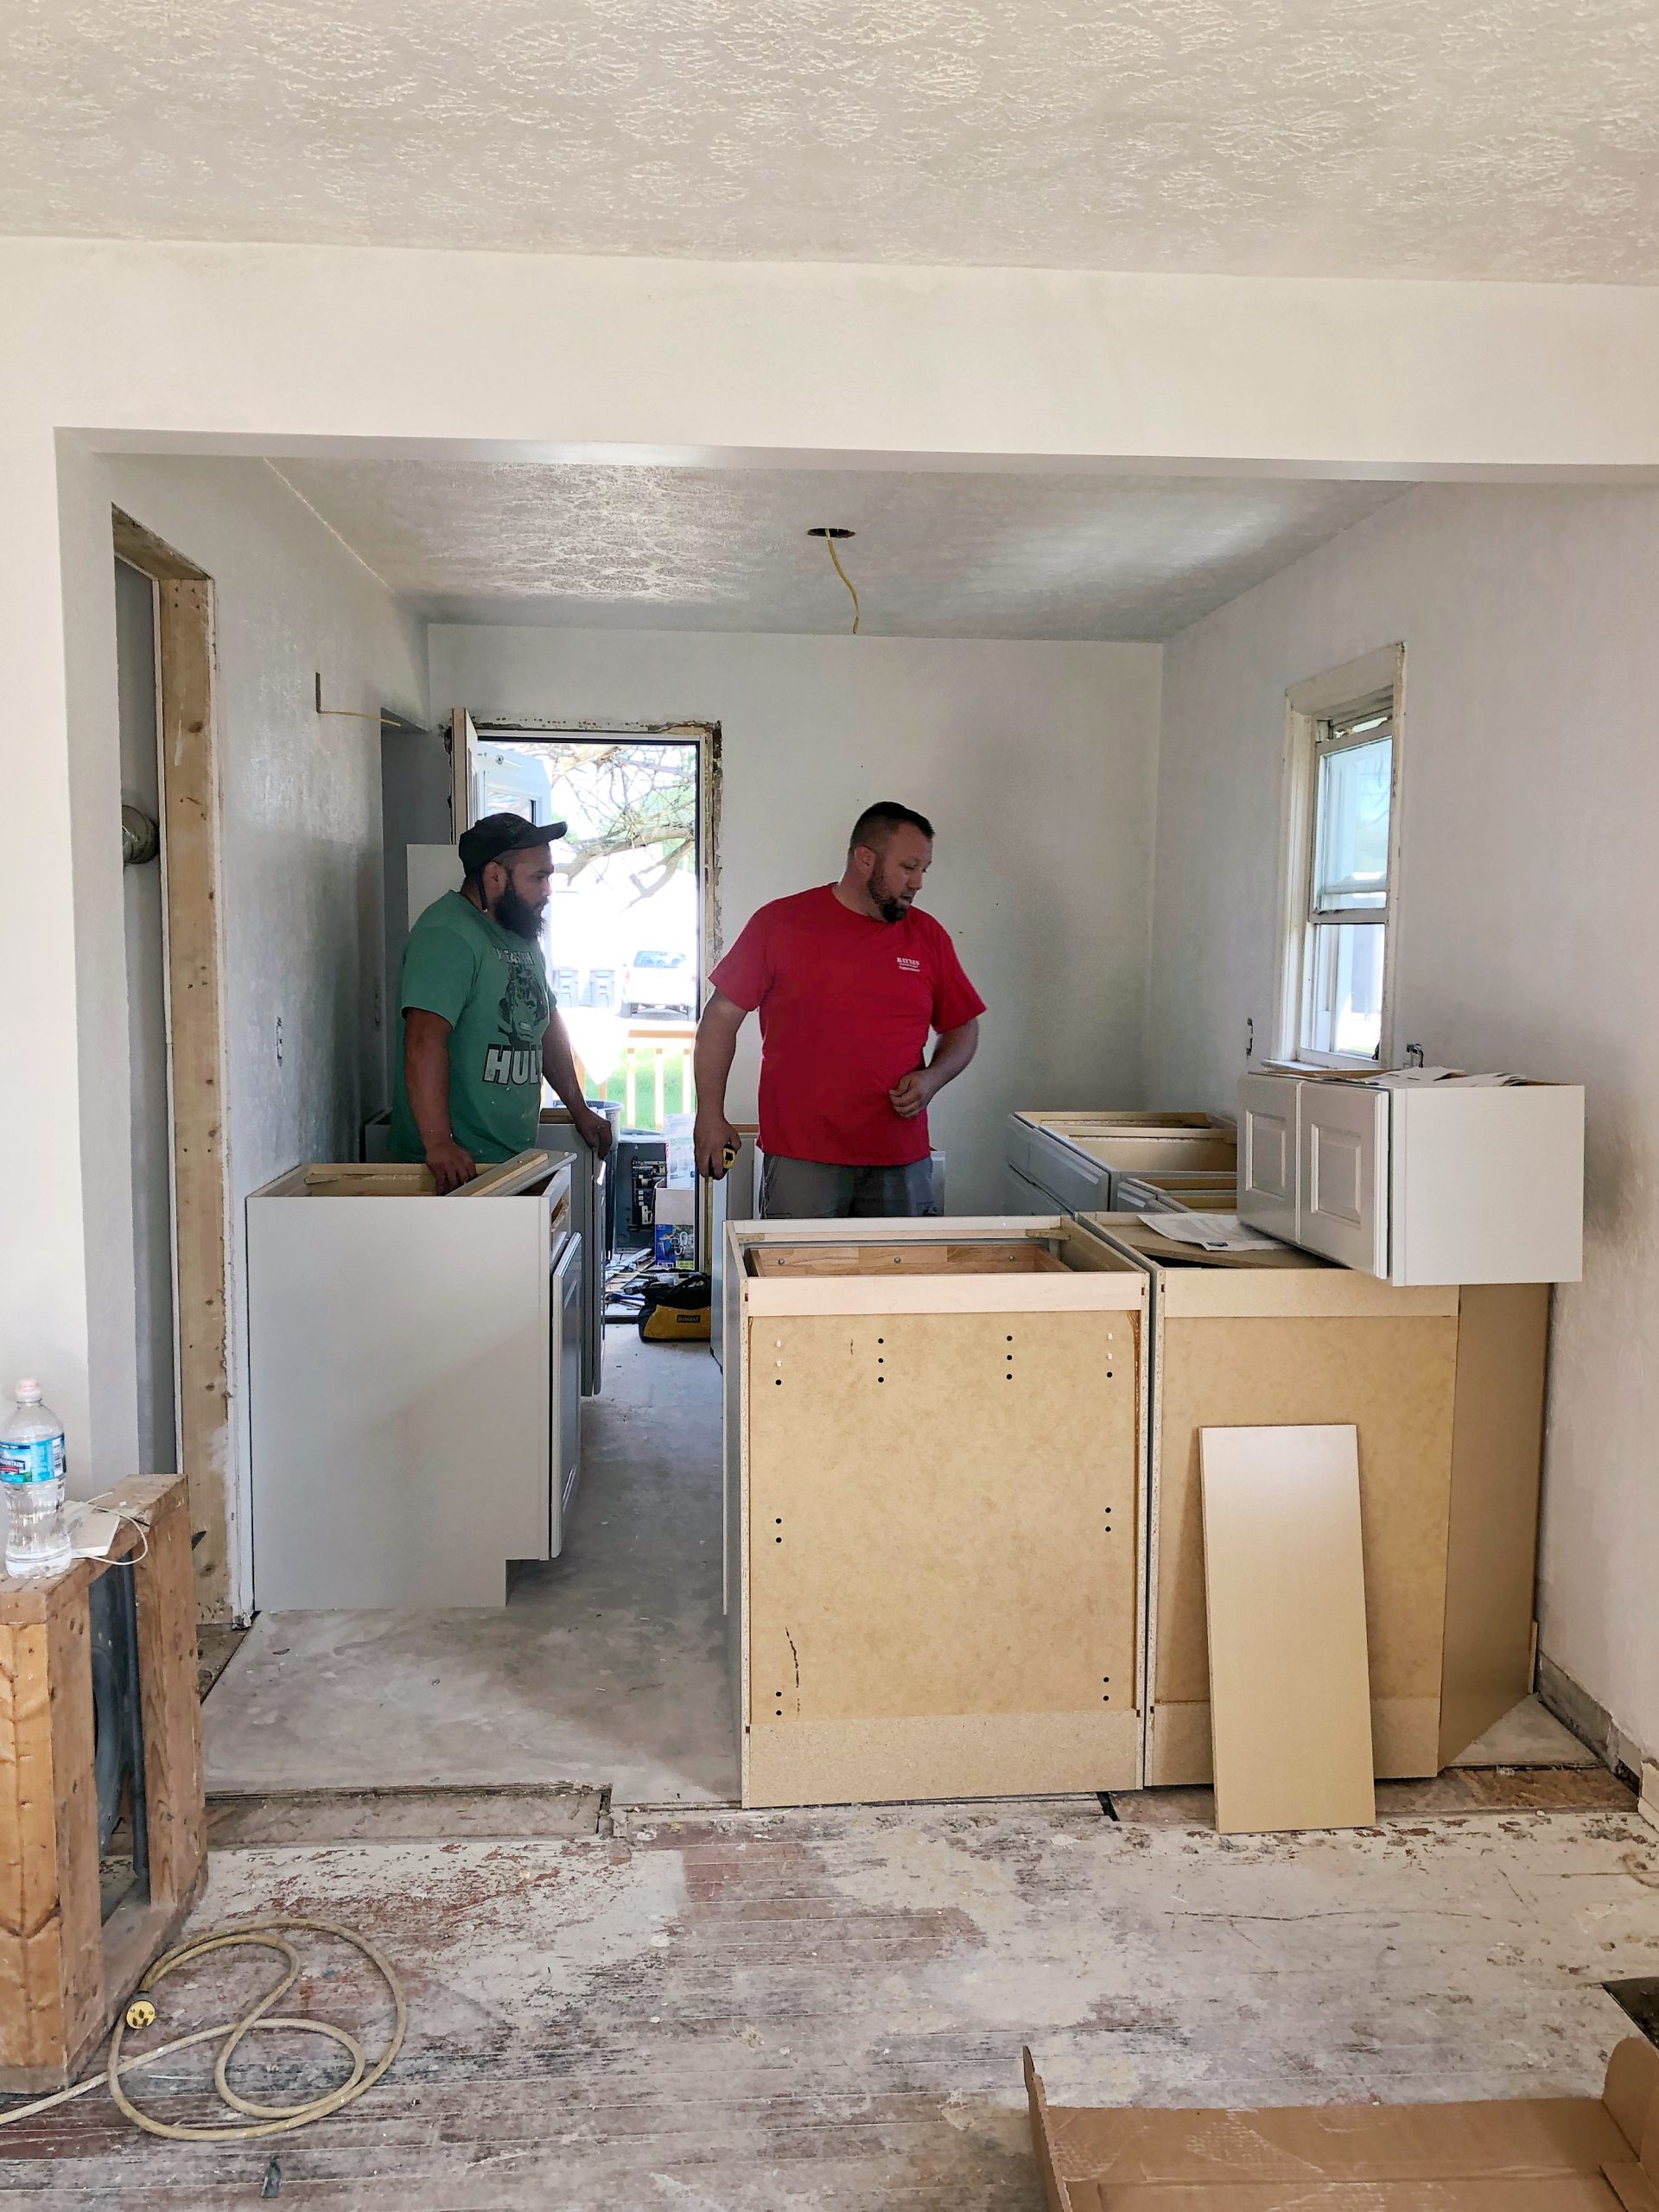
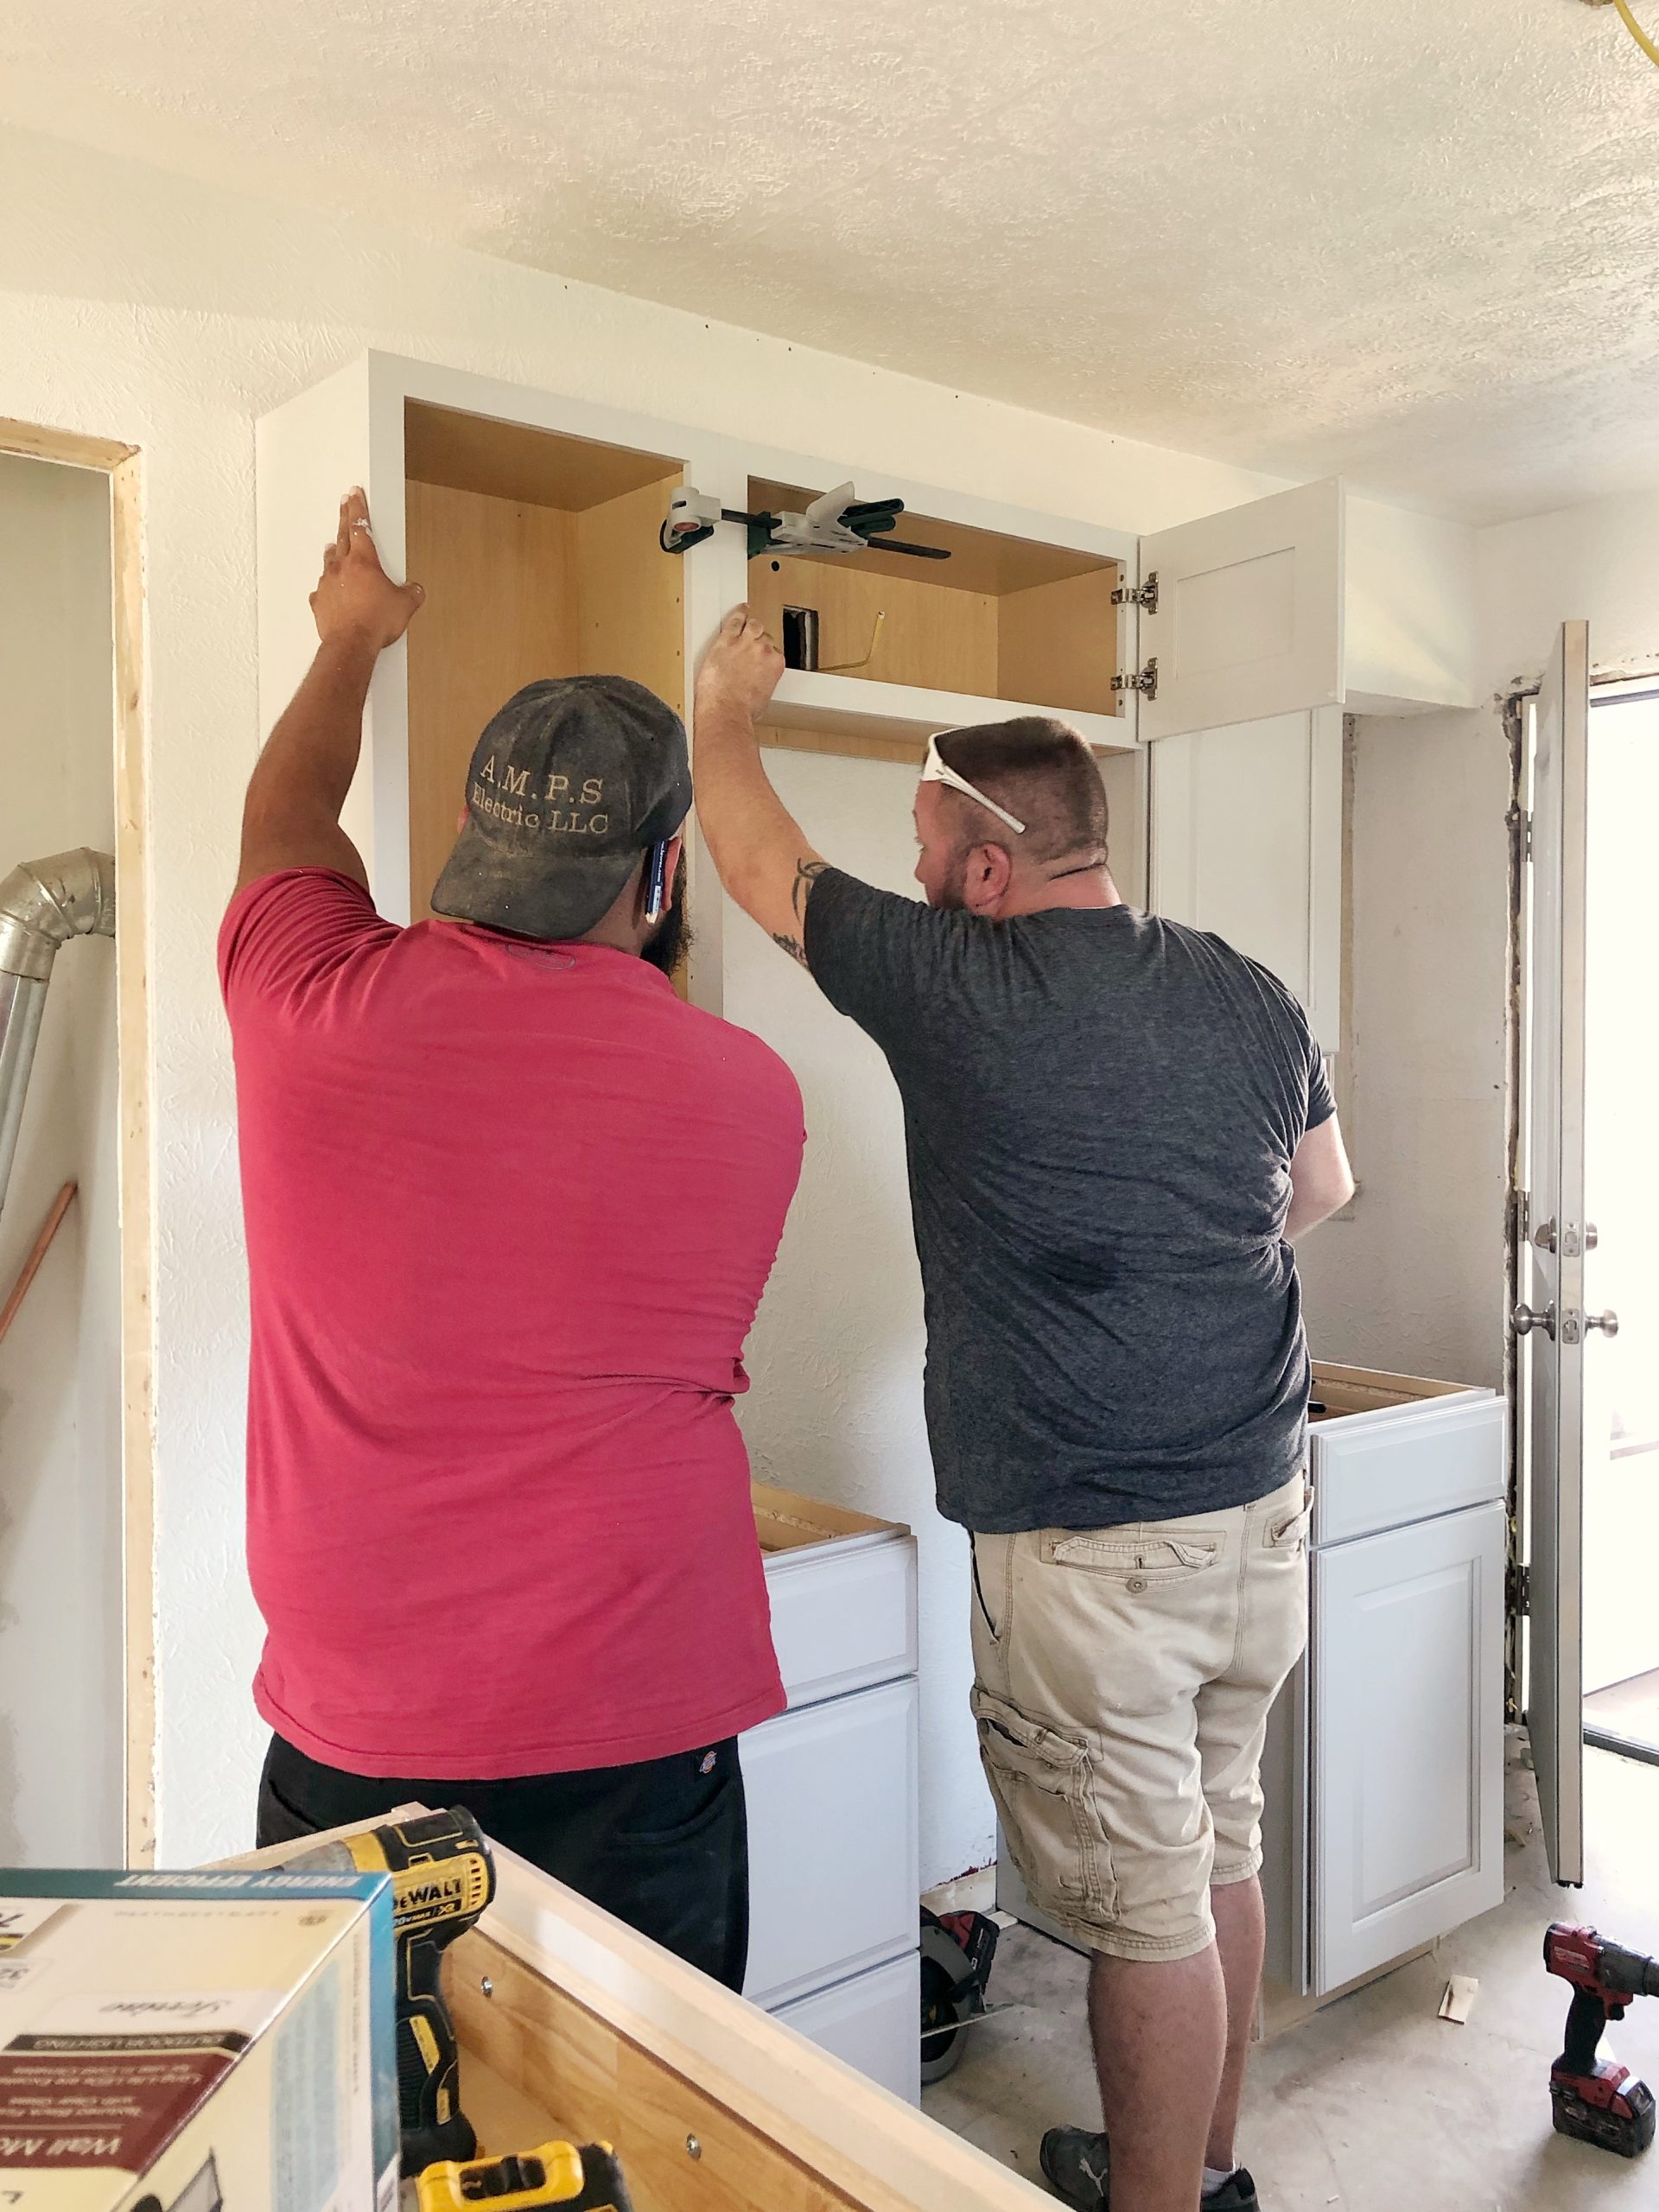
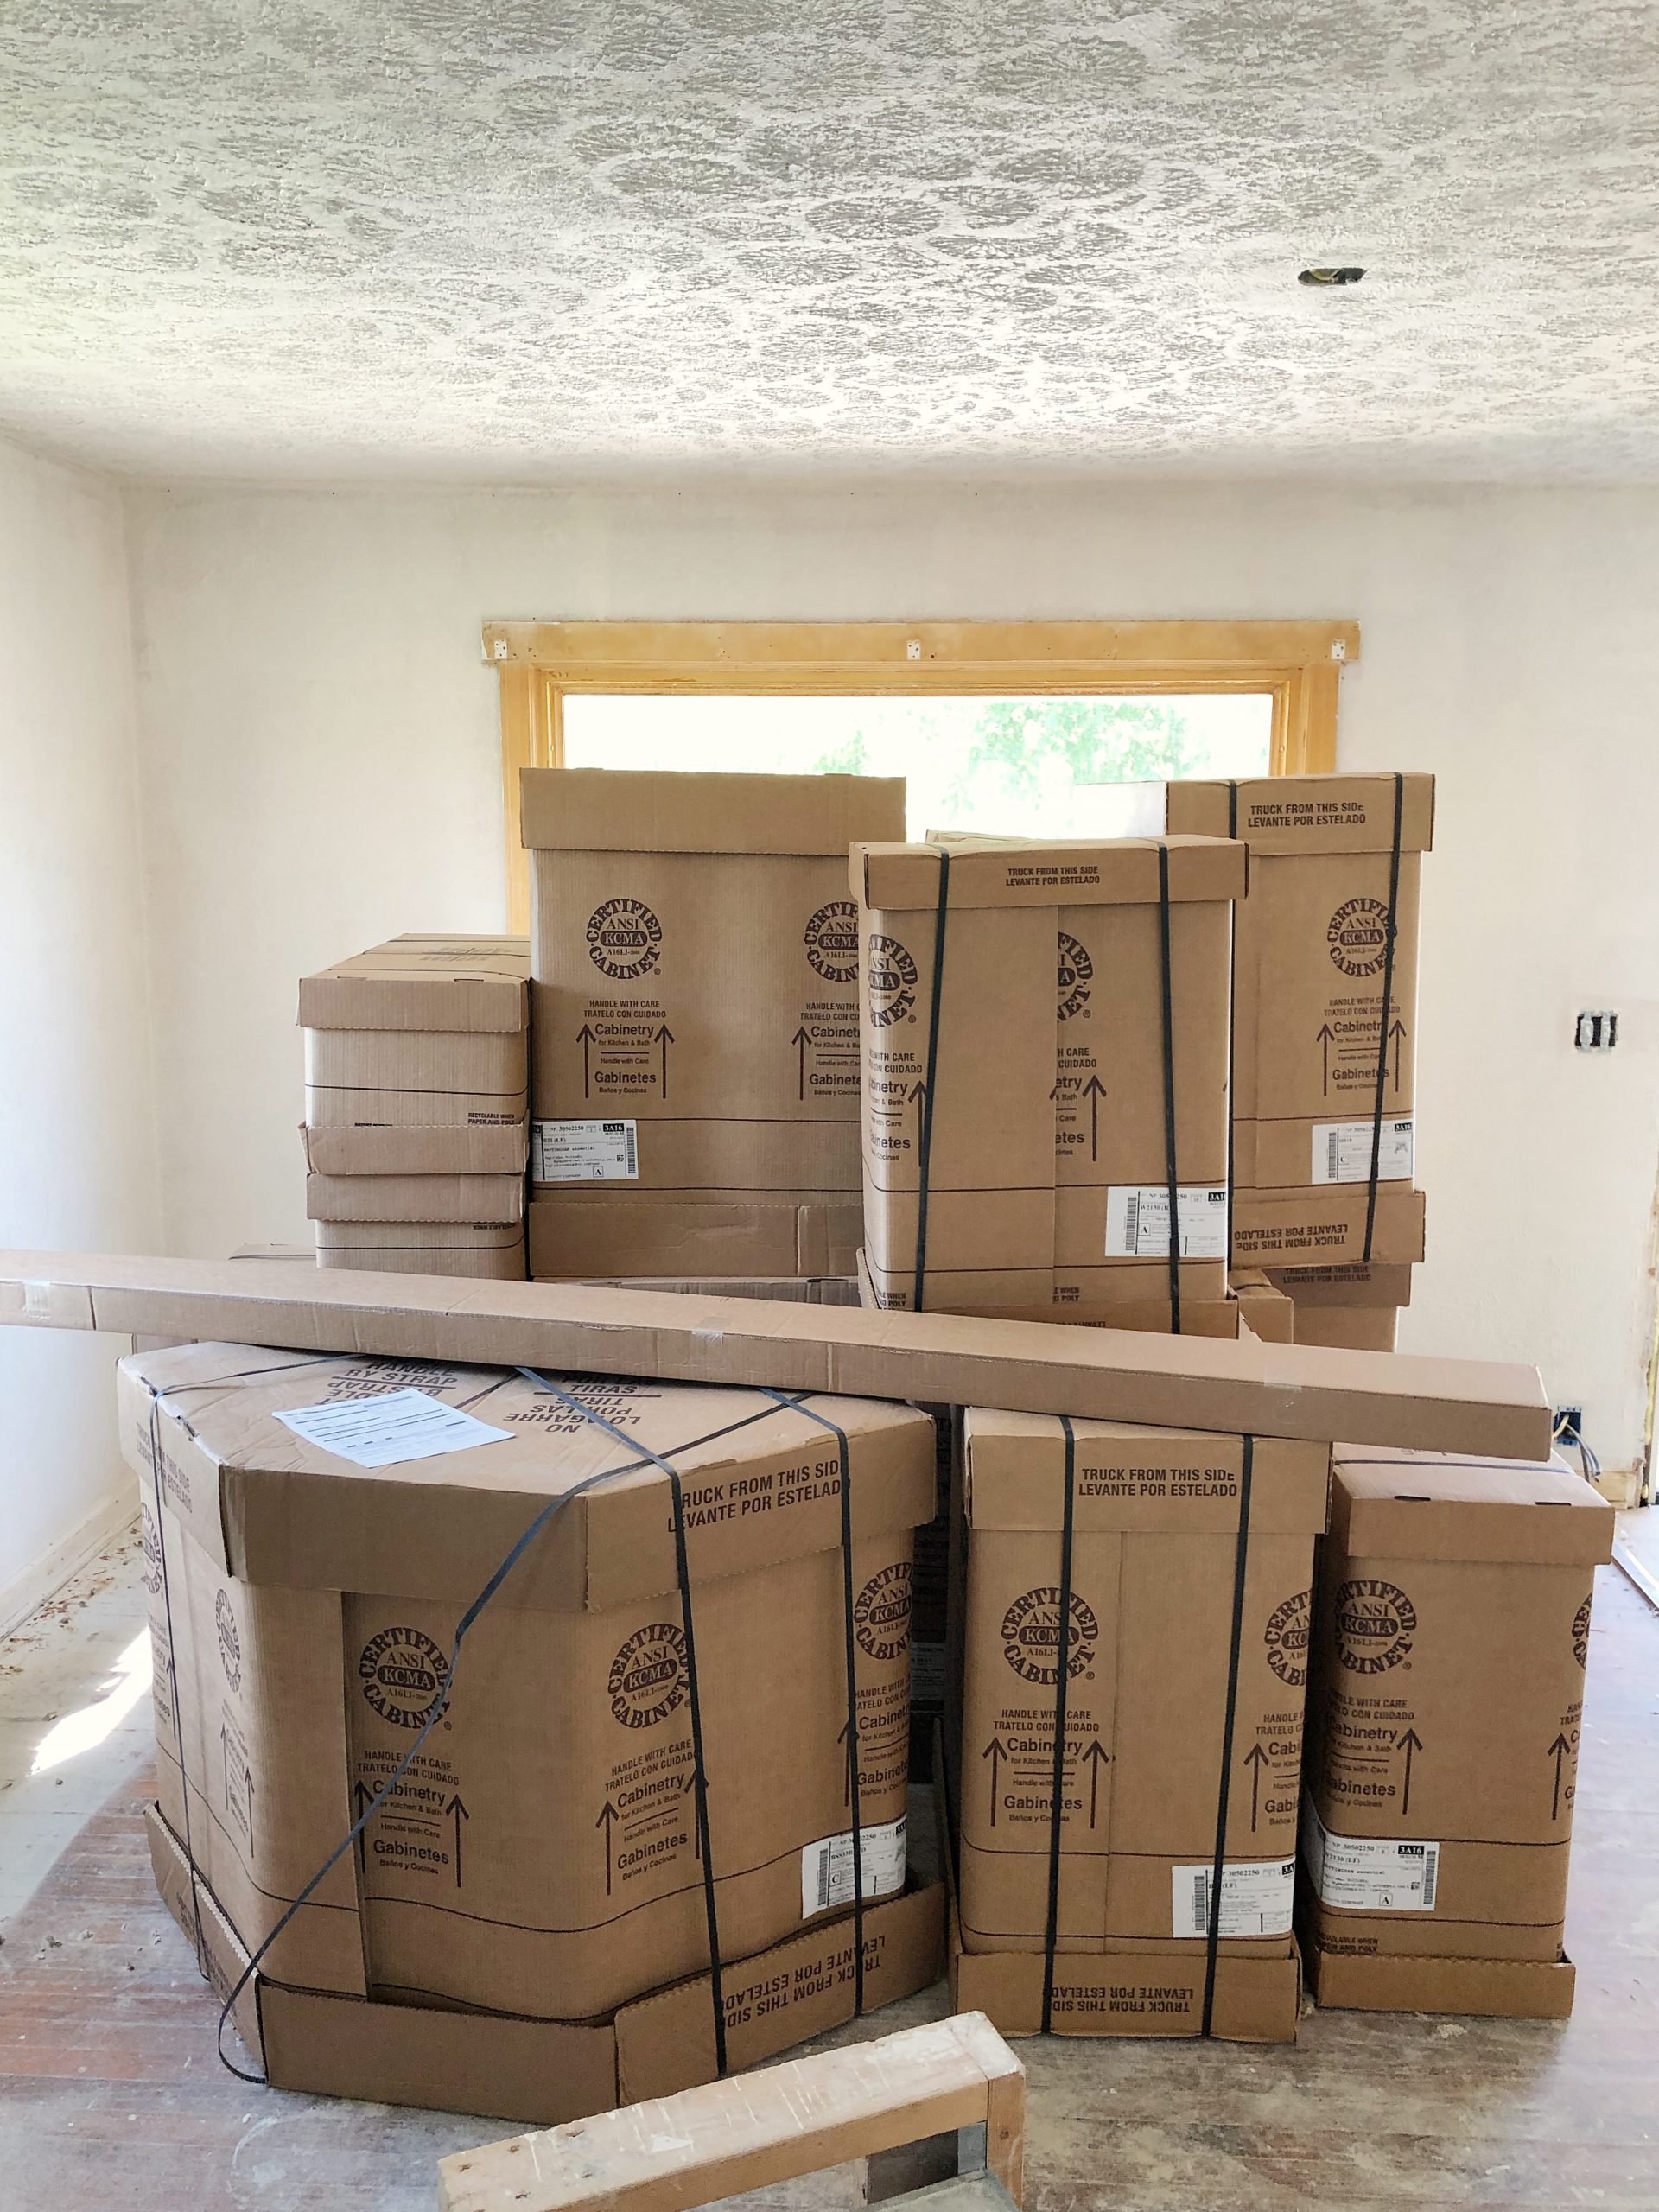
Cabinets were finally delivered in the beginning of August, and this made our construction site really start to feel like a home. A little backstory: Oscar decided to order everything for the kitchen while he was in Lowe’s one day (without me, of course). He sent me photos of the cabinet colors and countertop options, and I picked them out via an iphone photo, hoping the colors would come out okay. I would NOT recommend doing this when you’re spending this amount of money on new kitchen cabinets and countertops. But sometimes when you’re in the middle of a rental renovation and also trying to juggle your full time day jobs, you have to fit things in when time allows. And lucky for Oscar, I’m excellent at what I do and picked the most beautiful finishes for the kitchen! 😆
Here are the kitchen details:
everything was ordered/purchased at Lowe’s
cabinets: allen + roth Tenley
countertops: Wilsonart standard laminate White Carrara
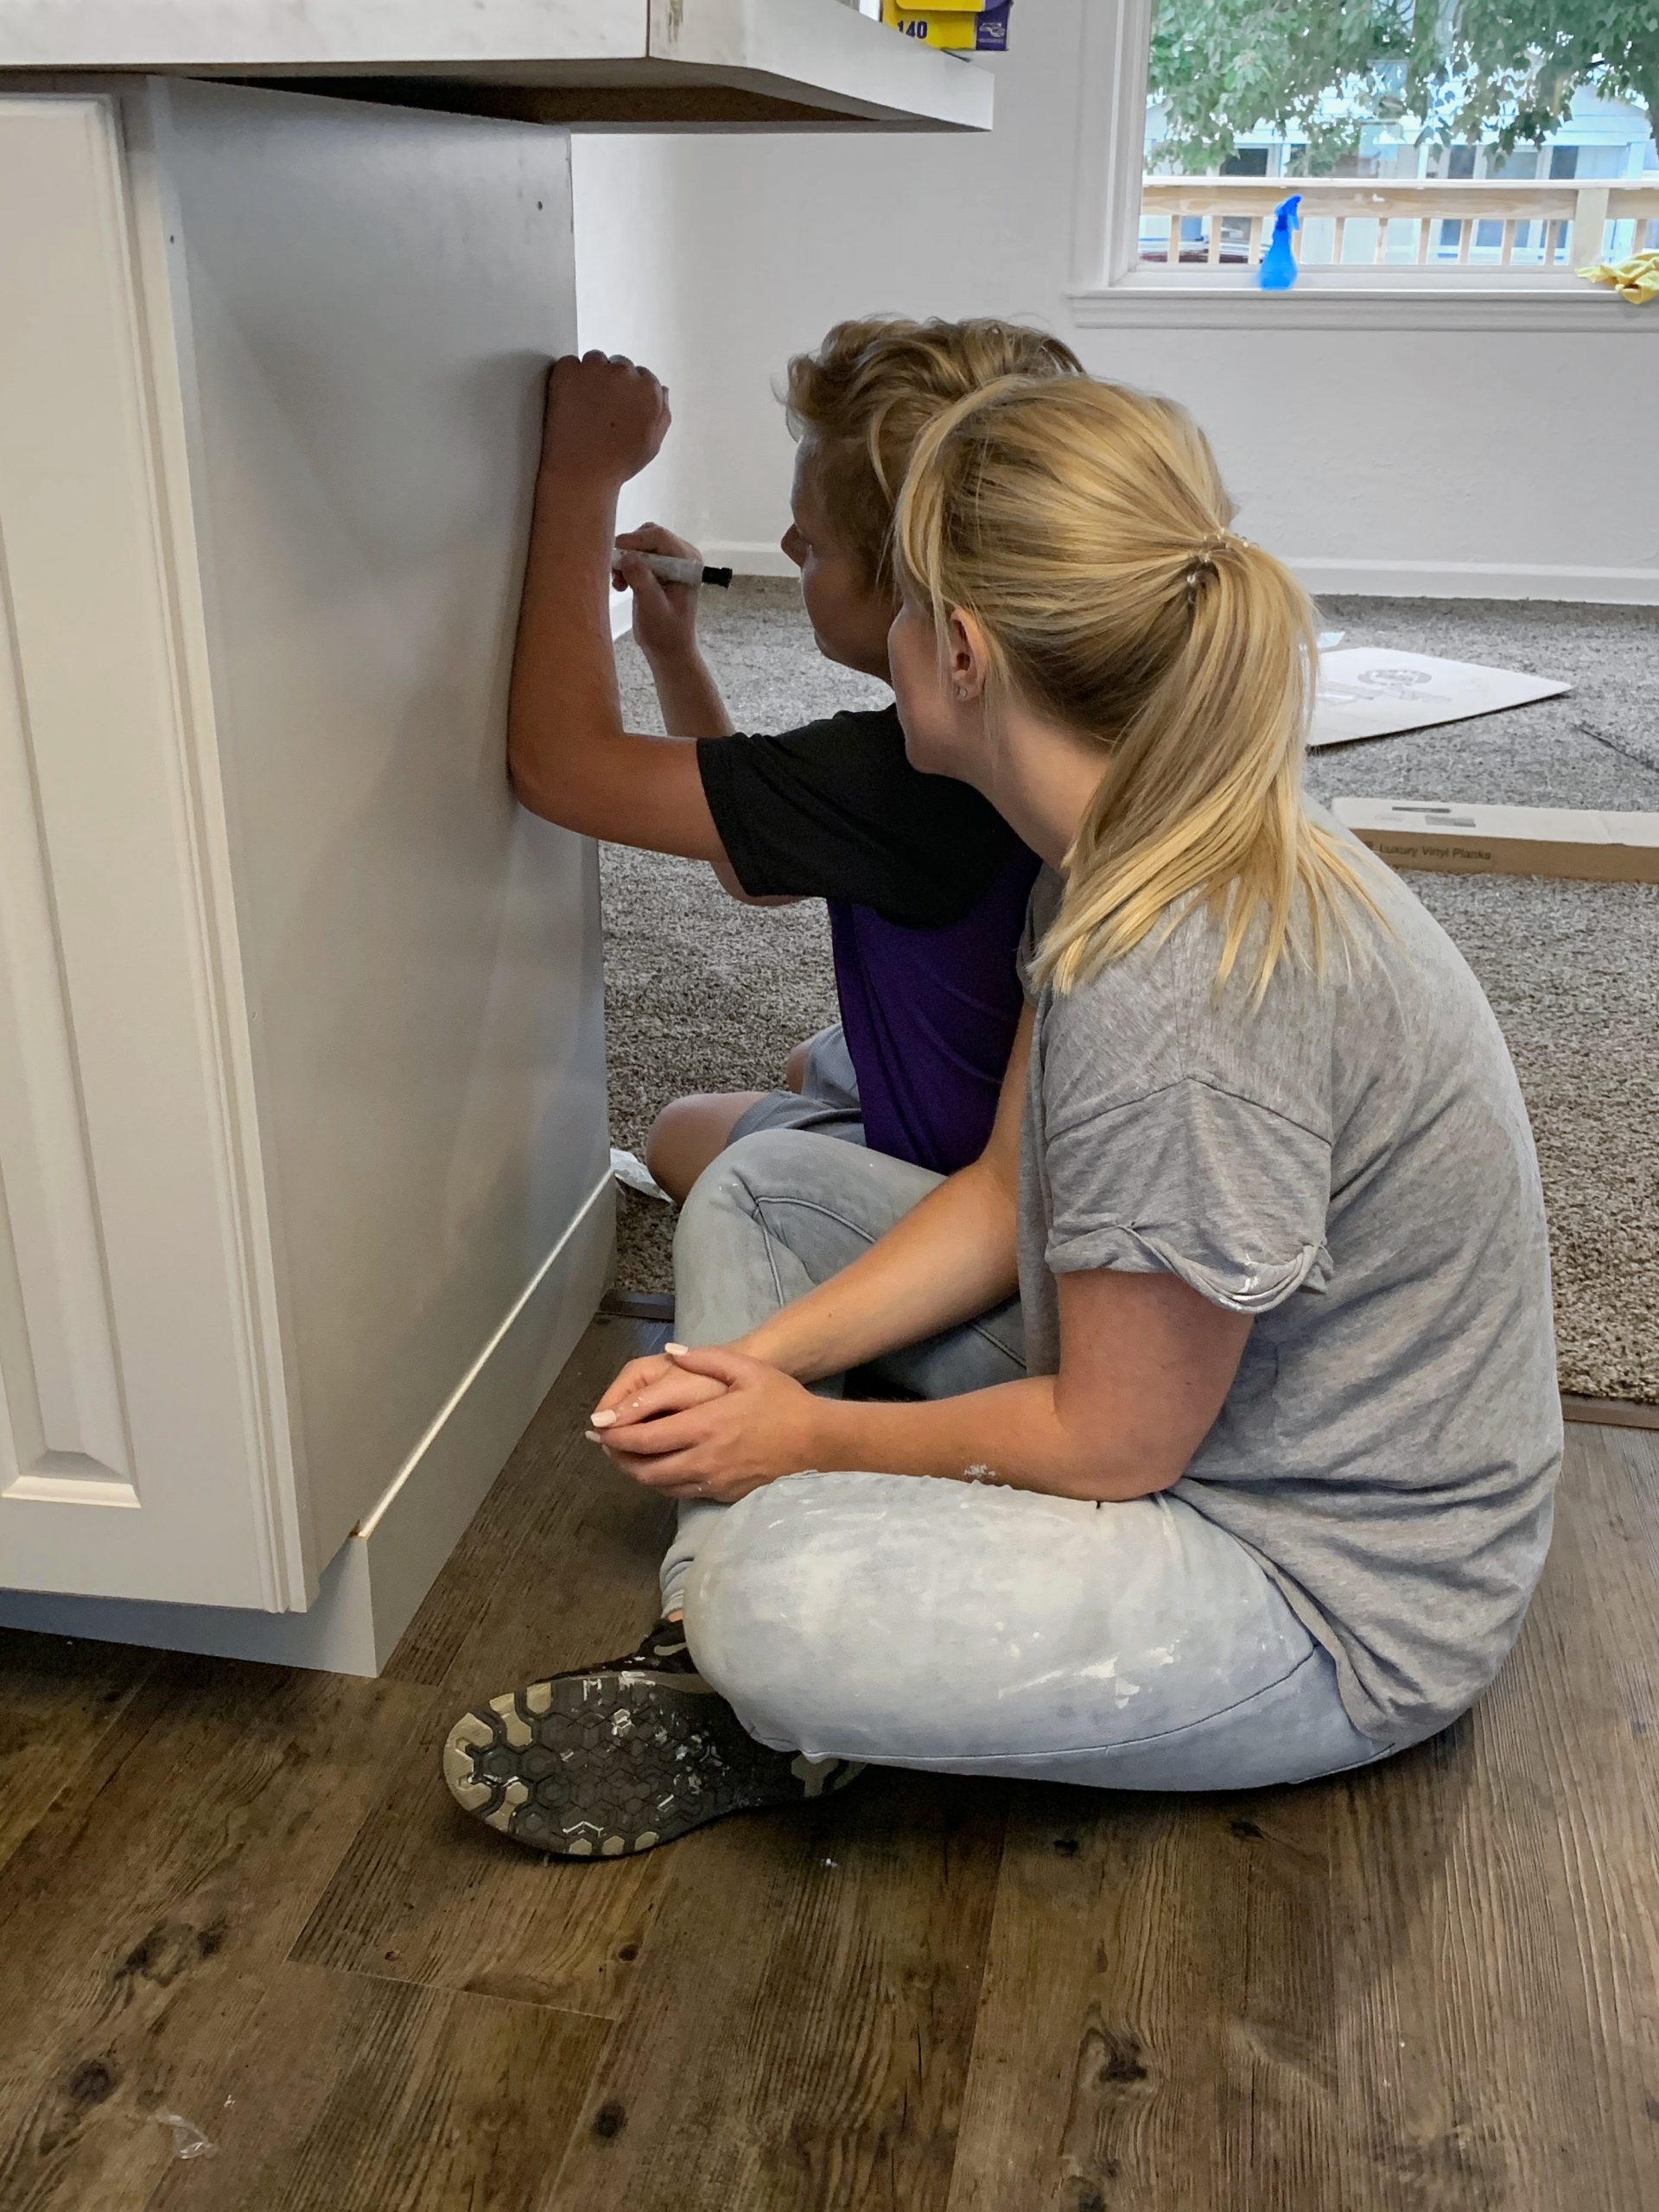
The cabinet color is such a pretty, soft gray, and the countertops have that beautiful marble look in an affordable laminate material. We ended up having to remove one of the cabinets and alter the dimensions of the countertops because the walkway opening was much smaller than we were expecting with the layout we designed.
For the flooring we went through a small local company who gave us some great discounts on leftover flooring he had from other projects. Because this house is so small we were able to find enough of the same carpet to cover the living room, hallway, and bedrooms and enough vinyl planks to cover the kitchen, bathroom, entryway, and utility room. So unfortunately I don’t have any of the specific details on the flooring, but we choose a multi-color dark brown carpet that we thought would be best for a rental home (to show the least amount of wear) and a dark driftwood brown vinyl for the rest of the flooring.
August 21,2020
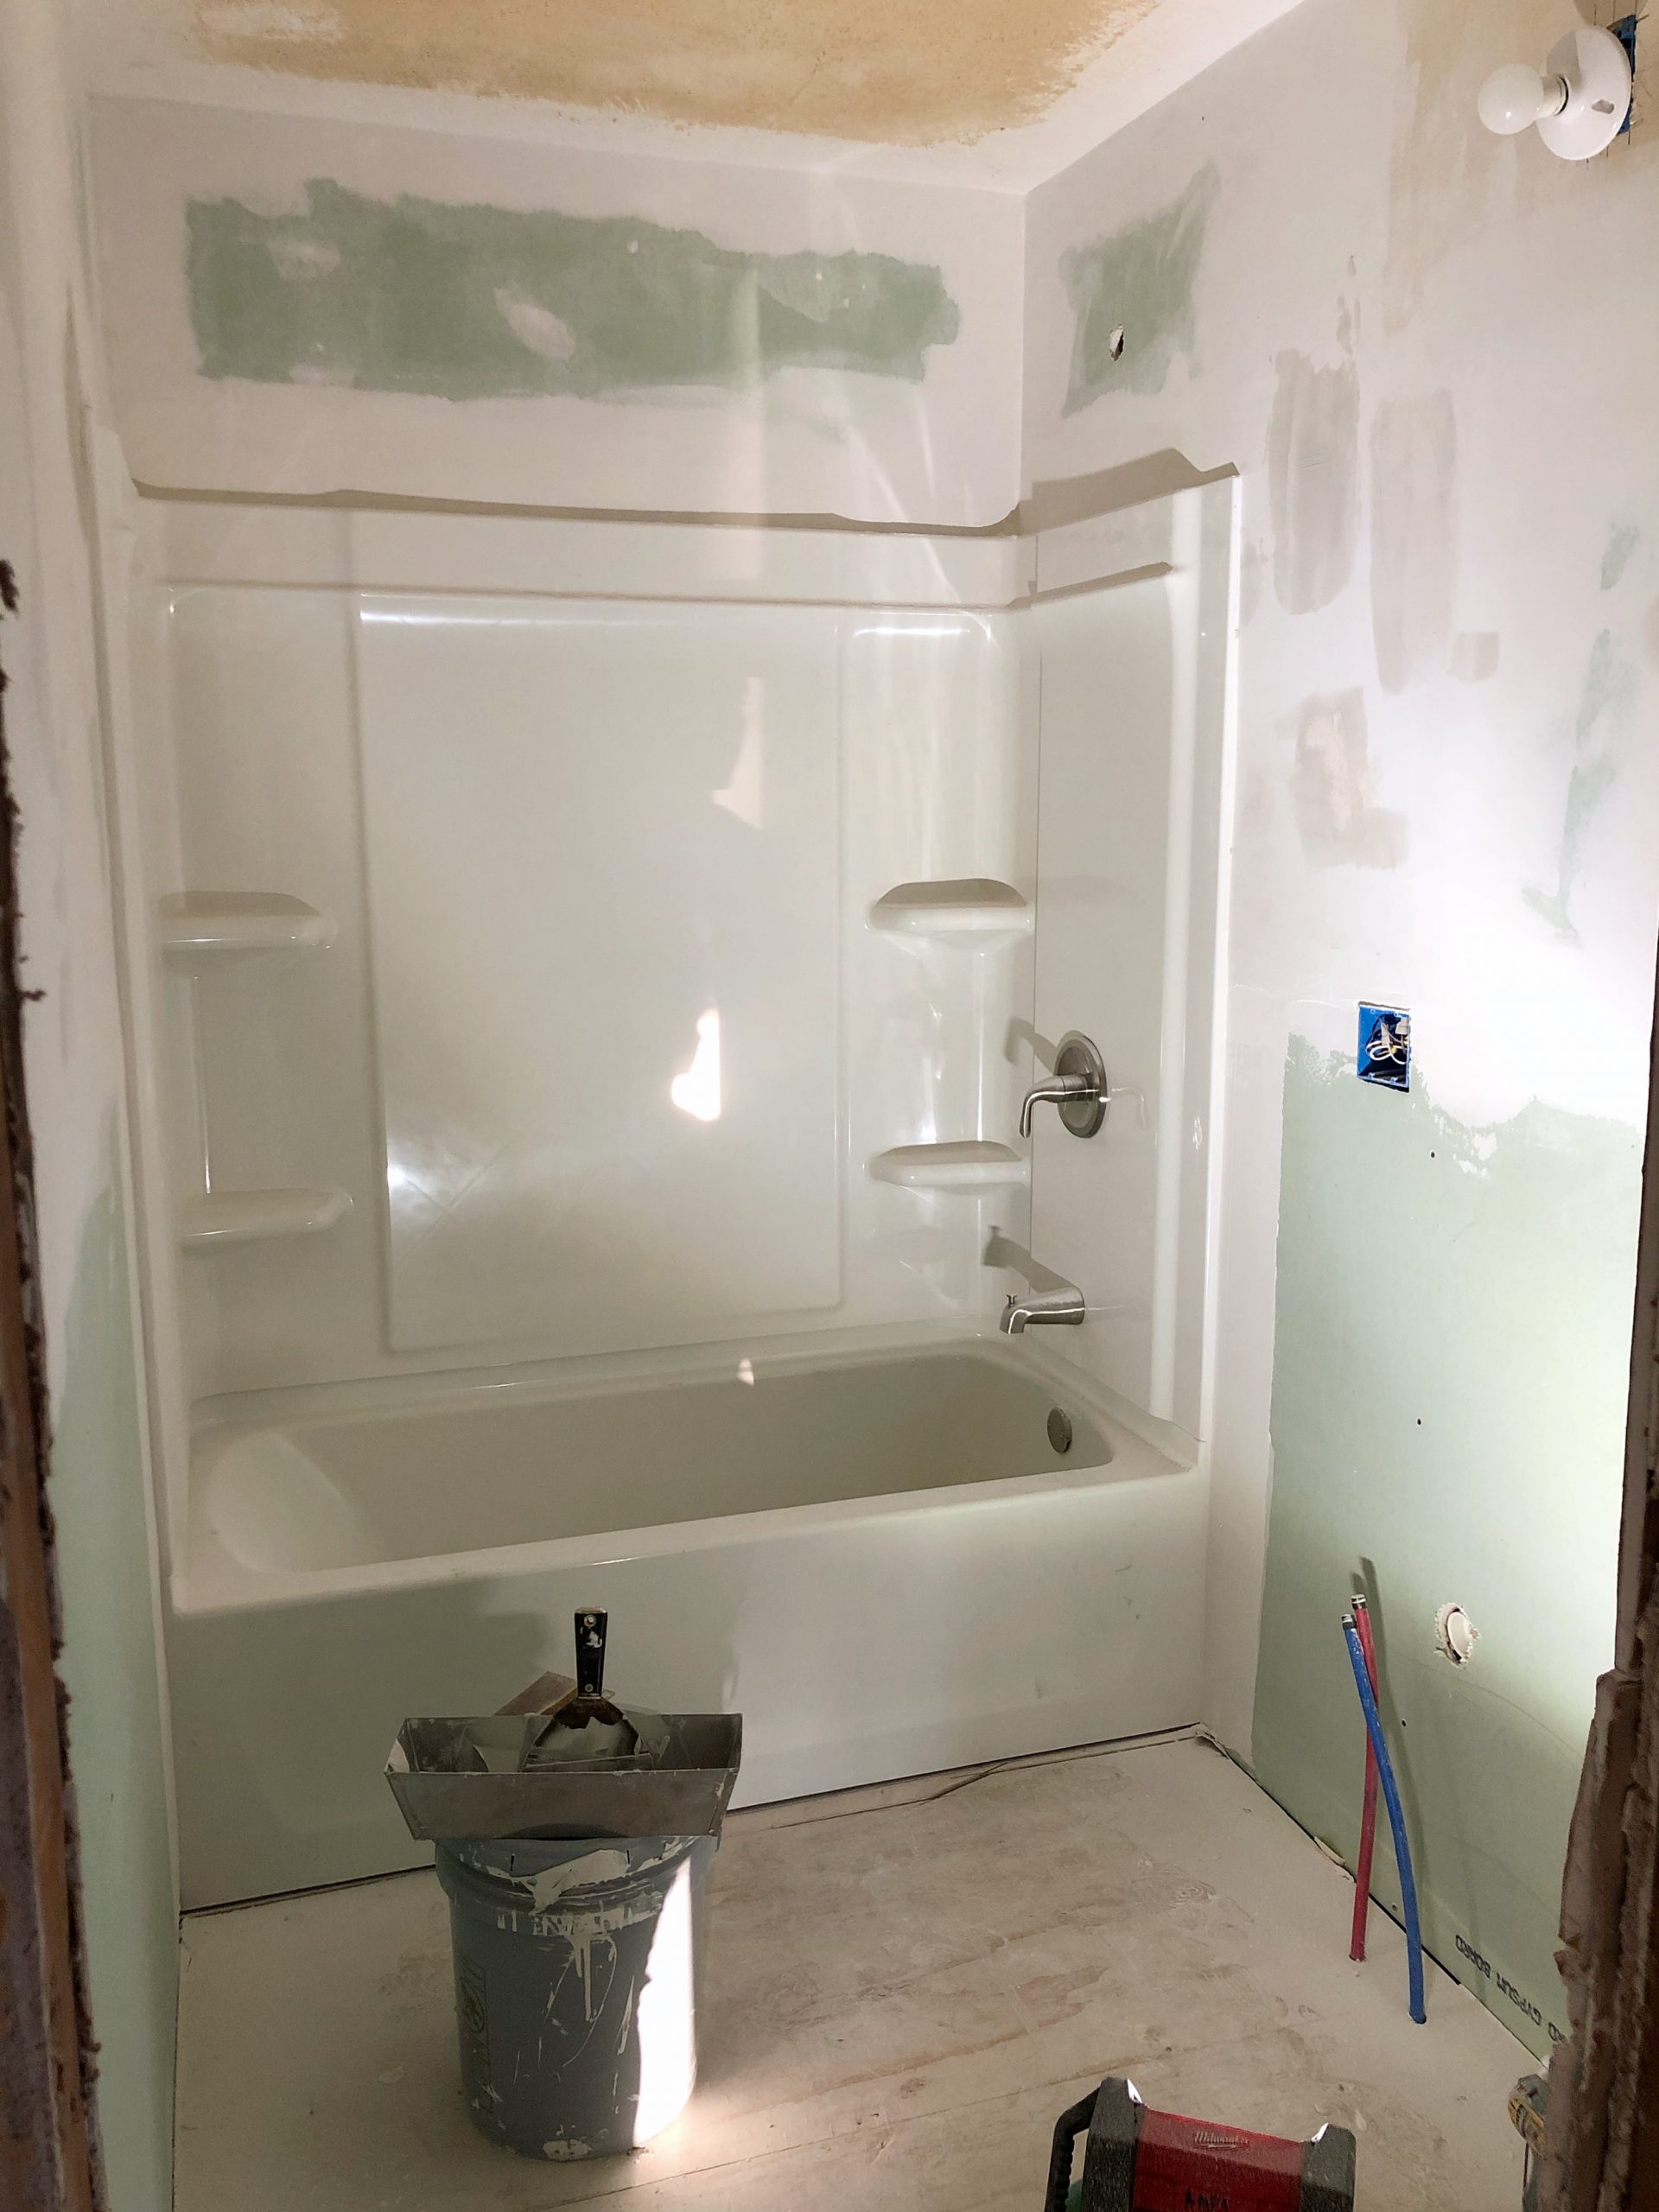
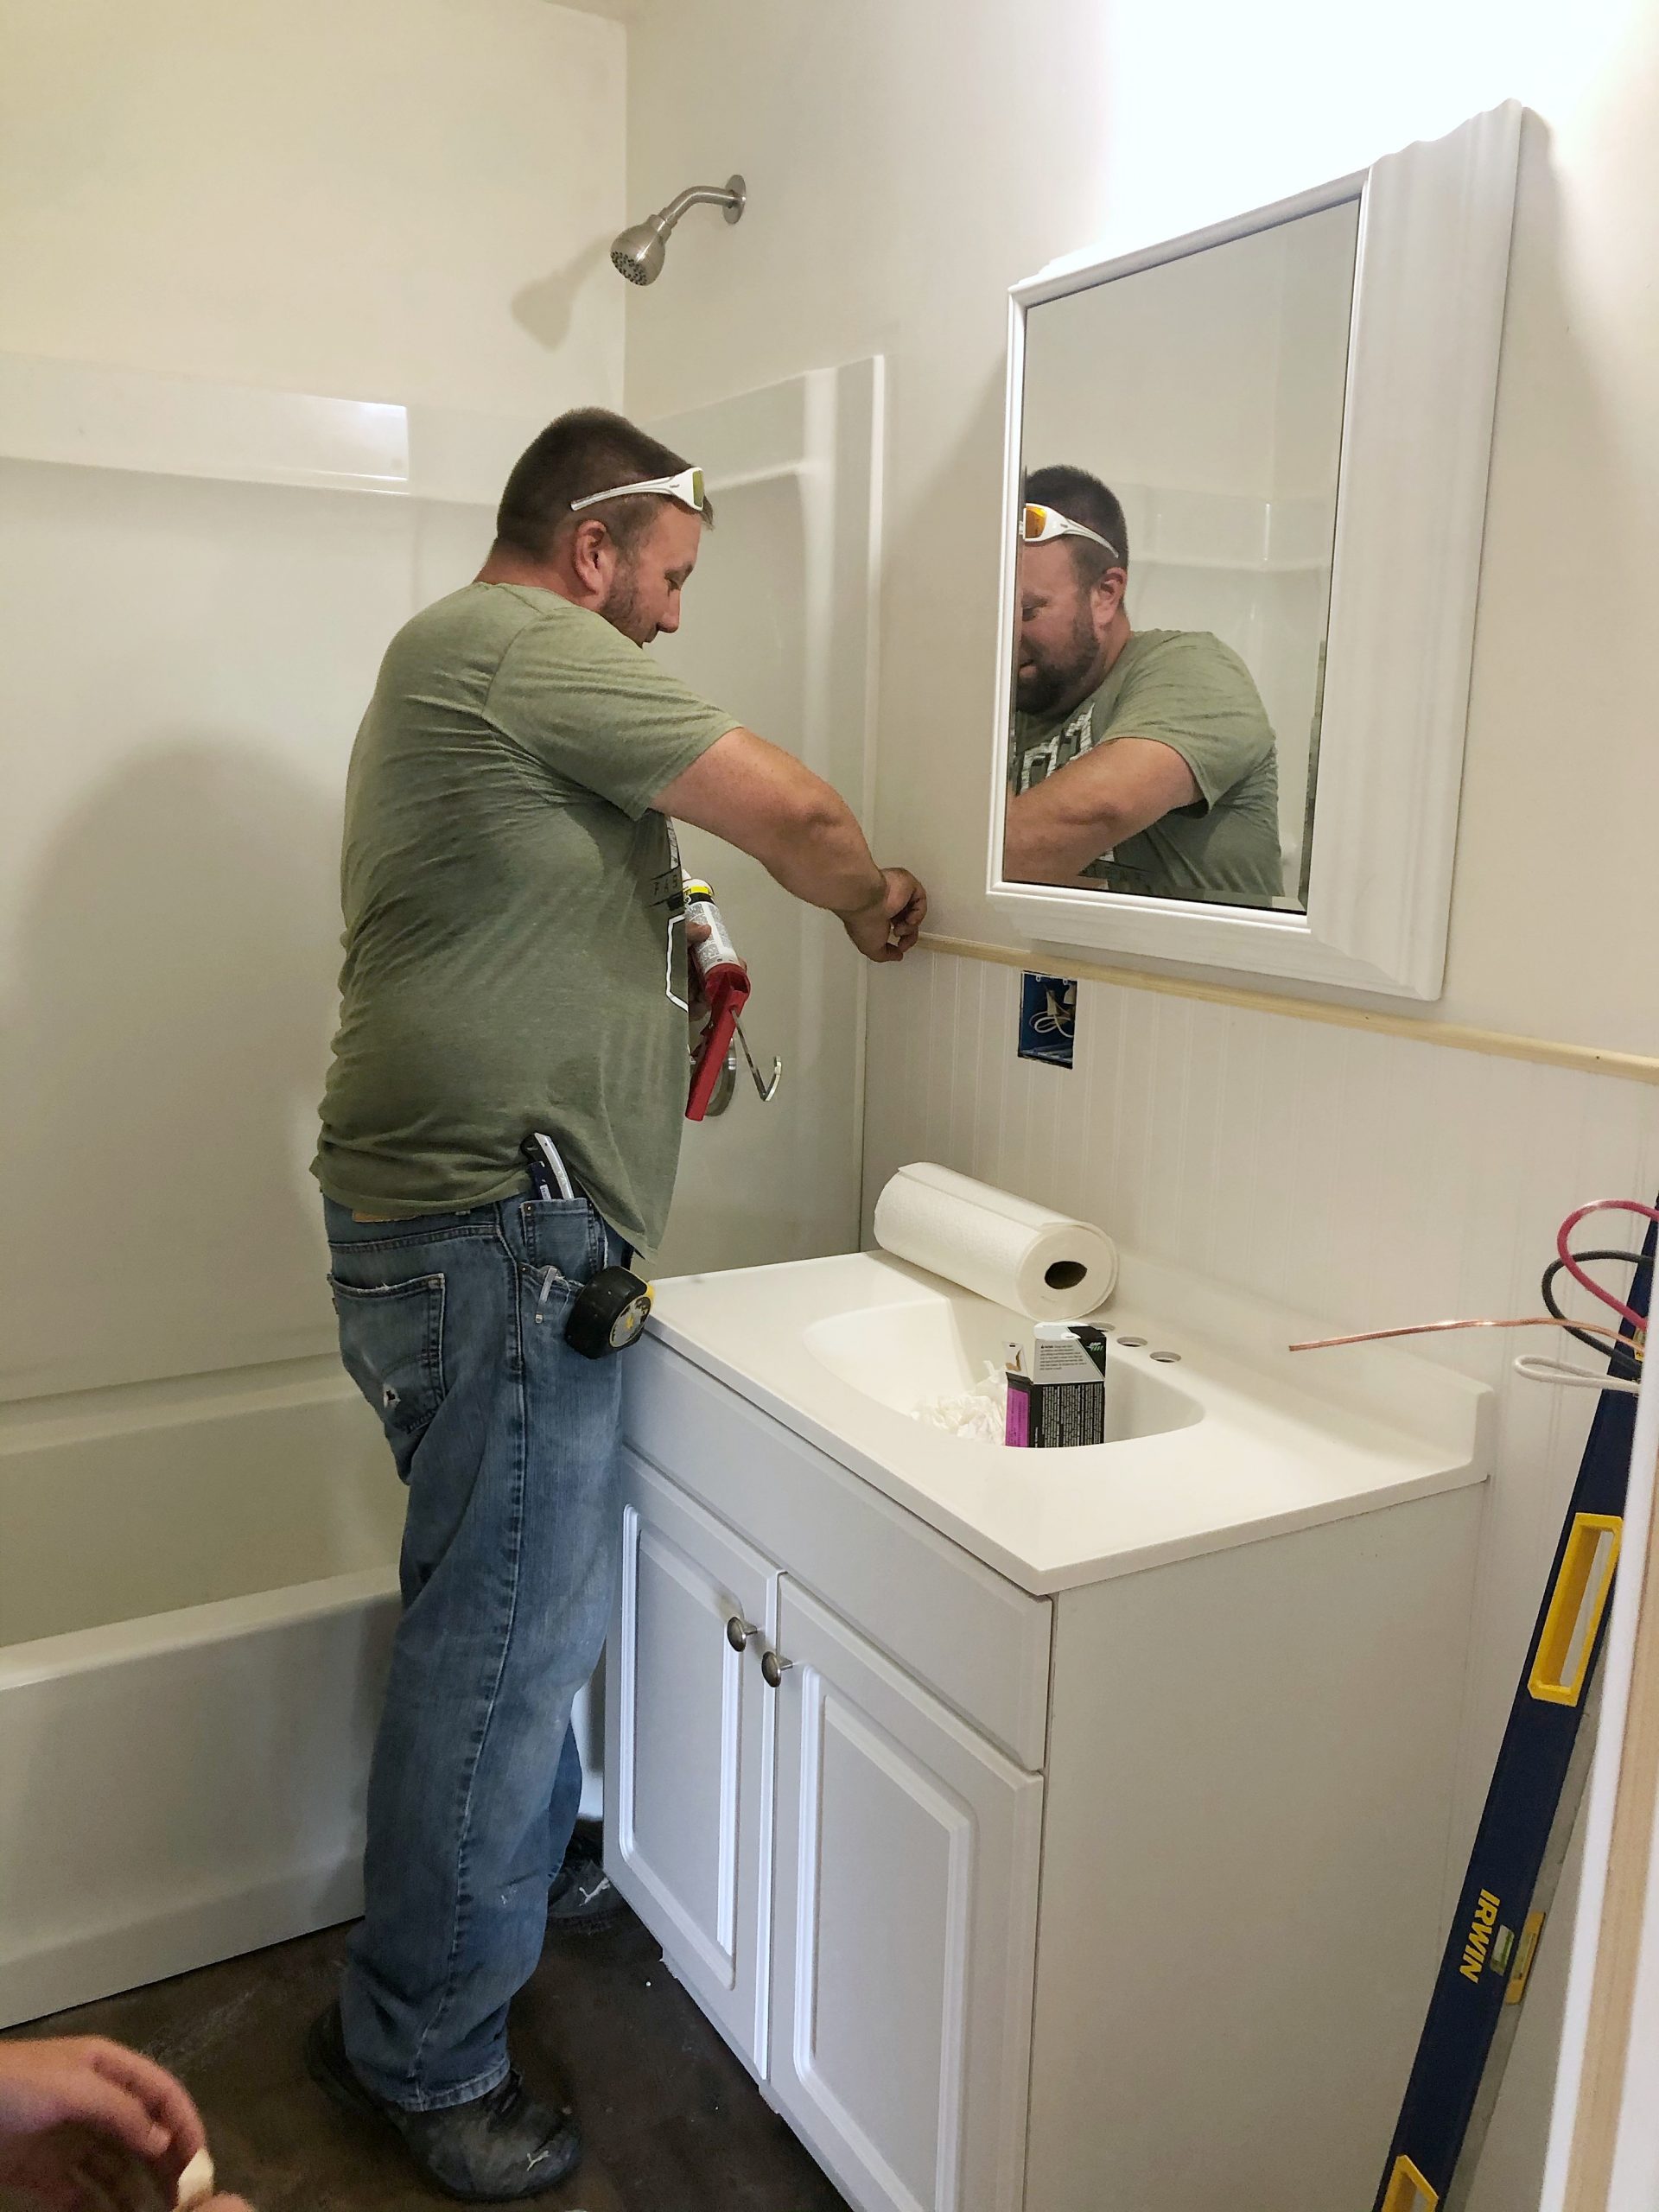
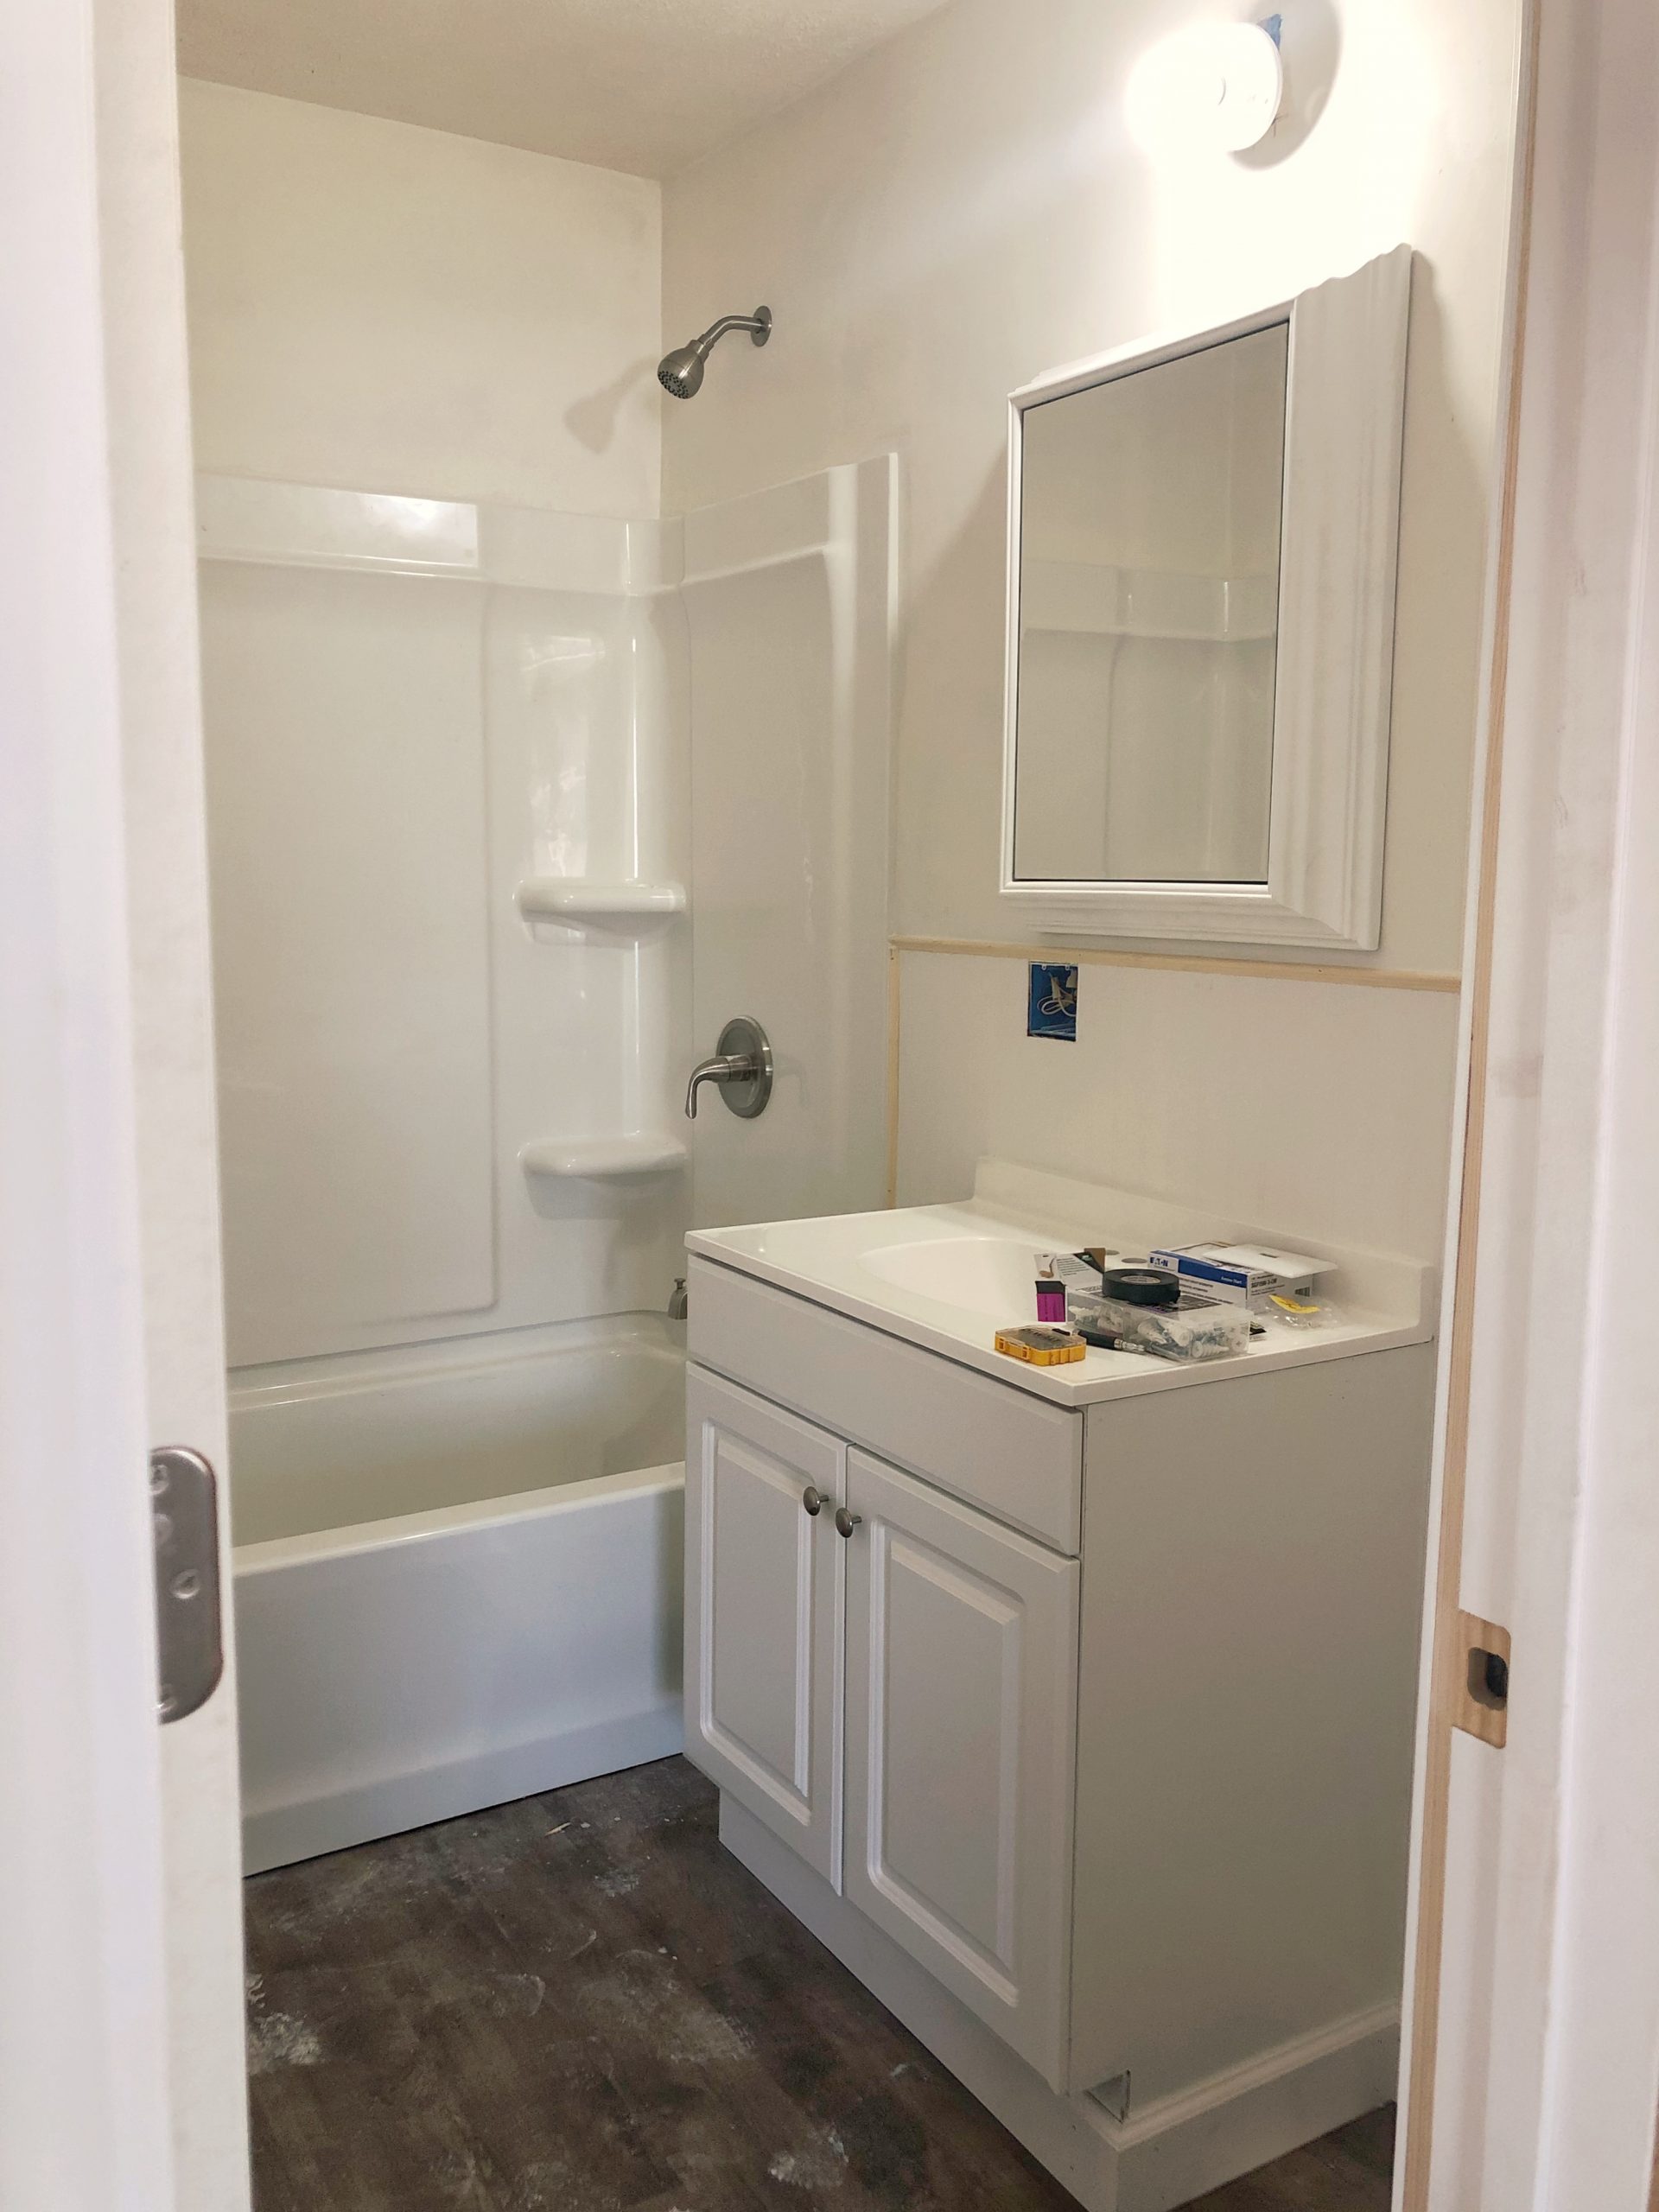
This bathroom started with us hoping we could salvage as much as possible to save money and just do some much needed cosmetic updates. After discovering floor joist issues, a leak, damaged drywall, and a variety of other issues, this bathroom became a full gut job. A new subfloor and flooring, new tub and shower surround, new drywall, a new toilet, plumbing, faucets, light fixture, medicine cabinet, sink, and vanity. We installed beadboard on the bottom half of the wall, and I picked out a really pretty mirror/medicine cabinet to add as much storage space in this small bathroom as possible.
September 6, 2020
The day I brought my mom to Armstrong for the first time in months to see her new home she’ll be living in. The last time she saw this place it was still in full demo with nicotine-covered walls and torn apart from top to bottom. Thank goodness she put her faith in Oscar and I because I’m sure it was hard to picture this all coming together into a beautiful living space again.
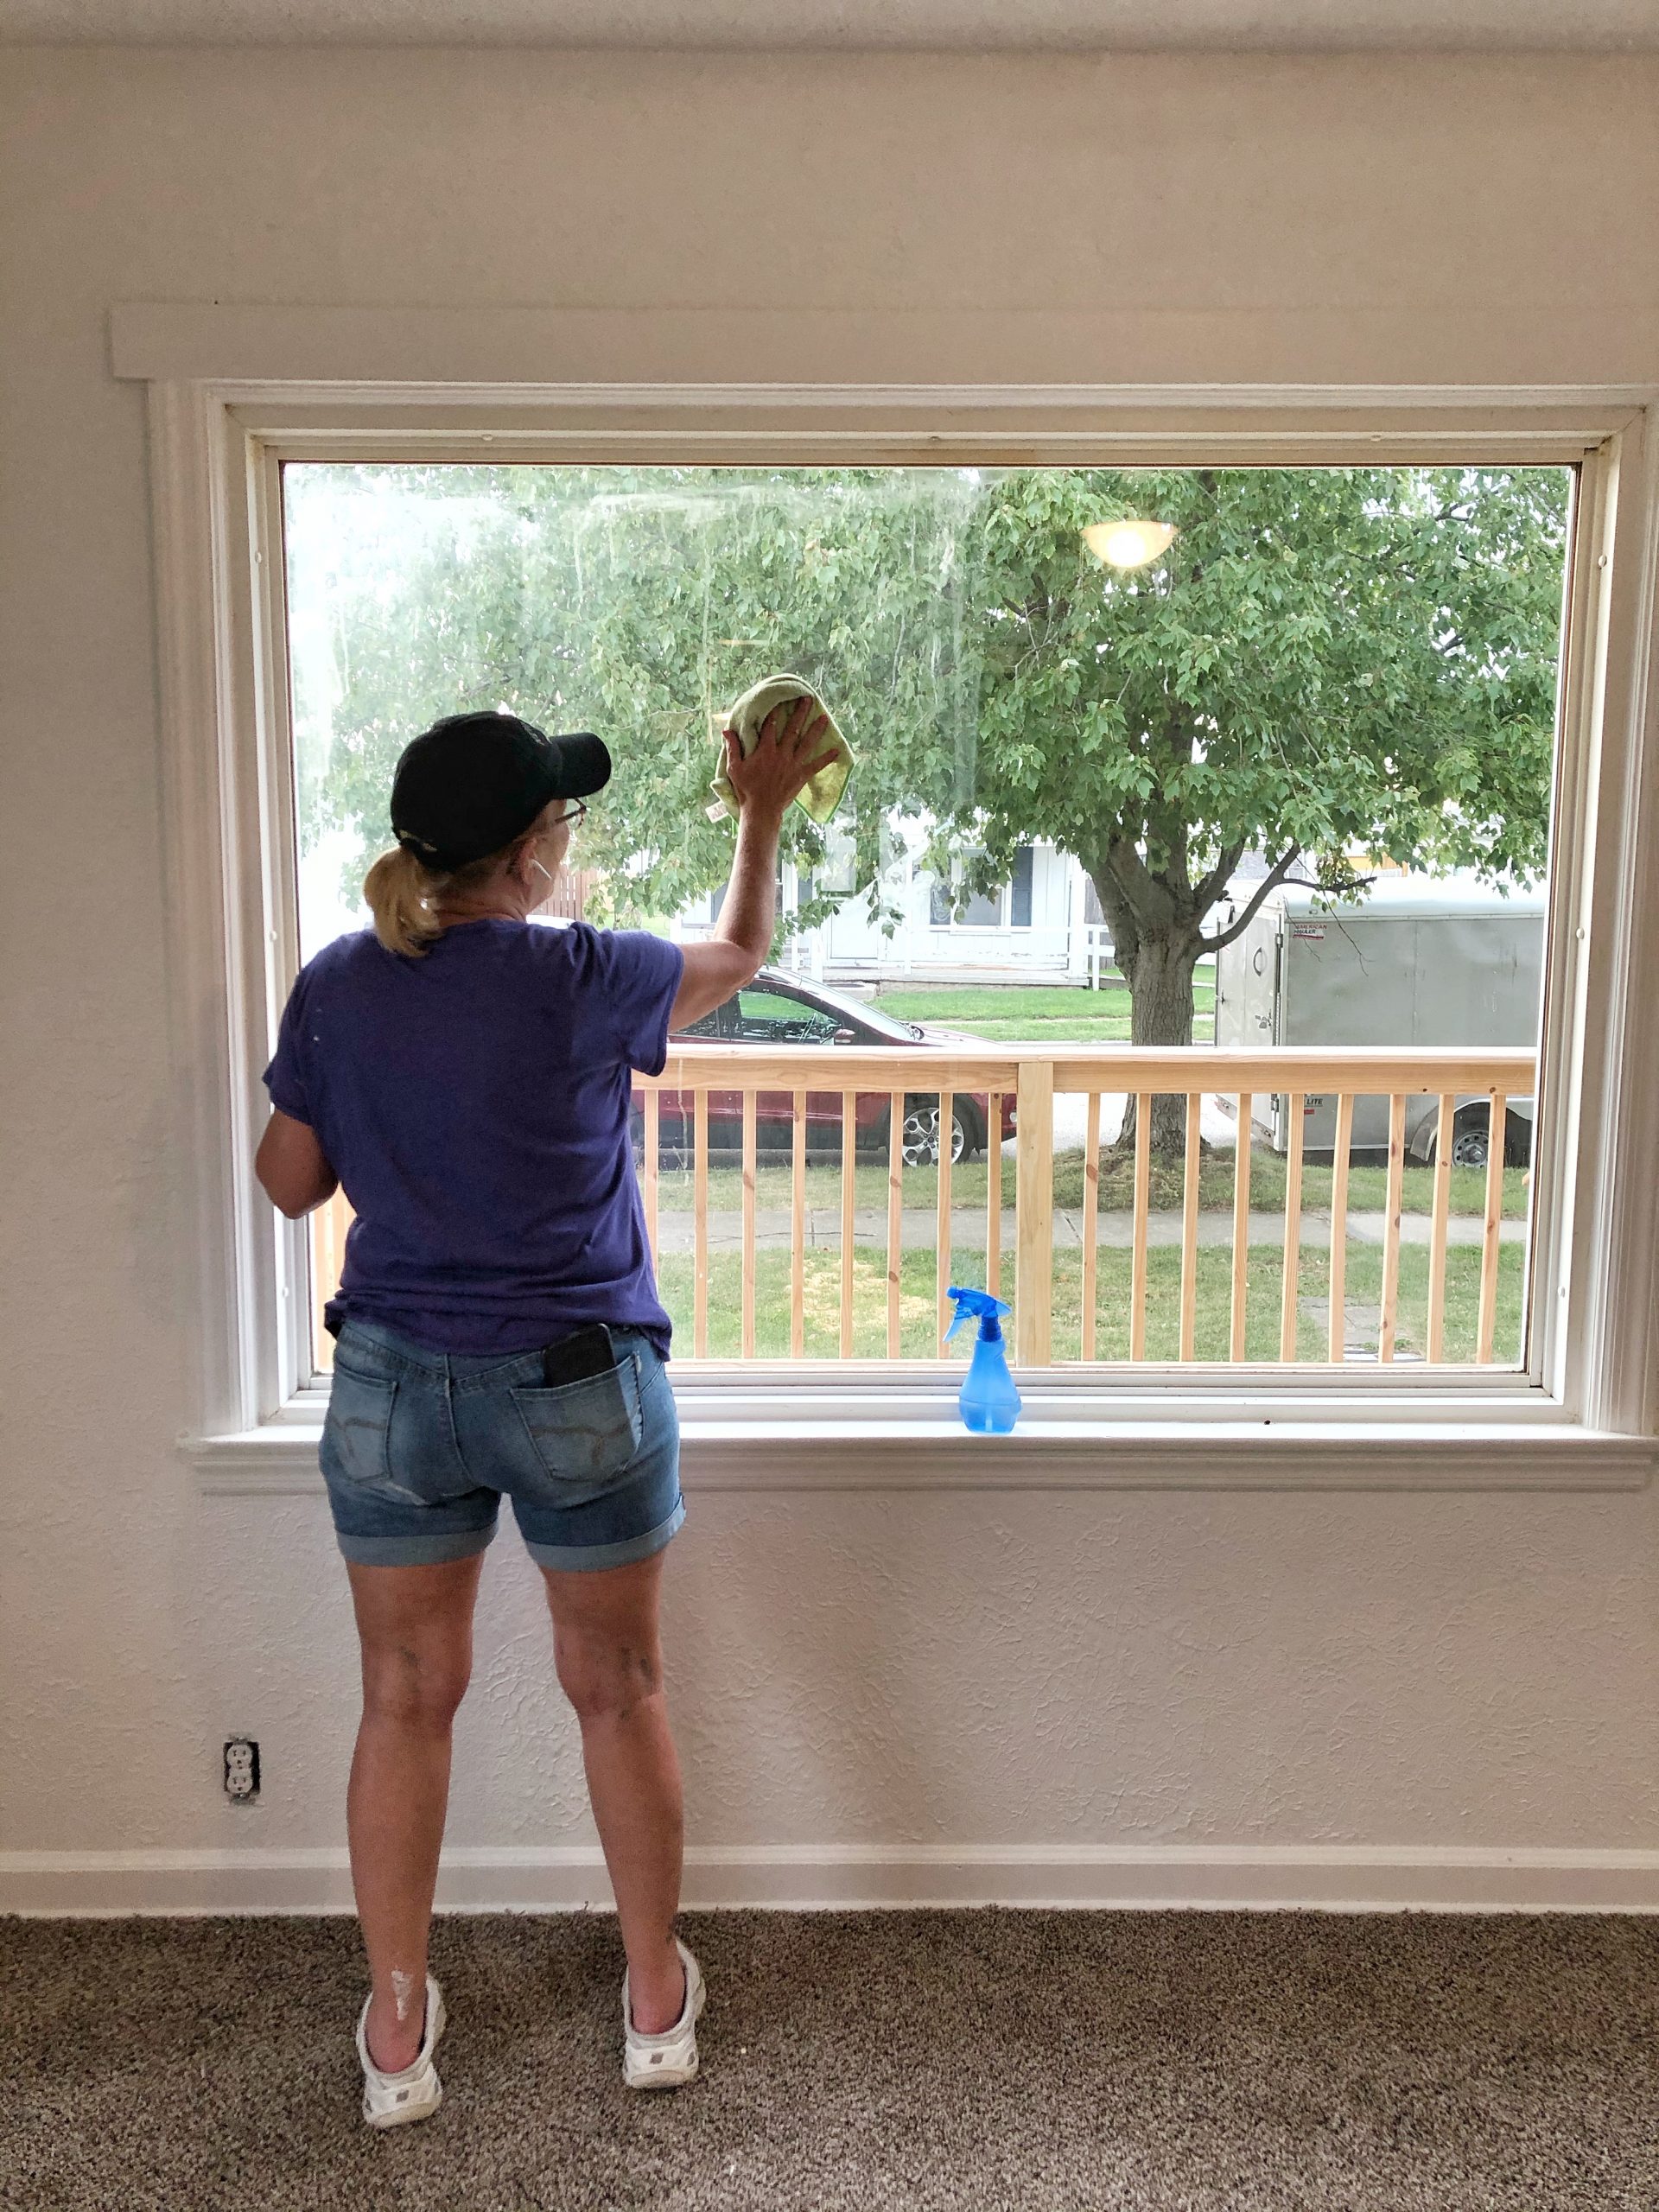
While I finished up the last bit of painting and Oscar finished hanging light fixtures and installing door knobs, my mom cleaned the entire house top to bottom to get ready for her move-in date. The windows were one of the hardest things to clean in the house because while the trim around the windows could just be primed and painted, the plastic parts of the window frame that were COVERED in yellow nicotine could not. I scrubbed and scrubbed for hours while I was cleaning the walls before painting, but there were some plastic parts on the window that just would not come clean no matter what. The Simple Green mixture I used on the walls didn’t work. A Magic Eraser didn’t work either. But mom sprayed straight bleach on those parts and scrubbed them with a cloth, and they came out almost PERFECTLY white again and looked brand new. I couldn’t believe it!
She also discovered the perfect cleaning solution for cleaning windows (the glass part): 1 part vinegar to 2 parts water. Add to a spray bottle and wipe with a lint-free cloth. I literally ran outside to get Oscar to show him how good the windows looked when she was done. Like I said before, a little bit of elbow grease can work wonders!
We wrapped up all the final punch list items, cleaned all the tools and paint buckets out of the house, and gave mom the keys to her new place. We did it! We completed a full home makeover in 3-4 months working just nights and weekends, and all of us are so proud of how far this house has come. I have all the final reveal photos ready to share with you in the next blog post as well as our last video of the renovation, so look for that later this week!
I just wanted to say thank you for all of your encouragement and excitement and support as we worked on this project, and I hope you enjoyed seeing a little something different here on Love Grows Wild. The last few months have been exhausting and inspiring, and I learned so much along the way. I can’t wait to show you the reveal in just a few days, and then the fun part can begin… DECORATING!
What do you guys think so far?? xoxo Liz



Lovin’ it!
What a great daughter you are. Your mom must be so proud of your hard work. I’m dying to see it decorated.
WoW….what a project and such brave people to take it on. I can’t wait to see the finished home!
Amazing job and amazing results. Thanks so much for sharing this journey. I look forward to more. R.
Can’t wait to see it all set up by your mom!
You guys did an amazing job!! Can’t wait to see the decorating!! Way to go!!
I’m so excited to see the renovation, and the decorating will be like cherry cheesecake for dessert!!!
I know it’s going to be beautiful!
Sooo excited to see the reveal! What a great adventure!
Amazing!
So excited to see the finished project and I bet your Mom’s smile and joy says it all! What a true blessing you are Liz!!!
I love it so far! I can’t wait to see the final reveal!!!!
Awesome job Liz and Oscar! You both are so talented! Looking forward to the next flip. You make a good team…