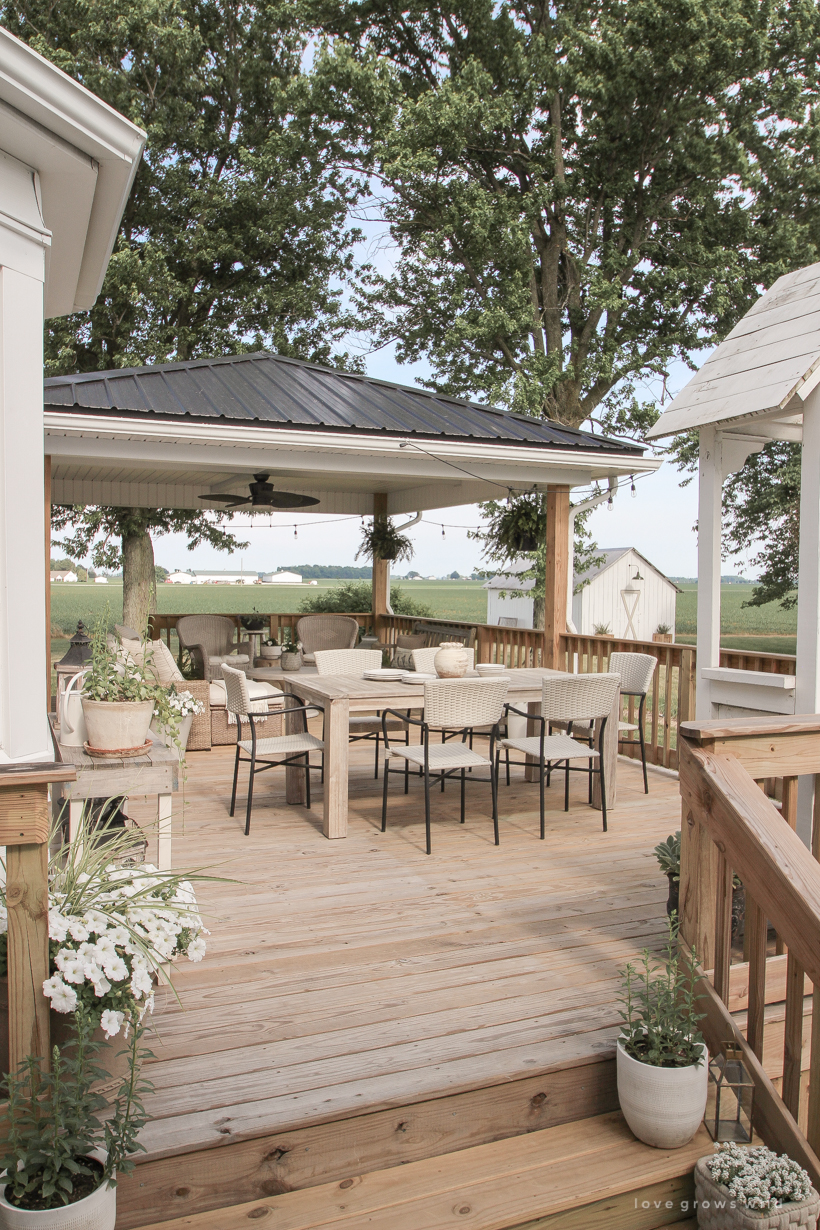
One of the best decisions I’ve made for this house was building our deck. It gave us so much more usable outdoor living space and made our backyard somewhere we always want to be. Quiet mornings watching the sun come up, lazy afternoons staying cool in the shade, and evenings spent with friends watching the kids chase fireflies around the yard. There is nothing that makes my heart happier than the memories we have started creating out here during these precious summer months.
Last summer was when I finally pulled the trigger on this massive outdoor project, and you may remember that there were a few little areas I still needed to figure out and finish. If you’re new here, you can go back and catch up on these posts:
Plans for building a deck: here.
Progress photos as it was being constructed: here.
Sources for all the furniture and decor: here.
The completed reveal here.
And here is what the deck looks like now this summer…

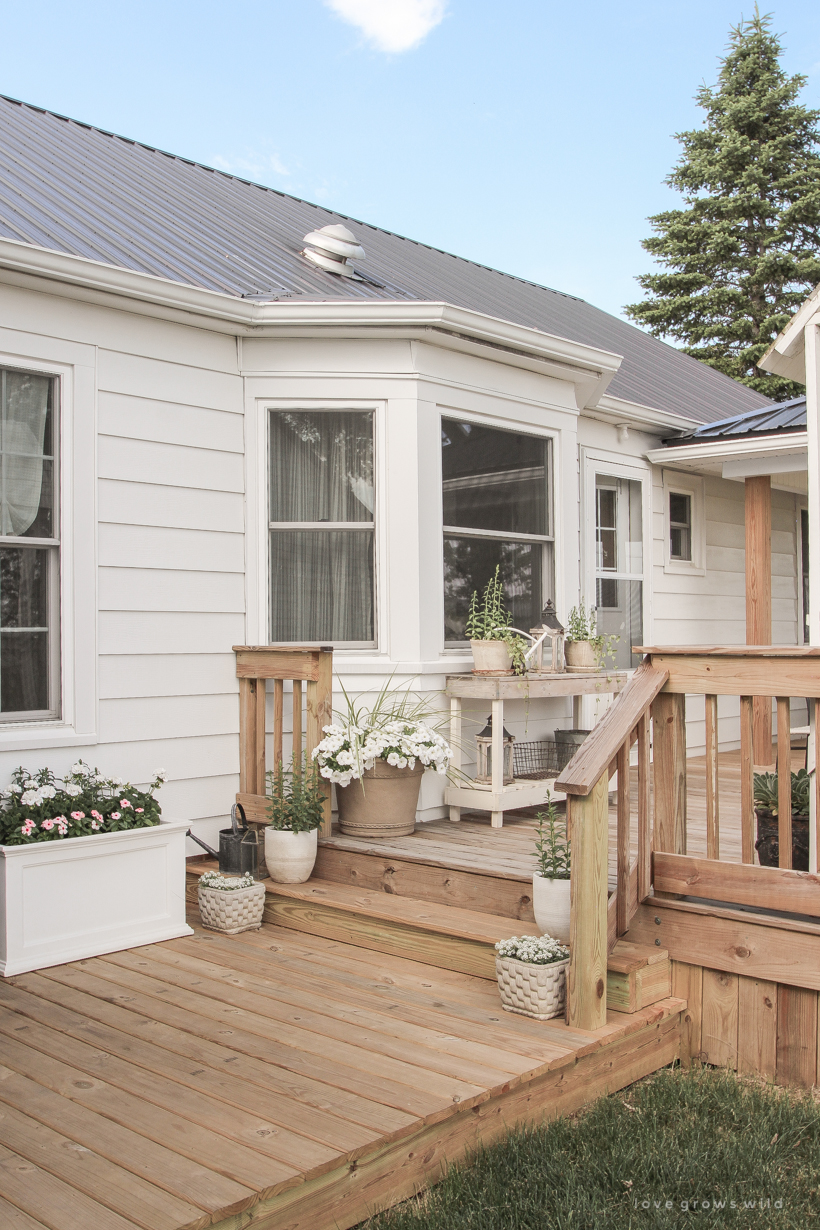
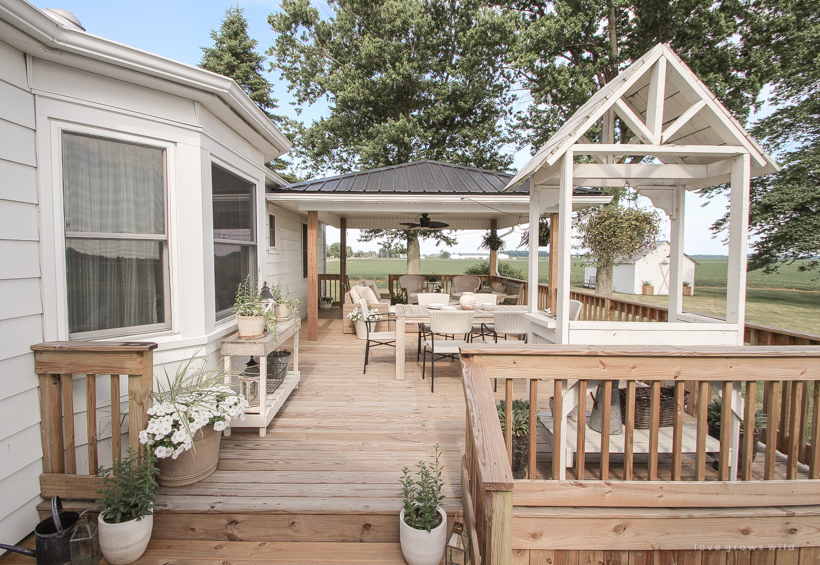
In the original plans, we built the deck to just outside of the kitchen bay window, with a wide set of stairs leading down to a small patch of grass between the deck and the breezeway (a small enclosed patio connecting the house and garage). In order to build the deck, we had to remove the concrete steps at the back door and most of the sidewalk that led to the breezeway. The sidewalk was already broken in several places, so while we had the jackhammer out here we decided to go ahead and remove the entire sidewalk including the steps that led up to the breezeway. I figured I could easily have a new sidewalk and steps poured once the deck was all done, so we moved forward with the project. Once I started calling around to get prices on concrete work, I couldn’t even get a company to come out and give me a quote on such a small area. I finally got in touch with a few landscaping companies who suggested some kind of paver walkway instead of concrete, but they were booked out until at least this spring (and this was pre-COVID). So all last summer we had to walk around a mud pit where the sidewalk was removed and jump down from the breezeway, which no longer had steps.
(you can see what this part of the deck/yard looked like here and here)
In hindsight I should have had a better plan for this little detail of the project because it turned into a huge drawn-out headache, but early this summer I finally came up with a solution with the help of some friends: an addition on the deck.
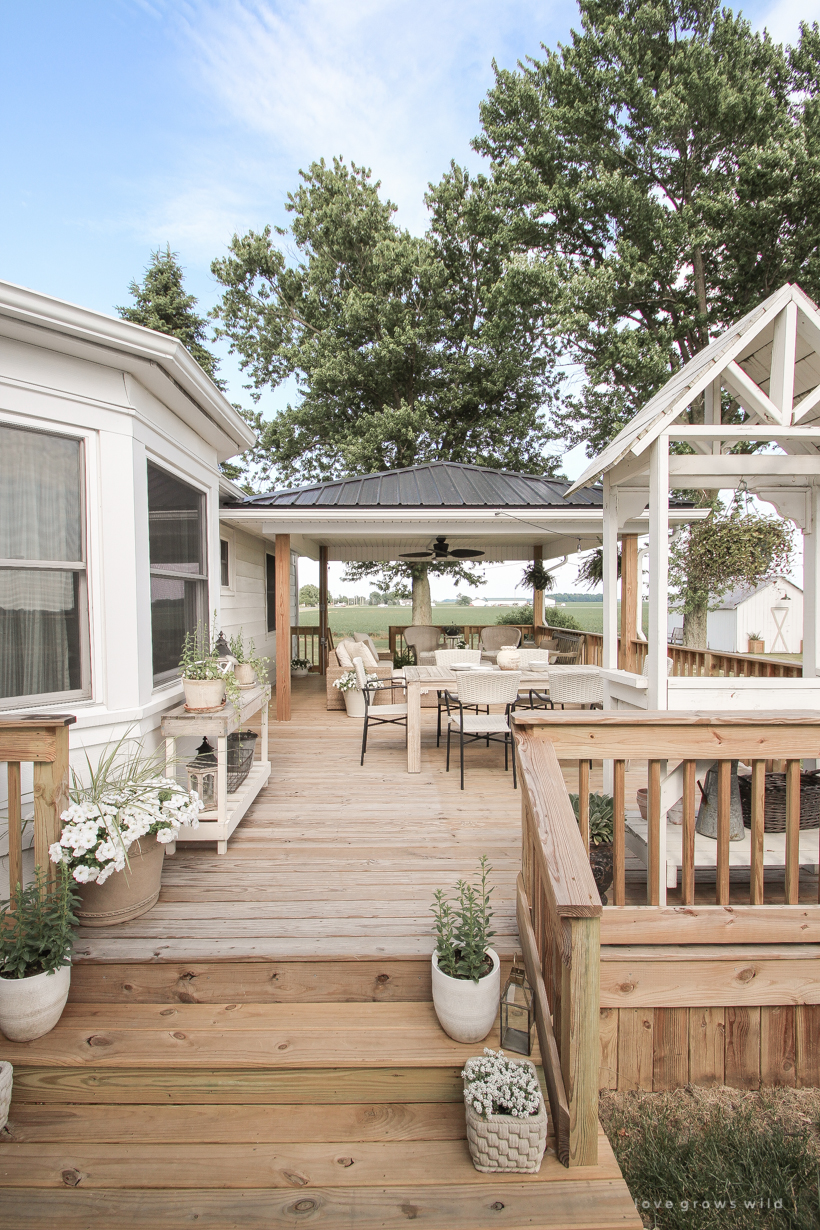
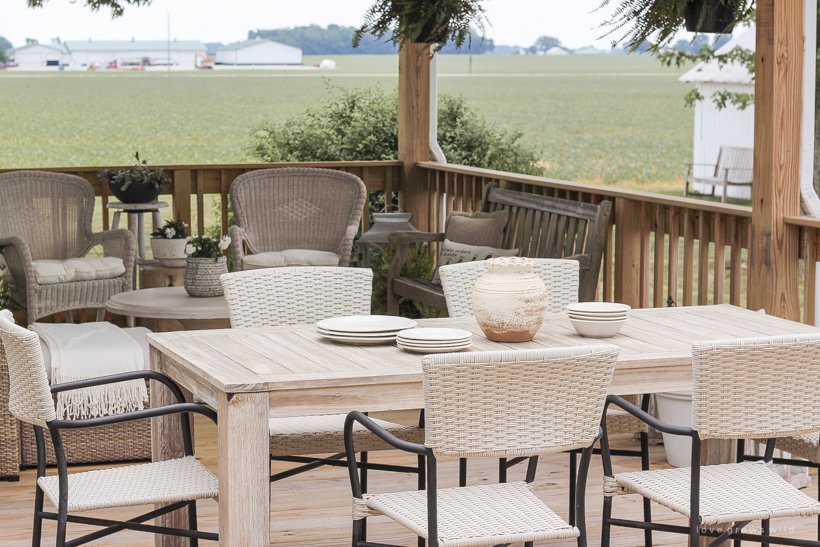
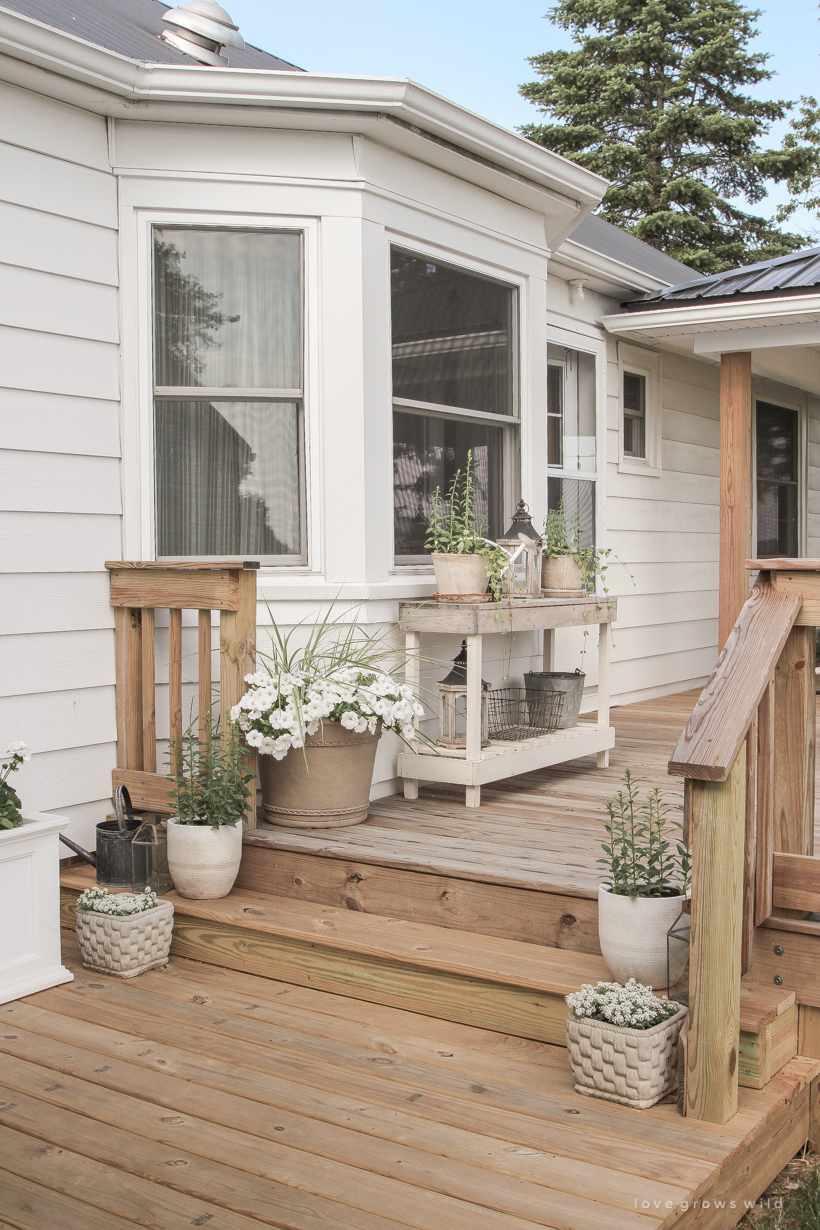
For around the same price as what the landscaper was going to charge me for a small paver walkway and steps, we built an extension on the deck, connecting the wide set of steps all the way over to the breezeway. I wish I would have just had this in the plans from the very beginning, but as we all know you learn as you go when it comes to design and home renovations. I think the space looks so much more “finished” now and gave me space to store a garden hose reel box and a variety of potted plants that welcome you into our backyard.
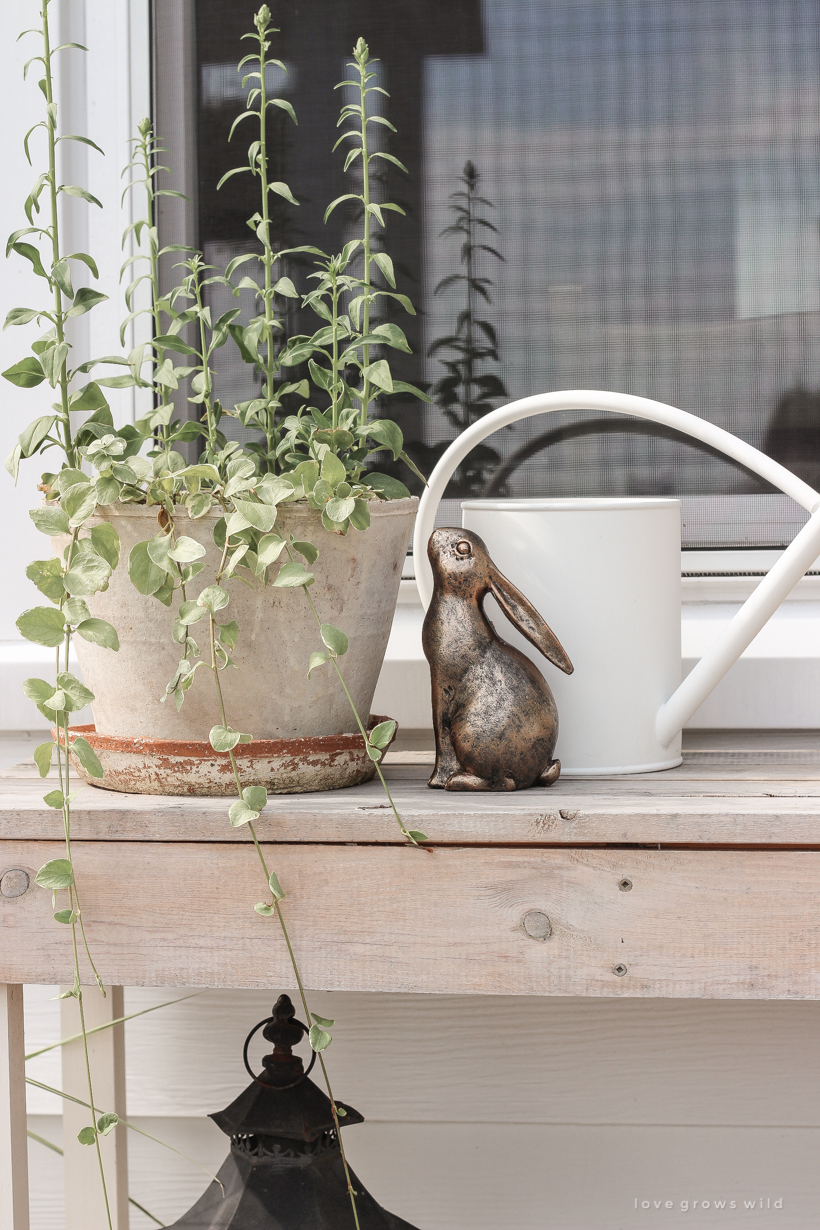
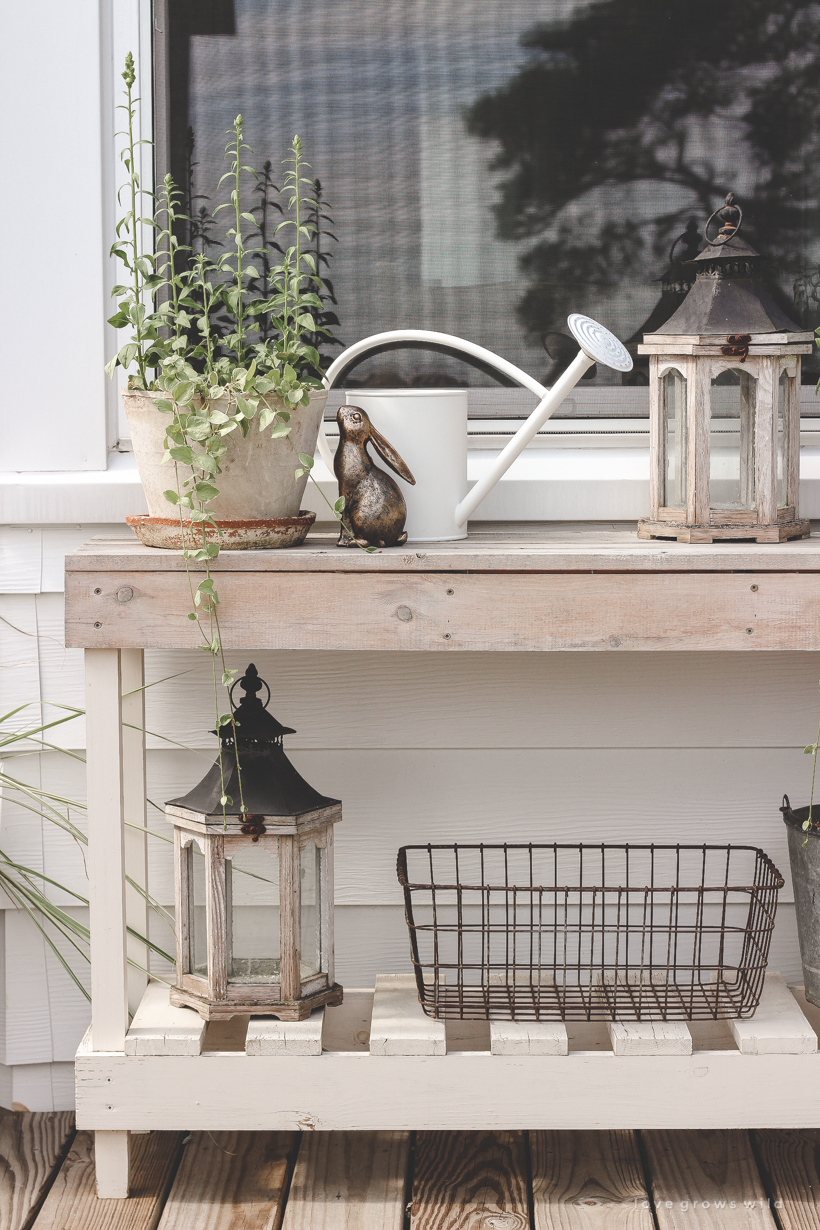
Do you remember this outdoor console table I built a few years ago for the tiny patio? I had it behind my outdoor sofa last summer, but this year I decided to move it in front of the bay window, which I think really cozied up the space. I styled the table with an antique garden theme, using weathered pots, lanterns, a watering can, an old galvanized bucket, and a vintage wire basket. Moving the table here really highlights that bay window, and I love that I can see the potted flowers from the window growing and blooming as I drink my coffee in the morning!
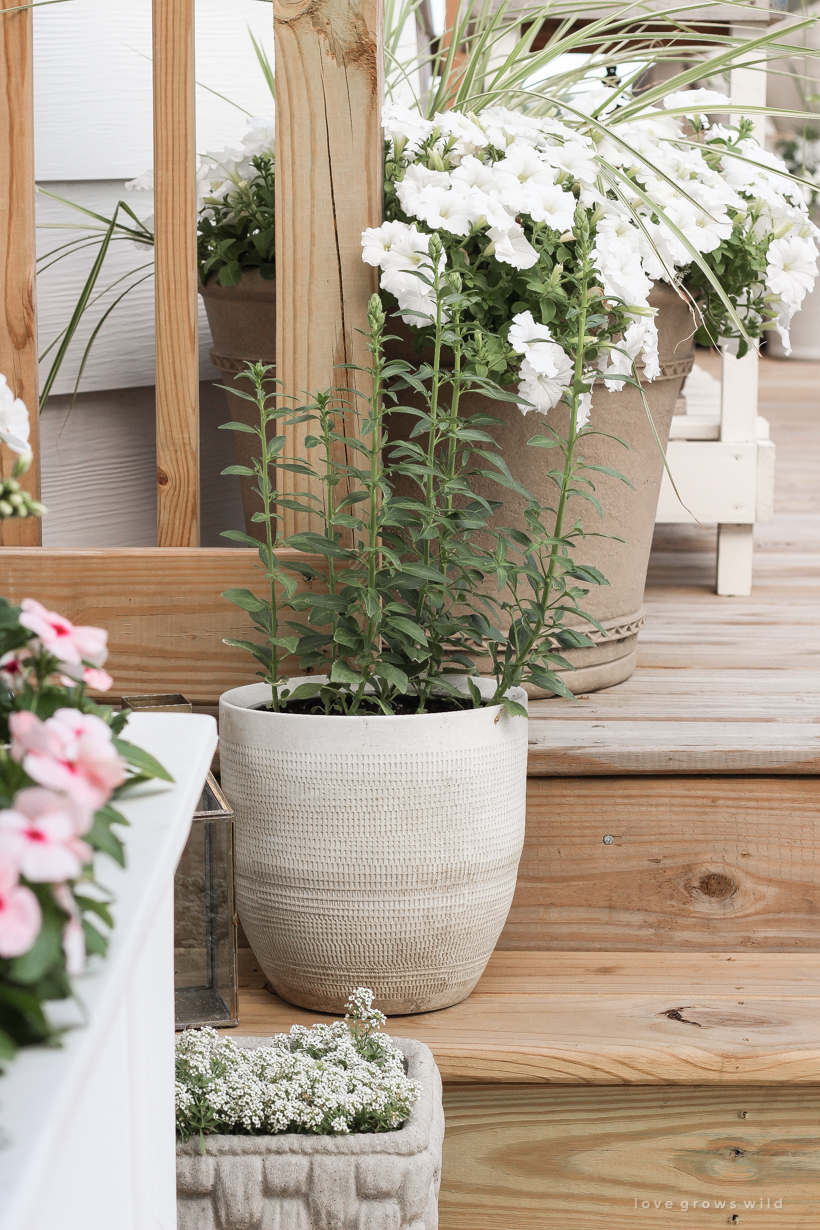
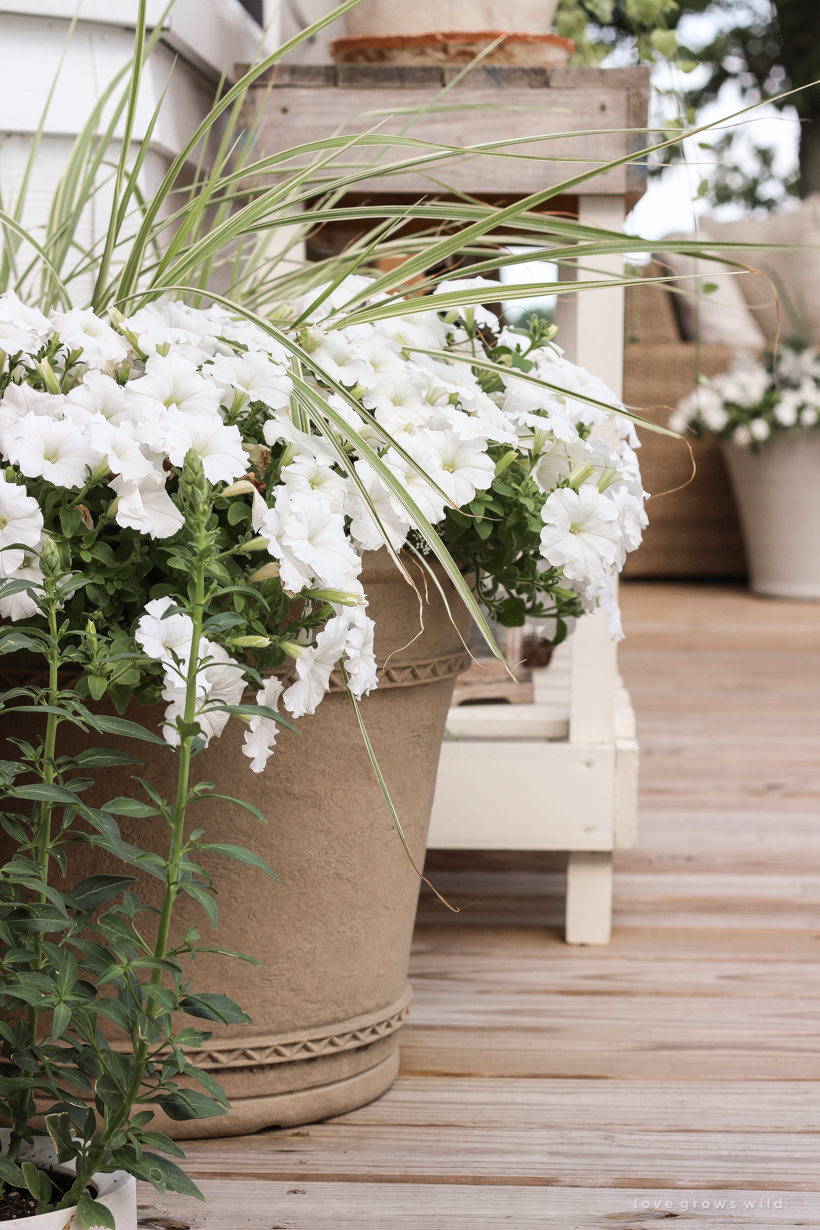
It may sound like a silly detail, but one of my major requests for this project was a wide set of steps leading up to the deck. I felt like it gave the deck a more open and custom look, and I loved the idea of having pots of flowers cascading down the sides of the steps. And I found these brass lanterns here that tie in with the new brass hardware on our front door that also got installed this summer.
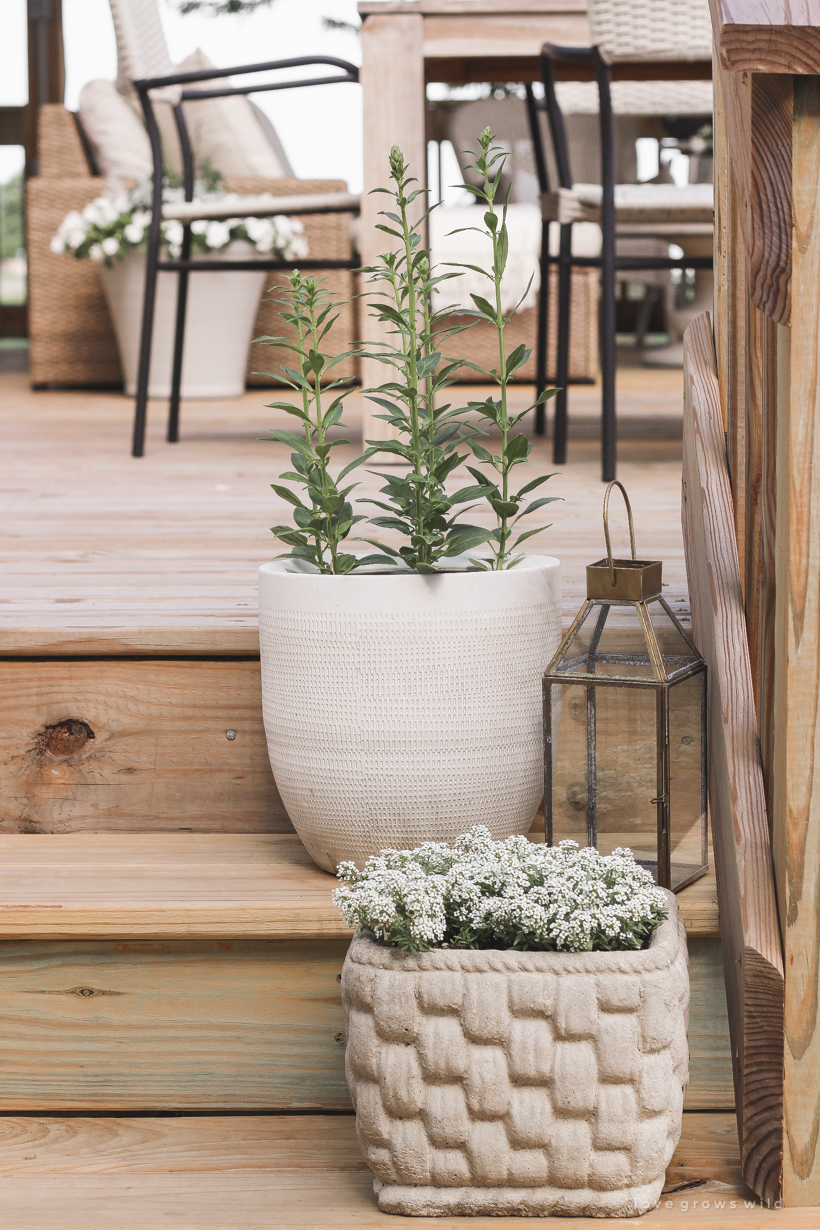
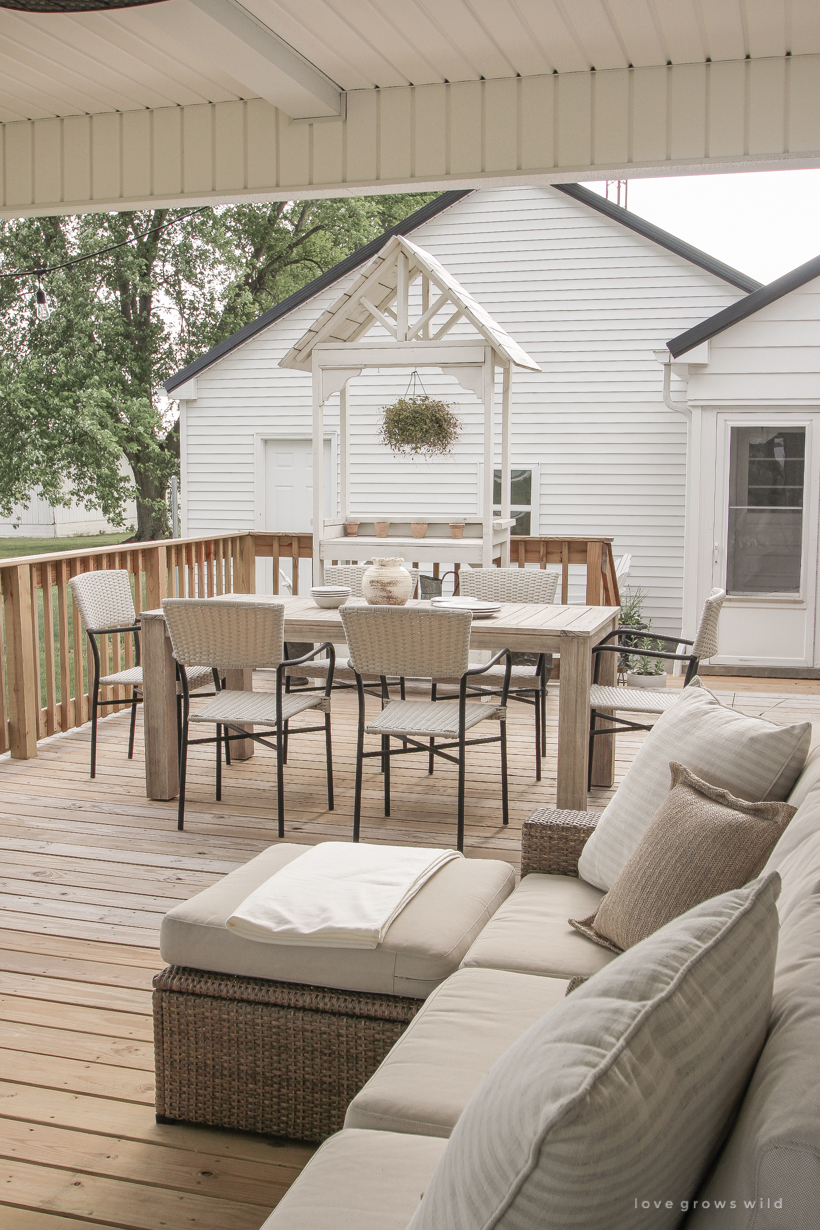
Do you spy the other big piece of furniture that got moved onto the deck this year? I’ll be sharing more of that in a blog post soon, but I absolutely LOVE the charm and functionality it brings to the space!
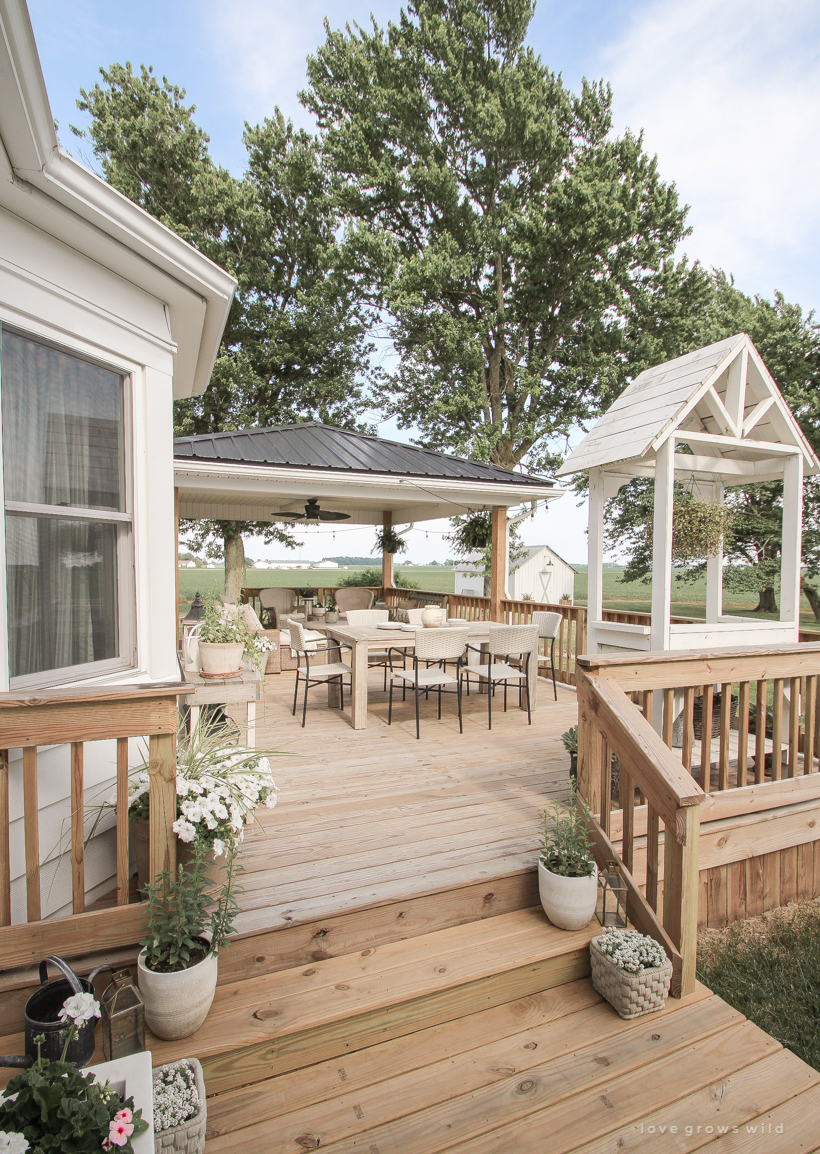
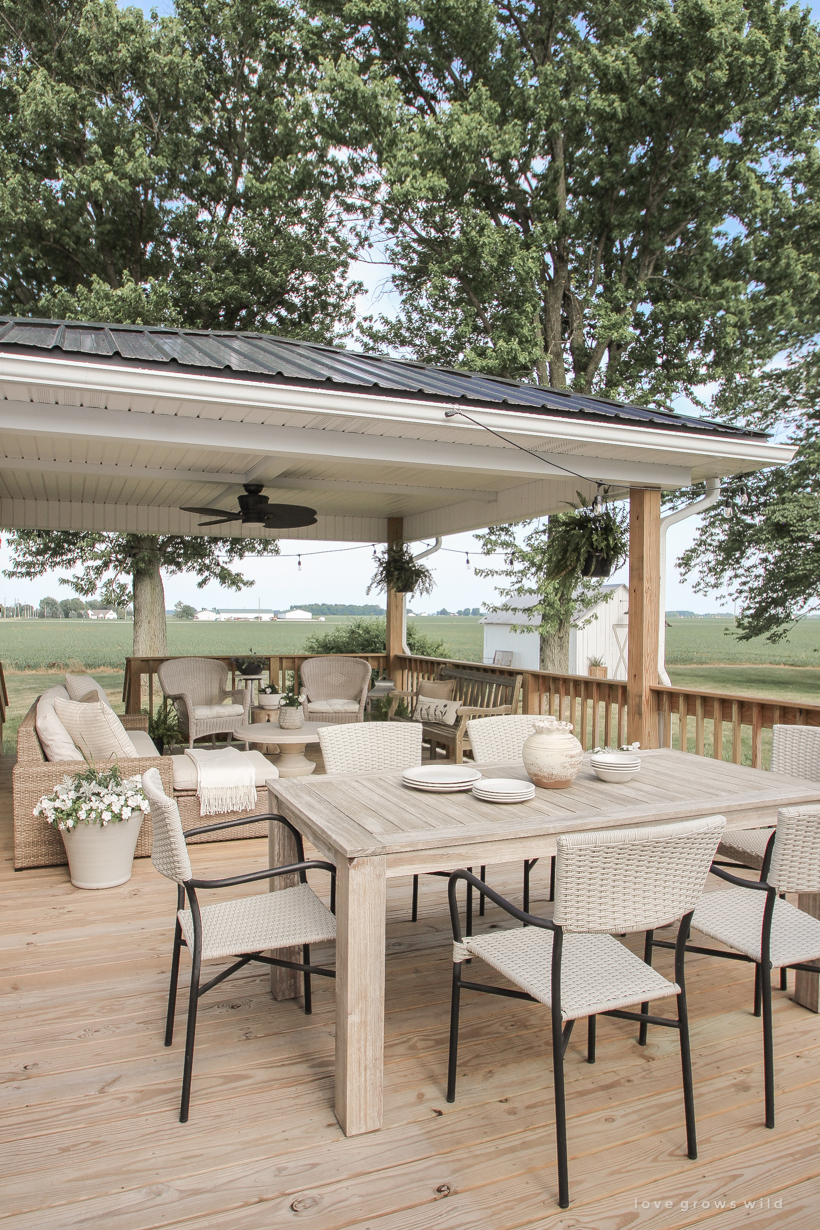
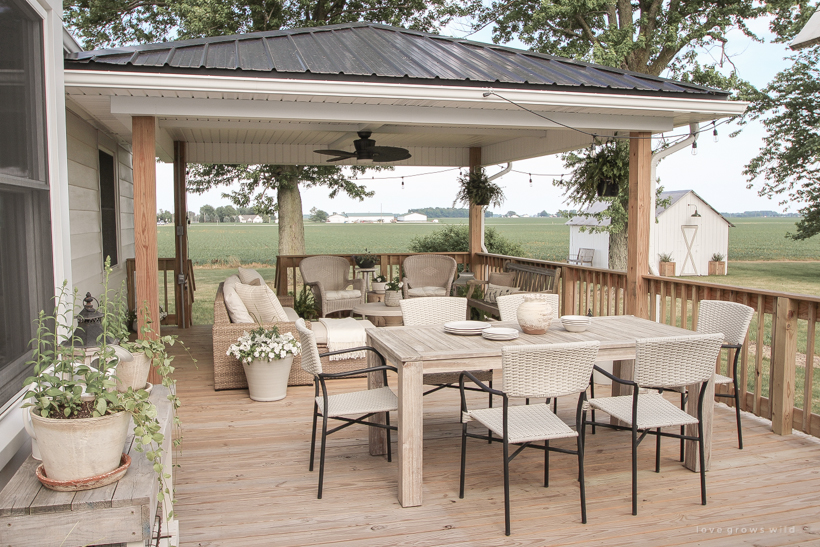
The deck is fairly large, and to make better use of the space I decided to try turning the outdoor dining table the other direction this year. I’m so happy I tried this change because it allowed me to still have plenty of room for lounging and dining and also for that big piece of furniture I’ll tell you more about soon.
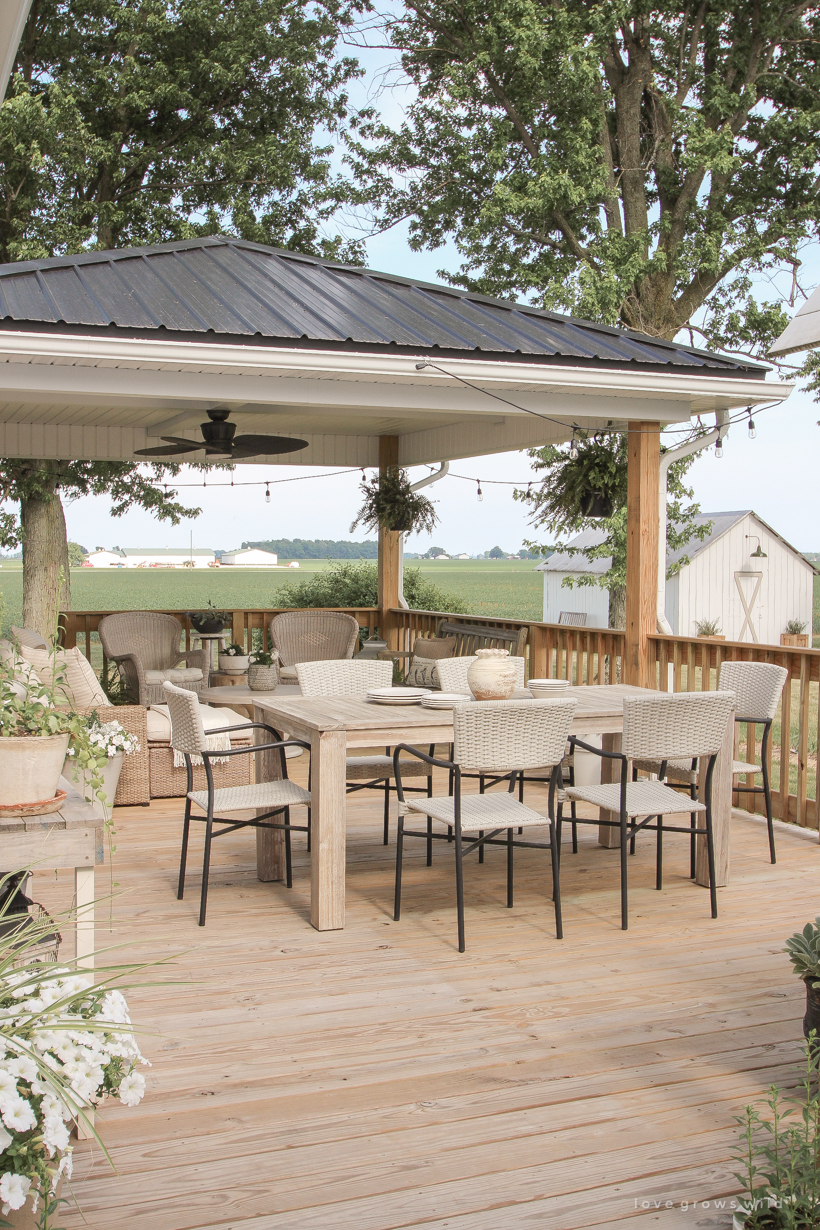
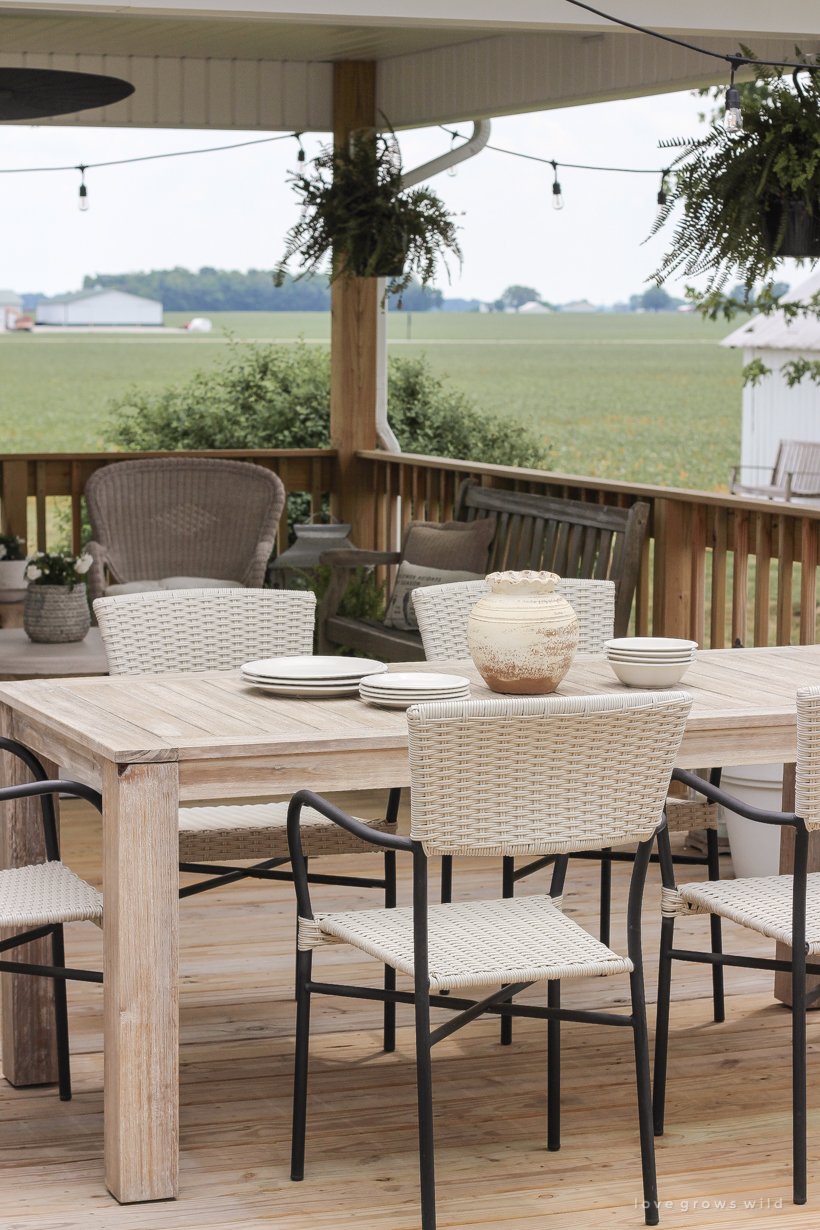
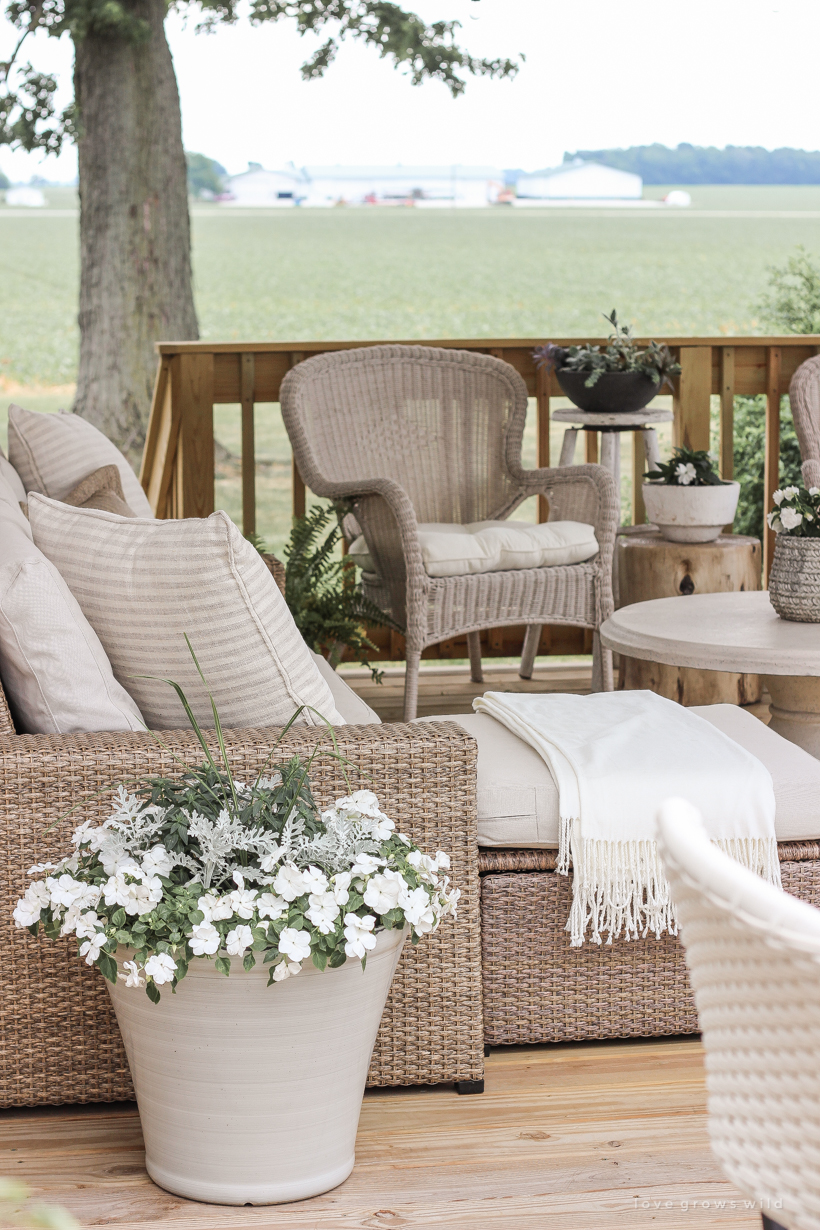
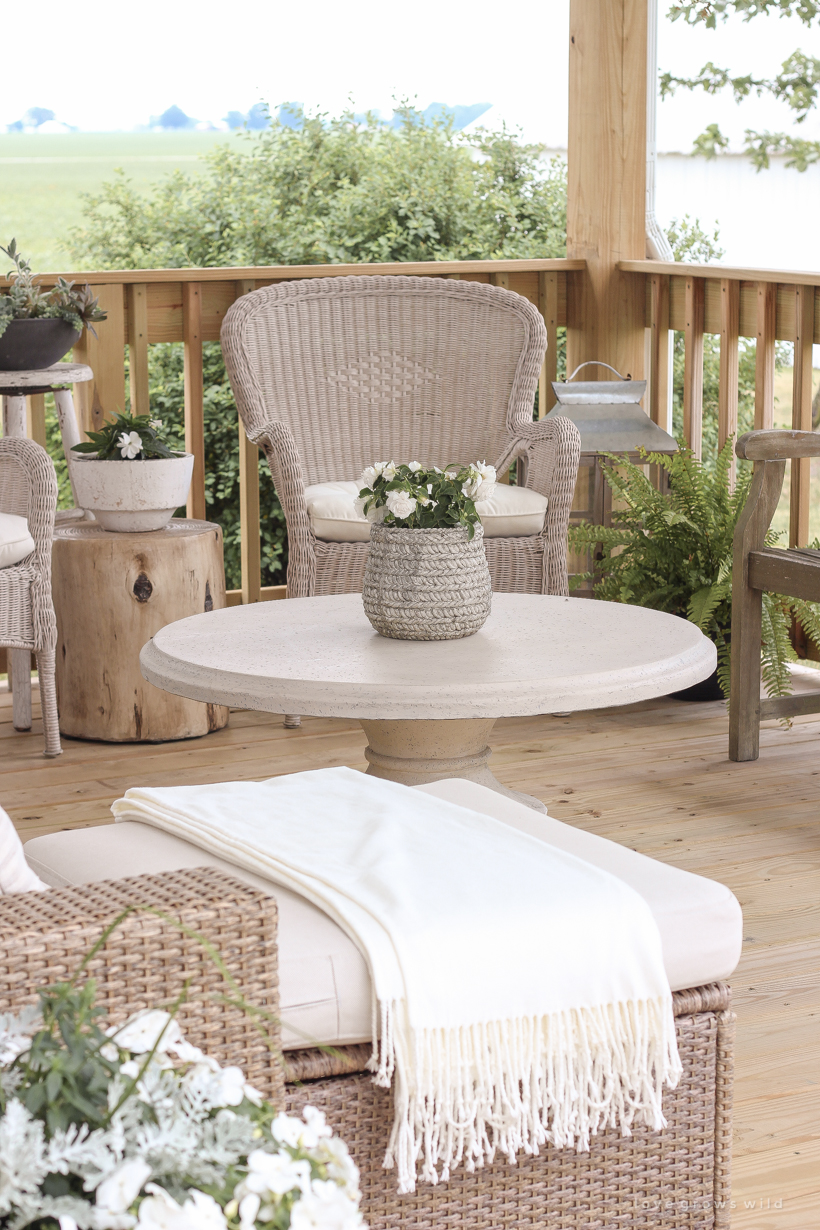
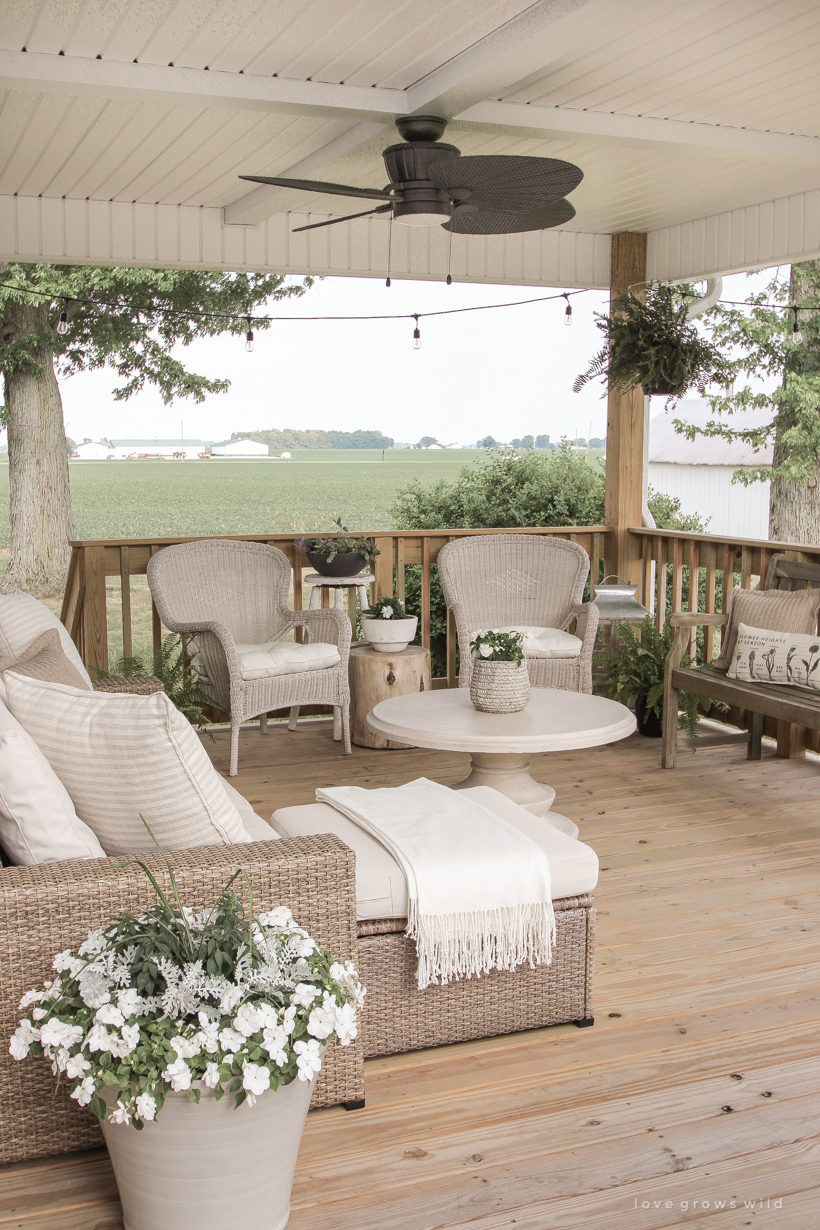
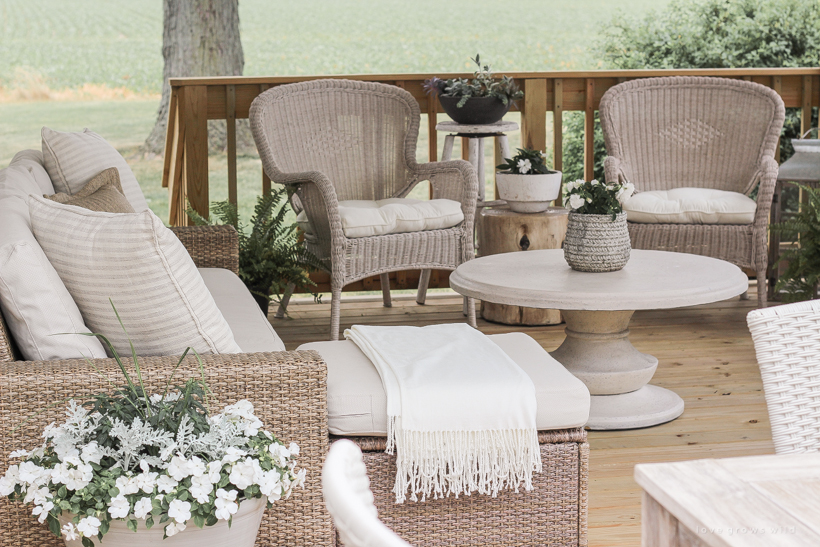
As far as the lounge area of the deck goes, not a whole lot has changed this year. I did swap where the two wicker chairs and the wooden bench sat, but other than that everything is pretty much the same, which brings me to an important point I wanted to talk about.
WINTER WEATHER PROTECTION:
Last year when the deck was finished was when I purchased a lot of this outdoor furniture, so it’s gone through an entire year of Indiana weather now. A few pieces like the wicker chairs and wooden bench are a few years older, but everything else (dining table + chairs, sofa, coffee table) was new as of last year. I didn’t have a separate place to store all this large outdoor furniture over the winter, but I did purchase a few heavy duty covers that I really like to help protect the furniture from snow, cold, sun, and rain.
I purchased this waterproof cover for the outdoor sofa and this canvas cover for the dining table and chairs. Each one has several different size options available so you can find one that perfectly fits your furniture. I loved that I didn’t have to drag all this heavy furniture somewhere to store it for the winter and then haul it all back out in the spring again. The covers stayed on well (occasionally the crazy wind out here would shift them slightly) and protected all the finishes from weathering.
All the furniture still looks in perfect new condition this year, and I even cleaned up the cushions and outdoor pillows to look brand new too! You can see that tutorial for cleaning outdoor cushions here.
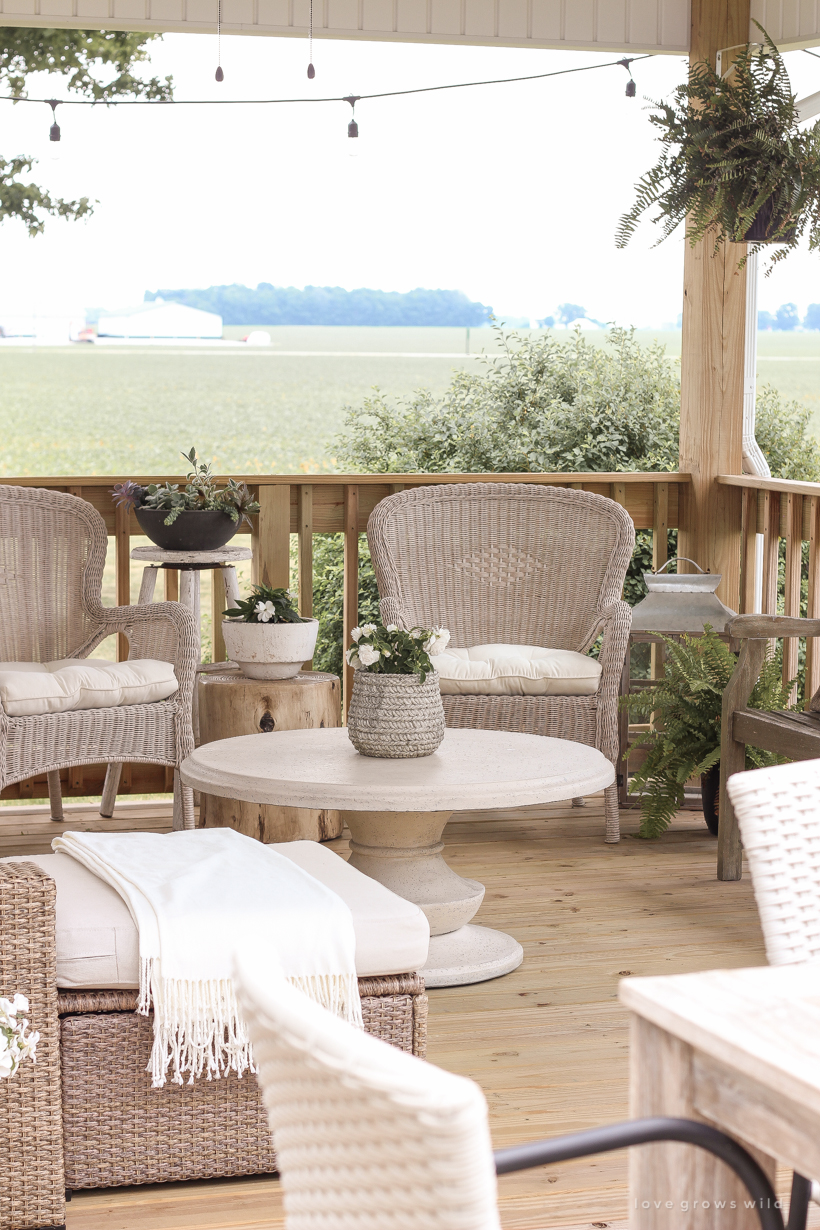
One of my favorite parts of this whole space now is being able to look out at the cute little barn in the corner of the yard that got a makeover earlier this summer. See how that trim color on the barn door coordinates with the deck now? I just love it out here!
Did you also notice that I didn’t bring the outdoor rugs back out this year? That was one thing I did store in the garage over the winter because I noticed that even in just the few months since the deck had been built, there was already a noticeable difference in how the wood weathered and aged under the rugs vs. out in the open. I still need to seal and decide on a finish for the deck now that the addition is built, and I wanted to allow the wood that had been under the rugs to have a chance to even out with the rest of the wood a bit so it wouldn’t be so noticeable.
That being said, I have absolutely zero complaints about the quality or condition of the rugs whatsoever. They were absolutely stunning, and I hope to use them again in the future!
What do you think of the deck addition and the new look out here? What is your favorite part? I’d love to hear your thoughts and wish you could come join me for a cup of coffee out here! Stay tuned for more outdoor projects coming very soon! xoxo Liz
SOURCES
dining table: World Market
dining chairs: Pier 1
outdoor sofa: IKEA
coffee table: Home Depot
wicker arm chairs: Pier 1
wooden bench: Wayfair
wood trunk side table: Target
brass lanterns: Amazon
ceiling fan: Home Depot
string lights: Amazon
potting bench: tutorial
waterproof dining table cover: Amazon
waterproof sofa cover: Amazon
Note: As always, I sincerely appreciate you shopping through the links I share, which allows me to make a small commission from your purchase while your purchase price stays the same. When you use my affiliate links, I’m better able to create content for this blog as well as support my family, and I thank you from the bottom of my heart for supporting what I do!


Beautiful! Good job!
SO pretty and so nice to have a deck so large!! I was wondering where the brass bunny came from 🙂 Enjoy your summer, Christie
It is actually half of a bookend from my retail shop, Love Grows Wild Market!
Thank you 🙂 It’s so sweet!
I wish I could just join you and drink coffee and just delight in your space in the lovely Indiana morning too. Since I too am in Indiana it’s doable! We are downsizing for a few years moving toward our children but when we finally choose a “forever home” I will be keeping your delightful deck in mind. Completely charming.
I wish I could have coffee with you on your beautiful deck too! It is exactly what I would of picked. So pretty and welcoming. Great job, Angela 👍
Beautiful! Connecting the two areas with additional decking instead of concrete or pavers was a brilliant idea. Do you have a source for the small rectangular woven-look planters on the steps? They look so sweet with the white alyssum, which will be trailing over the edges soon! Everything is looking marvelous!
Thank you! I believe those planters came from Wayfair several years ago! I love white alyssum too. 🙂
Your beautiful deck is such a lovely, peaceful retreat! GORGEOUS!!
Beautiful and inspiring. Thanks for sharing everything!
O gosh, this is the most beautiful deck I’ve ever seen, Liz! Believe me , I keep looking at it several times. I can’t tell you which is my favorite! I love everything.! Enjoy your deck this summer. You deserve it!
What a gorgeous outdoor space for entertaining.
Looks so welcoming.!
You’re deck looks amazing! Beautiful! You may have had to wait a year but in the long run it looks as if it always belonged there.
I can tell you are so proud of this project that you accomplish and you should be. It looks amazing. Great job!! I might have missed this somewhere in the blog , but did you list the cost of building the deck? Also have you ever made a tutorial on what a single
Lady should have for wood working tools. I would love to start making some things myself, but not sure of what tools I should start with. Basic? Thanks Lisa. Love your post and inspiration always.
I still need to do that tutorial/blog post on my favorite tools! Thank you for reminding me! Adding the covered portion of the deck was a major portion of the cost, along with how large we decided to go. I believe everything in total was around $13-14k.
Hi Liz,
The deck and gazebo are so beautiful!
I like how you made it BIG, and the landing at the bottom was a great idea.
I’m looking forward to seeing how you finish/stain it. In Some of the pictures, I thought the wood was stained like a white weathered, or whitewash, but more Beige finish. So…maybe I’d try that. If there is such a thing. It is so your style. Maybe you could invent a stain Like that.
I think my favourite part is the gorgeous views you have of farms and farm fields. The golden light of those sunset shots over the fields are to die for. I’d never tire of that view!!
Your entire back outdoor living space is amazing! No way could I pick a favorite. My entire being wanted to jump into my monitor and transport myself to that awesome Ikea sofa. I too am a neutral designer and your space is absolutely perfect. Well done – in every decision you made.
Wow, your deck is absolutely gorgeous. One of the best I have ever seen. What part is my favorite? All of it. The deck, your furnishings, the colors….Absolutely everything!! What a fantastic addition to the outside of your home, it’s just beautiful.
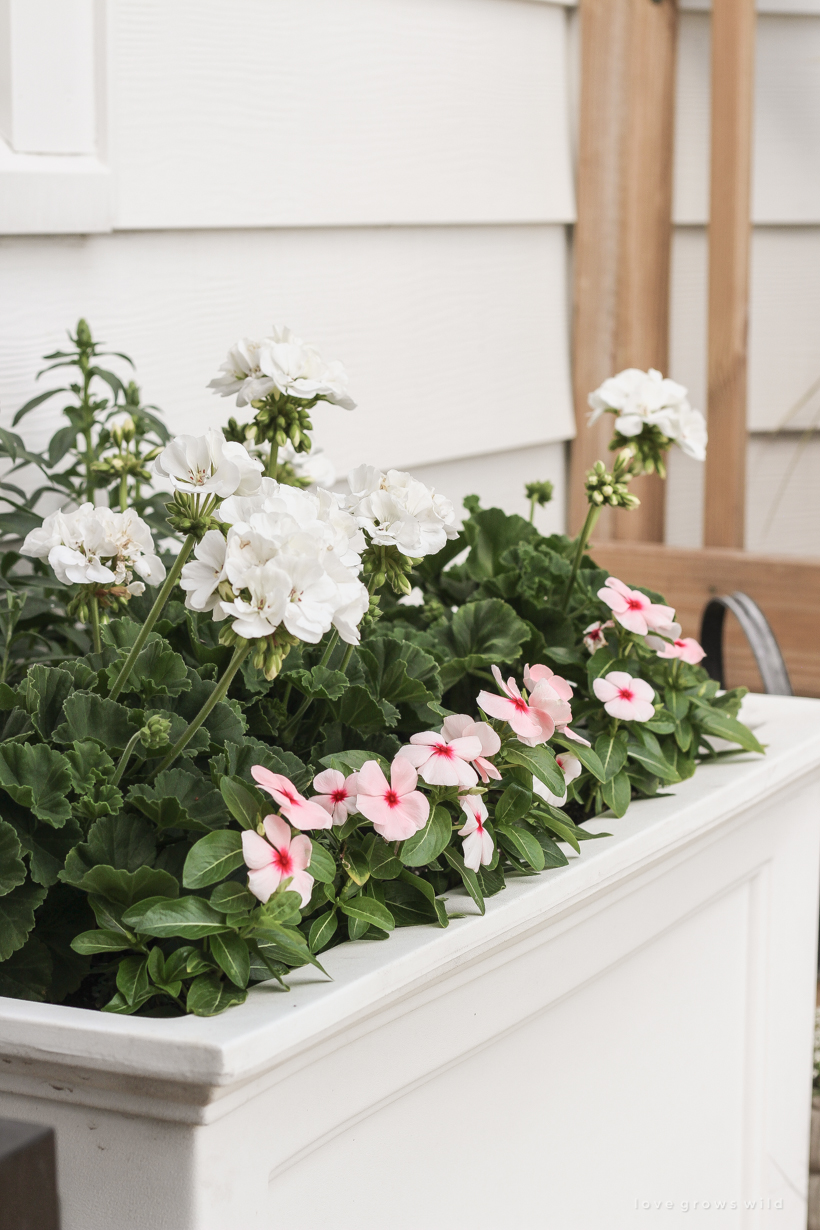
Your deck is absolutely gorgeous! Where did you get the white flower box that has the white geraniums and periwinkles in it? I love it!
I got it from Wayfair several years ago!
Dang! We ALL want to come over!! It’s so inviting. You have such an eye for decorating – it’s crazy. Your finishing touches are perfect!.Stay safe!
So beautiful!! What color are your wicker chairs? Everything matches so well!! Love it!
I love everything about this!! I just build a deck and am trying to furnish it now! Where did you get your wicker chairs?! Love them and am trying to replicate this on my deck! Looks beautiful!!
I wish I could just join you and drink coffee and just delight in your space in the lovely Indiana morning too. Since I too am in Indiana it’s doable! We are downsizing for a few years moving toward our children but when we finally choose a “forever home” I will be keeping your delightful deck in mind. Completely charming.
Beautifully done project. Many happy days will be enjoyed. I have a question regarding the deck material. I’m assuming this is treated pine though it doesn’t appear to have the usual green appearance. Can you tell me how you achieved the more natural appearance to the pine color? Thank you
Hi Kim! Yes, it is treated pine, and initially it did have that somewhat green tint to it. That goes away as the wood ages a bit though! 🙂
Beautiful! Did you put some sort of stain on the treated pine or just a sealant to achieve that color?
Just a clear sealant!
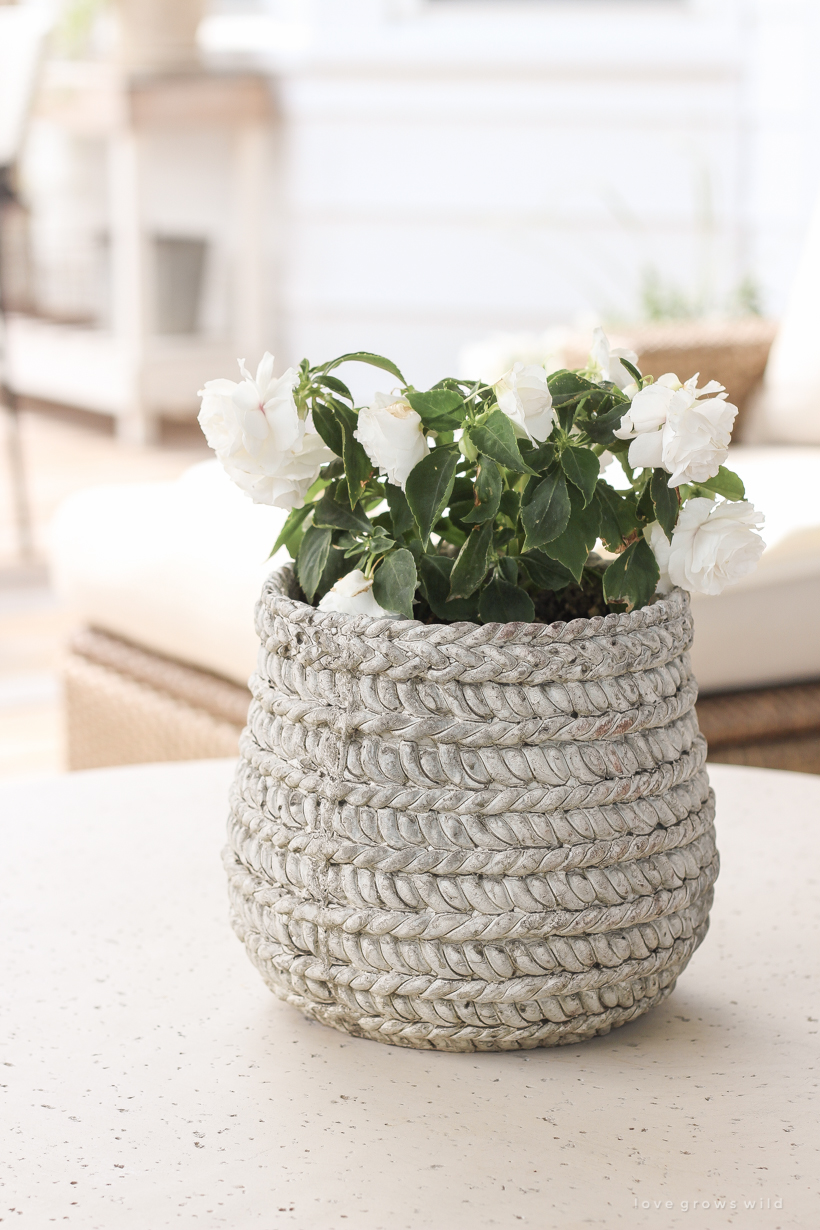
Such a dream space! Can you tell me where the basket weave pot is from?
Cheers,
Jenn / https://shawave.com
Thank you! I got it from Target a few years ago. Here are some similar options!