As I pulled out our Christmas decor this year and looked back on all the cute things I’ve made, it dawned on me that I’ve slowed down a lot on all the little diy projects and crafts I used to do. We’ve lived in this house almost 10 years now, and there just isn’t a huge need to create new things anymore.
But my heart is still deeply rooted in sharing ideas to help create a thoughtful, beautiful home with your own two hands, and I decided this Christmas I want to bring back some simple, inexpensive DIY projects that you can use to decorate your tree, your home or give as gifts this year! And honestly, it feels so good to dig through my boxes of craft supplies and get back to basics. I hope you enjoy what I have planned this Christmas season!
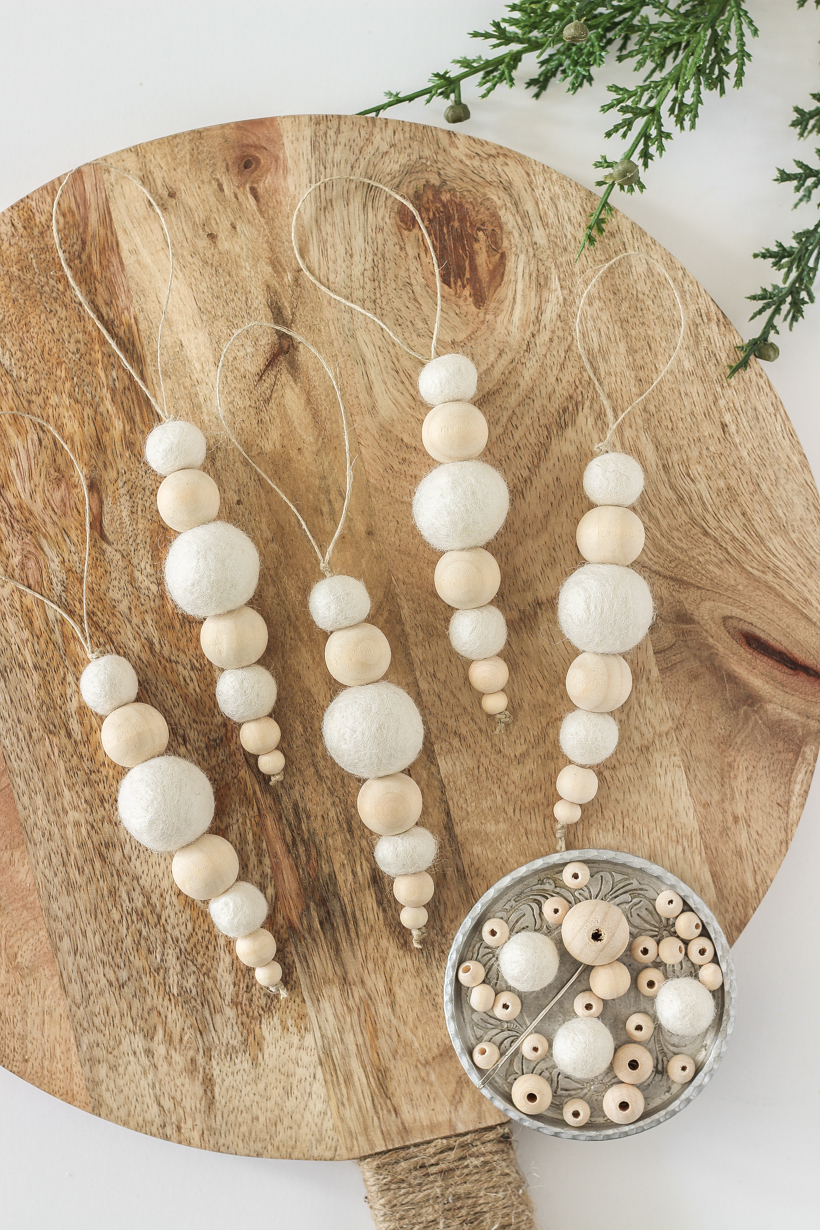
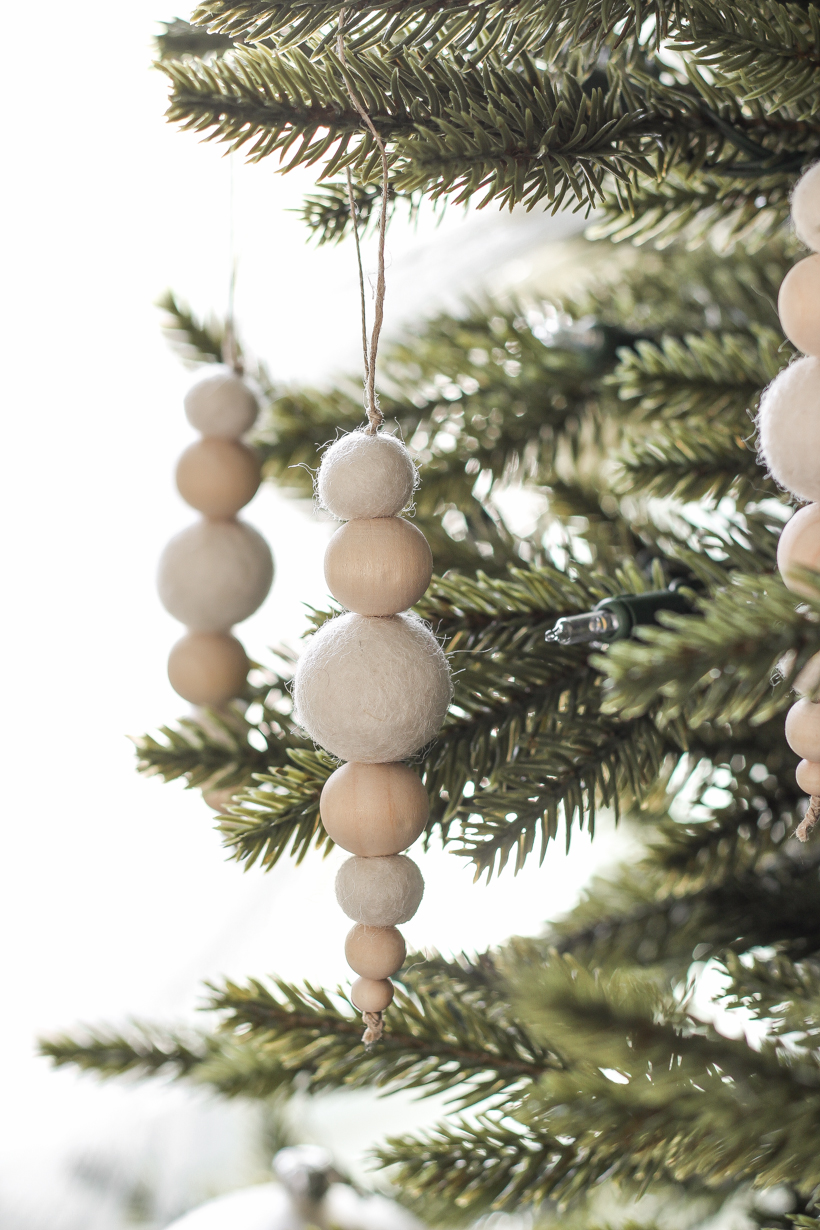
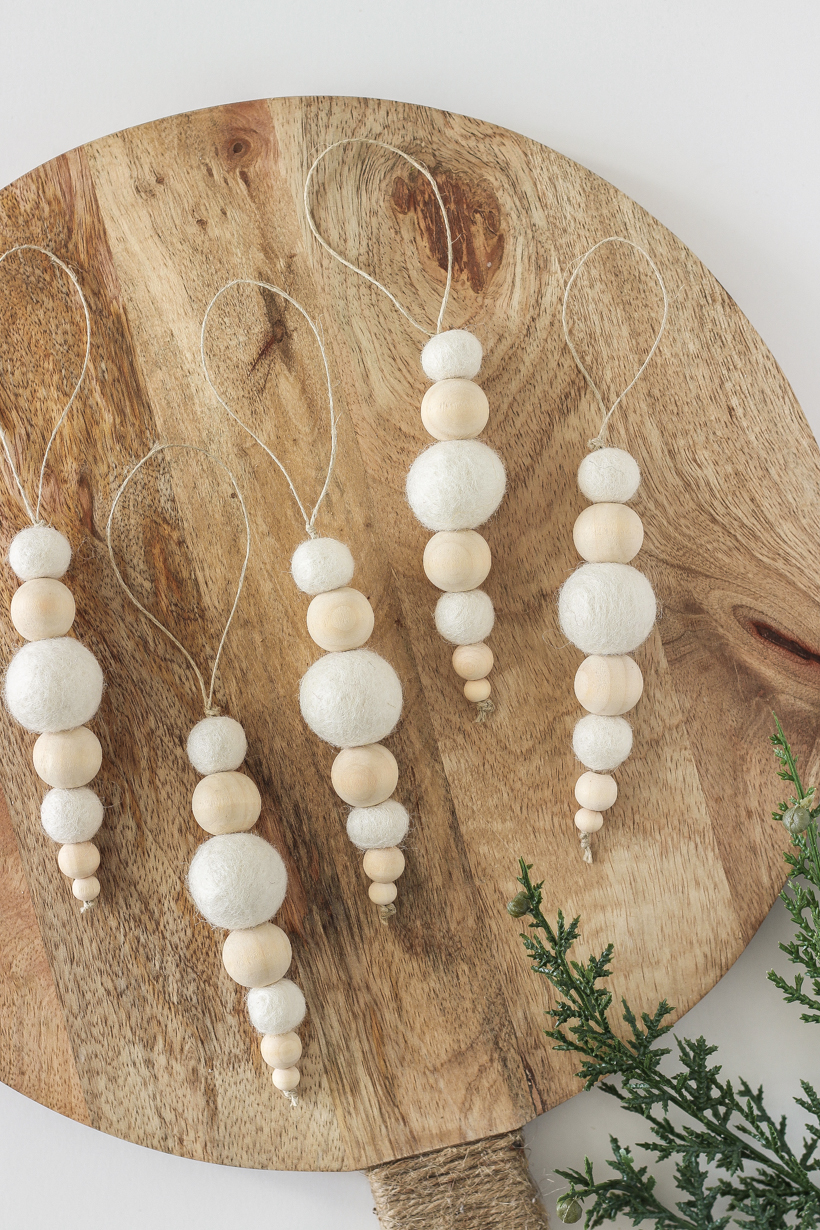
These felt ball and wooden bead ornaments are so darling, and I love the how simple they were to make. I went with neutral colors so I can reuse them year after year no matter how I decide to decorate my tree, but you can choose any colors you like! Learn how to make them below…
FELT BALL AND WOODEN BEAD ORNAMENTS
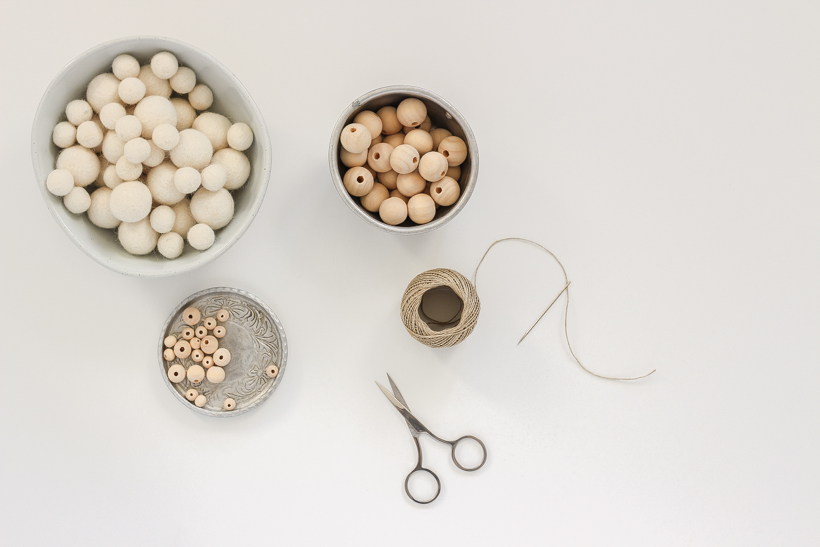
SUPPLIES:
wooden beads in various sizes – I used 20mm, 10mm and 8mm
felt balls in various sizes – I used 25mm and 15mm
scissors
sewing needle – you’ll need one sturdy and thick enough to push through the felt balls
thin string or twine – I used natural hemp cord or embroidery floss would also work
STEP 1
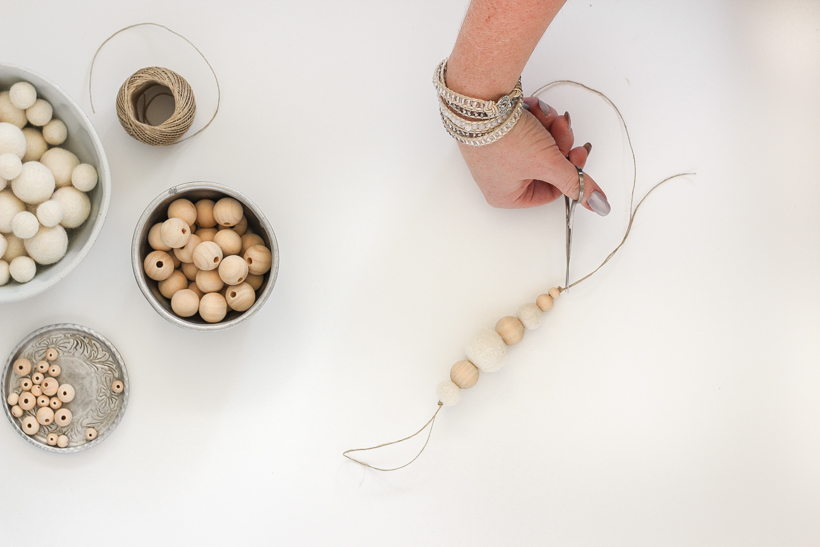
Gather your supplies and decide what size felt balls and wood beads you will use and how many for each ornament. Play around with different variations until you find a look you like. The pattern I used was:
- 15mm felt ball
- 20mm wood bead
- 25mm felt ball
- 20mm wood bead
- 15mm felt ball
- 10mm wood bead
- 8mm wood bead
STEP 2
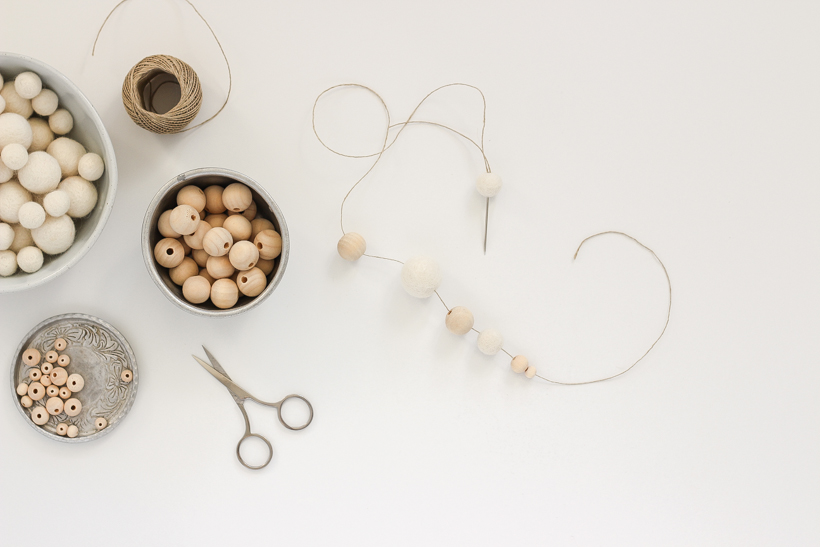
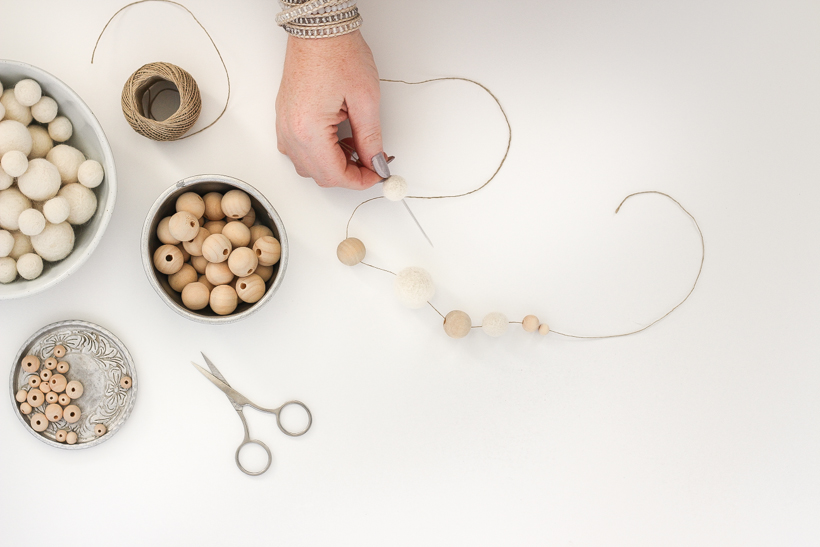
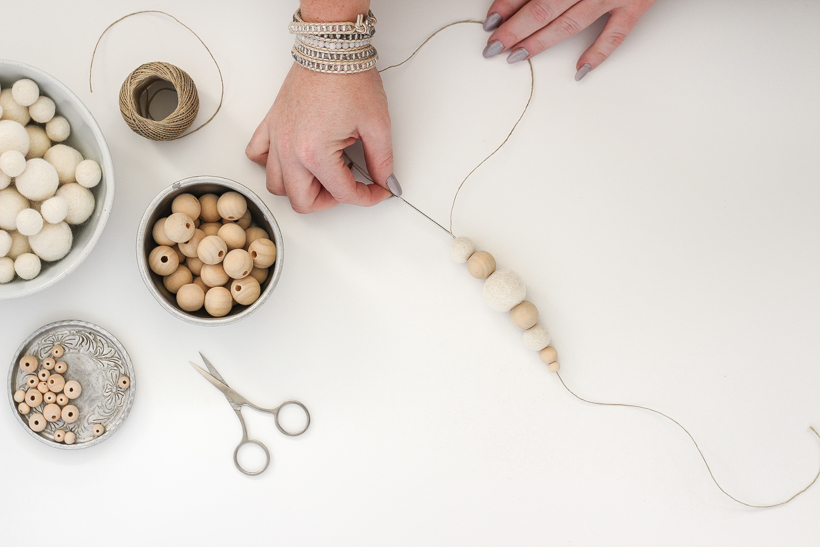
Cut a piece of string approximately 2 feet. It doesn’t need to be exact, and I usually just pulled out an arm’s length of string to work with. Just keep in mind you would rather have a little extra to work with on the first few ornaments than be short. Thread your needle with the string.
Then thread the felt balls and wood beads onto the string starting with the whichever piece you want to be on the bottom of your ornament.
STEP 3
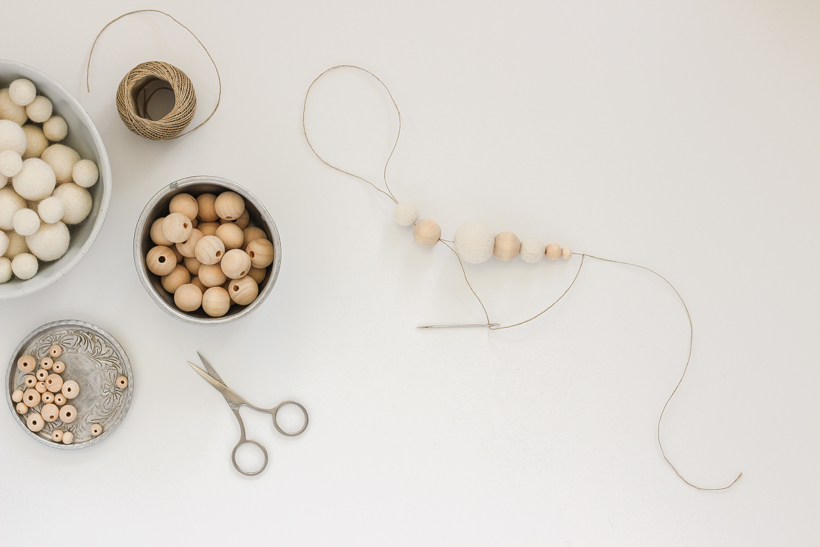
Once you have all the pieces on the string, leave a loop at the top of the ornament and thread the string back down through the felt balls and beads.
This is where it helps to have a little extra string so you can shift the beads and balls as needed to thread the needle back down.
STEP 4
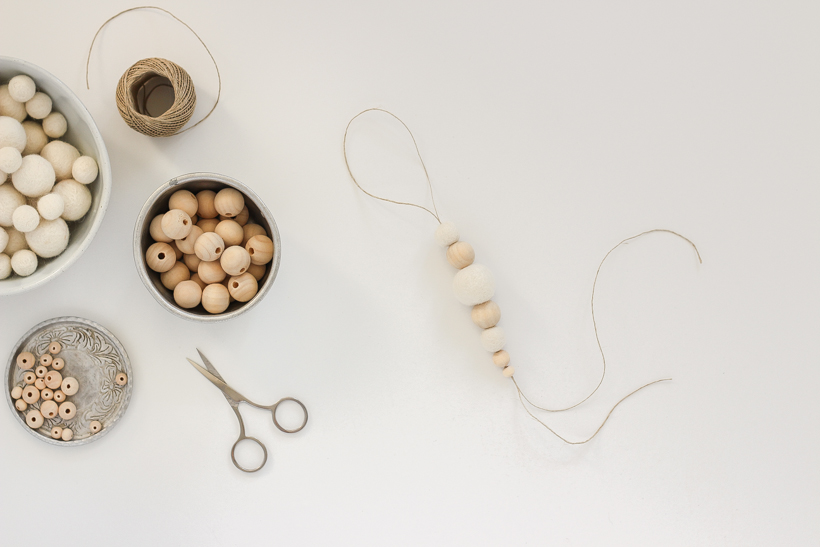
Once you are done threading the needle back down, you can remove the needle from the string. You should have a loop at the top, the felt balls and beads in the middle, and two pieces of string at the bottom.
STEP 5
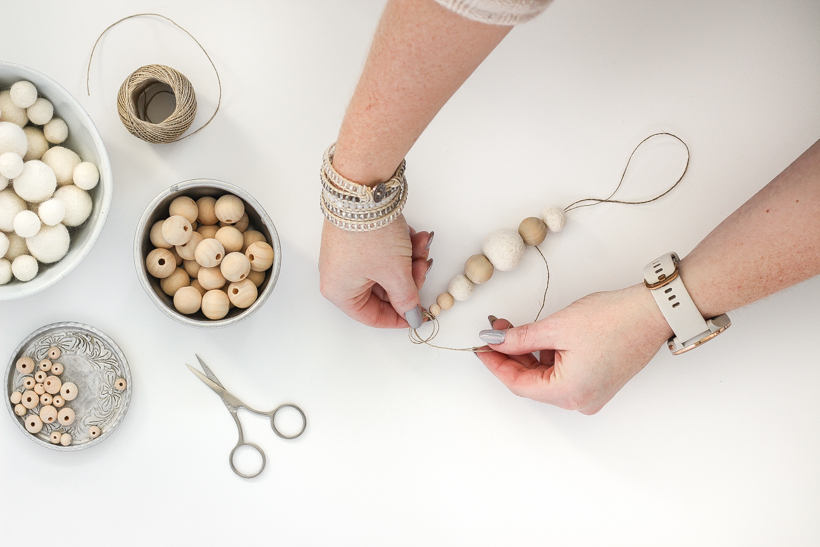
Tie a knot just above the top felt ball and just below the bottom wood bead to hold the pieces in place on the string. Make sure the knot is big enough that the opening of the beads can’t pull through.
STEP 6
Make sure the bottom knot is nice and tight, then trim off the ends of the string.
STEP 7
Hang on your tree!
I hope this little idea brings you some joy this Christmas and a little quality time you may need… whether that be a quiet, kidless afternoon to craft in peace or a day spent with your girlfriends creating together. Please share your photos with me if you decide to make these! I love seeing what you create!






Love the bead and felt balls. But where can I get the felt balls. Does hobby lobby have them.
I linked to where I got them on Amazon. I imagine Hobby Lobby would have some too, but I wanted a good variety of color/size options to choose from!