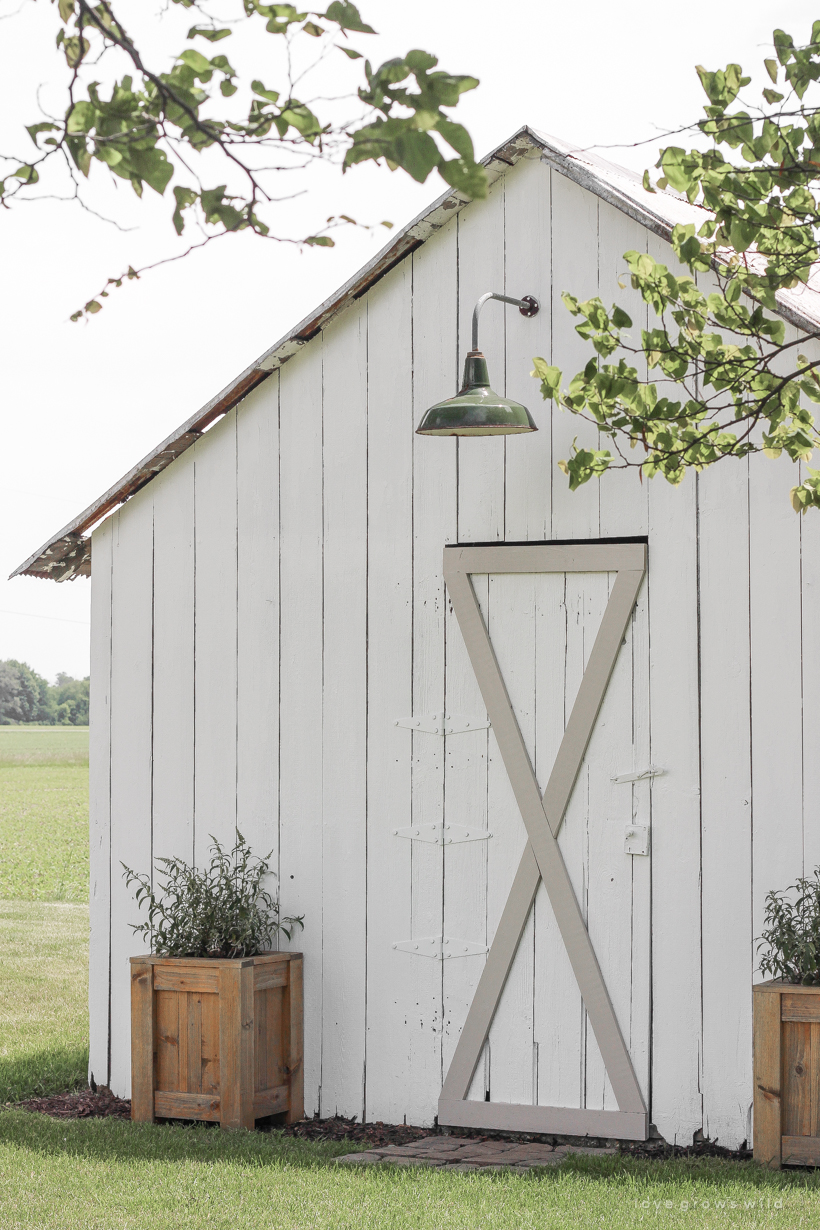
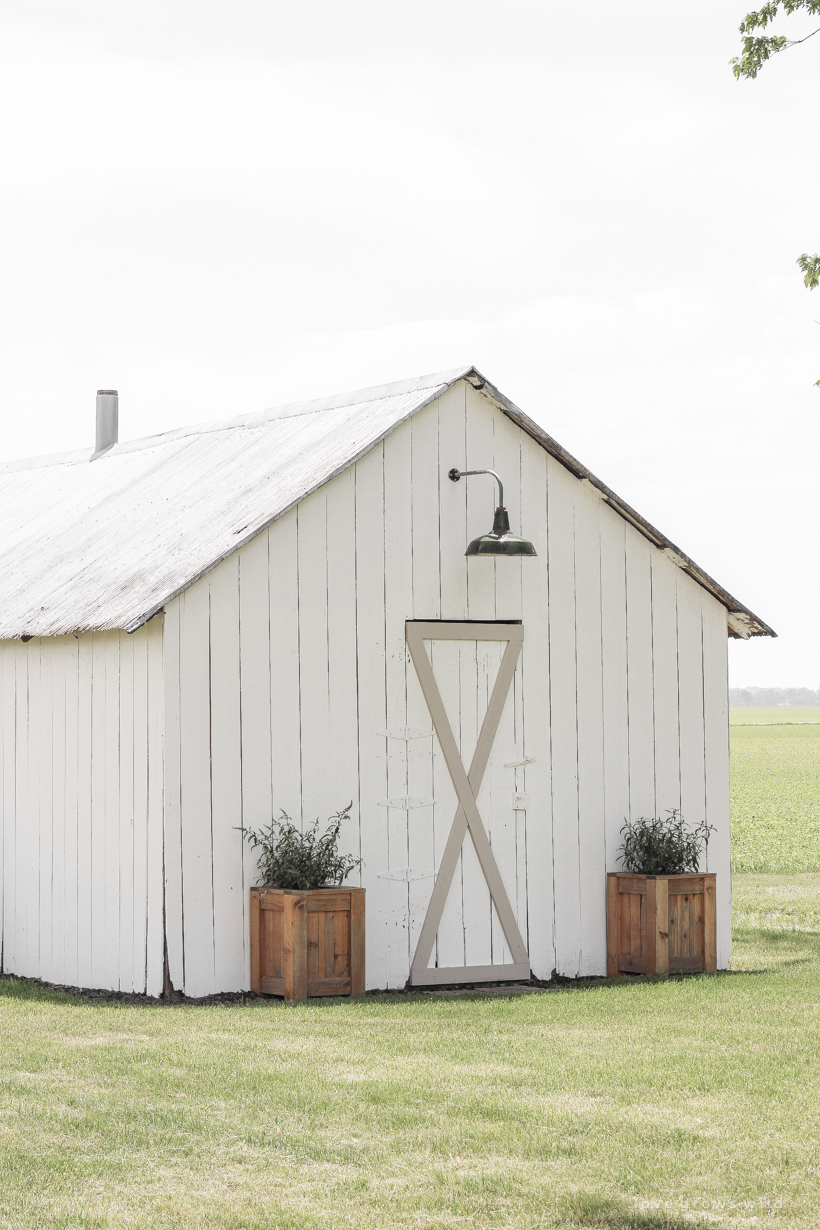
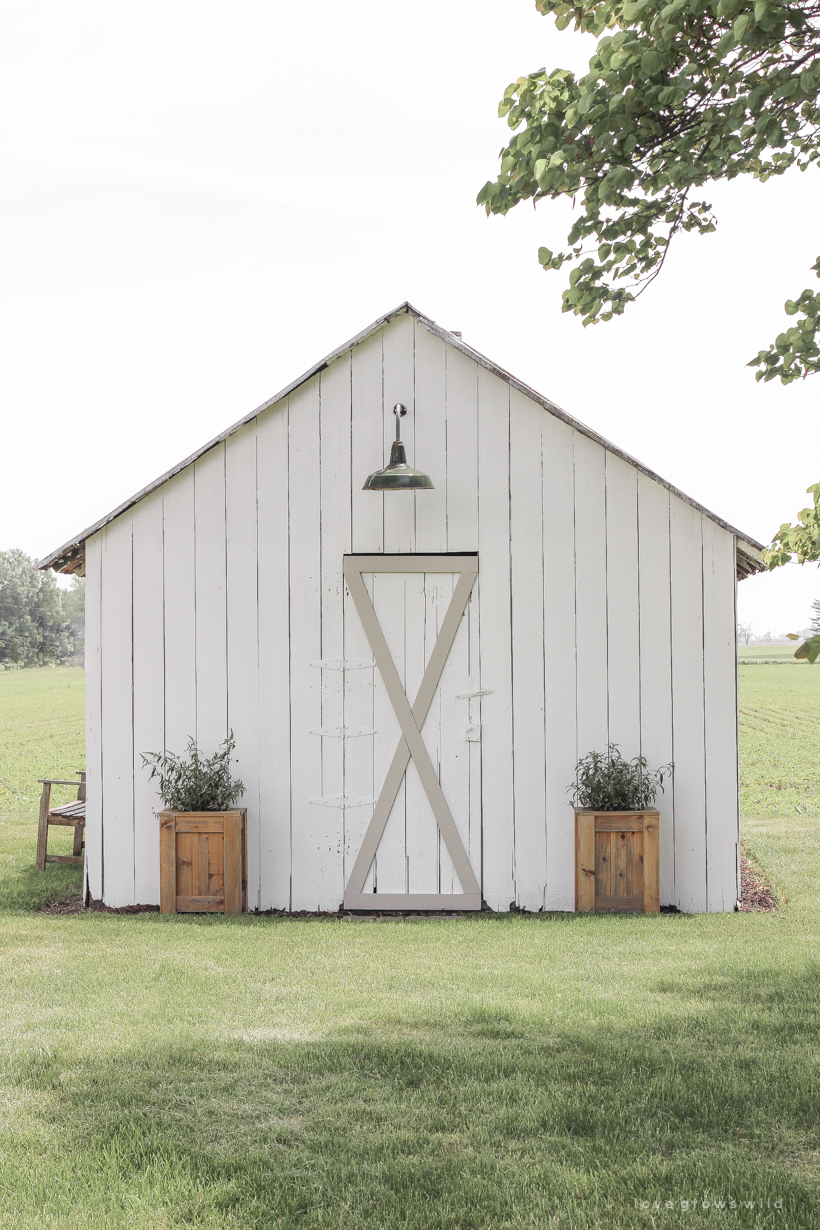
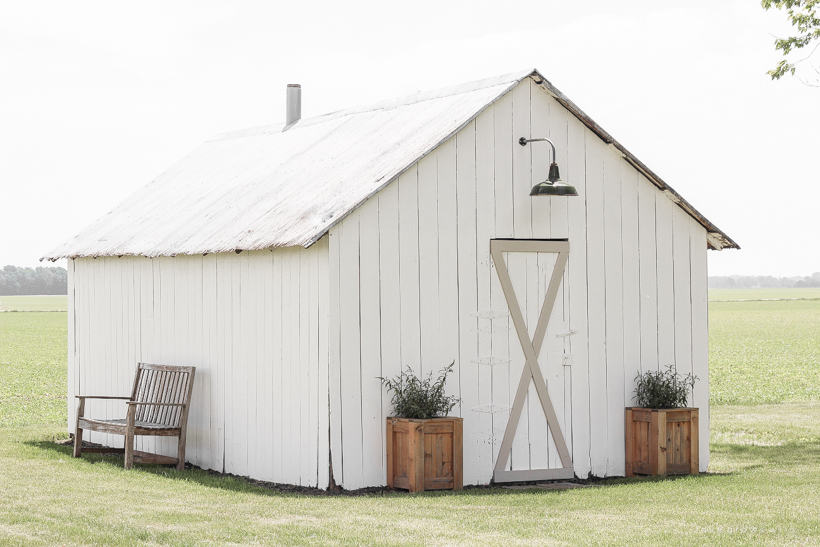
Are you ready for an update on the barn makeover I started a few weeks ago? She was looking pretty cute after getting painted and trimming out the door, but I still wanted to add some finishing touches like landscaping around the space to make it feel complete. I wanted to start with something simple and easy to maintain, and here is what I ended up with…

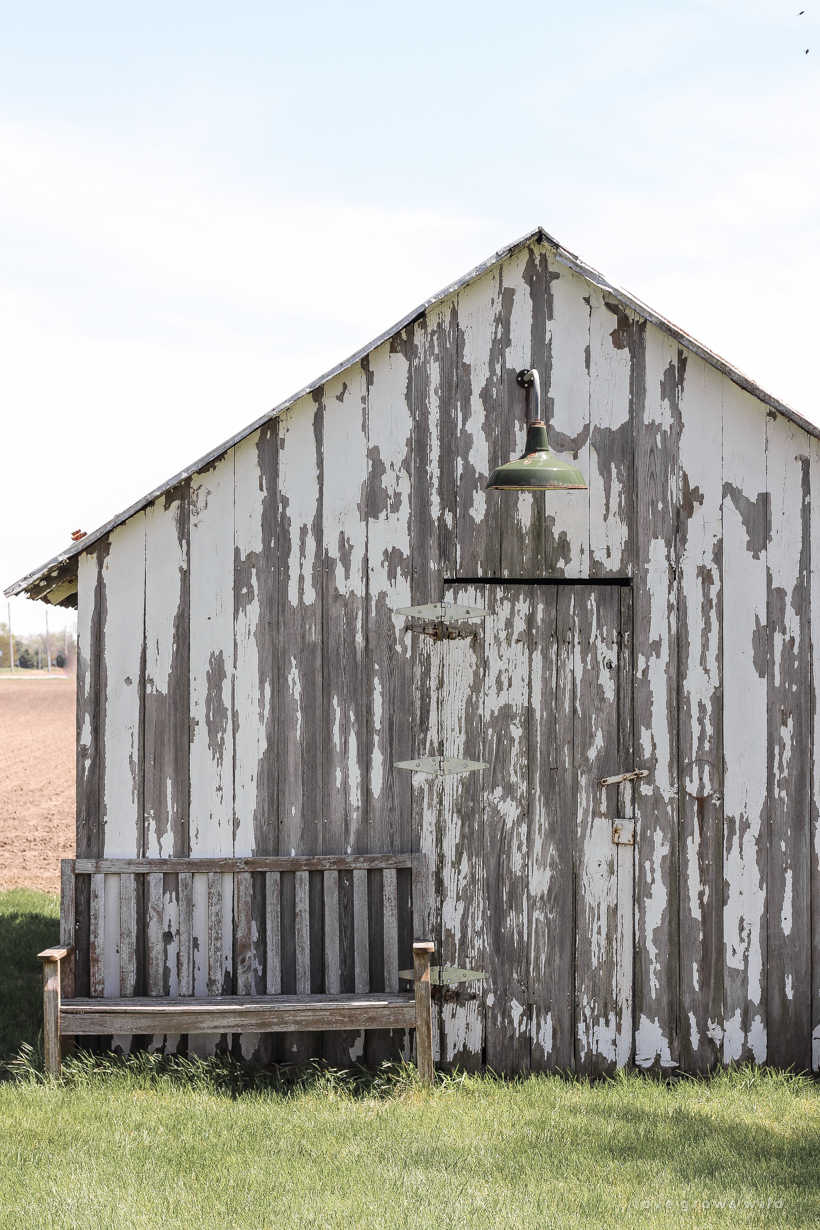
As a reminder, this is what the barn looked like when I started! You can read all about how I prepped and painted the barn and the trim details I added to the barn door here.
I absolutely loved the chippy look of this barn for almost 8 years now, and I know some of you felt the same way. But with all the updates I’ve made to the house and adding a deck here in the backyard last summer, I wanted the barn to have a cleaner, more polished look. And also, I’m not sure exactly what year the barn was built (the house was late 1940’s), but the wood was deteriorating more and more being exposed to the elements and not protected. The only way to prevent the barn from further damage was to get it properly painted to maintain this sweet, little structure for as long as possible.
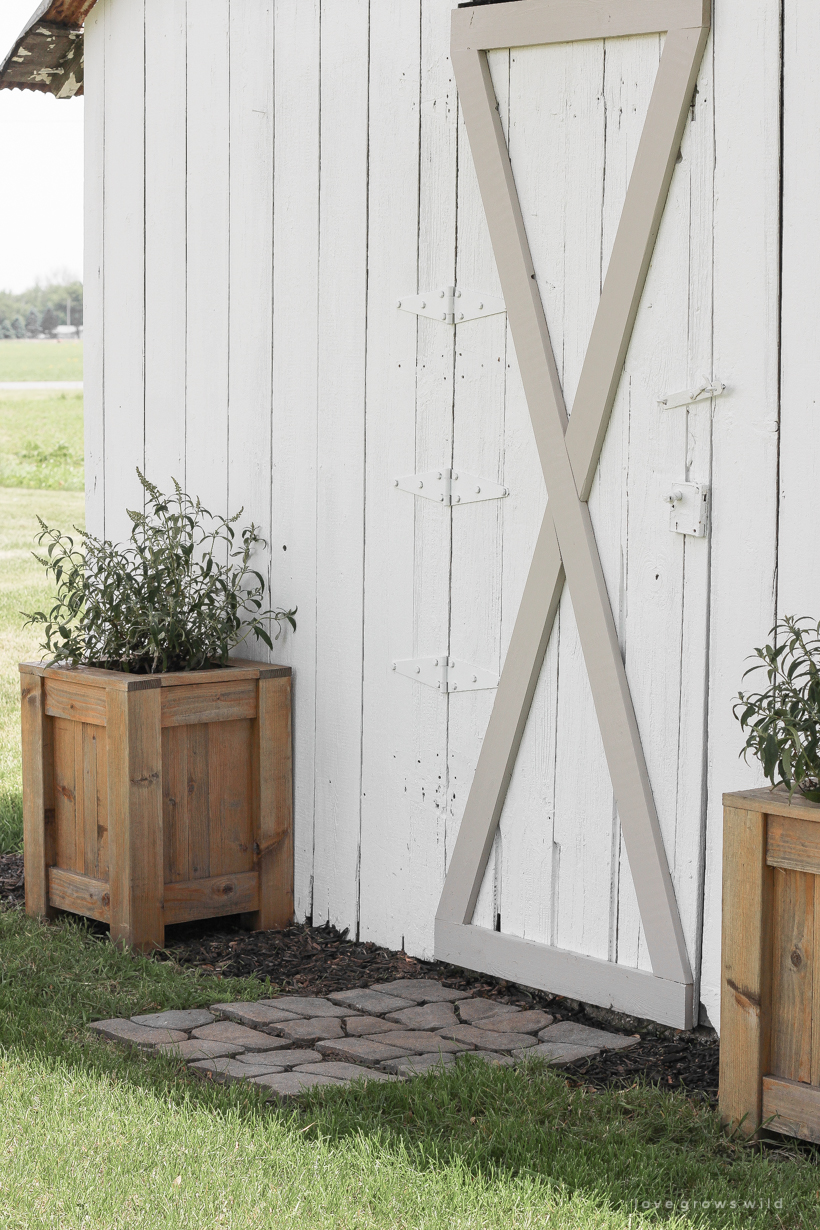
Even with the barn being painted, you can still see the age of the wood, the holes from years of nails and old barn door hinges, the rusty metal roof, and all the beautiful character an old barn should have.
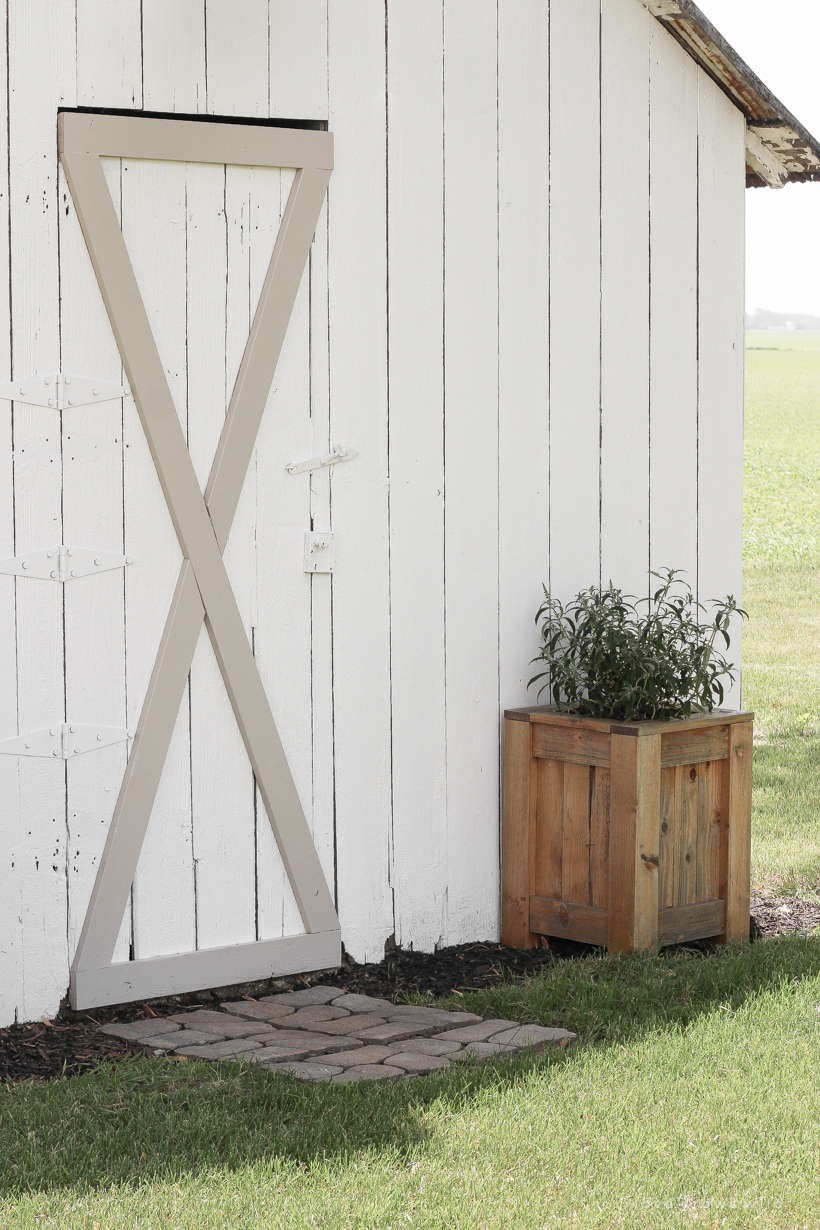
After paint was finished, I had to decide how I wanted to landscape around the barn. My imagination came up with large, elaborate curved garden beds with gorgeous flowering bushes, but my more sensible side reeled my mind back in knowing the short extent of my gardening and landscaping capabilities. Weeds like to grow around the outside of the barn, so I decided to create about a 1 foot perimeter of mulch to give it a more finished look and to make mowing around the barn easier. I dug out any weeds that were growing and created a nice edge on each side for the mulch bed.
Is there anything better than freshly-laid mulch? This area looks so much better now, and if I decide to try planting some flowers or bushes around the barn in the future I’ll already have a nice clean space to work with.
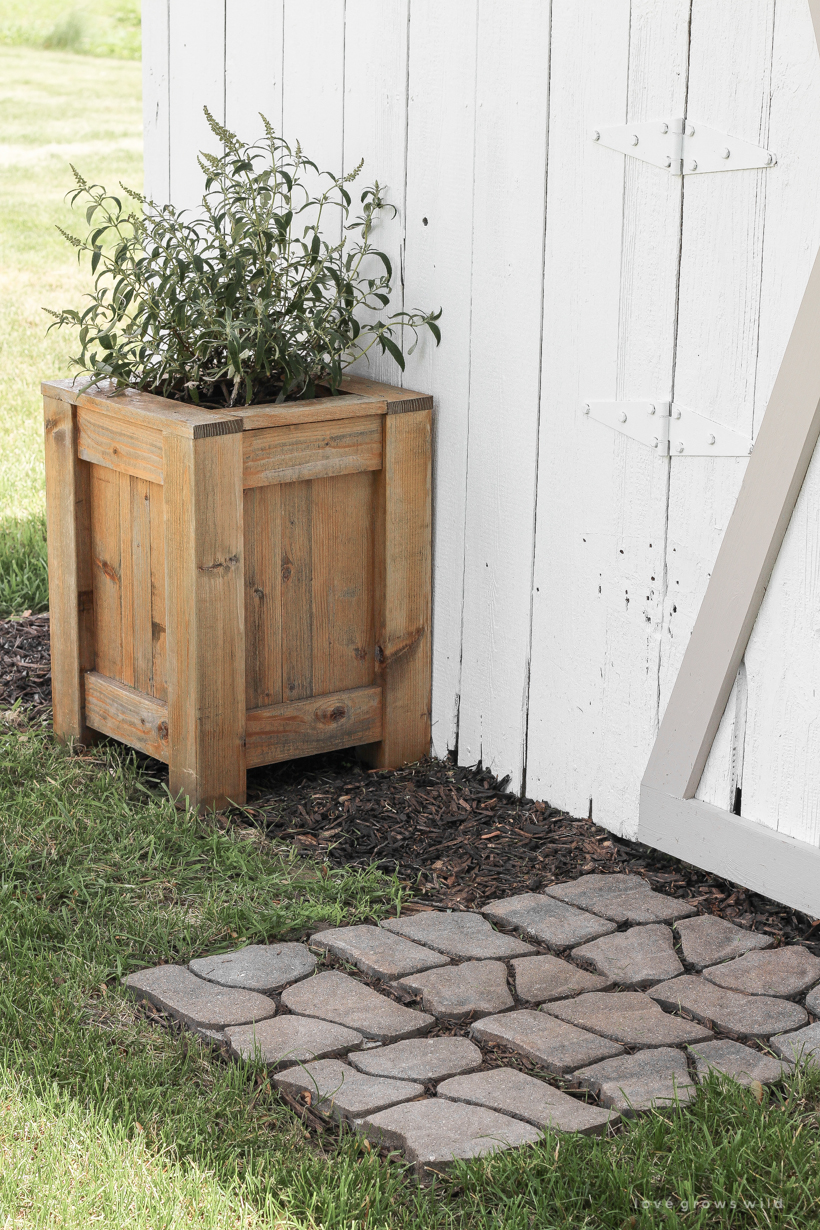
As I was dreaming up ideas for the space, I kept imagining a sweet little stepping stone pathway leading out to the barn door. I wanted to keep this makeover as budget-friendly as possible, so I didn’t want to lay stones all the way from the house out here, but I thought a small walkway right at the entrance would be perfect. I picked up these concrete stones from Lowe’s and followed these steps to create the walkway:
HOW TO CREATE A STONE WALKWAY
MATERIALS:
long-handled garden spade or trowel
stepping stones or stone pavers
level
paver base or sand
rubber mallet (optional)
INSTRUCTIONS:
STEP 1: Decide where you want your walkway, and lay the stones down to determine the exact placement. Use a garden spade or trowel to trace a line into the ground around each stone.
STEP 2: Move the stones and dig out the sod underneath making sure to completely remove all roots. You want the dirt to be as level as possible and just slightly deeper than the depth of the stone.
STEP 3: Spread a layer of sand or paver base, packing it down and making it as level as possible. This will help keep the stone from sinking over a long period of time. Place the stepping stones so they sit just above the surface of the ground. This will give them a little bit of room to settle, but still be low enough that you can safely mow over your walkway. Add a little more paver base around the stones to give some added support. Then tap the stone with a rubber mallet (or stand/jump on it) to help set it in place. If desired, add mulch or landscaping rocks around the stones for a decorative look.
Since I bought new planters to go on my front porch this year, I needed to find a new spot for the pretty cedar planters I built last year. They were out in the elements all winter and held up beautifully, and I love the way the cedar is starting to weather and age! I moved the cedar boxes to flank either side of the barn door, and I love the warmth and charm they add here. Sometimes my mind goes wild with big ideas, but in the end I always come back to simple is best!
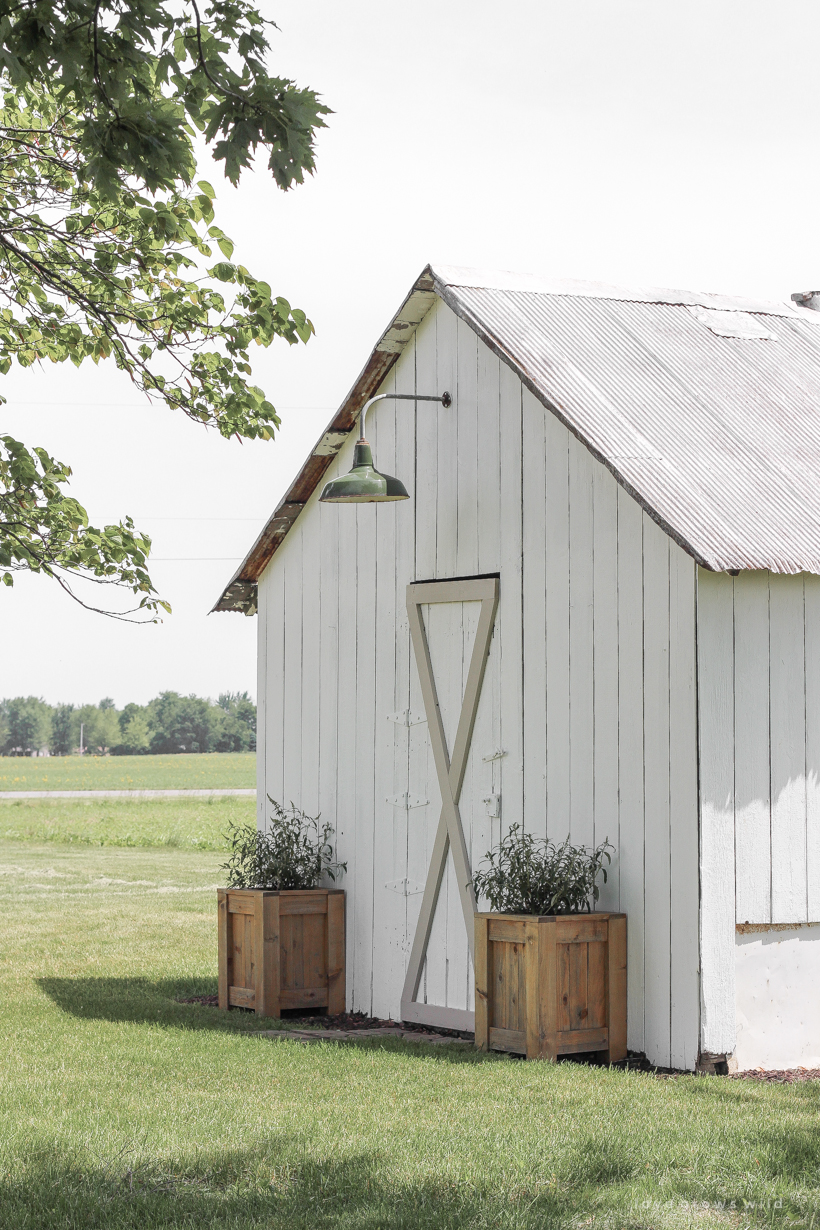
I picked out dwarf butterfly bushes for the planters that I plan to hopefully replant somewhere in the yard after this summer. So far they are doing well!
I have one last landscaping idea that I may do on one of the long sides of the barn, but for now I set one of my old outdoor wooden benches here to give the kids somewhere to sit when they’re out playing in the yard. Simple. Sweet. And very Liz.
What do you think? I’m enjoying these outdoor projects so much this year, and I can’t wait to share a few more I have up my sleeve soon. Here are a few from past years! Thanks so much for stopping by today… xoxo Liz
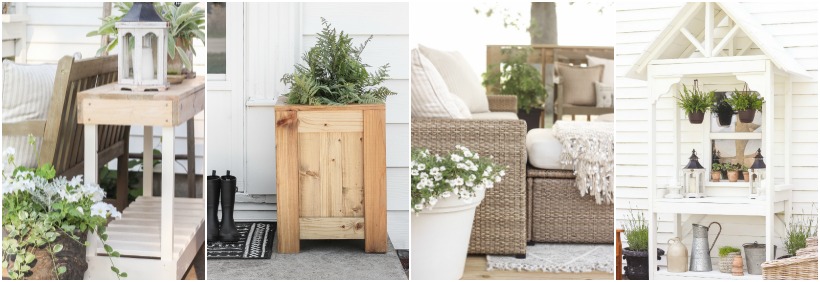
How to Build an Outdoor Console Table
DIY Outdoor Cedar Planter
Deck Reveal: Our New Outdoor Living Space
DIY Potting Bench with Decorative Roof


It LOOOOOKS so good…you are so creative AND clever.
It’s the ‘details’ ❣️ linda of no.cal. le.gans
Beautiful and clean!
Love, love, love it!