• Home
  • MEET LIZ
  • contact
  • Blog
  • E-DESIGN SERVICE

Love Grows Wild

  • Home
  • Liz Fourez Interiors
  • Our Home
    • bathroom
    • dining room
    • entryway
    • exterior
    • kids bedroom
    • kitchen
    • living room
    • master bedroom
    • office
    • playroom
  • Project Gallery
    • diy decor
    • decorating advice + inspiration
    • furniture makeover
    • woodworking
    • crafts
  • Seasonal
    • spring
    • summer
    • fall
    • winter
  • Recipes
    • appetizers/snacks
    • beverages
    • breakfast
    • dessert
    • meal ideas
    • side dishes
  • SHOP
    • My Book
    • Shop LGW Style
    • love grows wild market
Style + Beauty

Beach Waves Hair Tutorial

March 3, 2020

Pin
Share
Tweet
Email
Print
How to get those easy, beautiful beach waves and what products you need to get this hairstyle

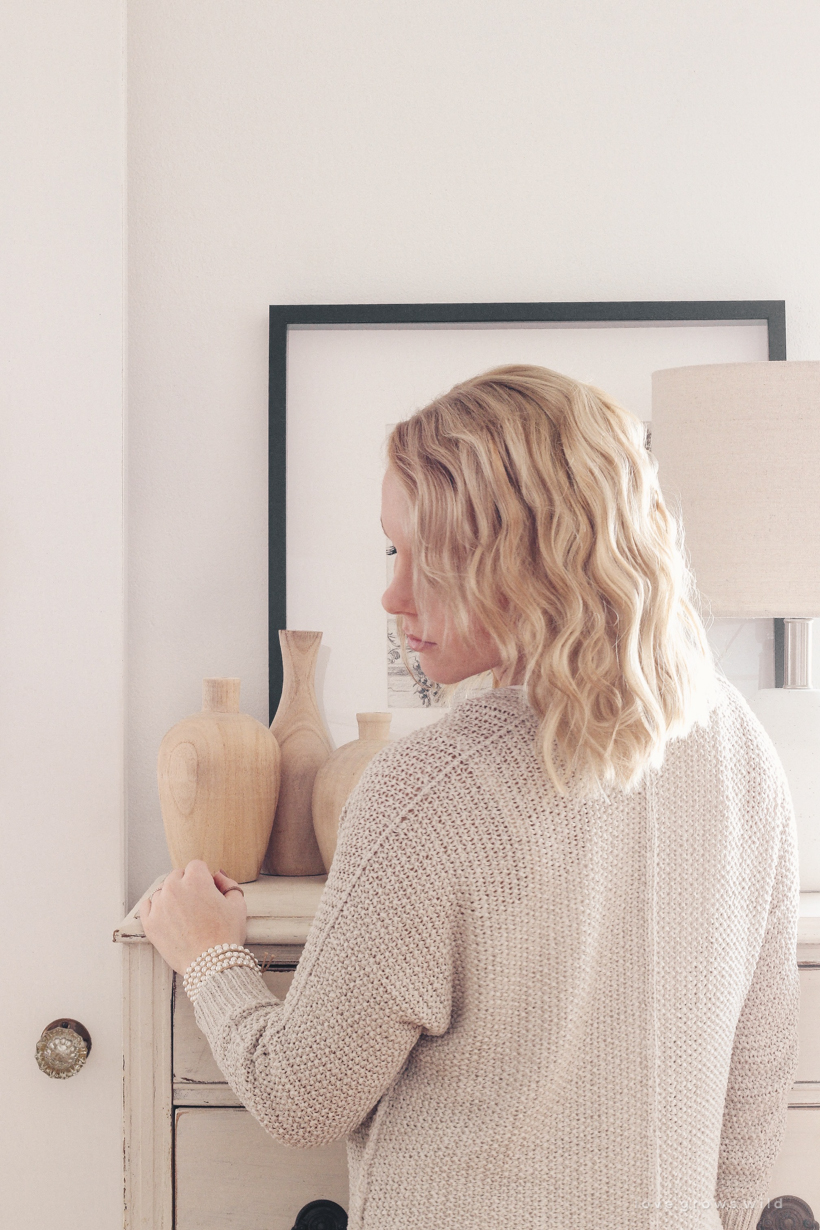
Last summer I shared one of my favorite ways to style my hair, How to Curl Hair with a Flat Iron Straightener, and I promised to share my other favorite hairstyle with you guys too. I finally had a chance to sit down and film this tutorial after getting tons and tons of questions about it on Instagram, and I am so excited to share today the easiest way to get beautiful beach waves!

I love that this style is a little messy, a little more casual than curls, and so much easier in my opinion. It’s meant to look natural and not perfect, so I love doing this on days when I’m in a hurry but still want to have cute hair or even on day two or three in between shampoos! You’ll need a few tools and products, but I’ll go over all of that with you. Plus I have a step-by-step photo tutorial AND a video showing the entire process of me doing these waves on my hair. Let’s get started!

How to get those easy, beautiful beach waves and what products you need to get this hairstyle

THE TOOL YOU’LL NEED…

I’ve owned several 3 barrel wavers and other crimper tools in the past, but I bought this Bed Head Wave Artist Deep Waver last summer and it has been one of my favorite beauty tools ever since. What’s different about this particular waver is the deep barrel that creates a bigger, more sculpted curl that replicates those natural beach waves we all want to have. There are two different types of waves you can create with this tool, and I’ll go over both of those in the tutorial below. It heats up to 400º, but I always keep it at the lowest heat setting to protect my hair. You can order the waver on Amazon with Prime free shipping + returns for under $30!

CLICK FOR DETAILS:


THE PRODUCTS YOU’LL NEED…

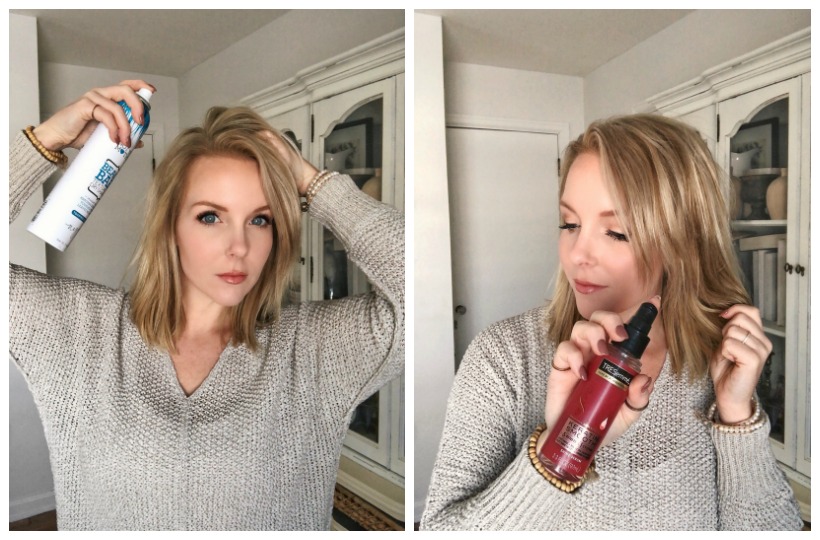
HEAT PROTECTION SPRAY

Before I dry my hair I’ll spray a generous amount of Tresemme Heat Tamer to protect against heat damage. I’ve done a lot of research on pricier heat sprays, and this inexpensive spray does the job well and I’m not worried about using it generously to make sure my color-treated strands are protected. I just spray it all throughout my hair before blow drying and again on my dry hair before using any heat tools.

DRY SHAMPOO

Dry shampoo has many uses and benefits, but for this hairstyle I like to use it to add body, volume, and texture at my roots. Once my hair is dry, I spray the shampoo along my part and at the roots around my face and the top few layers of my hair. I like to massage the spray into my roots to help distribute the product and really work it into my hair. There are a ton of great and not-so-great dry shampoos out there in every price range you can imagine. I’ve found a few less expensive options that work well, and my current favorite is Not Your Mother’s Beach Babe Texturizing Dry Shampoo. It smells like beachy coconut!

SHINE SERUM

I like lots of volume in my beach waves, but to prevent my ends from looking dry and frizzy, I use a shine serum to smooth just the ends of my hair. Before I start using the waver I’ll apply a small amount of Tresemme Keratin Smoothing Serum to my ends and a little bit to the pieces around my face. A little goes a long way, so start with just a small pump full to avoid weighing your hair down.

TEXTURE SPRAY

Once I wave all my hair, I use Not Your Mother’s Double Take Dry Finish Texture Spray to style the waves, add fullness, and blend all the waves together. The texture spray gives your hair a bit of “grip” so that even squeaky clean, silky hair can be easily styled and have tons of body. What I love most about this product is that it also is a medium hold finishing spray, so it helps hold the waves in place and still allows movement without adding a sticky hairspray.

HAIR SPRAY

Since I use the texture spray mentioned above, I don’t necessarily need a hair spray all over my hair, but I do like to use a touch to smooth down any flyaways I have at the very end of styling. This is my holy grail hairspray I buy again and again: L’Oreal Elnett Satin Extra Strong Hold Hair Spray is a humidity resistant hairspray with a super fine mist that leaves my hair feeling clean and soft and not at all sticky. It holds my style and volume all day, but because the mist is so fine, you can literally brush through your hair at the end of the day and the hairspray disappears. This is especially important for anyone (including me) who goes a few days between washing their hair and needs to restyle it the next day! One thing to note, I’ve tried other holds from Elnett Satin, and the extra strong volume is definitely my favorite!

CLICK FOR DETAILS:


How to get those easy, beautiful beach waves and what products you need to get this hairstyle

BEACH WAVES TUTORIAL

WHAT YOU’LL NEED:

deep waver
hair clip
dry shampoo
shine serum
heat protection spray
texture spray
hair spray

INSTRUCTIONS:

First, spray dry shampoo to your roots at the top of your head and around your face to build volume. Then apply a small amount of shine serum to the ends of your hair hair to tame frizziness.

How to get those easy, beautiful beach waves and what products you need to get this hairstyle

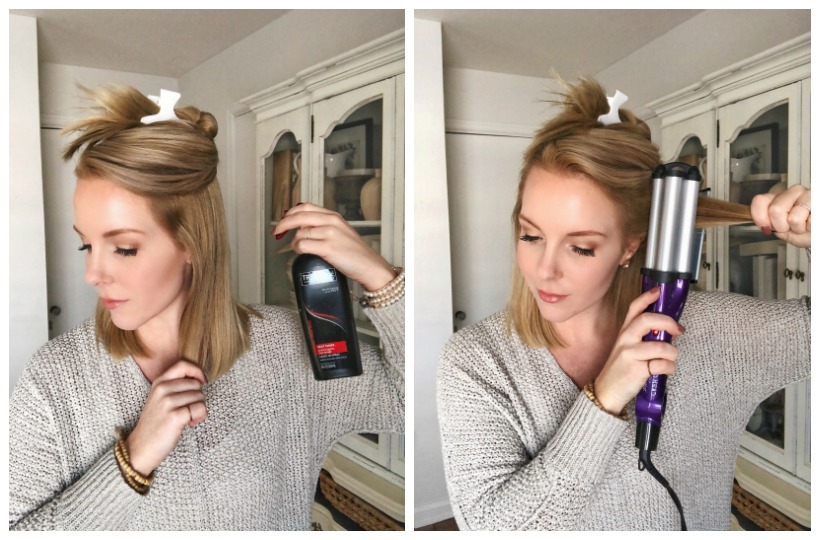
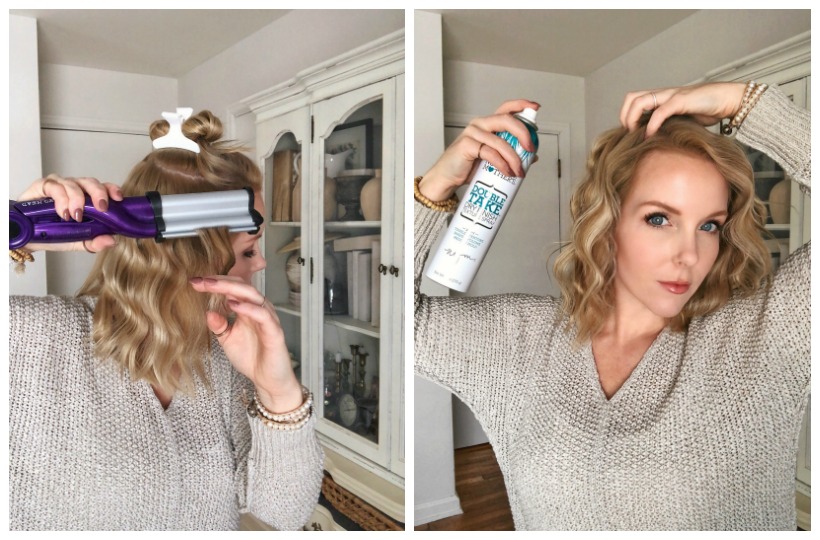
Next put the top two-thirds of your hair up in a clip, and spray a heat protector all over the bottom third of your hair.

Wave Option 1:

For a flatter, more relaxed look, hold the waver VERTICALLY as you wave your hair. Start at the roots and clamp the tool on small sections of hair, holding for just a few seconds before moving down towards your ends. This will create waves that lay flat in an S shape from side to side. For an even more loose, natural look, leave an inch or so straight at the roots and the ends.

How to get those easy, beautiful beach waves and what products you need to get this hairstyle

I prefer to do a vertical wave on the bottom layer of my hair so you don’t see such big, defined waves underneath and this wave on the rest of my hair:

Wave Option 2:

For a bigger, more voluminous look, hold the waver HORIZONTALLY as you wave your hair. Again, start at the roots and clamp the tool on small sections of hair, holding for just a few seconds before moving down towards your ends. This creates a more defined wave that gives your hair a ton of body and movement, which I like around my face and the top of my hair.

Once you have all your hair waved, spray with the texture spray to add even more volume and blend the waves. If desired, use a little bit of hair spray to lock the style into place and tame any flyaways you see.

How to get those easy, beautiful beach waves and what products you need to get this hairstyle

A FEW TIPS…

It’s easy to change the look of your wave as soon as it comes out of the tool and is still hot. For example, I like a more relaxed look around my face, so I will gently pull the hair down to smooth and loosen the wave.

As you style your hair, check the heat setting periodically to make sure the dial hasn’t slid up to high. Often I’ll notice mine has accidentally been bumped up to a higher heat setting, which I definitely don’t want or need on my color treated hair. I keep mine on low.

Beach waves are a great base for other hairstyles too like loose braids, pulling the top half up into a bun, or a high ponytail with beautiful textured waves cascading down. I don’t wash my hair every single day, so styles like these help me get an extra day or so between each shampoo!

WATCH HOW I CREATE THESE BEACH WAVES:

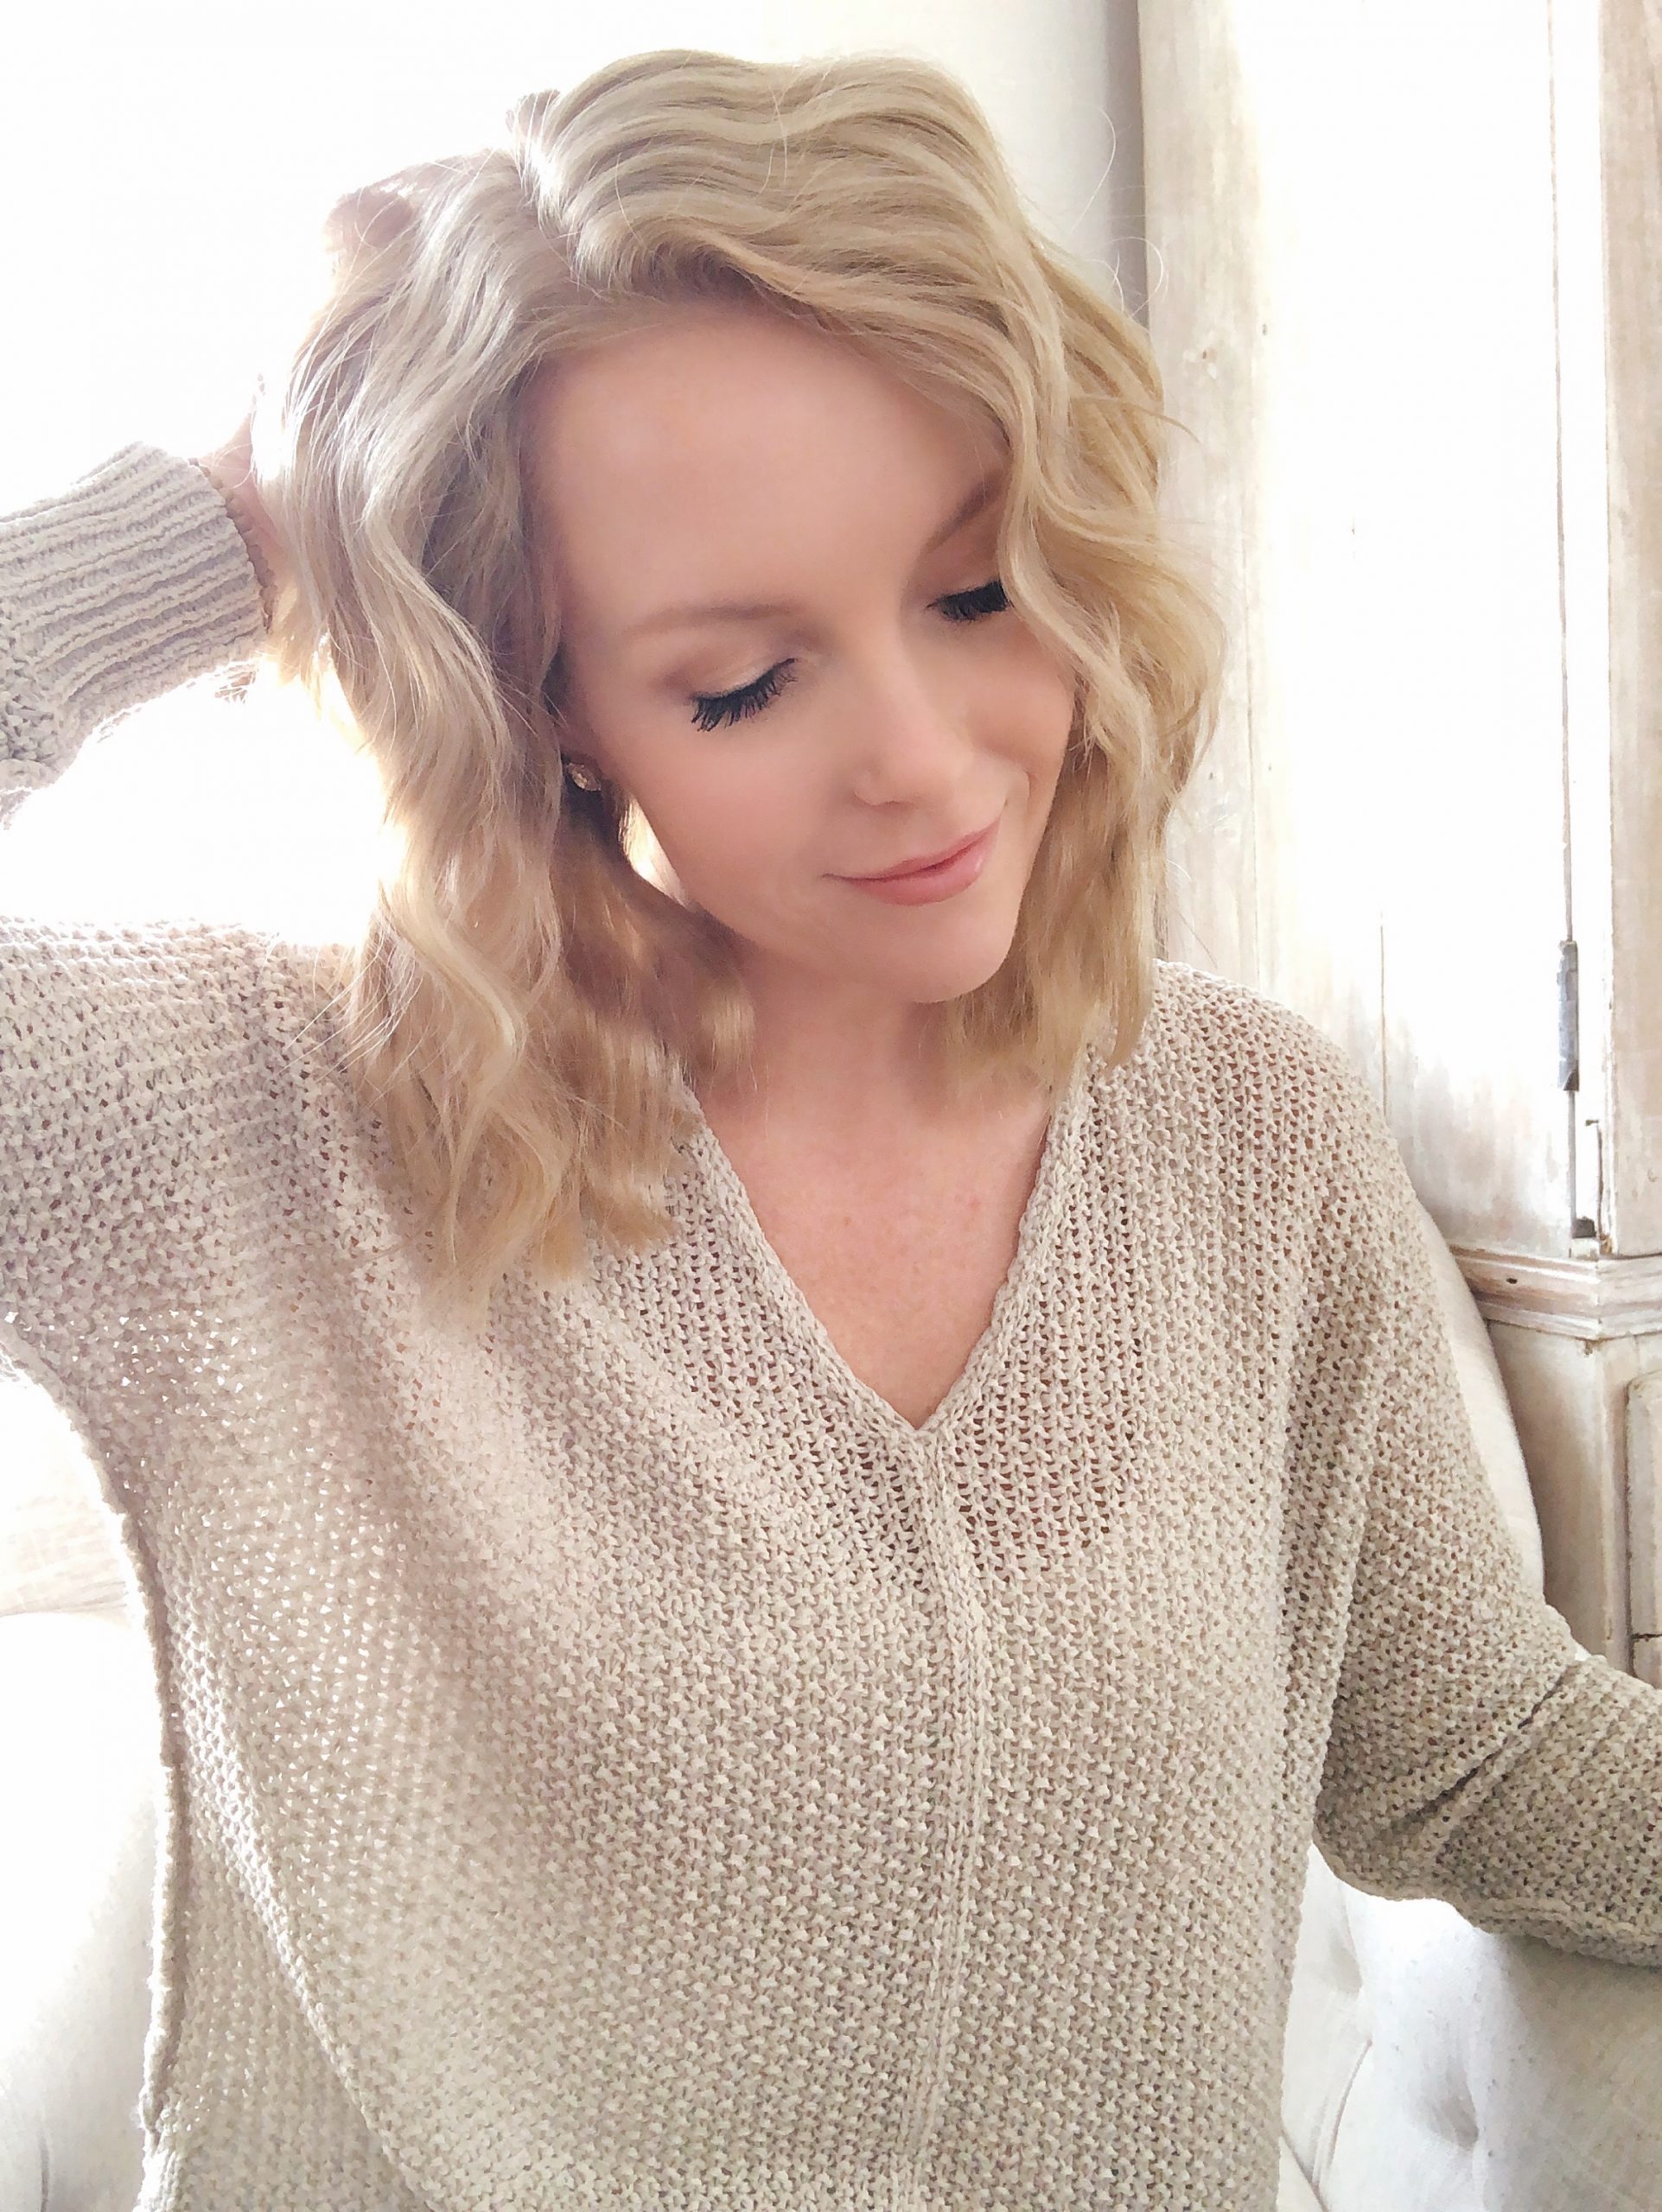
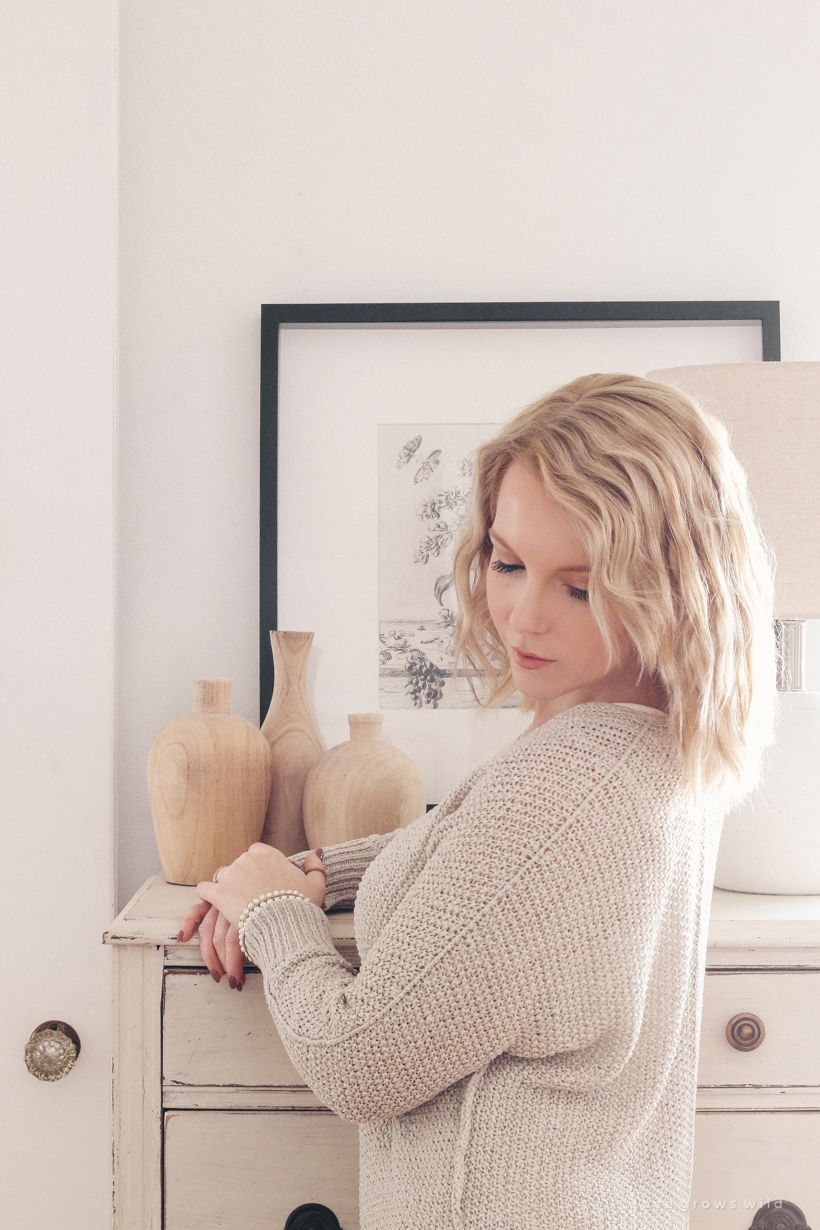
And that’s how I get easy, beautiful beach waves in my hair! I hope watching the video plus having the steps broken down with photos is helpful, and I really hope this gives you some new ways you can style your own hair. If you have any questions, let me know, and I will also be sharing this video on Instagram stories and saving it in my highlights for quick and easy reference, so make sure you’re following me there!

How to get those easy, beautiful beach waves and what products you need to get this hairstyle

Thanks so much for visiting today, sweet friends! xoxo Liz

As always, I sincerely appreciate you shopping through the links I share, which allows me to make a small commission from your purchase while your purchase price stays the same. When you use my affiliate links, I’m better able to create content for this blog as well as support my family, and I thank you from the bottom of my heart for supporting what I do! xoxo Liz


LET’S KEEP IN TOUCH!

Subscribe to Blog | Follow on Instagram 
Follow on Pinterest | Follow on Facebook

Pin
Share
Tweet
Email
Print
by Liz Fourez 
Leave a Comment

About Liz Fourez

View all posts by Liz Fourez

Related Posts

  • Transition your wardrobe between seasons with these white blouse outfit inspirationsTransitional White Blouse Outfit
  • Home and lifestyle blogger Liz Fourez shares how to put together a cozy layered winter outfit with her top wardrobe finds of the season.Cozy Winter Wardrobe Finds
  • The only skin care that fights both acne and agingCurrent Skin Care Routine for Acne + Anti-Aging
  • This natural skin care routine has completely changed the way my skin looks. No more acne, smaller pores, smoother, more even complexion, and I've actually saved money using these simple, all-natural remedies!Natural Skin Care Routine that Saved my Skin
PREVIOUS: Living Room/Dining Room Swap
NEXT: Favorite Spring Decor Finds

Leave Your Comments Cancel reply

Your email address will not be published. Required fields are marked *

W E L C O M E

W E L C O M E

Welcome, sweet friends! My name is Liz, and I started Love Grows Wild in 2012 with a passion for interior design and homemaking and a dream to help others create a home they love.
Here you’ll find simple project tutorials, holiday and entertaining ideas, and my journey renovating a 1940’s farmhouse that I live in with my two boys and French bulldog.
Read more about Liz >>

LET’S CONNECT

FOLLOW ALONG

POPULAR POSTS

RECIPES

TUTORIALS

Categories

Recent Posts

  • The Simple Pillow Formula for Your Sofa! Unsure how many, what size, and what kind of pillows should go on your sofa? Check out my simple formula for a perfectly styled sofa!
    The Simple Pillow Formula for your Sofa
    Decorating and Home, Our Home, Tutorials
  • A small rental home decorated in a cozy beachy cottage style on a budget! Get all the details from home blogger and interior decorator Liz Fourez of lovegrowswild.com
    The Armstrong House Living Room
    Decorating and Home
  • The easiest way to keep your home free of clutter and tidy! Learn more about this helpful tip from home blogger and interior decorator Liz Fourez.
    The Easiest Way to Keep Your Home Tidy
    Decorating and Home, Our Home, Tutorials
  • Get inspired to eat better with this menu of healthy recipes for January!
    Healthy Meal Plan for January
    Recipes
  • Kitchen Curtains + Counter Styling
    Top Blog Posts of 2020
    Decorating and Home

Liz Fourez started Love Grows Wild in 2012 with a passion for interior design and homemaking and a dream to help others create a home they love.  From simple project tutorials, to holiday and entertaining ideas, to her journey renovating a 1940’s farmhouse, Liz demonstrates how to create a beautiful and inviting home with a handmade touch. She turned her signature cozy, neutral style into a best-selling book in 2016 and continues to inspire readers with her captivating photography and easy decorating ideas. Read more about Liz > > > >

  • contact
  • MEET LIZ
  • advertise
  • privacy policy/disclosure
  • Blog
Starting the weekend with a clean (ish) house is t Starting the weekend with a clean (ish) house is the best feeling. Also, going to bed at 9 on a Friday night and that first sip of coffee on a Saturday morning. It’s the little things that are bringing me joy today. 😴☕️☀️

Happy weekend! 

HOW I STORE & ORGANIZE MY HOME DECOR:
link in my profile

https://lovegrowswild.com/2019/01/organize-store-home-decor/
NEW BLOG POST❕Raise your hand if you’ve ever b NEW BLOG POST❕Raise your hand if you’ve ever been frustrated trying to find the right combination of pillows for your sofa… 👋🏻

how many pillows?
what size pillows?
what color pillows?
too much pattern or not enough pattern?
do these colors even go together?
but wait… how many pillows are TOO MANY pillows??

Yep, I’ve been there too!

I hesitate calling what I’m about to share a “formula” because I truly believe there are no right or wrong ways to decorate your home. It’s all about what YOU love. But if you’ve ever gotten stuck or frustrated, here is one of my favorite easy tricks to make styling your sofa a breeze…

>> SIMPLE PILLOW FORMULA FOR YOUR SOFA <<
link in my profile

https://lovegrowswild.com/2021/01/the-simple-pillow-formula-for-your-sofa/
neutral timeless simple a little bit vintage cl neutral  timeless  simple
a little bit vintage  clean

Guess which of those my house is NOT right now 😳🧐

KITCHEN DETAILS
link in my profile: 

https://lovegrowswild.com/2020/02/kitchen-curtains-counter-styling/
Hello, my favorite beach hat. I’ll wear you in t Hello, my favorite beach hat. I’ll wear you in the warm sunshine again one day! My suitcases are looking awfully lonely lately, and I’m getting the itch to take the boys somewhere... ANYwhere. I’d take a road trip and some sunshine and a change of scenery in a heartbeat. Anyone else feeling ready for spring and getting that travel bug?

Share some ideas for safe travel destinations that we can follow all the distancing rules, but feel just a little bit of normalcy again. ⬇️ Where would you love to go this year? (even if all we can do right now is dream about it 😉)

HOW TO PAINT WICKER FURNITURE:
link in my profile

https://lovegrowswild.com/2019/06/how-to-paint-wicker/
The perfect example of design on a budget. I feel The perfect example of design on a budget. I feel like kids go through so many phases of what they do and don’t like as they get older, and we’re often changing the boys’ bedrooms to make them function better as they grow out of each phase (way too quickly, I might add 🥺).

I’m a big believer in teaching kids to be mindful of taking care of their belongings and their home from the time they are little, which is why I don’t worry so much about light colored couches in the living room or white walls throughout the house. BUT kids are also kids, and I design their bedrooms with a much more frugal budget so that if anything gets old & worn or needs to be replaced/repurposed... I don’t sweat the money that was spent!

In this room we used inexpensive pieces from IKEA, Target and Walmart to create a cozy teenage boy’s room, but it definitely doesn’t skimp on style. We’re planning a little makeover again in this room soon, and I’m excited to show you what we have up our sleeves for my now 15 year old... good grief, where does the time go?

You can find all the details of this room here:
link in my profile

https://lovegrowswild.com/2018/11/boys-bedroom-makeover-part-1/
A weird side angle of the living room as proof tha A weird side angle of the living room as proof that a giant TV does in fact exist in here, and we are just a normal family who loves movie nights snuggled up on the couch with the dog & football Sundays with all the yummy food during the game (one benefit of having an open concept living/dining room). I purposely placed the TV in a spot where it isn’t the main focal point of the room and designed the space to draw your eye to other much prettier things like the big picture window just to the left of this photo.

Want to try something like this in your living room? See if you can arrange the furniture so the TV isn’t the main focal point in the room, but still has visibility from the majority of your seating. Try making the focus a fireplace, window, or create a gallery wall with pretty artwork if you don’t have any standout architectural elements!

Just a little tidbit of advice I’ve learned & loved & wanted to pass along... Happy Monday, sweet friends!

LIVING ROOM DETAILS: 
link in my profile 

https://lovegrowswild.com/2020/08/designing-around-a-tv-part-1/
S E E M O R E F O L L O W O N I N S T A G R A M

Copyright © 2021 · Prima Donna theme by Georgia Lou Studios

COPYRIGHT © 2017 · DESIGN + BRAND: BLISS AND TELL BRANDING COMPANY