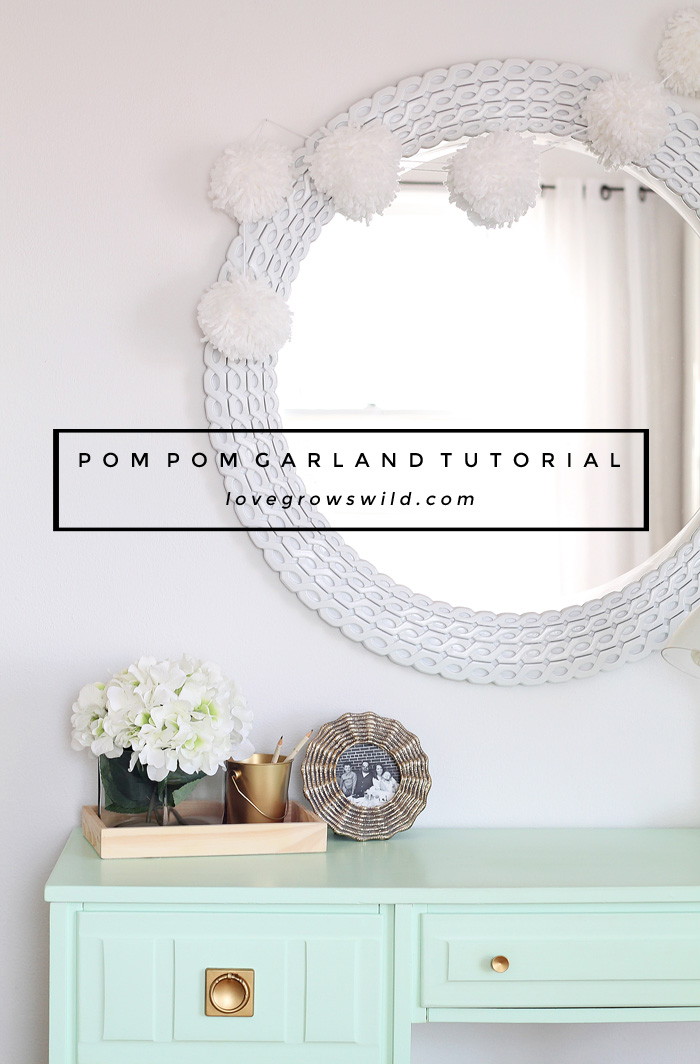
Learn how to make a super-sized Pom Pom Garland! This playful decor is perfect for hanging over mantels, mirrors, bookcases, and much more. Be sure to check out our very first how-to video!
Ch-ch-changes! I mentioned last week that some exciting changes were happening in my office over the next few weeks, but before that happens I thought I’d bust out a little project that’s been on my mind for quite some time now.
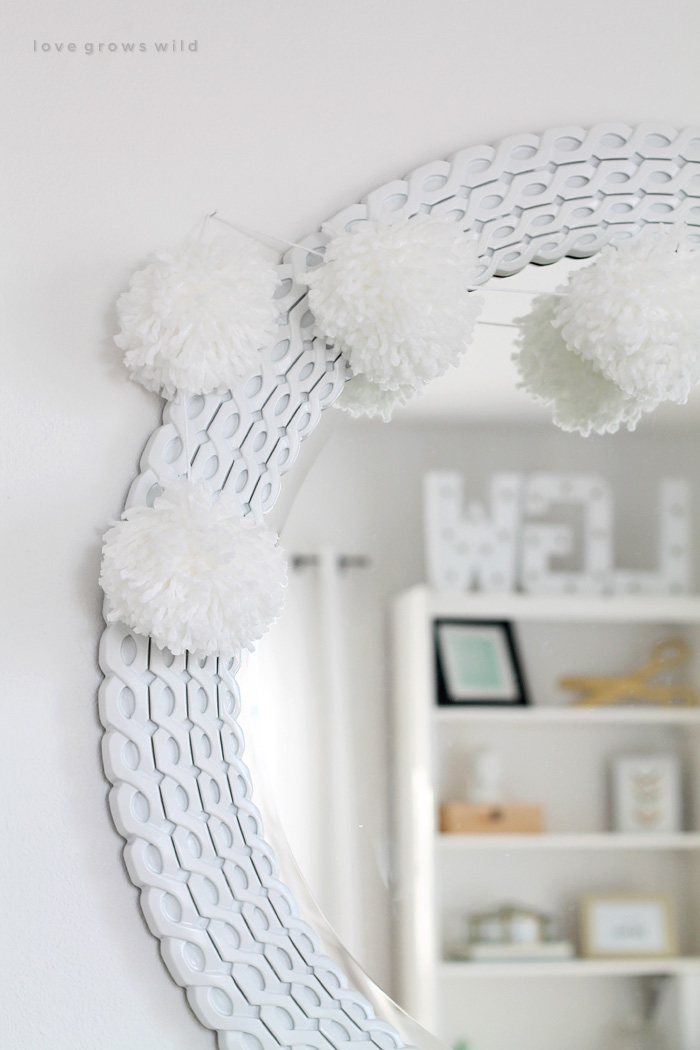
See that circle mirror above my mint desk? She’s a beauty, right? Over Christmas break I picked up a couple skeins of yarn and made a big, puffy pom pom garland to drape over my mirror, and today I’m sharing the tutorial with you! But not just any tutorial… I have my first VIDEO tutorial to share with you!!! Woo-hoo! We’re really hittin’ the big time now, ya’ll!
Just kidding… this is still the same old Love Grows Wild you guys know and love! I’m just trying to find better ways to share my projects with you, and sometimes it’s easier to just show you things with live video vs. snapping a million photos and trying to make sense of my words to put together a written tutorial. There won’t be videos for every project post, but I’ll do my best to add them in when I can!
Oh, and P.S. I totally just had to Google the term “skein of yarn”. I had no idea what the heck to call that!
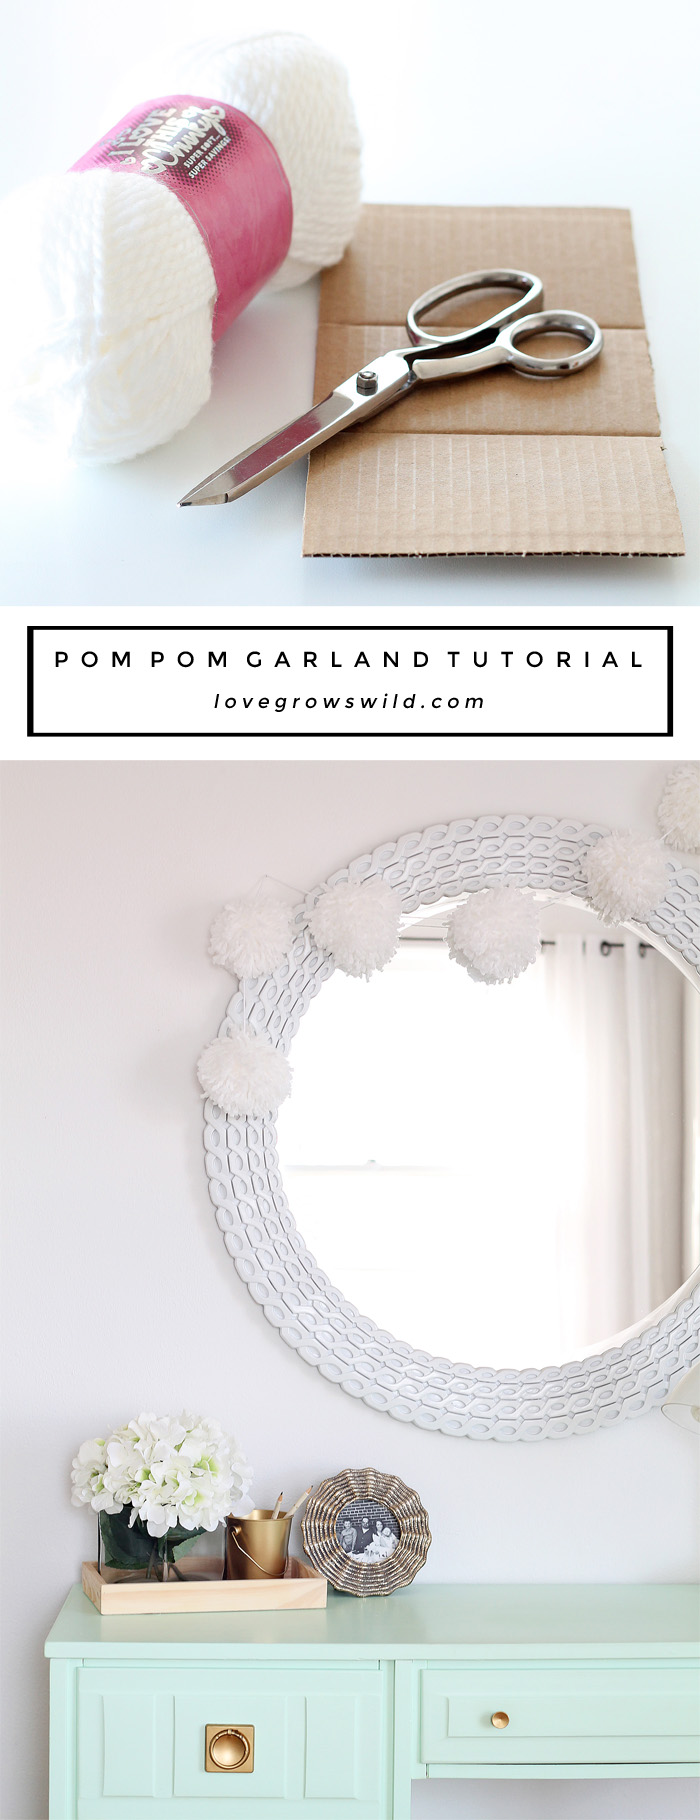
Supplies:
- 2 skeins of yarn (I like the big, chunky kind)
- scissors
- cardboard (cut to 5″ wide)
- yarn needle
Tutorial:
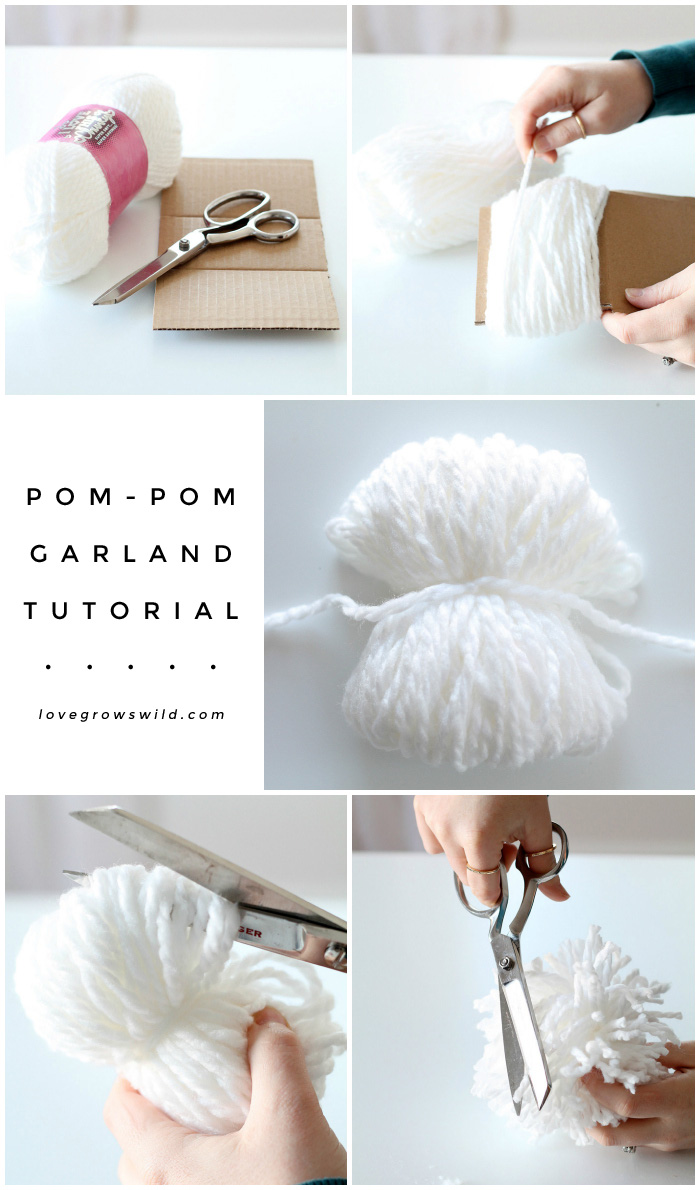
- Wrap the yarn around your piece of cardboard about 100 times. You can shorten or lengthen the cardboard to make a smaller/larger pom pom. You can also wrap the yarn more or less than 100 times to get a more/less full pom pom. I like mine big and fluffy!
- Carefully slide the wrapped yarn off the cardboard. Cut a piece of yarn about 12″ long and wrap it around the middle of the yarn bundle. Tie the piece of yarn in a tight double knot, cinching the yarn bundle as much as possible before finishing the knot.
- Use your scissors to cut the yarn loops you’ve created on both sides of the knot you just tied.
- Once all the loops have been cut, you should have pom pom! The edges will most likely be uneven, so use your scissors to trim any ends that stick out.
As I said before, some things are better watched than read, so I made a little video to show you the whole process. Warning: this video was made on a cold winter day during Christmas break, which means that I never bothered to change out of my pajamas! I apologize for my embarrassing Abercrombie and Fitch tee and striped track jacket you are about to witness. Next time, I’ll dress to impress for you guys. 🙂
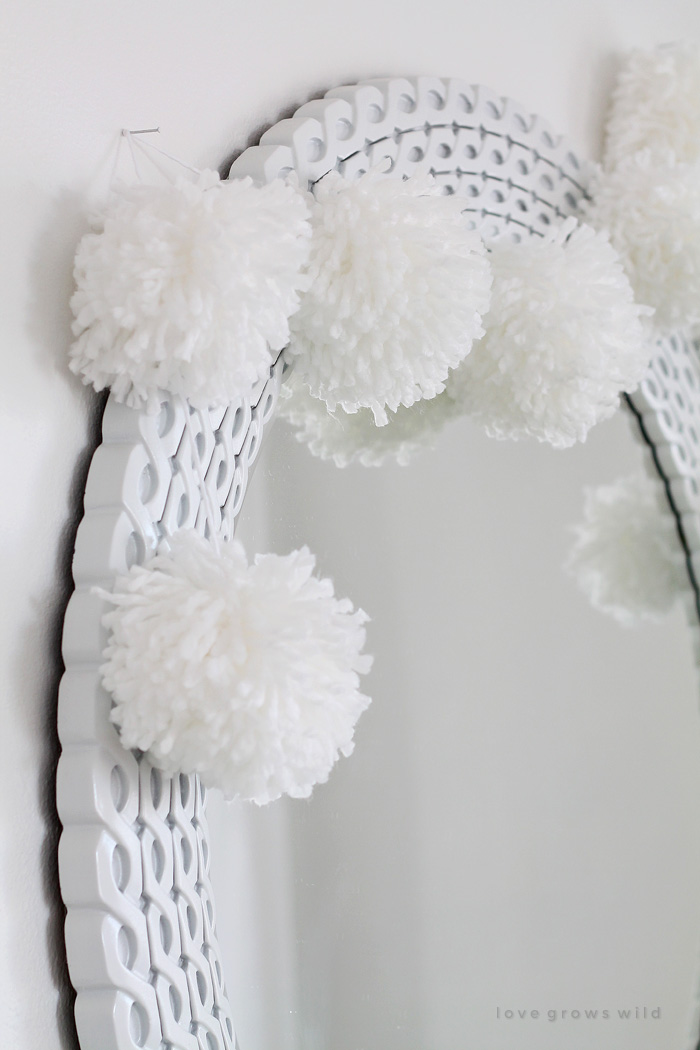
To turn the finished pom poms into a garland, I used a yarn needle to string a piece of yarn through the center of each pom. You can tie little knots as you go to hold the poms in place on the string, but I decided not to in case I want to space them out differently some day. Note: 2 skeins of yarn made about 8 large pom poms, so if you want a longer garland, you’ll need to buy another skein or two.
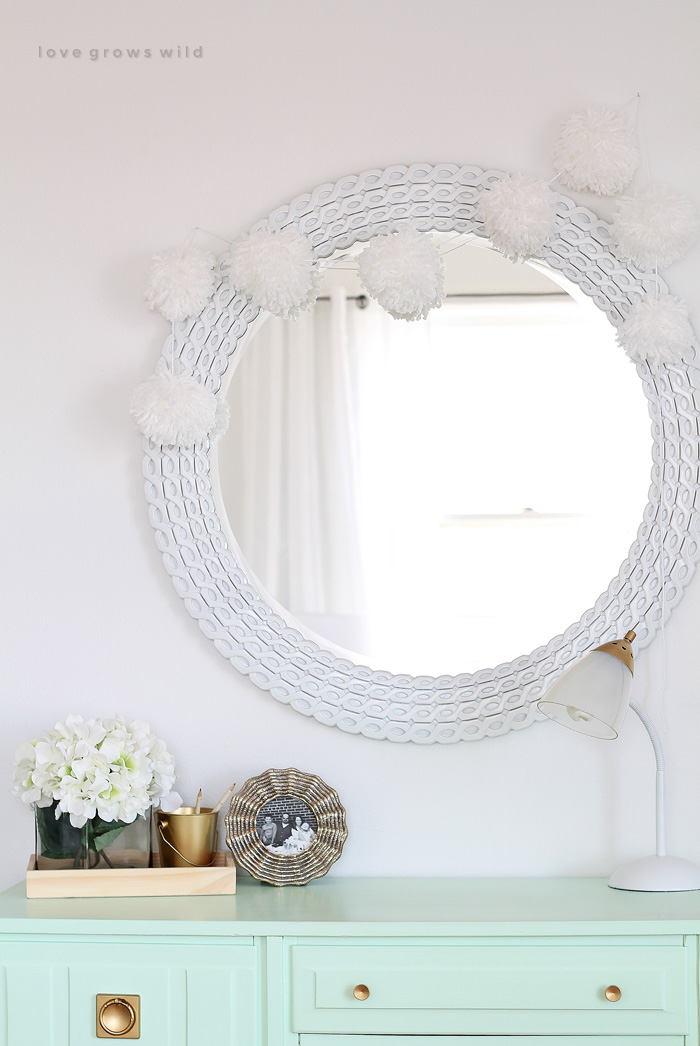
I put two small nails in the wall at varying heights on either side of my mirror and draped the garland across.
I think it adds such a fun, festive, and feminine touch to my little desk area, but staying with an all white palette keeps it from feeling like a little girl’s birthday party.
Share Your Thoughts!
Did you like our first video tutorial?? Would you like to see more of these on Love Grows Wild? Should I ditch the pajamas next time? 😉 And how did you like the pom pom garland idea? I’d love to hear what you think!
Like what you see? Subscribe to Love Grows Wild so you’ll never miss a post!
Follow along on Pinterest, Google+, Instagram, and Facebook for more fun!
Are you making this project? I’d LOVE to see it! Post a photo of your creation on Instagram and use the hashtag #MyLGWProject. It may just get featured!
Don’t leave yet! Check out these projects:
DIY Rustic Industrial Chalkboard
LET’S KEEP IN TOUCH!
Subscribe to Blog | Browse my Shop | Follow on Facebook | Follow on Twitter
Follow on Google+ | Follow on Pinterest | Follow on Instagram



OMG! You are sooooo organized! I used to make these kinds of pom-poms from leftover yarn, and used a paperback book for my thingy to wrap it around. PB books are usually about 5 inches across, and about a half inch wide, so the poms were probably a little larger than yours. The poms came out like rainbows, multi-colored, and were lots of fun as embellishments to mittens, wool stocking caps, boot cuffs, etc. Never once thought of making a garland; super great idea!! BTW, I’m a southern gal, and we never had skeins of yarn — we had “hanks” of yarn. LOL! Mama would say, “need to remember to pick up a couple of hanks of yarn to finish that sweater…”
Genius… a paperback book would be the perfect size!! And I might have to start using “hanks” of yarn in my vocabulary instead of “skein”. Way more fun to say! 😉
Great video, thanks. Going to do that with my girlie for her birthday party. Oh, and I wouldn’t have noticed the attire had you not said. The video quality was excellent and the music was a great touch. No need to change a thing!
Yay!! Thank you so much, Tammy! Doing my first video for the blog was a little nerve-wracking. 🙂 I hope you and your daughter have fun making these for her birthday party!
Hi! We used to make pom poms like these when we were kids all the time! They are so fun! Love this project!
I love when projects bring back that sense of nostalgia for people! Thanks for stopping by, Rebekah!