
I’ve spent most of this spring working on projects in our living room, but I’ve been itching to get outside and work on our outdoor spaces too. Do you remember our patio makeover from last year? Just a few simple updates like new throw pillow covers, a couple potted plants, and some simple decor accents transformed the entrance to our home into a fresh, inviting, summer-inspired space!
One project I never had the chance to tackle last year was adding some extra outdoor seating, and I knew a simple wood bench was exactly what I wanted to finish the space. With a simple design and just a few supplies needed, this easy DIY Outdoor Bench can be made for around $16! Let me show you exactly how I made it:

Bench Dimensions: 4 ft long x 12 3/4″ wide x 17 3/4″ high
Supplies:
1 – 12 foot 1 x 4 (cut into 3 – 4 foot pieces)
1 – 12 foot 1 x 4 (cut into 2 – 47″ pieces and 3 – 10″ pieces)
2 – 4 foot 2 x 3 (cut into 4 – 17″ pieces)
2″ deck screws
clamps
drill
weatherproof paint or stain
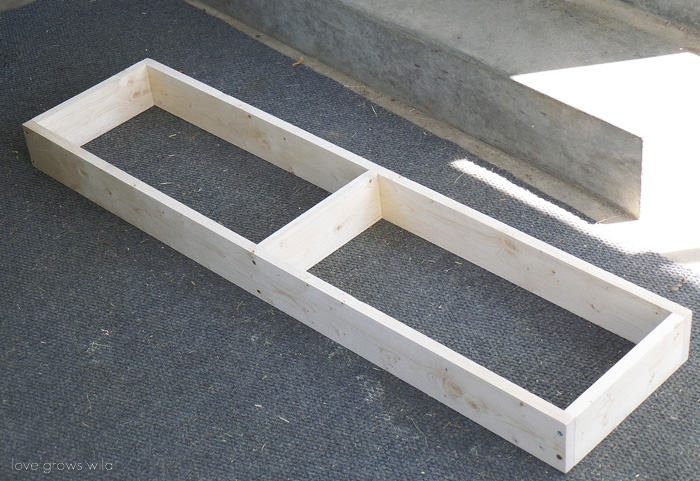
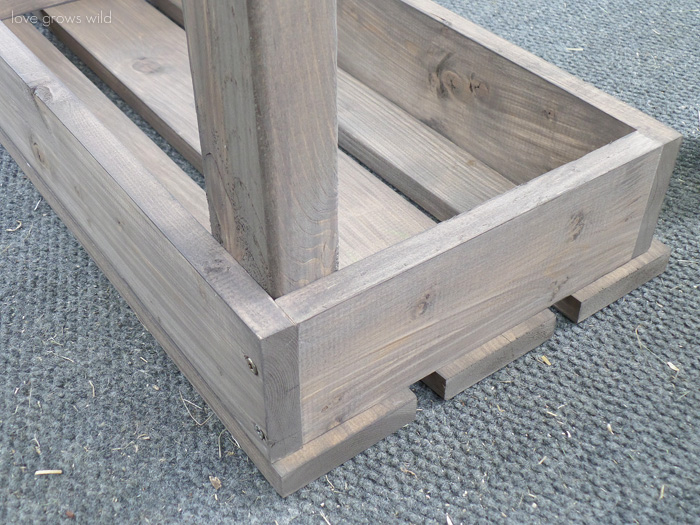
Step 1: Build the frame for the top of your bench, using 2 – 47″ pieces and 2 – 10″ pieces to create a rectangle. Use corner clamps to hold the frame in place and drill two pilot holes in each corner. Add a 2″ deck screw in each hole and countersink so the screw sits flush with the wood. Then add the last 10″ piece to the center and screw that into place.
Step 2: Paint or stain your frame and remaining boards with a weather-proof stain.
– I used Cabot Semi-Transparent Stain in Spanish Moss.
Step 3: Place one of the 4 foot 1 x 4 pieces on top of the frame, leaving a 1/2″ overhang on either side of the frame. Place the other two 1 x 4’s on the frame, using a scrap 1 x 4 piece as a spacer between the boards.
– You’ll notice I chose to set the first 1 x 4 flush with the edge of the frame so it will sit flat against a wall. This is a personal preference!
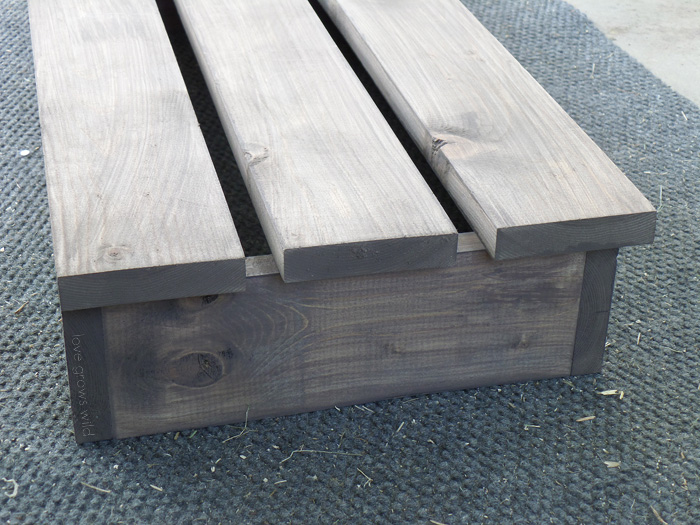
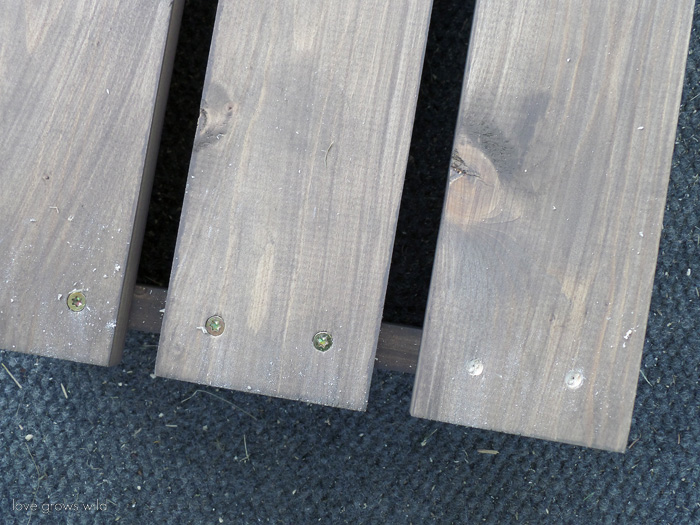
Step 4: Pre-drill two holes on both sides of each 1 x 4 board and add a 2″ decking screw countersunk into each hole. At this point, the slatted top part of your bench is complete!
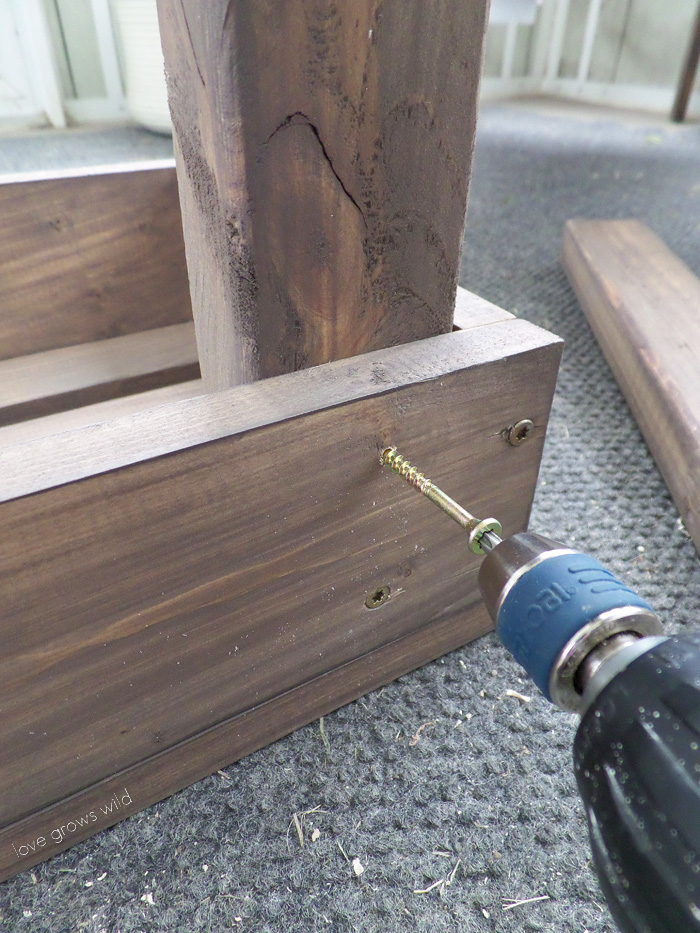
Step 5: Flip the bench frame upside down and place one of the 2 x 3 posts in each corner as the legs of the bench.
Step 6: Again, pre-drill and countersink two screws into each leg, through the bench frame.
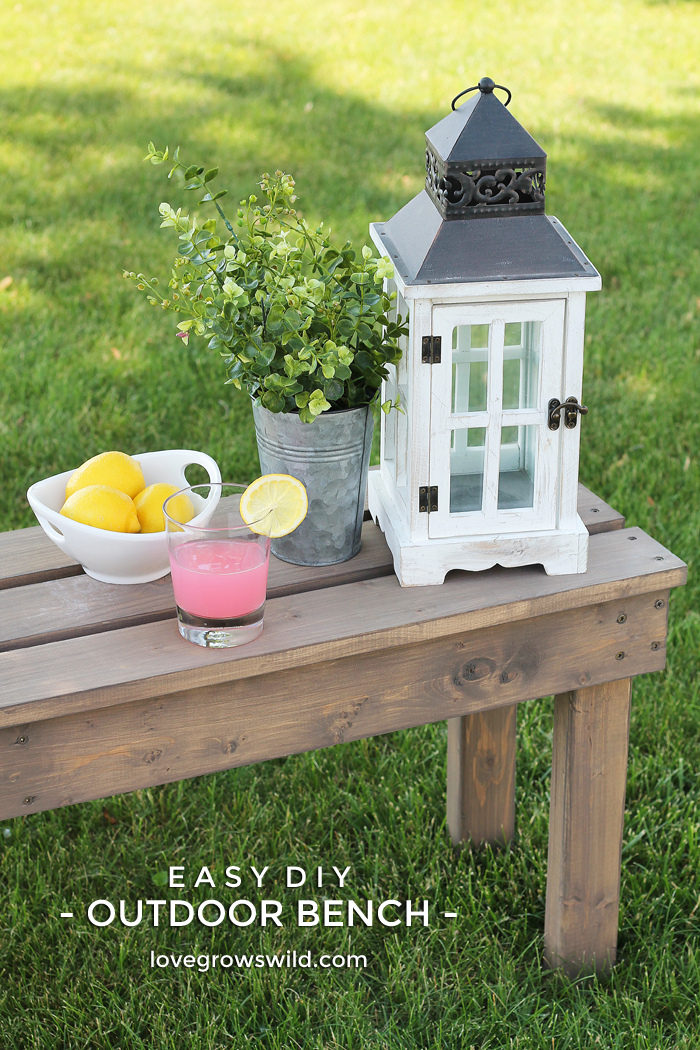
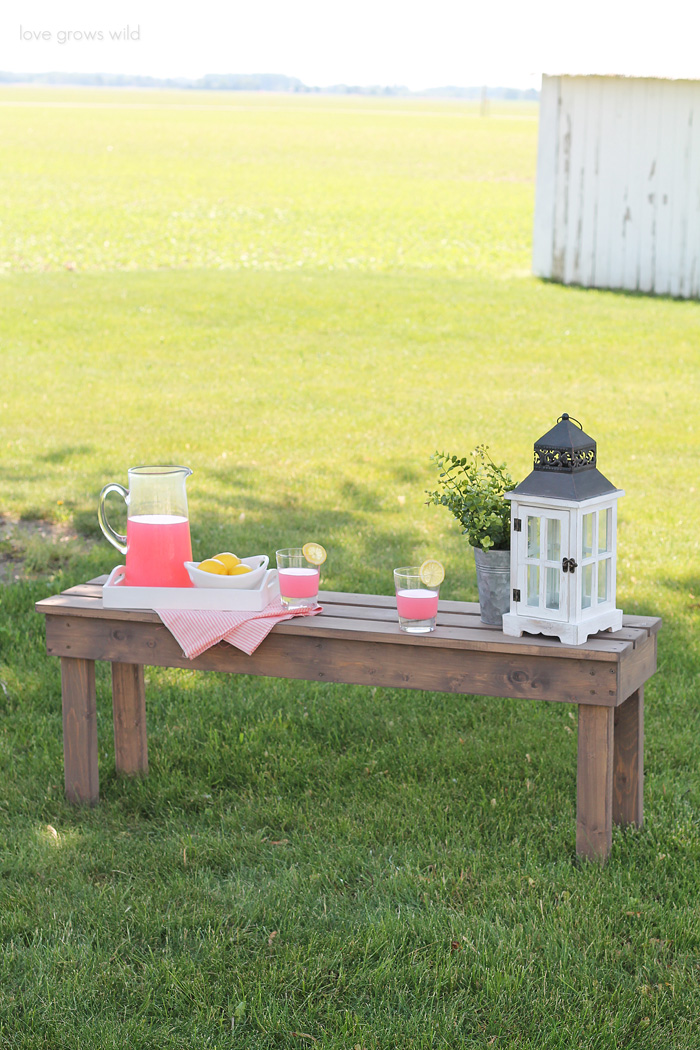
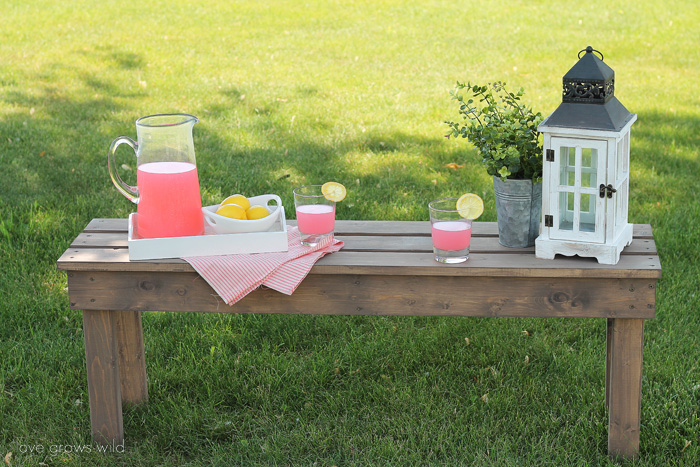
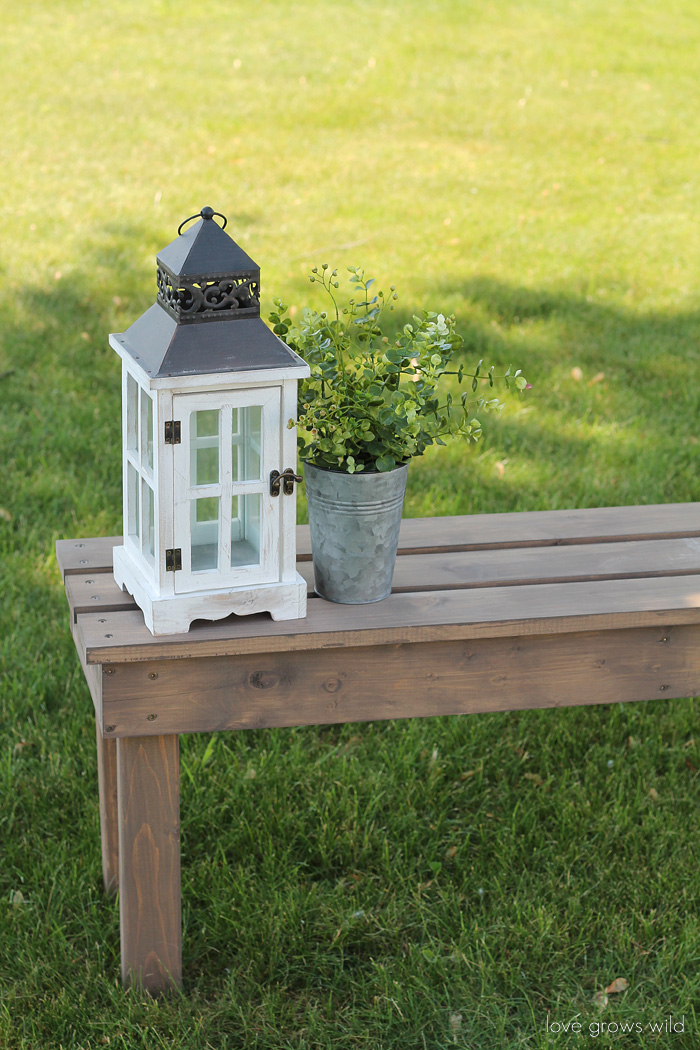
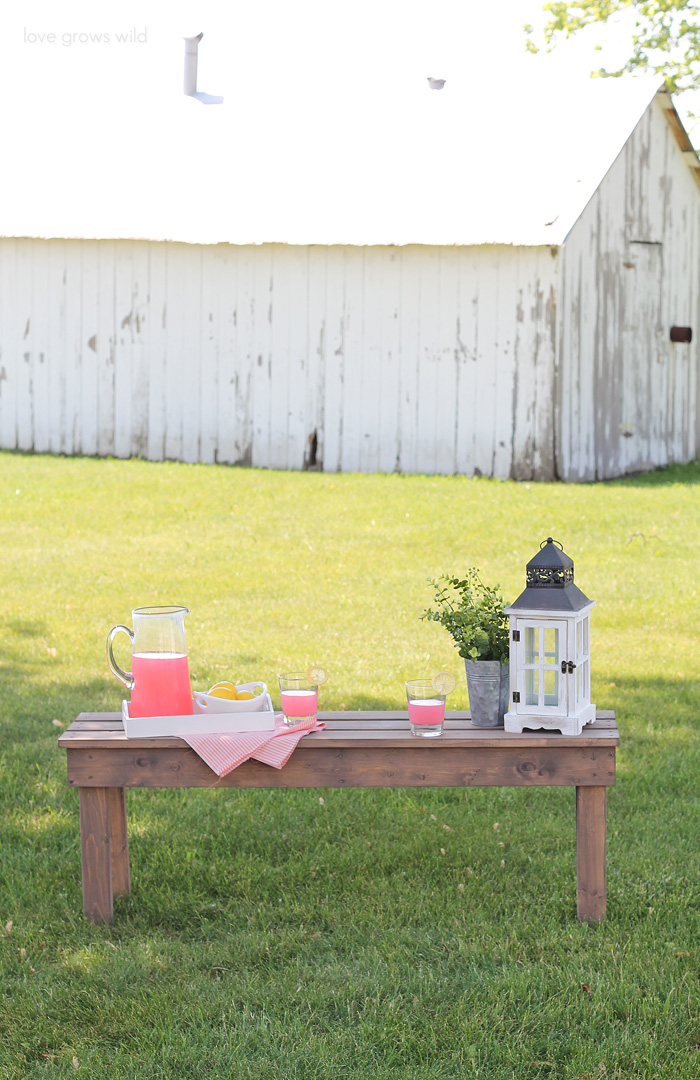
And now your new bench is complete! Want to know how much this gorgeous wood bench cost me to build? It was less than $16 for the lumber and deck screws! What a steal, right?? Take a look at this sweet set-up I created in our backyard where we can come to relax and enjoy a cold, refreshing drink…

Of course, any new piece of furniture has to pass the “child test”, and my little guy, Wyatt, decided this bench was the perfect size for him. And since I used a weather-proof stain on my bench, when he spills his ice cream cone or has a popsicle dripping down his arms, I can easily wipe down the bench to get rid of any stickiness. Love that part!
I have this bench sitting underneath the windows in my breezeway at the moment, but we’ve carried it outside for extra seating around a bonfire too. It’s a great, easy project that will add lots of beauty to your outdoor space this summer! Want to use this bench indoors? You can do that too! You just won’t need to worry about using a weather-proof stain on the wood. I hope you enjoy this project as much as I did!

So tell me what you think! Do you think this is a project you could tackle? Where would you put a wood bench like this?
– Adapted from a project at Engineer Your Space
Like what you see? Subscribe to Love Grows Wild so you’ll never miss a post!
Follow along on Pinterest, Google+, Instagram, and Facebook for more fun!
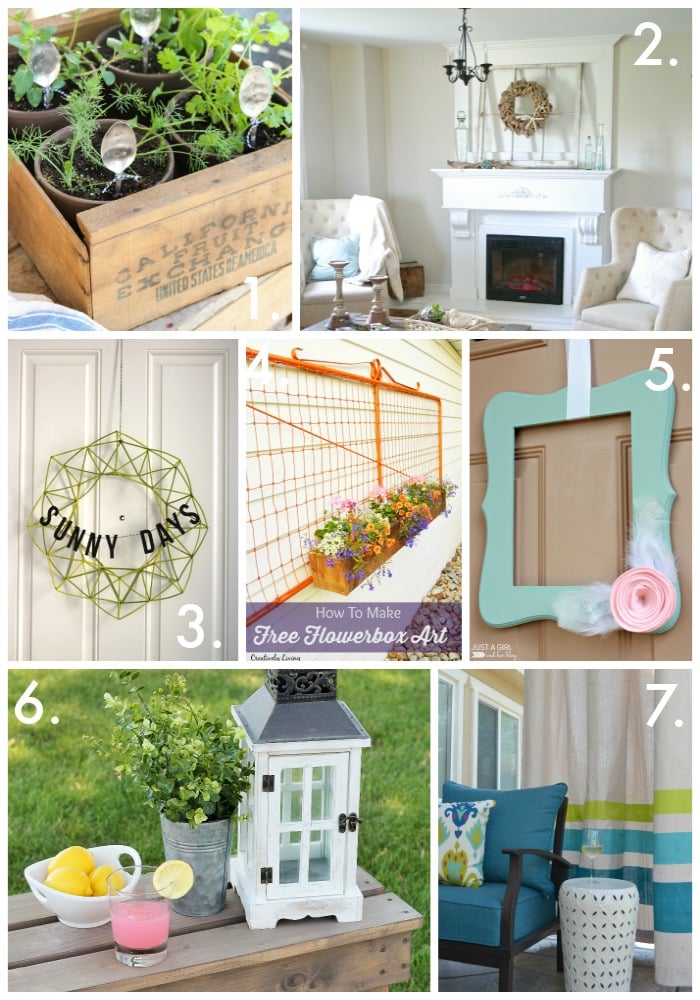
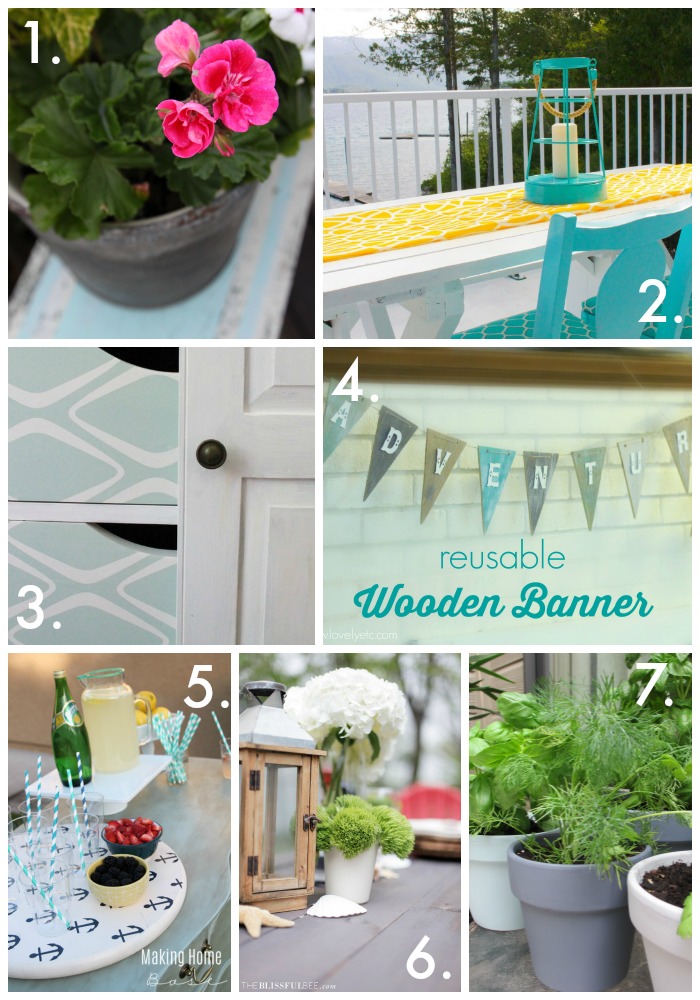
I’m so excited to team up with 20 amazing bloggers this week to bring you some beautiful summer-inspired projects and a GIANT Summer Celebration Link Party on July 12th! Be sure to check out some of the other summer projects below, and join us tomorrow for the party!

Here are even more ideas to kick off your summer in style:
LET’S KEEP IN TOUCH!
Subscribe to Blog | Browse my Shop | Follow on Facebook | Follow on Twitter
Follow on Google+ | Follow on Pinterest | Follow on Instagram

I can’t even tell you just how much I love this AND………how pretty your view is. Love the golden glow in these shots. What a fun hop- I’m just loving all these ideas.
As much as I’ll complain about living out in the boonies sometimes, it really is a beautiful place to live. And the old, chippy white paint barns we have on our property happen to make beautiful photo backdrops. 🙂 Hope you’re getting some fun ideas for the new house!
Wow! I’m so impressed you made it for less than 16 dollars! It looks great!
Isn’t that a steal?? Even if you had to buy the stain too (which I had on hand), it still would be so inexpensive to make! Love projects that don’t break the bank. 🙂
So lovely! The photos are gorgeous, too. You did a beautiful job!
Thank you so much, Brandi! Luckily the weather cooperated for me so I was able to get some good shots! Excited to have you over here at Love Grows Wild!
WOW, Liz. The bench turned out beautiful!!! Looks way more than $16! Love everything you styled on top of it as well <3
YAY! I’m thrilled to hear you say that, Amy! Thank you! Keeping the cost under $20 made me super happy, especially with all the gardening and landscaping I still need to do this year! I’ll get to it eventually, right? Lol!
I LOVE this, Liz!! The stain is absolutely gorgeous – I’ve never tried Cabot stain before but after this I’m totally going to check it out. I imagine lots of summer afternoons spent on that pretty bench! Enjoy!! Thanks for sharing 🙂
I was very pleasantly surprised after picking out the Cabot stain for some flower boxes we made this year. I wanted something weatherproof, so the deck stain was a great option, and I couldn’t be happier with that gorgeous gray weathered wood look! Very excited to have some extra outdoor seating this year too!
Wyatt looks adorable on the bench and I love love love how it looks in front of that barn! Great work!
Awe, thank you, Jen! My little ham, Wyatt, definitely knows how to work the camera. And his Momma too, for that matter. Lol! He was definitely awarded a popsicle after finishing his “photo shoot”. And those old white barns are one of the my favorite parts of this house!
Liz, this looks super easy to make! I will pencil it on my list! Pinning too;-)
Thanks for the pin, Aniko! And yes, it was a really simple build and perfect for beginners! I know you could totally tackle this! 😉
This bench is great. We have a screened in back porch that this would be perfect for.
That sounds perfect, Emily!
This is such a great project Liz. And for less than $20 bucks! Gotta love that. I love the stain color you used. It looks so natural (and your little one is a cutie too 🙂 It was so much fun doing this blog hop with all you talented ladies.
Thank you! That stain color is quickly becoming my favorite for outdoor projects! And I agree, it was a blast seeing all the ladies’ creative ideas!
Liz! Such a beautiful bench! I can’t believe it only came in at $16! Amazing. It was so fun being on this “hop” with you! Have a great night!
~Abby =)
Thank you, Abby! I’m so glad we all connected for this fun “hop”!
What a beautiful project! I love the finish on the bench. 🙂
Thank you so much, Bethany! Isn’t that a beautiful weathered wood look?
I LOVE this Liz – great tutorial, I am definitely going to make some – they would be perfect around the fire pit!! Thanks – pinning and sharing:)
I was just telling my husband that we should make a few more benches for around our fire pit! Too funny! Great minds think alike. 🙂 Thanks for the pin, Krista!
It seems you have the perfect yard for that bench as well.
We’re lucky to have a big yard with a few nice, old sheds on the property. One of the many reason I enjoy living out on a farm!
Love your outdoor bench! So pretty! I saved this post for future reference! 🙂
Thank you, MariaElena! I think you’ll love working on this project!
LOVE the bench, Liz! It’s fabulous! 🙂
Thank you, Shayna!! 🙂
Love it Liz! I need to build a few of these!
Thanks, Rebecca! 🙂
This came out so great! I would say I want to try it but I know the boy would not allow me around power tools 😉
Haha! Add it to the “honey do” list?
Wow, looks great Liz! Love how you styled it too 😉
Hugs,
Jamie
You are too sweet, Jamie! Thanks for stopping by! 🙂
Wow! Very nice bench, I will try your steps.
I made a more compact version of this for our smaller balcony. It’s a little slimmer and I wedged left-over blocks between the legs for more stability (with wood glue).
I love this, Liz. This will be my first ever wood project. This may be a dumb question but I went to Home Depot today to buy wood and there were so many choices of wood that I wasn’t expecting. What type of wood do you recommend – oak, cedar, etc? Thank you! I am so excited to try this and hope it’s a success so I can try more of your beautiful projects.
Hi Susan! You’re totally right, tackling the lumber section can be very daunting at first! I use pine for most projects… it’s inexpensive and easy to work with. I hope this helps! Best of luck to you!! 🙂
Can’t believe I wasted 17 pages of print just to get the directions to this bench. Please make it easy for people to print the directions without having to print everything! By the way, it is a beautiful bench and that’s why I wasted my paper but I could have written the directions down faster. Oh well…life is full of challenges but the rewards are sweet.
Thanks a lot, I used this for my eagle project in boy scouts and the design is simple and very sturdy. One change I made was to use 2 inch treated wood so the wood did not rot or break over heavy weight.
Thanks for the design!
That’s fantastic, Gaurav! Way to go!
Did you use pine wood as well? Any idea what the weight capacity is?
Thanks
I love the classic lines of the re-jiggered bench. and of all the benches you show in the photos, this is my favorite.
Hi thanks for the tutorial! I’ve never built a thing in my life but I just finished your bench and it turned out really nice! So thanks! Took me 3 hours but I had trouble learning how to drill, I want to make two and I think I could get the next one done in half the time now!
Do you have any idea what the weight limit would be on this bench? Want to make a few for our patio but want to ensure 2 adults can sit on one without concern.
Thanks for posting this. Made a bench for my laundry room based on your design. It was exactly what I was looking for and pretty simple to build. Yeah!
approx. how much stain would you need for this project? without having to buy a whole can, would a sample size of 8 oz. be sufficient?
Hi Richelle! A little bit of stain goes a long way, so I would say for this bench the 8 ounce can would be fine. You really only need to apply a light layer to get the desired color!
Thank you for sharing your garden bench build guide. I have just finished making this for my daughters den. I made a bit of a bodge job getting the top frame straight so it’s a little warped. But as they say, a blind man would be pleased to see it. My daughter and her friends are very pleased with it. Thank you.
Will be building 2 benches for an indoor dining room table. This bench looks strong enough to build at a 6-7 foot length. Might add a set of legs in the middle. This is in the running for what will be built. Thank you for sharing this.