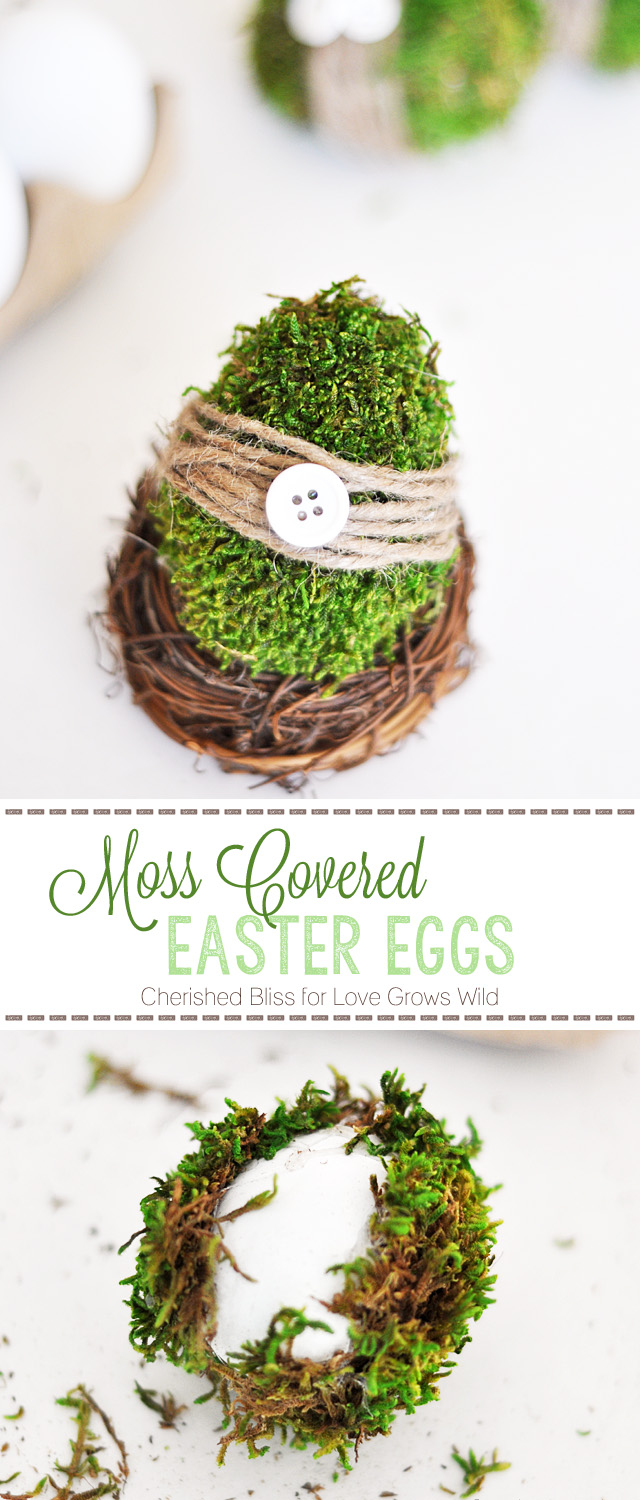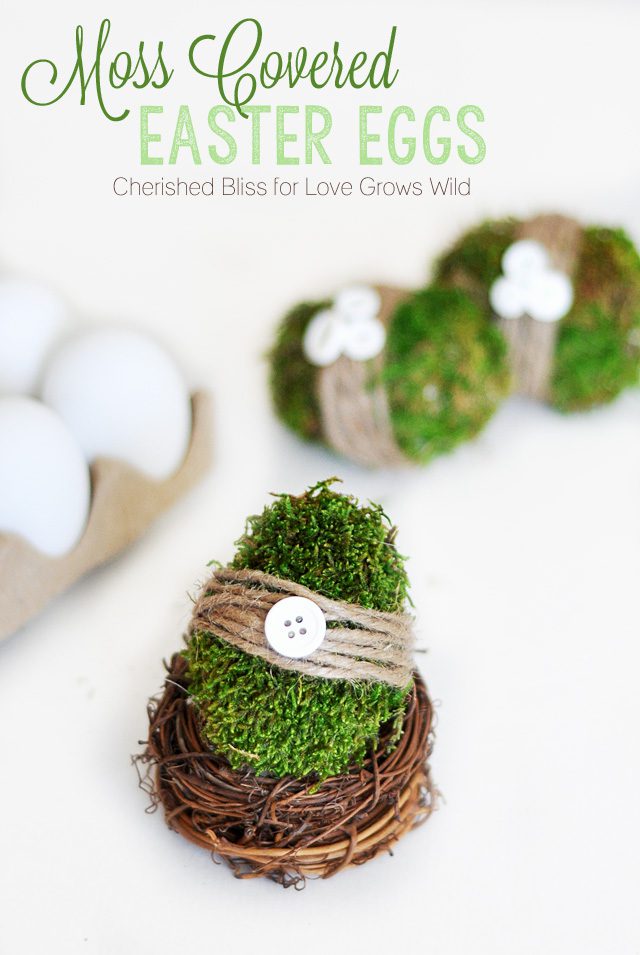
Hello again friends! It’s Ashley from Cherished Bliss, and I am so excited to welcome Spring in a few days! Even if the ground is still covered with snow here in Wisconsin, I figured it would be fun to get some Spring Time projects up in my house! I’m not huge on holiday crafting (other than Christmas) mainly because I just don’t have the time. I mean let’s be real here… I still have my Christmas Decor on my piano (shhh, don’t tell). I took it down, but I just haven’t had a chance to put it away and add in some universal decor to get me through spring and summer. I really like to be able to change up a few accessories during this time rather than my whole decor, so these Moss Covered Easter Eggs are just perfect for me and my piano decor.
Looking at these eggs makes me long for green grass and colorful flowers! Spring is almost here and I really can’t wait! So let’s make some eggs together to welcome this wonderful season! Time to get out your crafting supplies and have a little fun!
Supplies
– Moss
– Hot Glue Gun
– Plastic Decorating Eggs
– Twine
– Buttons
– Scissors
Tutorial:
Let’s get started! This is a little bit of a messy project with the moss, so you will probably want to put something under your work area. Lots of dirt will fall off so just keep that in mind ; )
First, tear off some little pieces of the moss. We will be gluing it onto the egg in these pieces, so you can try and shape it to fit on the egg, but don’t worry too much, because we will fill in the gaps later ; )
Once you have some pieces torn, apply some hot glue to your egg and press the moss in place. Continue filling in the holes until the egg is covered. If you have any little gaps, I just took some of the pieces that fell off, added some glue, and pressed it into those gaps.
Once you have it all covered up, and the gaps filled, you can take your scissors and give your egg a little haircut removing any stray strands of moss. Don’t throw these clippings away, because they work great to fill in those little spaces on your other eggs!
You can leave your eggs like this, or you can add twine and buttons like I did. I just wrapped the twine around and added a little dot of hot glue to keep it from unraveling. Then hot glue the buttons on. Easy Peasy!
I hope you enjoyed this little tutorial! I would love to have grab a cup of coffee and stop by the blog to say hi, I’ll have my cup : )
If you are looking for some more Spring/Easter Decor Ideas, you can click over to download these Printables, just add a frame!
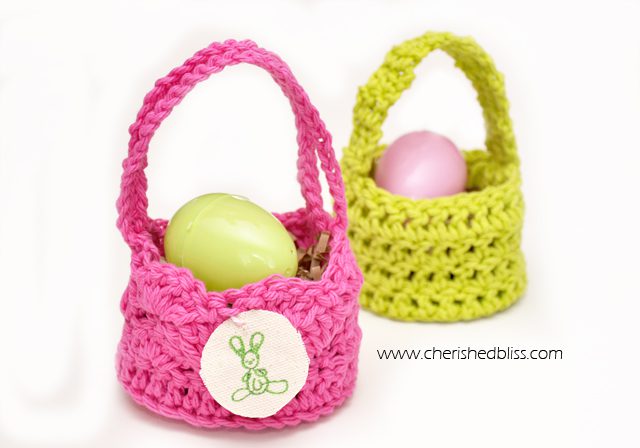
And if you are a crocheter you can these cute little baskets for your new eggs! I’m thinking about crocheting some of these in twine!
Have a beautiful day, see you next month!
Connect with Ashley:
Blog | Facebook | Twitter | Pinterest


Totally love this fun easter craft Ashely and Liz. Just went to target today and saw a bunch of cute egg decorations, but this one is better by far! LOVE IT. 🙂 Pinned
I have totally been steering clear of Target for just that reason! I can’t help but fall in love with all their cute stuff! But these moss-covered little cuties Ashley made blew my mind. Love them! Thanks for the pin, Krista!
So cute! I must ask where you purchased the eggs for this project. I’ve never seen that type before. Thanks!
Aren’t those cute, Kellie? Ashley said she got them from Walmart, in the Easter section. I’m going to have to go check those out!
Those eggs can be found at walmart.
These are the cutest things ever! I love the moss! 🙂
Adorable right? Thanks for stopping by!
These are ADORABLE!! So cute and I love your photos…
Ashley did a fantastic job on these cute little eggs! Thanks for stopping by!
GORGEOUS! I am totally in love with these eggs, Ashley!
They’re gorgeous, right? Ashley comes up with the cutest stuff! Thanks for stopping by, Kim!
They looks so beautiful-It looks like the sort of craft I could cope with too!
My weekly Say G’day Saturday linky party is on now and this post would be a perfect addition. Please stop by if you have a minute and Say G’Day!
Best wishes,
Natasha in Oz
Thanks so much, Natasha!
Oh my gosh, Ashley! These are killing me, they’re so dang cute! You’re so creative!
Isn’t she awesome? I definitely need these colorful, mossy eggs in my house this spring! Thanks for stopping by, Allison!
I’m so smitten with anything covered in moss and these are just too adorable! I love that you added the twine around them, as well. Please stop by and share at our link party going on now, if you’ve not yet!
http://www.delineateyourdwelling.com/2014/03/link-it-or-lump-it-party-no-30.html
Thanks so much, Amy! These turned out super cute!
Love these eggs! They are so fun! Great idea to cover with moss!
We would love for you to come link up Mondays 8:00am EST at Your Designs This Time.
http://www.elizabethjoandesigns.com.
Isn’t that clever? I love how Ashley finished these eggs! Thanks for stopping by, Emily!
How stinkin’ cute?!?! You’ve got more patience than me, friend!! I’ve tried the moss covered doo-dads and get so frustrated!! Ha ha!! But yours looks beautimous!! Just perfect!! Thank you for linking up at our Monday Funday Party!!
Moss can definitely be tricky to work with, lol! Thanks for the sweet comments, Candace! So glad you could stop by!
Suzanne of Simply Suzannes at Home
So so so pretty! I love the moss!
You did a beautiful job :0)
Thanks so much for sharing.
Have a great week,
Suzanne
Thank you so much, Suzanne!
Loving this tutorial on the Moss Easter Eggs… this Season I’m keeping it Simple and Organic and this will be perfect for that Goal! I’m a Maximalist attempting to Minimize and Simplify, so I could use all the Help I can get in the way of ideas to go in that direction! *winks*
Blessings from the Arizona Desert… Happy Spring… Dawn… The Bohemian
Glad you enjoyed the tutorial, Dawn! Thanks for stopping by!
These are very clever and look great so nice to see something a bit different.
Crafty Chic
Thank you, Maria!
So pretty! I have moss leftover from another project so I’ll definitely make some of these. Thanks for sharing this adorable project!
You’re so welcome, Virginia! Have fun with this project!
Those are so cute and so easy. They look Easter-y and Spring-y w/o being overly “cutesy” :).
I totally agree, Kim!
I am so gonna make this!! LOVE
Thanks, Tracy! Have fun with your project!
Totally making these tomorrow! So cute!
You’ll love them, Tami!! Have fun crafting!
Love this! How about the little nest. Did you make that too? If so, do you have a tutorial?
I believe you can purchase those little nests from craft stores! They would most likely be around the floral section. I hope this helps1
Just found your mossy egg idea on Pinterest–such a great little project for Spring! I have fillable plastic colored eggs that have the overlap in the middle (not cute ones like yours!)–the moss will cover that seam up very nicely. Can’t wait to get started! Thanks for sharing–I’ve pinned it to my Spring/Easter board.