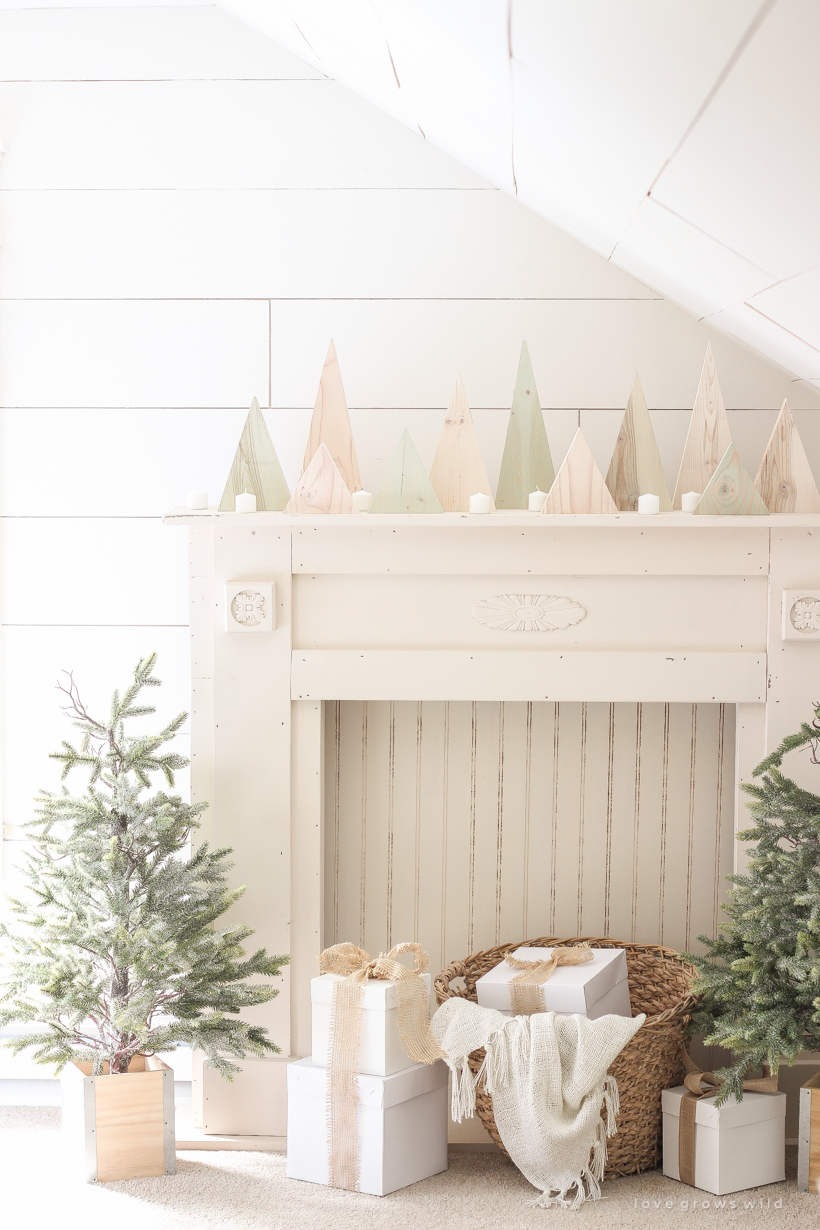
In partnership with Minwax // Do you remember the mantel I decorated last year in my bedroom for Christmas? It had such a pretty vintage vibe with big snowflake ornaments hanging from a pinecone greenery garland and a vintage photo hanging on the wall above. I absolutely loved the way that mantel turned out and wasn’t sure which direction I was going to go this year. But as soon as I started working on a little project I’ve had in my head for these Scrap Wood Christmas Trees, the color palette immediately started to take shape, and I think I might love this look even more than last year.
It’s soft and simple with the prettiest green and white colors, and I am so excited to share this super simple Christmas DIY project with you today. If you have piles of scrap wood leftover from past projects like I do, this is the perfect way to make use of them and decorate your home for the holidays! And if you don’t hoard scrap wood like I do, you just need to pick up one board from the store and a few basic tools to complete this project!

Scrap Wood Christmas Trees
project cost: free
SUPPLIES:
scrap wood – I used 2 x 6 boards
tape measure
saw
sander
finish of choice – I used:
Minwax Water Based Pre-Stain Wood Conditioner
Minwax Water Based Wood Stain color: White Wash Pickling + Driftwood
Minwax Water Based Polycrylic
STEP 1
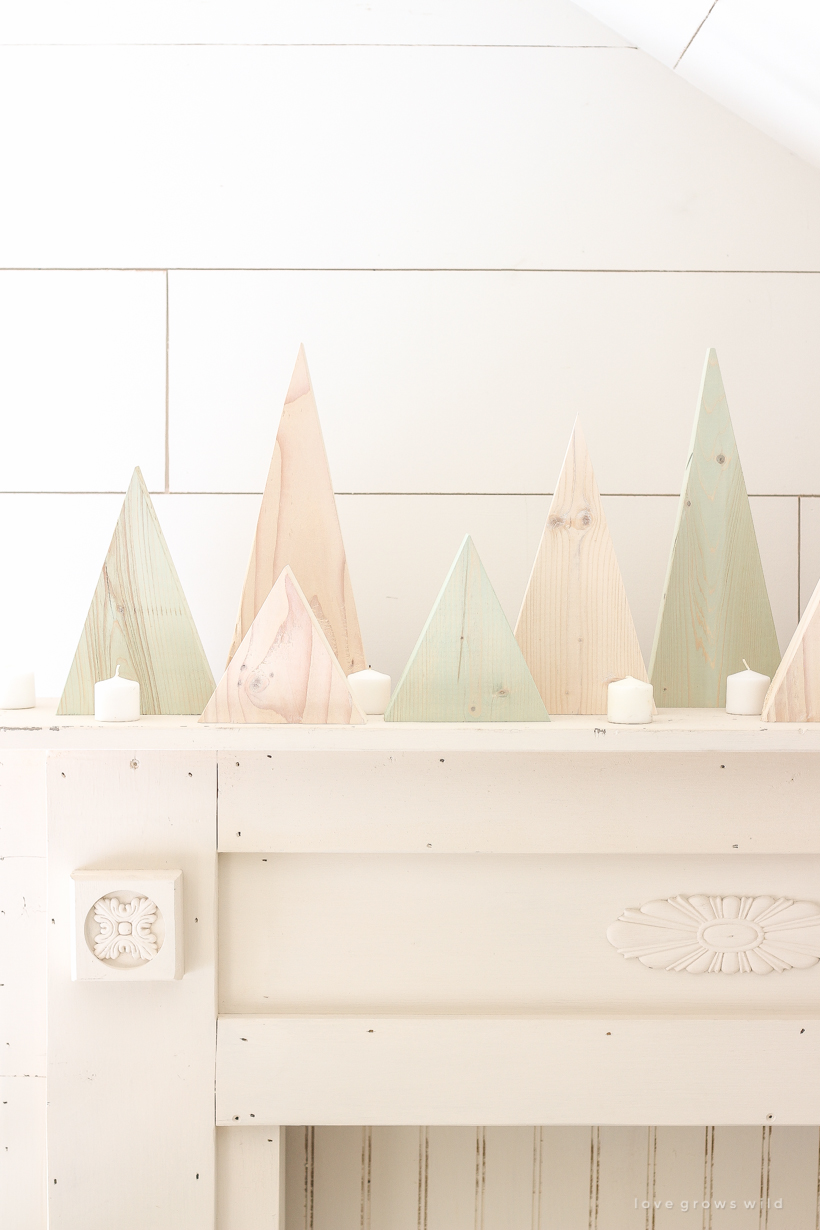
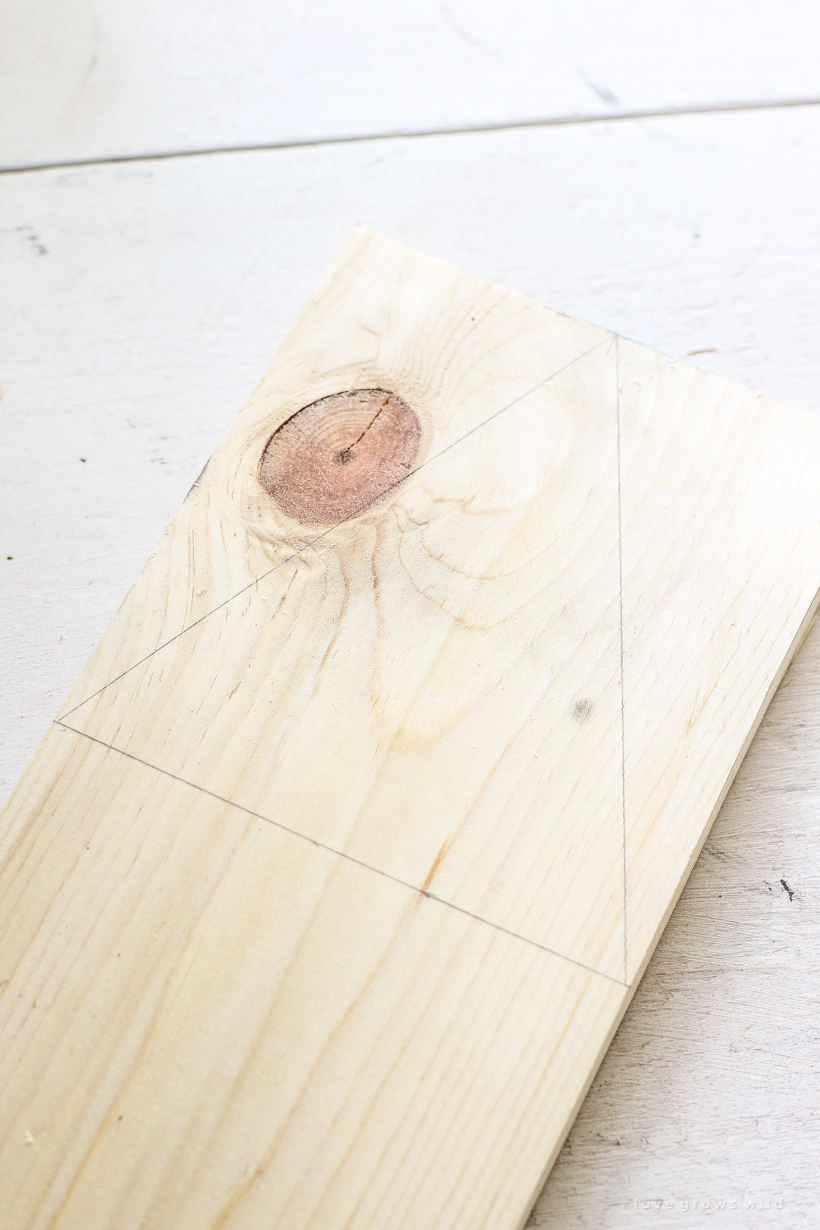
Cut pieces of scrap wood to varying lengths using a saw. I cut mine to 12″, 10″, 8″, 6″, and 5″. Make a mark in the center of one end, and use a pencil to draw a triangle. Cut the wood on the lines you drew to create a simple triangle Christmas tree.
– I used 2 x 6 boards because the thicker 1 ½” material is more sturdy and stands better than 1 x boards that are only ¾” thick. But you can use any kind of scrap wood you have!
STEP 2
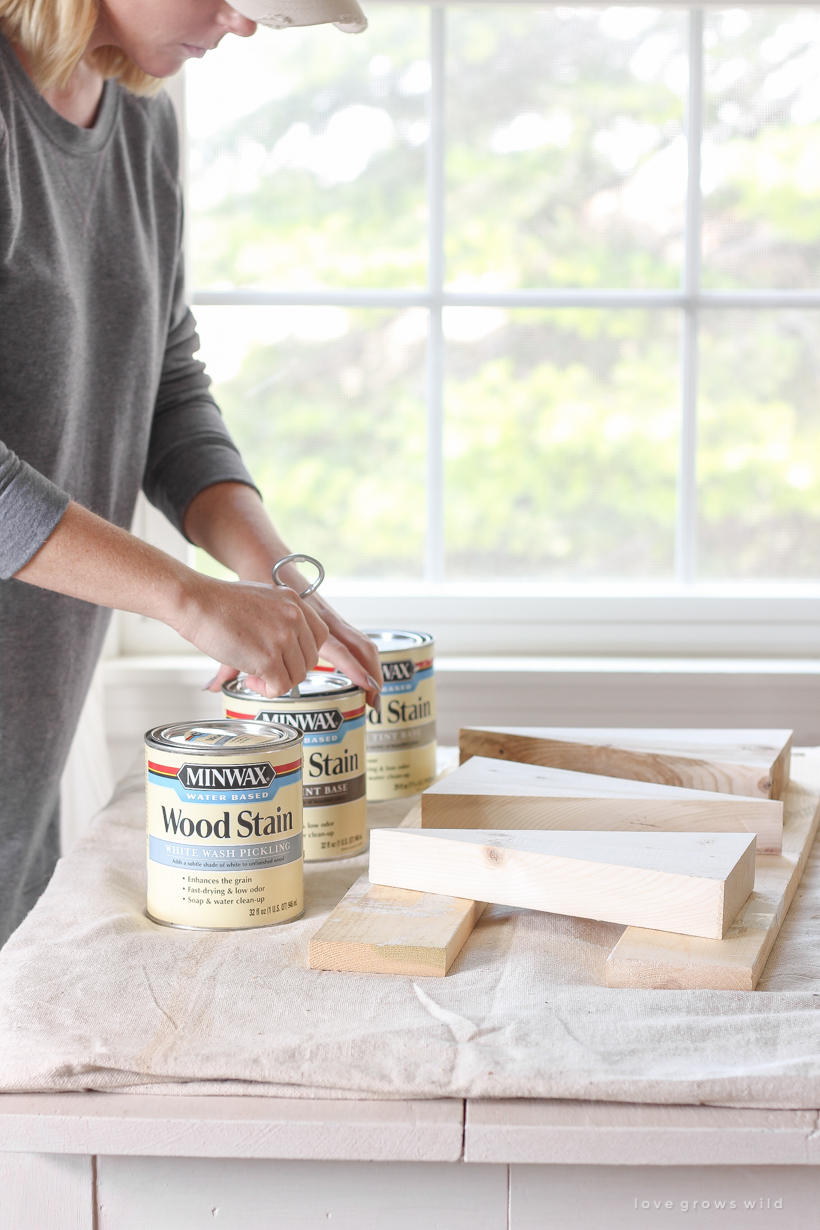
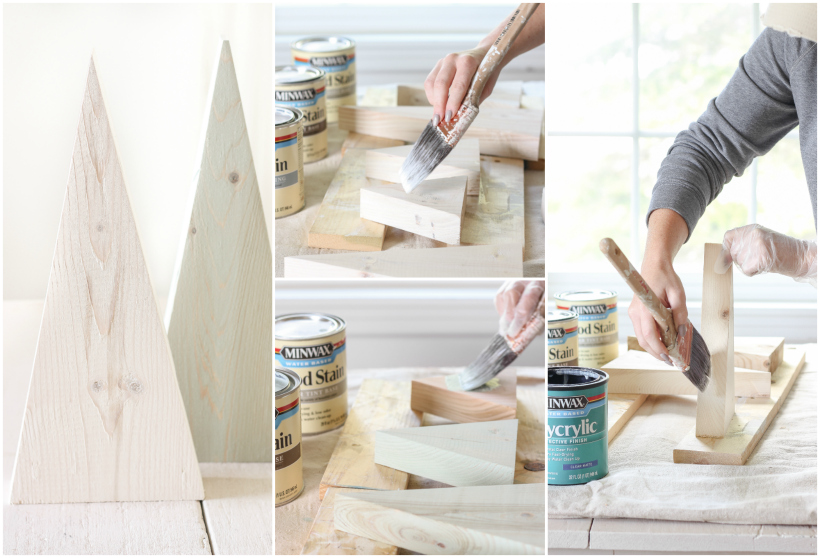
Sand all sides of your trees until smooth, and wipe them clean. Apply Minwax Pre-Stain Wood Conditioner to the trees, and allow it to penetrate for 1-5 minutes before removing any excess that has not soaked into the wood with a clean rag. The conditioner helps the stain soak into the wood more evenly and prevents any blotchiness or streaking.
Next apply Minwax Water Based Wood Stain in the color/s of your choice, and allow it to penetrate the wood no longer than 3 minutes. It is very fast-drying, so you will only want to do one or two trees at a time! Wipe the wood with a clean cloth to remove any stain that has not soaked into the wood. I chose to stain these trees rather than paint them so you could still see the beautiful wood grain, but have a soft hint of color. The water based stains are perfect for that! After 24 hours you can apply a thin coat of Minwax Water Based Polycrylic (I used the clear matte finish) using a brush.
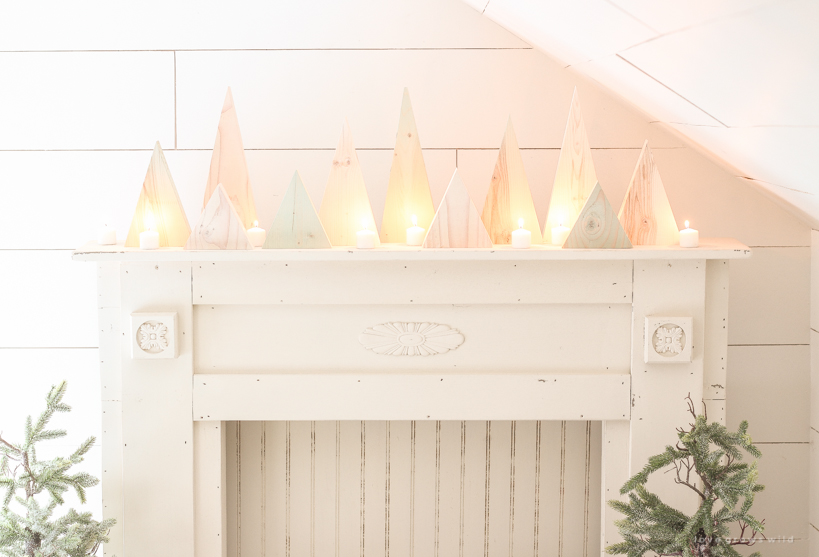
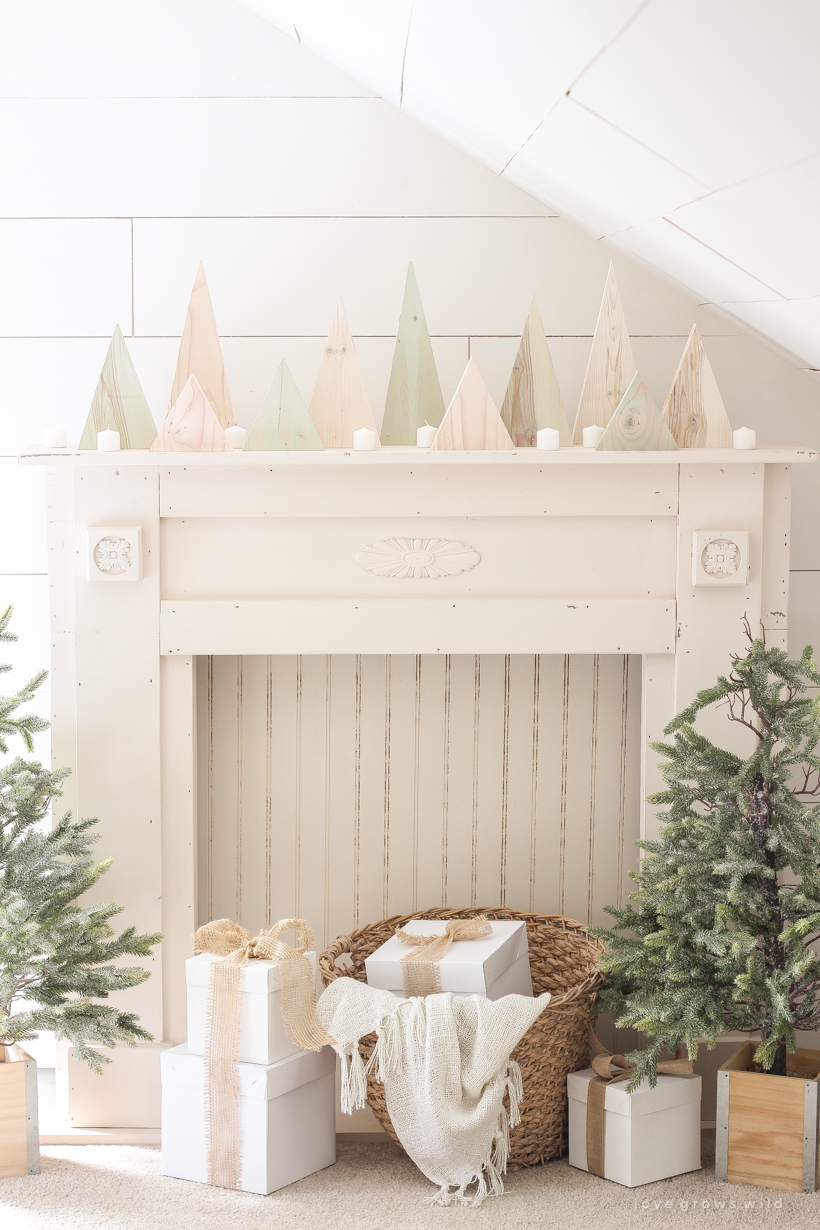
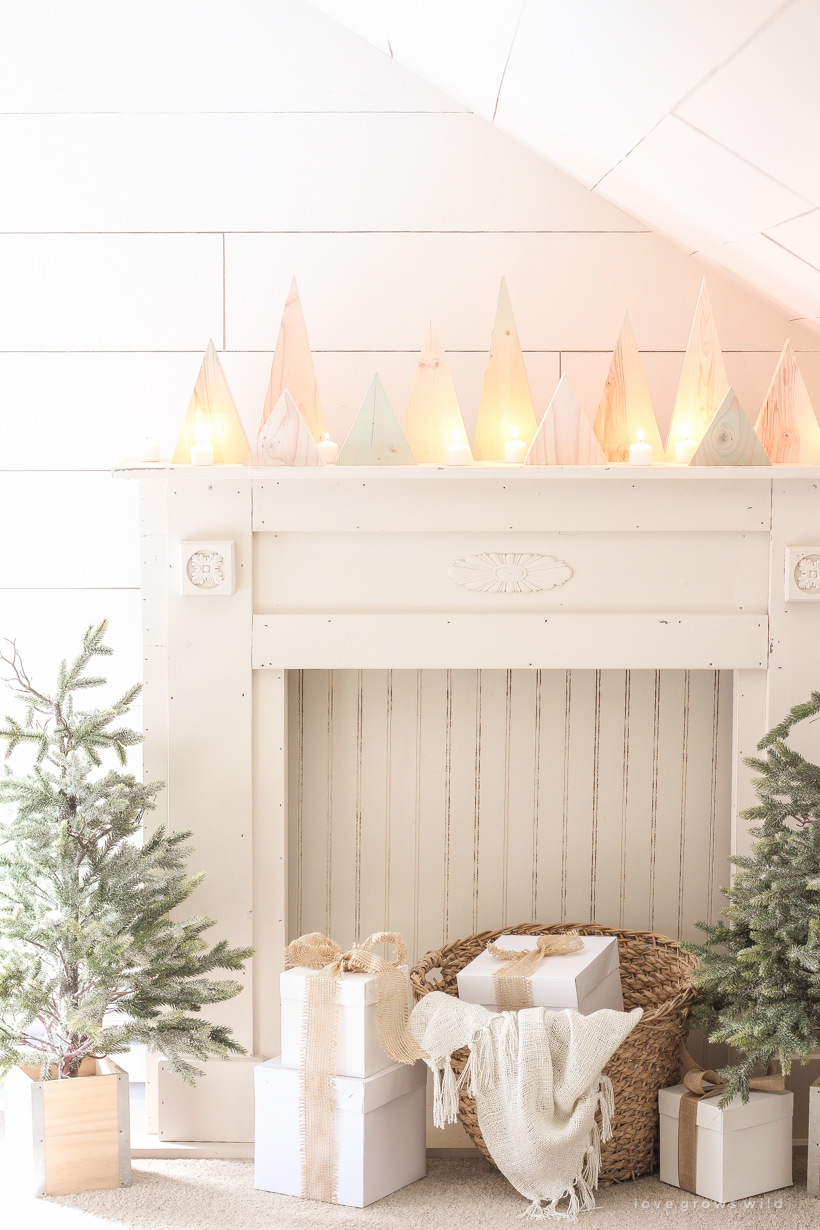
After the finish is completely dry, you have a whole forest of sweet, little Christmas trees to decorate with! I knew I wanted these scrap wood trees to go on the mantel in my bedroom, and I love the soft colors and silhouettes they create. The white wash pickling stain is the perfect creamy white color to soften the yellow of the wood, and the driftwood color is a really unique gray with a lot of green undertones that is perfect for a Christmas themed project.
I just love this simple look for the holidays, and a few white votive candles scattered around the trees on the mantel was the perfect finishing touch. I am so excited to continue decorating for Christmas now!
I partnered with Minwax on this post, but as always the thoughts and opinions shared are 100% my own. Thank you for supporting our blog and brand partners!
I’d love to hear what you think of this Christmas mantel look! Do you have any scrap wood you could use to make trees like these? Stay tuned for more holiday decorating coming soon. Thanks for stopping by today, friend! xoxo Liz


what a great idea!!! loved them!!!
Liz,
You are very talented. The trees look very festive and are simple to make.
Happy Holidays!
Brian
Oh I absolutely adore this project! It looks soooooo nice in green with your faux fireplace that I have loved since you showed us the first time.
Gorgeous – and fun. I love Minwax products and didn’t know about the pre-stain conditioning. I sooooo need to look into getting some. Thanks for the inspiration!
What a simple and totally cute idea! I love your homemade touch in so much of what you do. It’s you; it’s clean; it’s not too colorful (I like monochromatic, or maybe some would say “more boring” color palettes); and lots of it can be done inexpensively. Although I like the farmhouse look in some decorating–like what your showcase-I lean toward the traditional look for my own home. You do inspire me to be creative and your site has helped to to come up with the best decor for my family room shelving decor I’ve put together in years–and guess what? ….it’s a not-too-colorful palette. Thanks for your inspiration and heart into your blog! I always look forward to your posts!
Gotta go get a board NOW! This is so stinkin’ cute and easy!. Thank you so much for the inspiration.
I DO have spare wood lying around. This is such a simple and beautiful Christmas decoration. I love it!
Thank you!
I love how this all came together! So calming and beautiful. Even better that these are homemade. Your ideas are endless and awesome. Thank you so much for always being so generous with them. ♥️?
How perfect! I love all things homemade. How incredibly adorable are these trees on the mantel. And, how inspiring to show that you can make something budget from items around the house. Perfection!
I’m still confused as to how you got the colors
I used the colors White Wash Pickling for the white + Driftwood for the green tone in Minwax’s water based stains to achieve these colors!
Love!! Can I make these using a miter saw?
Absolutely! I used my miter saw! Just be extra careful with your fingers when making some of the smaller trees. 🙂
I LOVE the trees! Simple and beautiful!
I made these last year. And made some designs with moulds in some forms with wood caulk. I glued them on and painted them white, distressed them. Using them again this year. One of my favorite things.
I love them…the total simplicity!! The muted colors are perfect. Oh, the mantle itself is beautiful! My next project! TU for sharing…another neat craft!❤️