A complete step-by-step guide to painting your bathroom vanity cabinet, helping you transform your space with tools, tips, and techniques to achieve a flawless, durable, professional-grade finish.
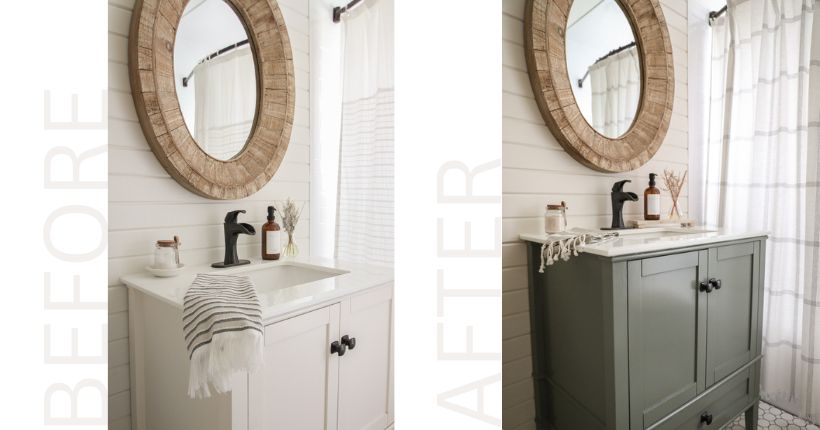
One of my projects on this year’s to-do list was to paint and update our bathroom – the only one we have in this house. For almost a decade, the bathroom has been completely white from floor to ceiling. To some, that may sound crazy, but I actually love the bright, clean, airy feel this space has always had, especially with the light pouring in from the window.
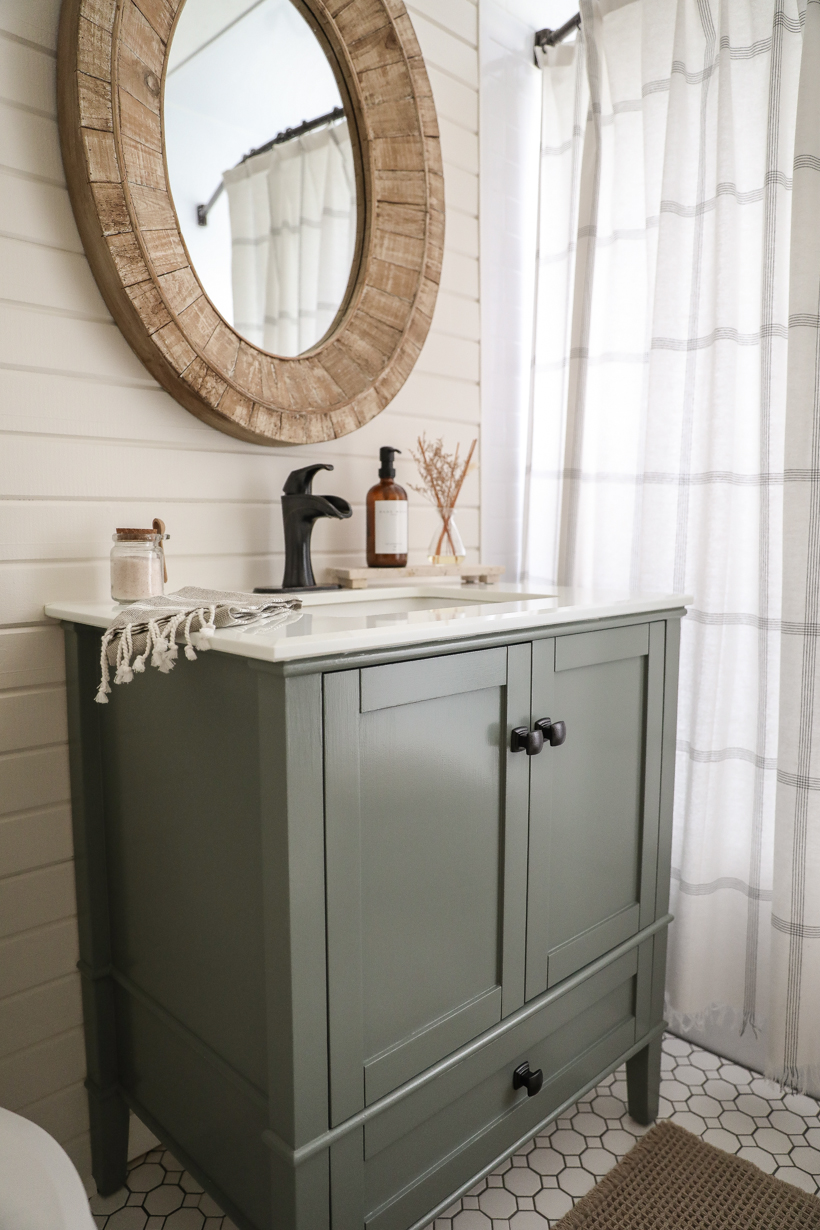
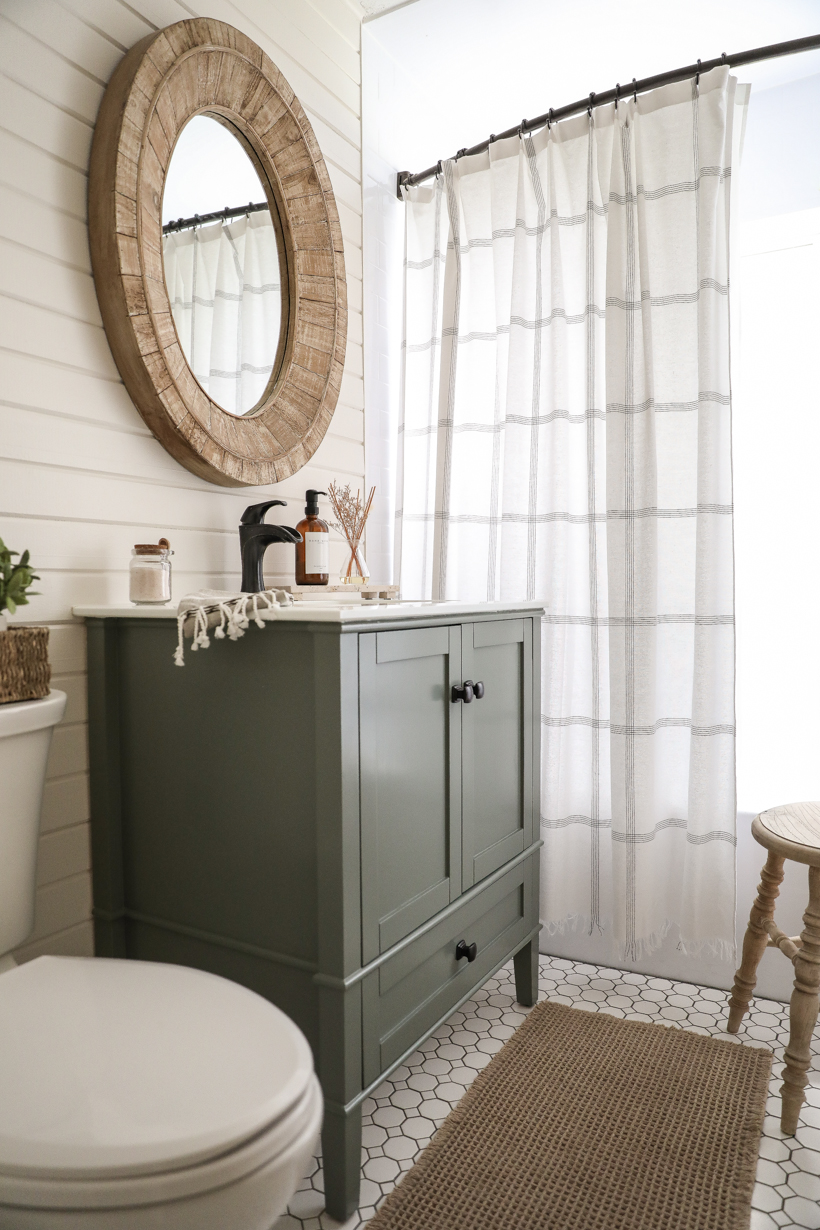
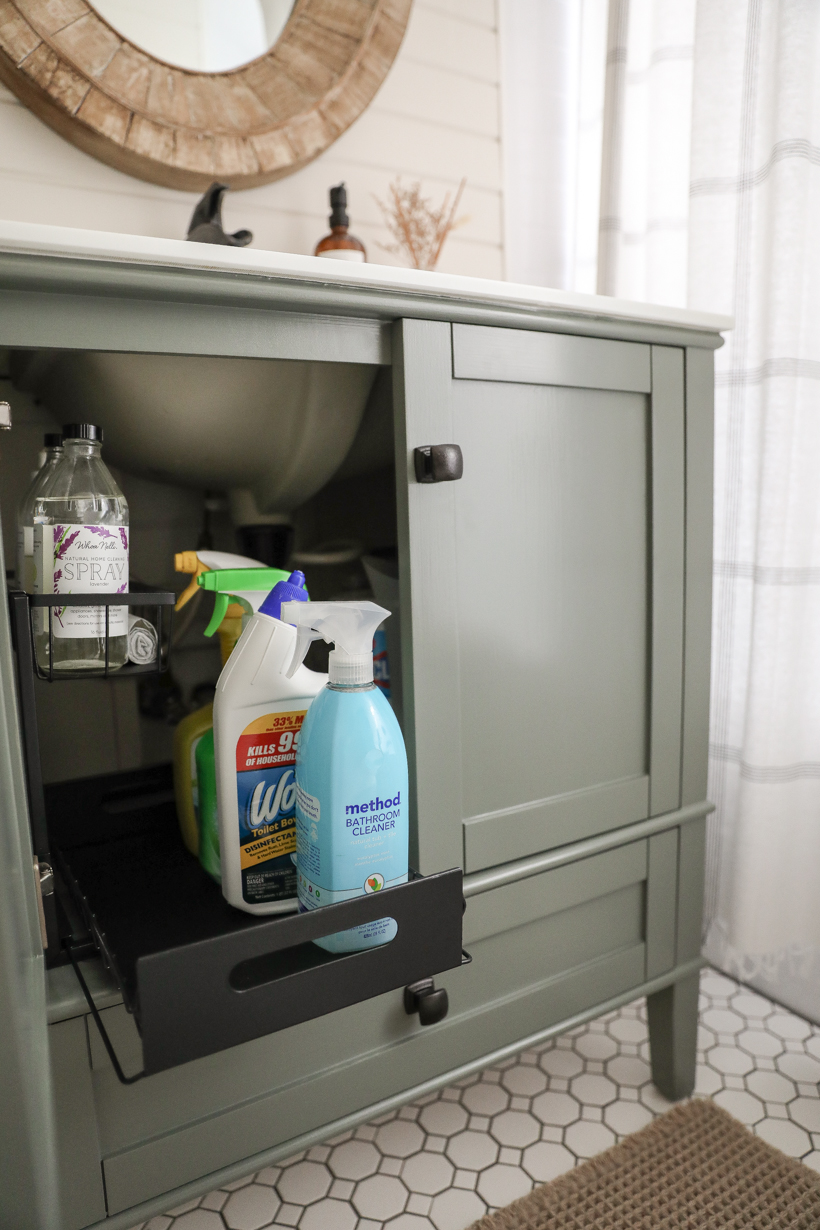
But over the years our vanity has started to chip and wear in some places, and the walls needed a fresh coat of paint too. I decided to break up all the bright white and introduce one of the 2024 Paint Trend Colors – a dark, muted, moody shade of green with gray undertones from Sherwin Williams called Retreat. It’s such a beautiful color, and the finish turned out flawless, so today I’m going to walk you through the process of painting our bathroom vanity cabinet so you can tackle this update in your home too!
Choosing a paint:
The best options for bathroom cabinets are acrylic enamel paint and alkyd paint. Acrylic, or water-based, paints are low-fume and clean up easily with water. Alkyd, or oil-based paints, require good ventilation because the paint contains solvents that can irritate your lungs and make you feel sick. Alkyd options require mineral spirits for cleanup, but they provide a hard, durable paint finish that works well in the moist environment of a bathroom. In general, higher-gloss sheens are more resistant to moisture and everyday wear than flat or matte finishes.
Best options:
- Benjamin Moore Advance Waterborne Alkyd
- Behr Urethane Alkyd Enamel
- Sherwin Williams Emerald Urethane Enamel
Choosing a primer:
Shellac or oil-based primers are generally recommended for bathroom cabinets. Shellac will minimize brush marks more effectively and also gives you more flexibility because you can use either an oil-based or water-based paint over it.
Best options:
- Zinsser BIN Shellac Primer
- KILZ Adhesion Primer
- INSL-X Acrylic Waterborne Bonding Primer
What I chose:
After reading many, many reviews, I ended up going with INSL-X Stix Acrylic Waterborne Bonding Primer, as it is supposed to have maximum adhesion to all kinds of bathroom surfaces and can be topcoated with almost any type of paint.
For the actual paint, I went with Sherwin Williams Emerald Urethane Enamel in a satin finish in the color Retreat. It is a water-based urethane modified alkyd with the look and feel of an alkyd/oil finish that can be used on both interiors and exteriors. The coverage is superb – only 2 coats needed. It resists yellowing compared to traditional oil-based paints and creates a hard durable finish that withstands the wear and tear of frequently cleaned and used surfaces.
How to Paint a Bathroom Vanity Cabinet
#1 PREP
- Remove all doors, drawers, and adjustable shelves – set them aside on a drop cloth to be painted separately.
- Remove all hinges and hardware and place in a sealed plastic bag to prevent anything from disappearing.
- Label or make notes as needed so you know where everything goes when it’s time to reassemble.
#2 CLEAN
- Clean all the cabinet surfaces including doors and drawers with a degreasing cleaning agent such as trisodium phosphate (TSP) according to manufacturer’s instructions on the packaging.
- After scrubbing, rinse everything with clean water, and allow to dry completely before moving on to the next step.
#3 PATCH AND SAND
- Fill any holes or scratches with wood putty or wood filler, and allow to dry completely (check directions on the package).
- Sand all surfaces with 150-grit sandpaper to remove the clear coat and any uneven paint. Then switch to 220-grit sandpaper and sand until the surface is smooth and has a dull (not glossy) appearance.
- Vacuum the sanding dust off the cabinet and also the floor around the cabinet. Then use a damp microfiber towel to remove all remaining dust from every surface. Allow to dry again before moving on to the next step.
#4 PRIME
- Apply painter’s tape to the surrounding walls, floor, and underside of the vanity top. This will keep your edges clean and paint from going anywhere you don’t want it to.
- Prime all cabinet surfaces using a tapered brush for edges and detail work and a small roller for large, flat surfaces.
- If going from a dark color to a light color, allow the first coat to dry and apply a second.
- Lay the doors and drawers flat to avoid drips or sagging for the smoothest finish.
- Once dry, lightly sand with 220-grit sandpaper, and wipe everything clean with a damp microfiber cloth.
#5 PAINT
- Paint a light coat on all cabinet surfaces in the same manner, using a tapered brush for edges and detail work and a small roller for large, flat surfaces.
- Start with the cabinet doors, as they will require time to dry, flip over, and paint the other side.
- Once the first coat is dry, lightly sand with 220-grit sandpaper, and wipe everything clean with a damp microfiber cloth. Then repeat the process and apply a second coat. A third coat may or may not be necessary, but plan for at least two for full, even coverage.
- Carefully read the paint and primer instructions for correct dry time (length of time before applying a new coat) and cure time (length of time before returning the painted surfaces to regular use). You can most likely recoat after a few hours, but you may need to wait up to a few days before reinstalling the doors, drawers, and hardware.
- After the final coat has been applied, remove all painter’s tape.
- If desired, spray paint hinges and hardware while the cabinet dries.
#6 REASSEMBLE
- Once the final coat of paint has fully cured, reattach all hardware and return each door, shelf, and drawer to their original location.
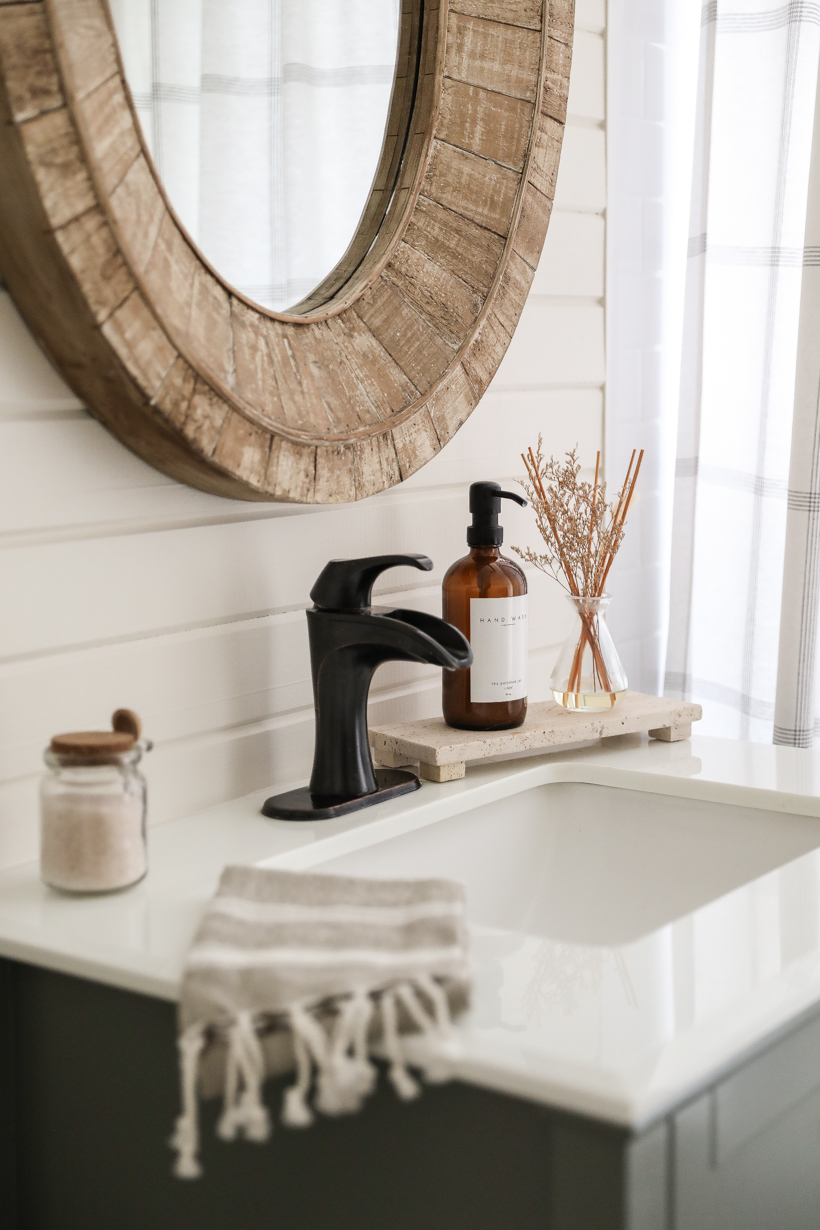
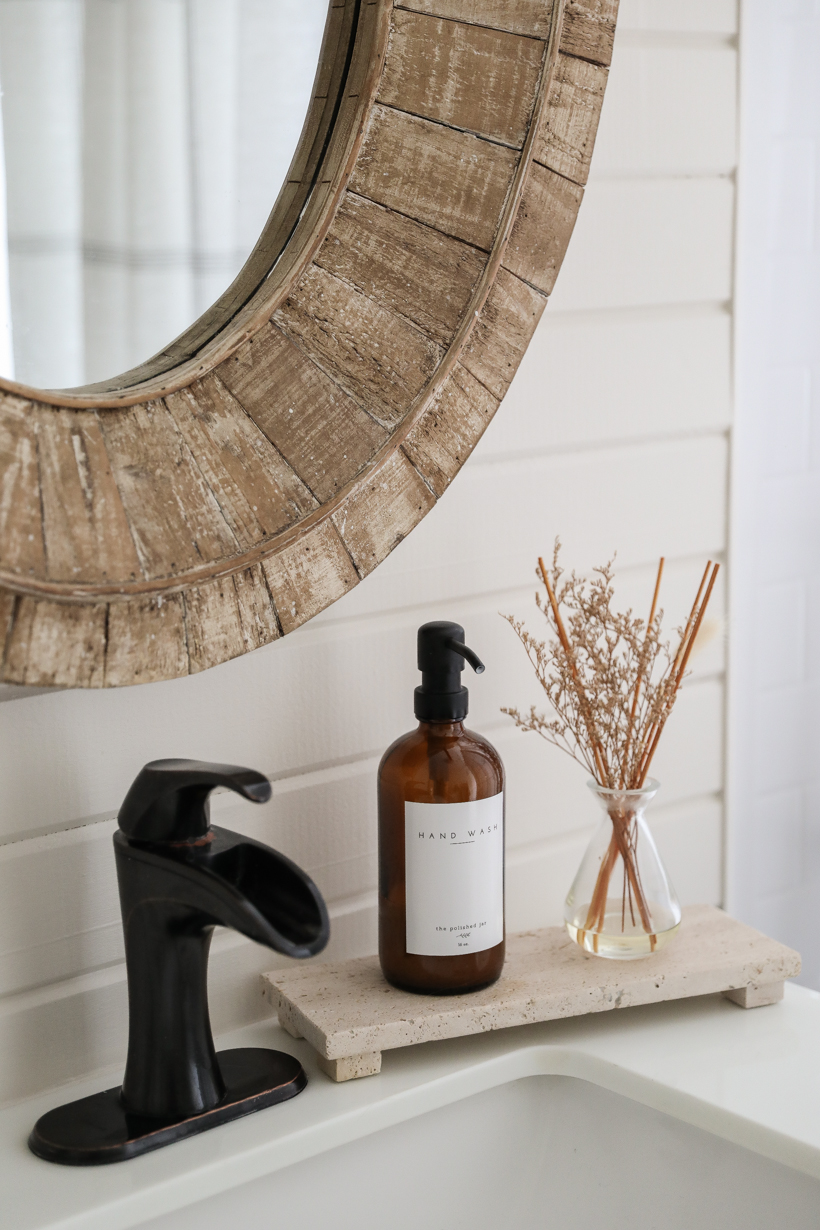
I will go into more detail on all the decor when I share the full bathroom reveal, but here are a few of the accessories I’ve used so far:
footed travertine tray | glass hand soap dispenser
oil reed diffuser (another option) | glass jar with spoon
stripe woven cotton towel with tassels | waffle bath mat
solid wood stool (also available here) | stripe shower curtain
* mirror discontinued
MORE BATHROOM DETAILS:
Bathroom Organization
Bath/Shower Installation
Bathroom Floor Tile
Planked Wall Installation
Original Bathroom Makeover Reveal (2015)
I also bought two slide out cabinet organizers for under the sink to store all our cleaning supplies. You can get one with adjustable height if needed, and the set of 2 is a better deal than purchasing just one!
Any questions? Let me know!
As always, I sincerely appreciate you shopping through the links I share, which allows me to make a small commission from your purchase while your purchase price remains the same. When you use my affiliate links, I’m better able to create content for this blog as well as support my family, and I thank you from the bottom of my heart for supporting what I do!


You really researched the heck out of this! I will definitely refer to it, The green is amazing! Thank you.
Liz, it’s next level. I cannot even begin to tell you how much I love that color there. I am a huge green with grey undertones fan and they way that pops against your white walls is excellent. Well done decision for sure.
Love that travertine “riser” too – love decorating with textures vs color. And not a fan of shine. The tutorial is fabulous and I may do the same thing. I appreciate your blog and your inspiration. Thank you!