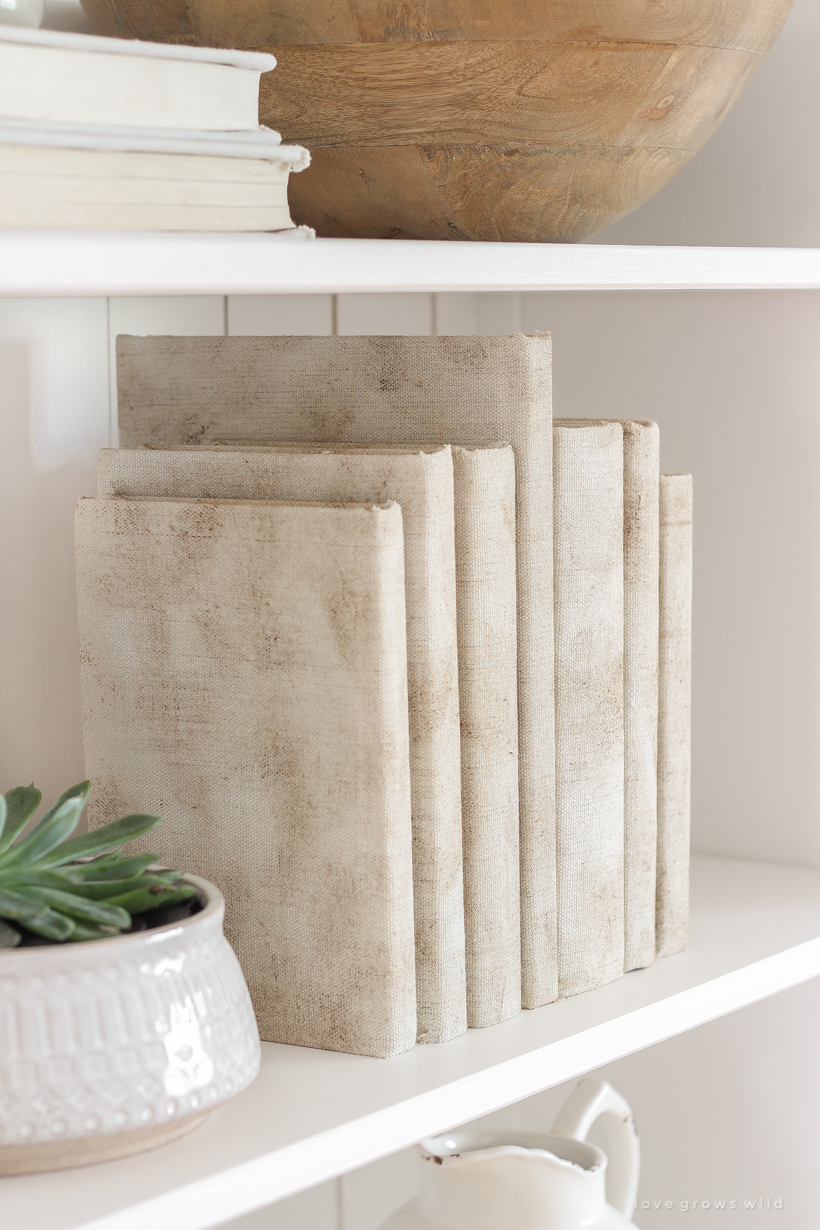
Last week when I was sourcing items for my Shelf Styling 101 blog post, I checked out some of my favorite decor websites for inspiration. I came across a stunning set of distressed covered books from McGee & Co. and absolutely loved the vintage, worn-in look they had. But the price tag… ouch. They sell each book individually, and the smallest size book is $34, while the largest size costs a whopping $94. To get the entire set of 7 books as shown in the photo on their website would have cost me, wait for it… a total of $448. Before shipping.
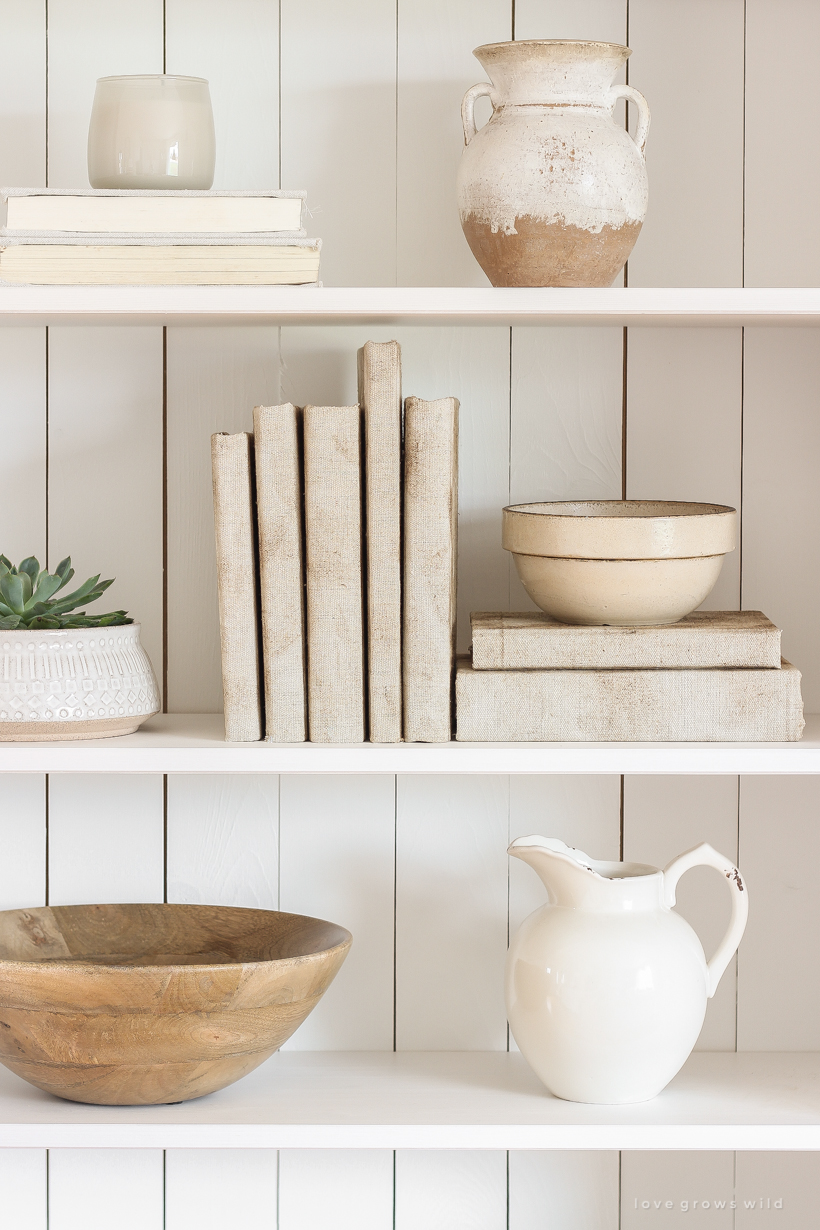
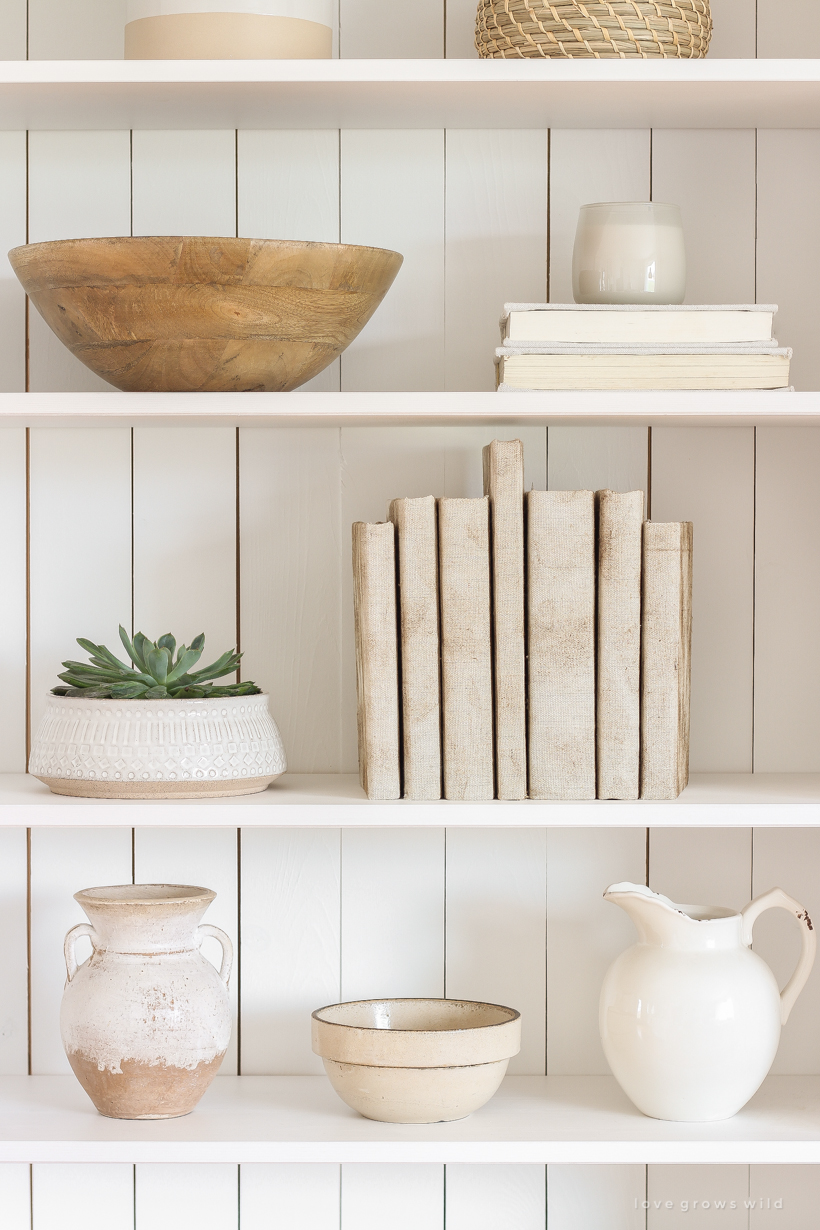
I figured I could easily replicate a similar look since I have covered books in fabric before, so I stopped by the store and grabbed the cheapest, closest matching material I could find… a drop cloth. Then I visited the antique store where my shop is located and picked up a stack of hardcover books for $0.75-$1.00 each. This entire project cost me under $13 (I had the rest of the supplies at home), which literally saved me hundreds of dollars for the distressed canvas covered books I wanted. They look absolutely stunning on the white bookshelf in my living room, and today I’m going to show you how I did this easy DIY!
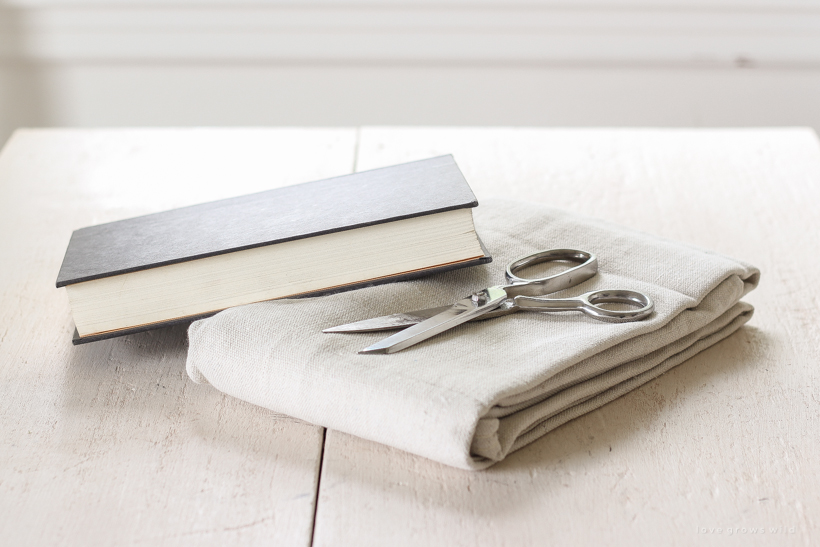
This project has two basic parts: covering the books in the drop cloth + making them look old and worn. I found it easiest to first cut the drop cloth into pieces to fit each book and then distress each piece of drop cloth before actually covering the book. Here’s how I did it:
DISTRESSED CANVAS COVERED BOOKS
SUPPLIES:
drop cloth
hardcover book
scissors
dark furniture wax
paint brush
spray adhesive
hot glue gun
STEP 1
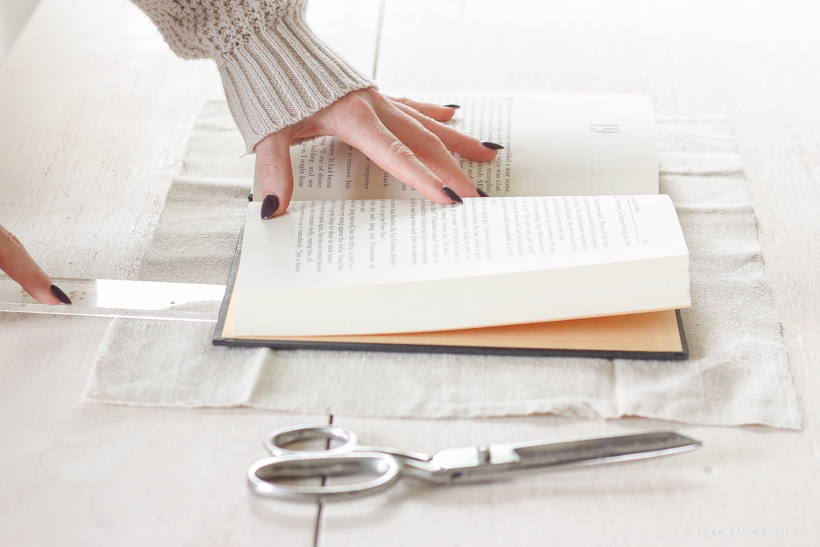
Cut a piece of drop cloth to cover the outside of the book, leaving about 2 inches of overhang around all the edges.
STEP 2
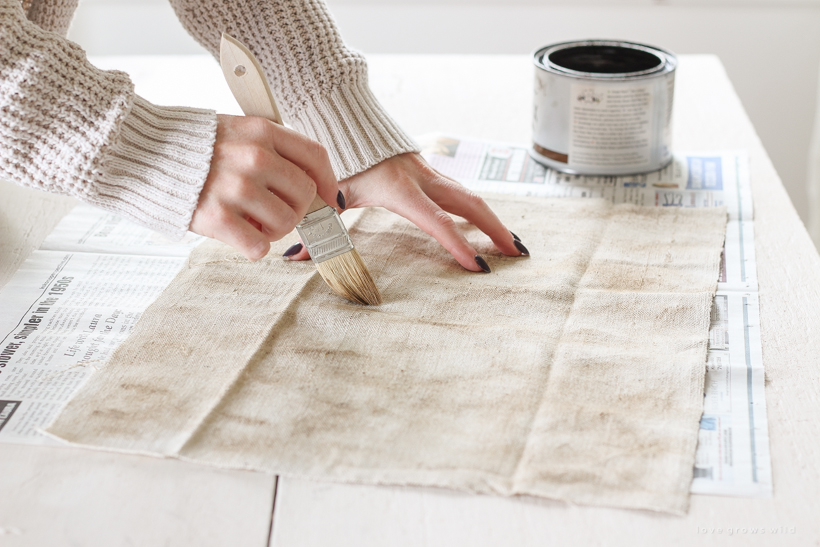
Get a small amount of dark wax on your paint brush and lightly dab/brush the wax onto one side of the drop cloth. You want the book cover to look naturally aged and worn, so it’s okay to leave some of the cloth bare and focus a little more wax where someone might naturally grab the book, along the spine and edges. Keep applying wax until the cloth is as dark and distressed as you want it.
Tip: To make sure I didn’t have too much wax on my brush, I found it easiest to dab the brush on a paper plate first before using it on the drop cloth.
STEP 3
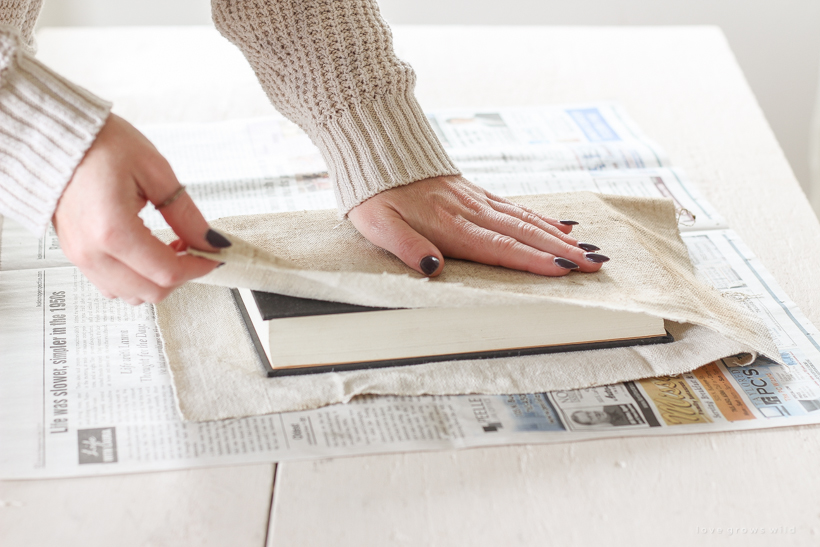
Spray the back (not distressed) side of the drop cloth with spray adhesive, and wrap the fabric around the book, making sure to smooth out any wrinkles.
STEP 4
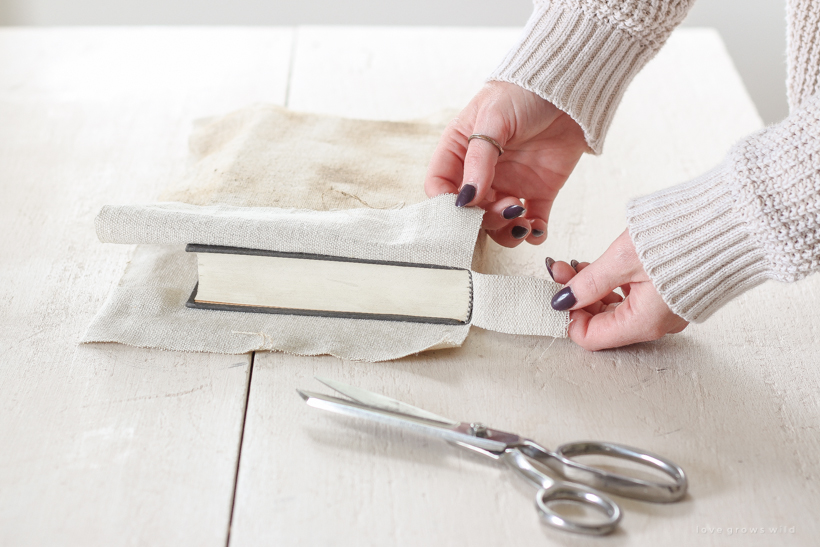
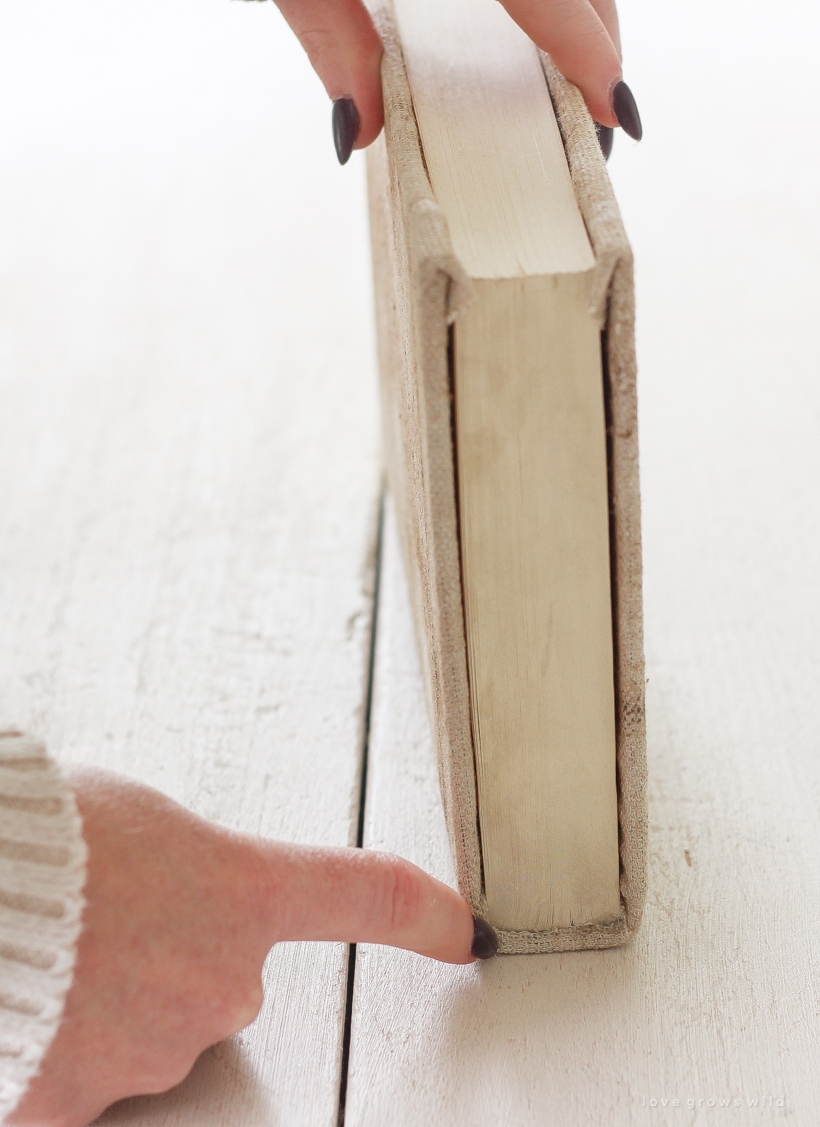
Cut two slits in the cloth on each side of the book spine on the top and bottom of the book.
STEP 5
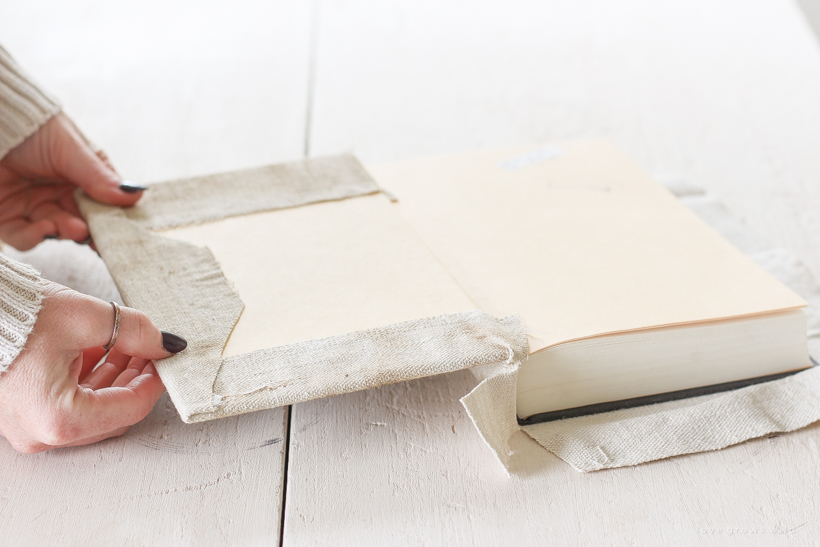
Open the front cover of the book and apply hot glue along the top and bottom edges. Fold the cloth over the cover and hold for a few seconds while the glue sets. Then cut the corners of the fabric on the side of the book to make it easier to fold. Apply hot glue along the side of the cover and fold over the cloth, again holding for a few seconds until the glue is set. Flip the book over and repeat the process to secure the fabric on the back cover.
STEP 6
Trim the piece of cloth where you made the slits so it is just long enough to tuck into the book spine. Use a small drop of hot glue to secure the fabric inside the spine. Do this on the top and bottom of the book.
And that’s it! I ended up covering 7 books in the distressed cloth, which is the perfect amount to stand all together or split them into two different groups with some stacked and some standing. This is such a quick and easy DIY, and I love the worn, lived-in richness the dark wax added to the book covers. And it saved me SO much money making them myself!
I hope you enjoyed this tutorial, and don’t forget to read my Shelf Styling 101 blog post for all my best decorating tips!
More DIY projects:
How to make a Succulent Bowl Centerpiece
How to Decorate your Home with Art on a Budget
DIY Entryway Bench
The Easiest Way to Display Art


Love this idea and they could still be stamped on the spine if you wanted to! They look awesome on your shelf!
I too have looked at those books but there is no way i can afford the price or want to spend that much on those books. I absolutely love this idea. Easy and cheap. Did i say cheap. yup i did.
Anyway thank you for this great diy! I love it.