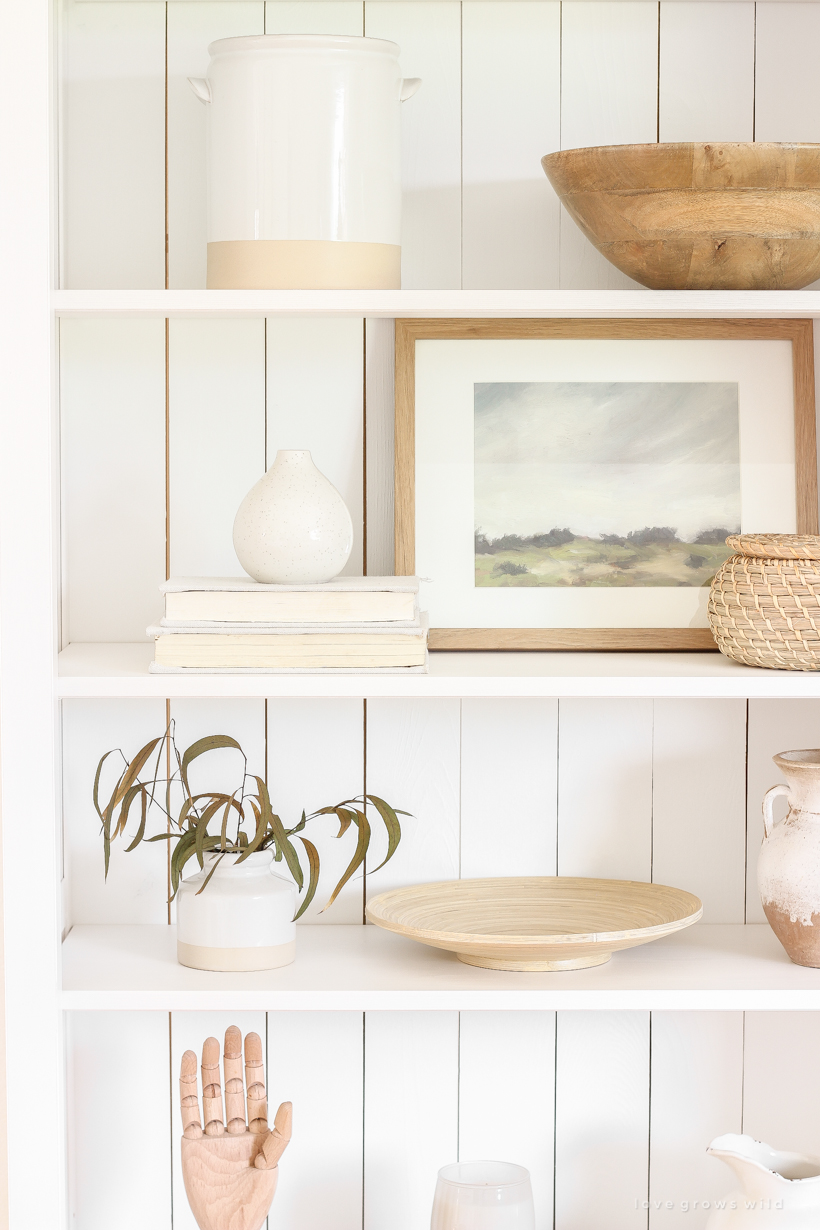
I’ve been slowly decorating, renovating, and designing this little farmhouse of mine for quite a few years now, and I finally realized the one thing my house has very little… actually, none of. Shelving. Shelves I can style and decorate and set pretty, little things on as the seasons or my mood change.
A couple months ago one of my girlfriends asked if her real estate company could film a marketing video in my home, and I was beyond flattered and humbled by her request. It also gave me the kick in the pants I needed to finish some projects around the house that I had been neglecting forever, like the blank wall space between my two windows in the living room. My first idea was to build a mantel and hang a mirror above, but I couldn’t shake the burning desire (okay, maybe that’s a little dramatic) for pretty shelves to play with. So I drove to IKEA, picked up a simple white bookshelf, and assembled it as soon as I got home.
BUT as most of you who have ever assembled an IKEA or similarly inexpensive bookshelf know, the flimsy, thin piece of cardboard they give you to nail on the back of the bookshelf not only looks cheap, but it eventually pulls away from the bookshelf, leaving the piece unstable and looking junky. Want to know the simple upgrade I made to give it a more high end look and bump up the style? Keep reading, friends…

Before I get to the IKEA hack, I want to share a little insight on picking out the bookshelf itself. I first looked online before I went to the store, and originally I had my eye on the LIATORP bookcase because the pretty trim details. But what I didn’t realize until I saw it in store was how cream/ivory the finish was, which you can’t tell from looking at the website. I’m so glad I went to the store instead of ordering online because I know I would have had to send it back. I wanted a pure white to match the walls or pretty close to it.
My next choice was the HEMNES bookcase in the white stain finish. It still has more trim details than the basic BILLY bookcase, but not nearly as expensive as the LIATORP. And most important, it was a beautiful pure white. So the HEMNES bookcase is what ended up coming home with me. Moral of the story is that even though I do a TON of shopping and sourcing online, sometimes for big items it’s best to see it in person first!
Also, side note: If you’re the type of person who dreads putting together IKEA furniture, this bookshelf was probably the easiest IKEA furniture I’ve ever assembled!
The backing that comes with this particular bookcase had a slight wood grain pattern on it that wasn’t horrible, but wasn’t what I had in mind either. I decided to see if I could use 1 x 4 wood boards instead to not only make the bookcase nice and sturdy, but also give it a vertical shiplap look.
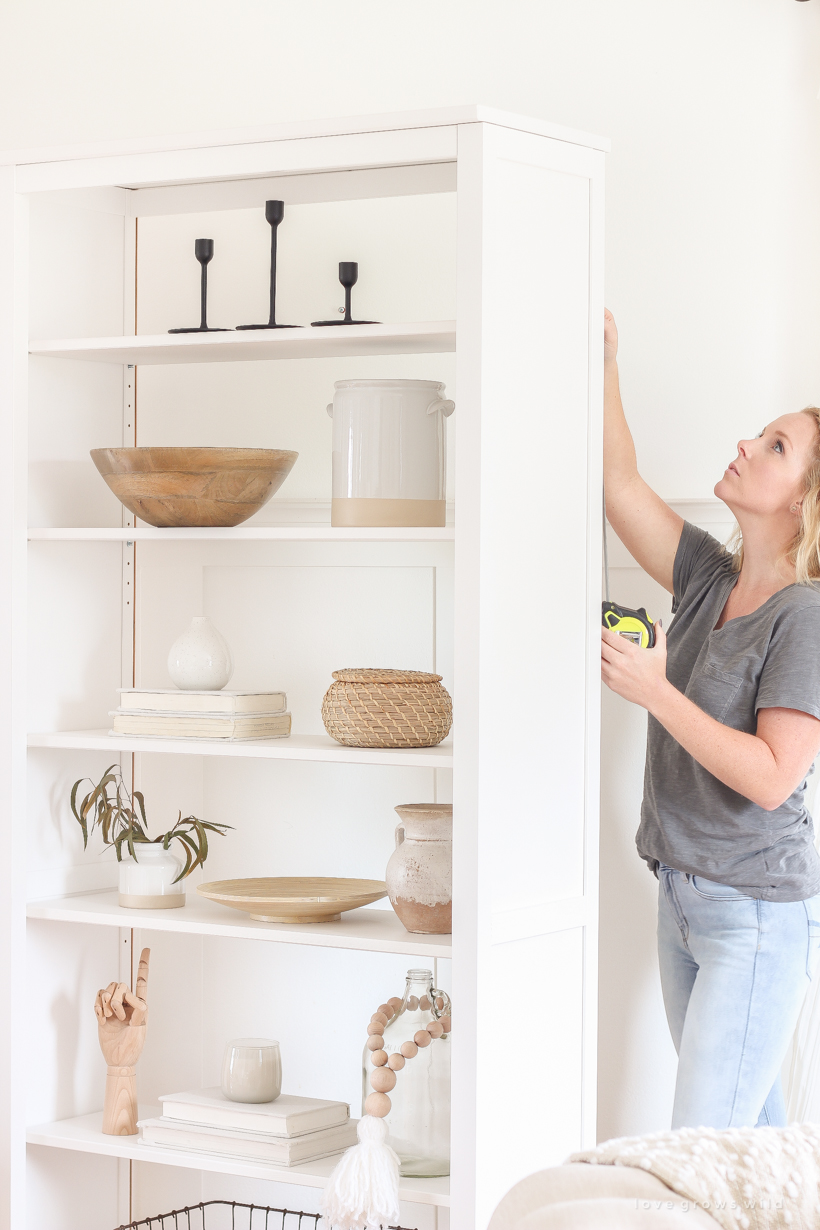
First, I measured the back of the bookcase. The width was 35″, and the height needed to cover the back was exactly 6′. Since 1×4 boards are actually only 3 1/2″ wide, it made the math really simple, and I picked up ten – 6 foot 1 x 4’s.
I knew it would be much easier to paint the boards before installing them on the bookshelf, especially because only one side of the board needed to be painted. HERE IS THE BIGGEST TIP YOU NEED TO LEARN FROM THIS POST… are you ready?
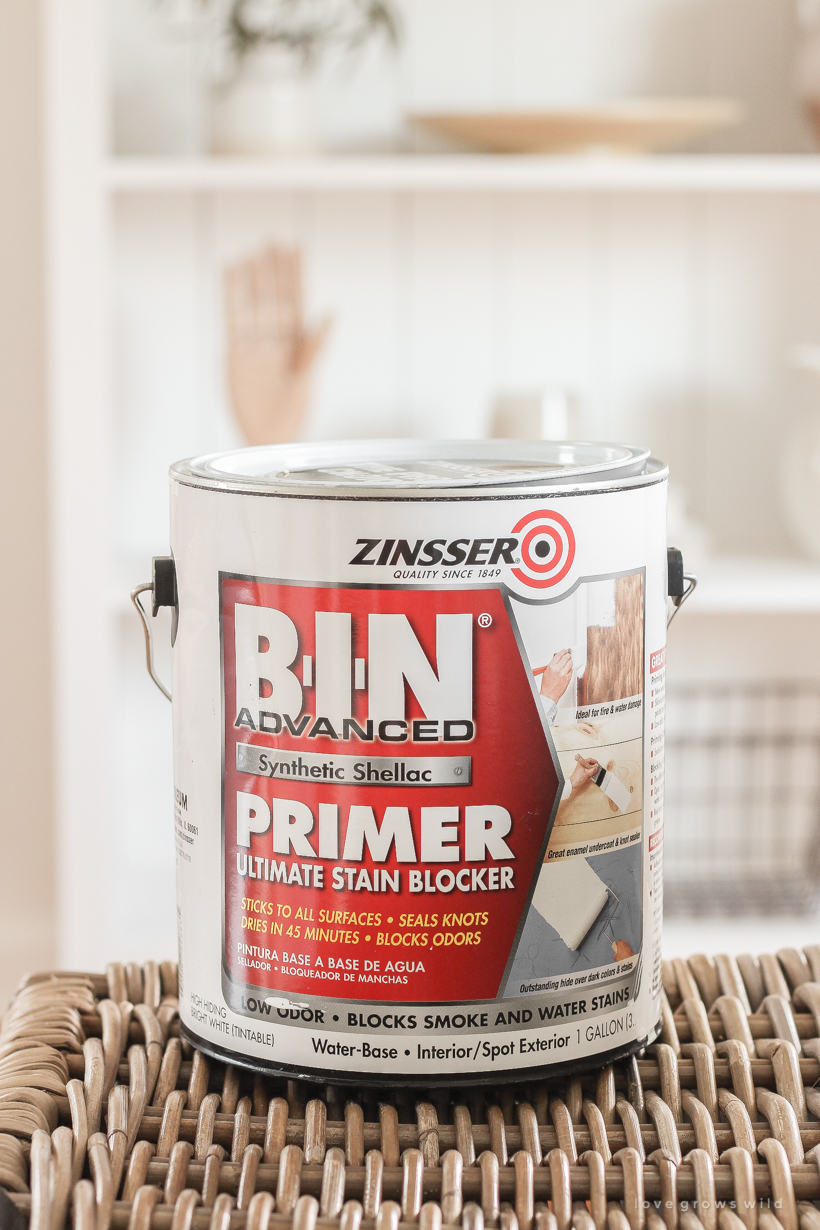
This is the primer you need to use, my friend. I know it’s tempting to buy a cheap can of primer since you’re going to paint over it anyway or even skip primer all together. I’ve certainly been guilty of both crimes in the past. But after painting many, many things white over the years, here is what I know for certain…
If you do not prime raw, bare wood with a high quality, stain blocking primer, within a few months to a few years the knots and grain in your wood WILL bleed through the paint and be visible. You will end up with yellow-brown stains on your wood, and I promise you will be very annoyed that you have to paint it again. I’ve experienced this more times than I’d like to admit, so learn from my mistakes!
This particular B-I-N Advanced Synthetic Shellac by Zinsser is my preferred primer because it covers well, hides stains, seals knots in wood, and is water-based, which makes cleaning your brushes a breeze. For full transparency, this is not sponsored in any way, and I just wanted to pass along my tried and true primer anytime I paint raw wood! I used one coat of primer, and two coats of ultra white paint in eggshell (Dutch Boy’s basic ultra white paint).
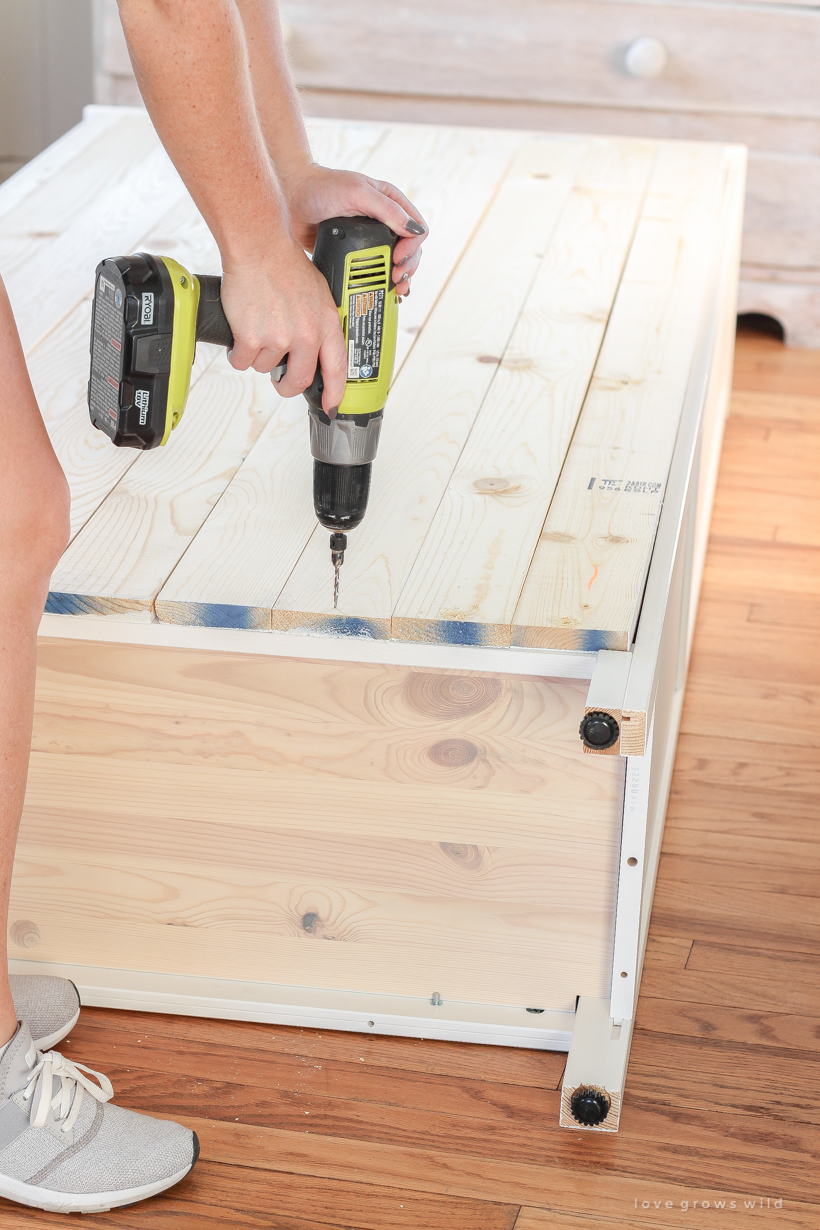
I set the painted side of the boards on the back of the bookcase and pre-drilled holes on the top and bottom to attach with screws. I should have known that the boards wouldn’t all be absolutely perfectly straight, so the last 1 x 4 had to be trimmed down to fit. I used my circular saw to cut the 1 x 4 down to about the same size as a 1 x 2 (1 1/2″ width), and it fit perfectly. If you are using this exact bookcase, you may want to grab a 6 foot 1 x 2 while you’re at the store in case you run into the same issue and don’t want to rip down any boards.
Tip: You don’t necessarily have to use the most expensive quality wood for this project (I went with the middle grade), but it is worth sorting through the lumber pile until you find the straightest boards available!
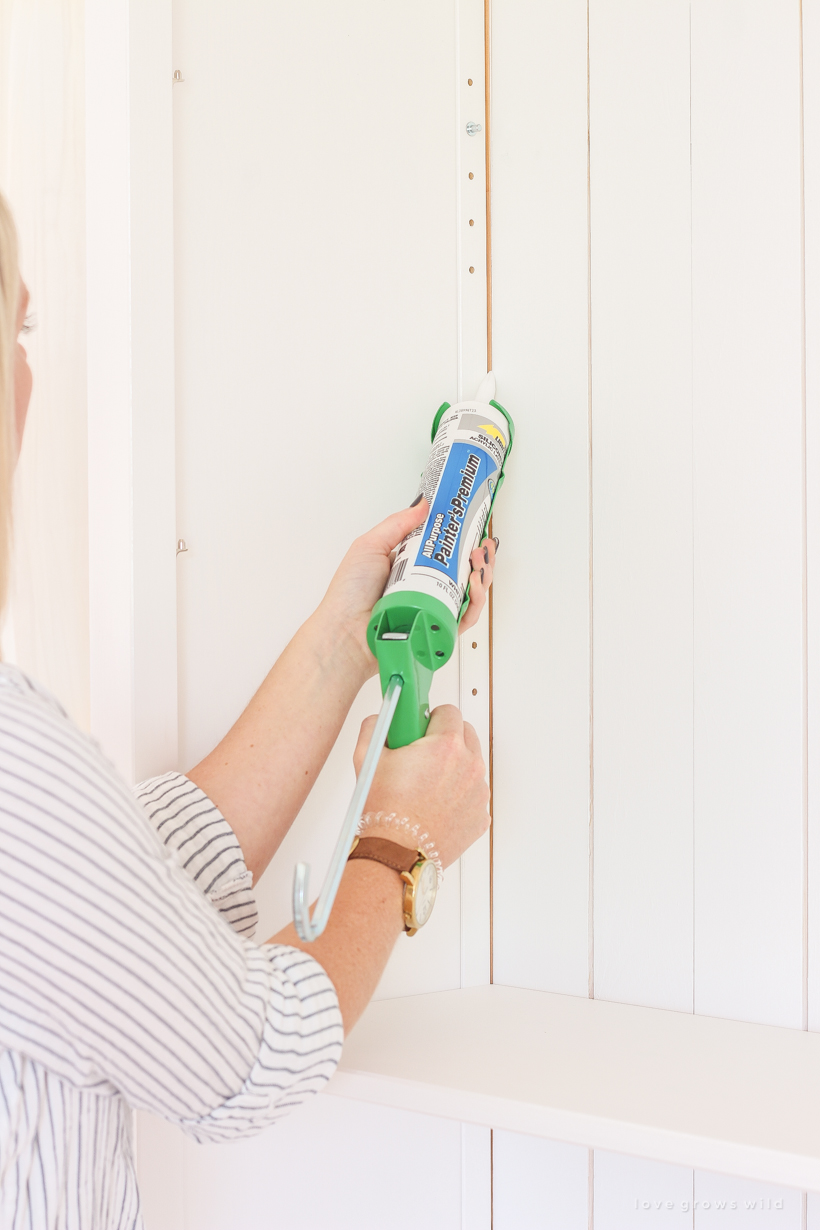
After the boards were attached to the back, I decided to caulk the seams where the outer 1x’s met the bookshelf. There was a large enough gap that needed covered, and I also think it gives the piece a more high end and less DIY look.
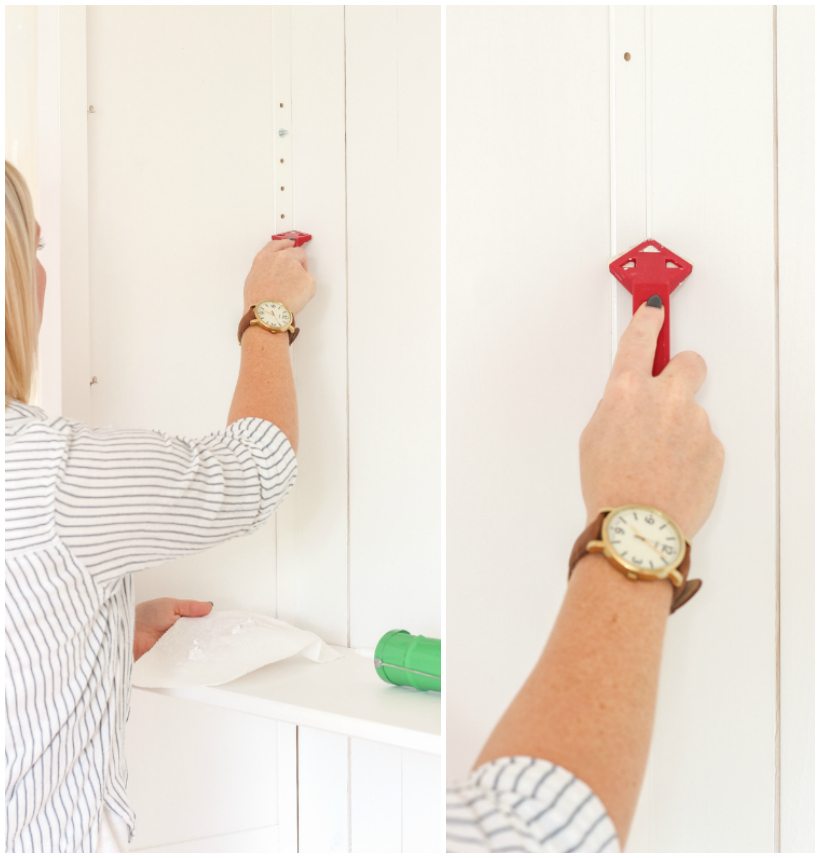
To make the application easy, I used a caulk gun and a tube of painter’s caulk, followed by the handy little corner tool shown below. I used this caulk finishing tool years ago when I installed all the board and batten trim in our living/dining room, and it was SO helpful to quickly smooth and clean up caulk lines. You just run the angled tool down the line of caulk, wiping excess caulk that builds up on the tool as you go. Having a few paper towels close by is helpful!
Then it was time to style the new bookcase…
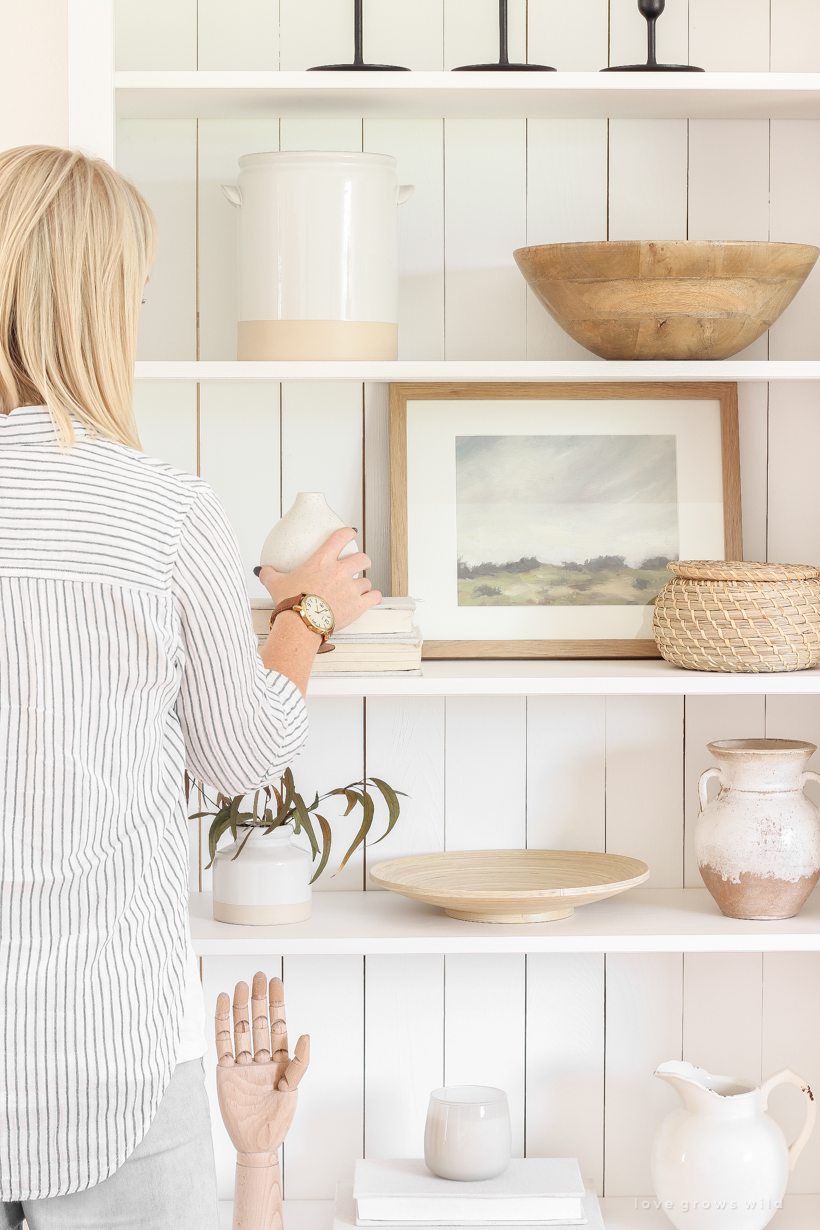
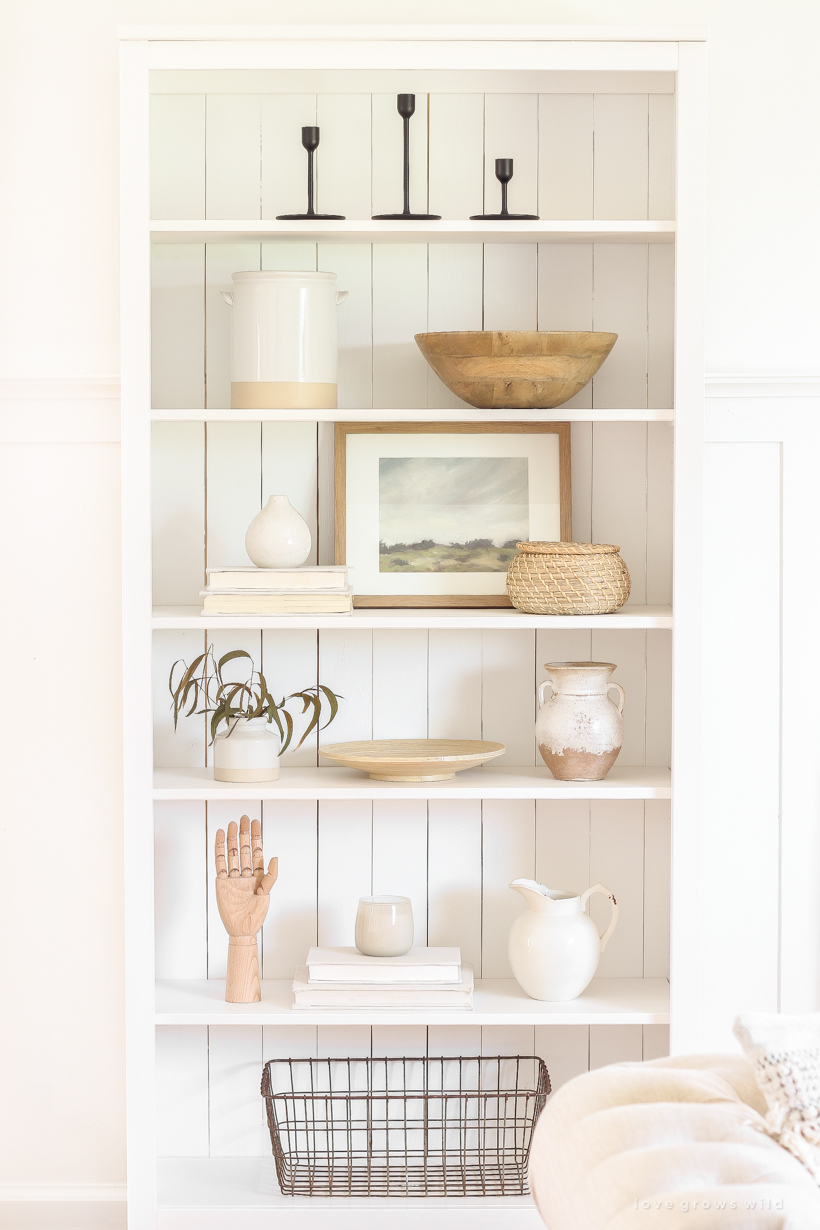
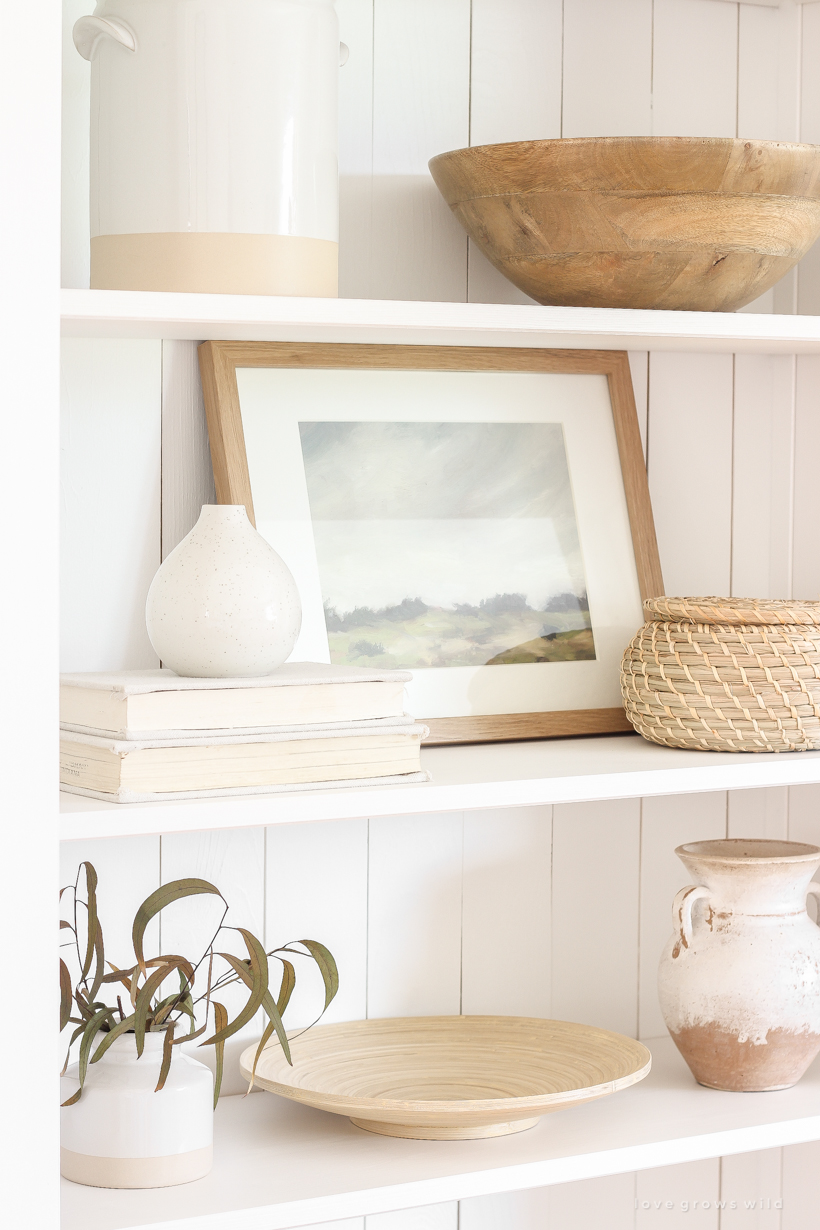
This is my vision for perfect everyday, any time of year styling. Lots of neutrals balanced with items that have texture, interesting shapes, creamy whites, wood tones, a little bit of vintage, and a little bit of new. If you guys are interested, I may do a blog post about how to style shelves because there are some simple theories or “formulas” I have for making it really easy without looking either cluttered or too bare. I love this simple, clean look and that I now have a place to display some of my favorite accessories. You can count on seeing these shelves styled and restyled over and over again as the seasons start to change!
Note: Some of the links in this post are affiliate links, which allows me to make a small commission from your purchase, but your purchase price stays the same. When you use these links, I’m able to keep this blog going and make it better, so thank you from the bottom of my heart for your support!
Sources:
bookcase – IKEA
caulk gun
caulk finisher
set of 3 black candlesticks – IKEA
white two tone decorative vase – Target (out of stock)
large wood decorative bowl – IKEA
landscape painting print – Etsy
frame – Target
covered books – tutorial in my book, A Touch of Farmhouse Charm
small round vase – IKEA
round seagrass box with lid – IKEA
small two tone vase – Target (out of stock)
bamboo plate – IKEA
rustic pottery – HomeGoods
wooden hand – IKEA
white pitcher – Hobby Lobby
candle – IKEA
wire bin – vintage


You ‘nailed’ this! Such a simple upgrade and beautiful result. It also makes the unit more sturdy. I really need some shelves in my life and this is perfect. Love all of your tutorials so much!!
Love the shelving and totally love the way you styled it afterwards! I think others would benefit greatly from your designing expertise. I don’t have any shelving units or shelves at the moment but if I do get some (the house is a work in progress) then I will refer back to this!
Love how this turned out and how you styled it too. Would love a tutorial on styling. ??
Great project! And DEFINITELY on the styling bookshelves post … soon! THANK YOU
This is beautiful. I need you to come to my house please.
So pretty, did you paint the bookcase?? I thought that bookcase only came in s dark stained wood
I only painted the boards I added on the back. There are several different color options for this bookcase now, including white!
Oh, I just adore how these shelves came out Liz! We have two Billy bookcases in our master bedroom at home, and I would love to give them a look like this. You are so clever, and I just adore your home. Thanks for the inspiration!