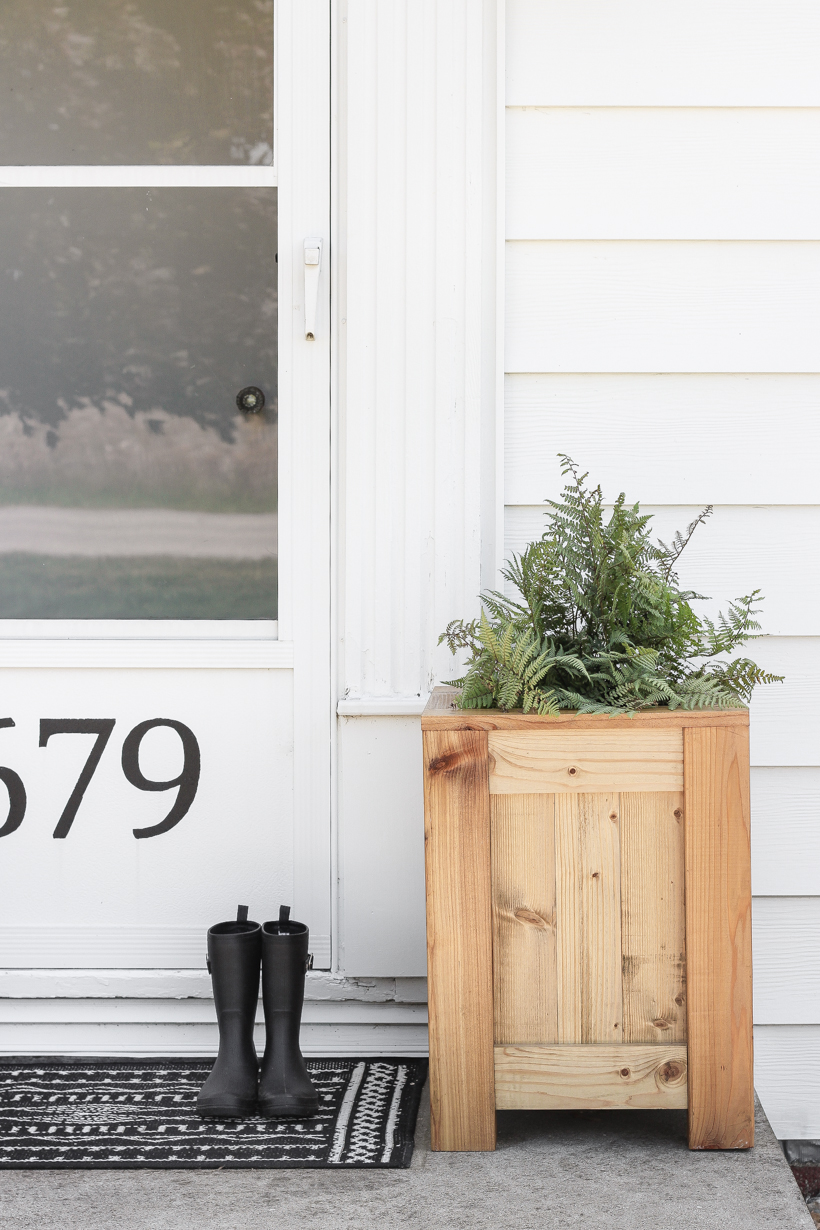
In partnership with Minwax // It’s no secret that the outside of our little farmhouse has been getting a lot of love lately, from a fresh coat of paint and new landscaping last fall, to building the deck of my dreams this spring, and I even have a few more projects still up my sleeve! I have a new front door ordered and shutters picked out to complete the exterior makeover, and hopefully those will be getting installed soon. But while I’m waiting I decided to work on a fun project I’ve been wanting to do for my tiny front porch, and today I am sharing the tutorial with you guys for these beautiful tall outdoor cedar planters I built!
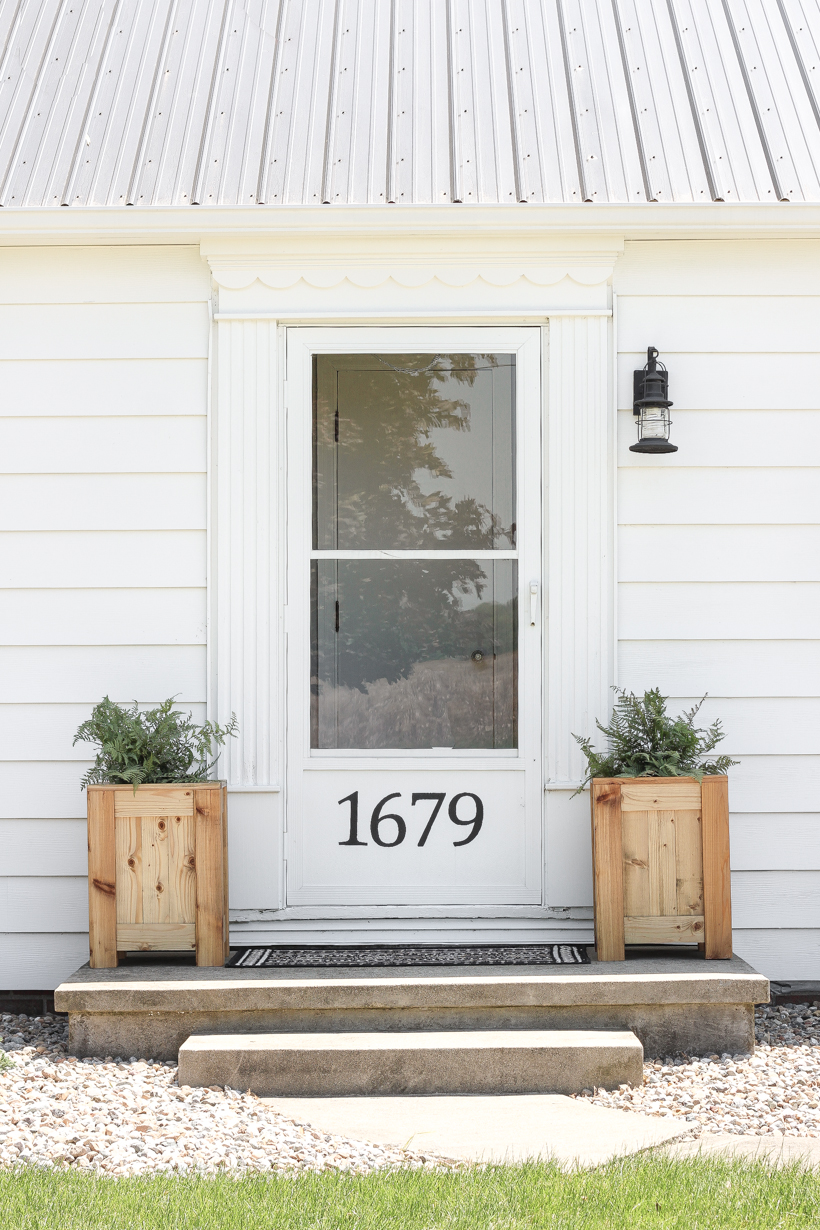
If you’ve been around here for awhile, you probably remember the big wooden planter boxes I had on porch years ago, and I knew I wanted something similar to those again. The ones I built previously I ended up having to trash after a few years because of two reasons: 1) I used regular pine lumber, which is not very durable for outdoors long term and 2) The way they were constructed was not very sturdy, and the design needed tweaking to make them more solid.
The original planter boxes only used 2 x 2’s for the legs, and as I started screwing boards into them, they immediately started splitting no matter how careful I was. They definitely needed more substantial legs, so I switched those out for 4 x 4’s, which made a huge difference in the strength of the project, and I also used red cedar this time around instead of pine. Cedar is naturally resistant to moisture and warping, so it is the perfect option for outdoor projects. These planters were easy to build and will last much, much longer than the previous ones. I am so excited to see how they look with the new front door once it gets here!
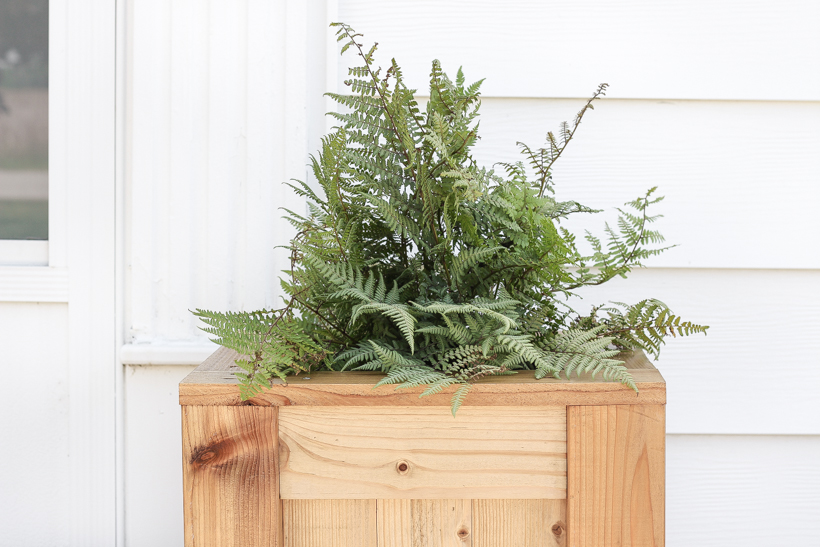
Since our house faces North, the porch is pretty much always in full shade, so ferns are the obvious easy choice for the planters. This particular variety is a Ghost Fern, which has a different shape than a traditional fern and more sage, silvery leaves than the bright green you usually see. The beauty of this project is that there is a shelf built inside so you can simply set a potted plant in the planter and remove it easily at the end of the season. So easy!
These planters turned out to be one of my favorite things I’ve built, and I love the way they cozy up my tiny little porch. I took tons of photos as I built them because I’ve had so many requests for a tutorial like this, so here we go! Details for the stain and finish I used to make sure these planters last a long time are in the instructions below!
Tall Outdoor Cedar Planter
finished planter dimensions: 17 1/2″ length x 17 1/2″ width x 24″ height
project completion time: approximately 3 hours to cut boards and build + 1 day to sand and apply stain and topcoat (including drying time)
SUPPLIES:
tape measure
saw
drill
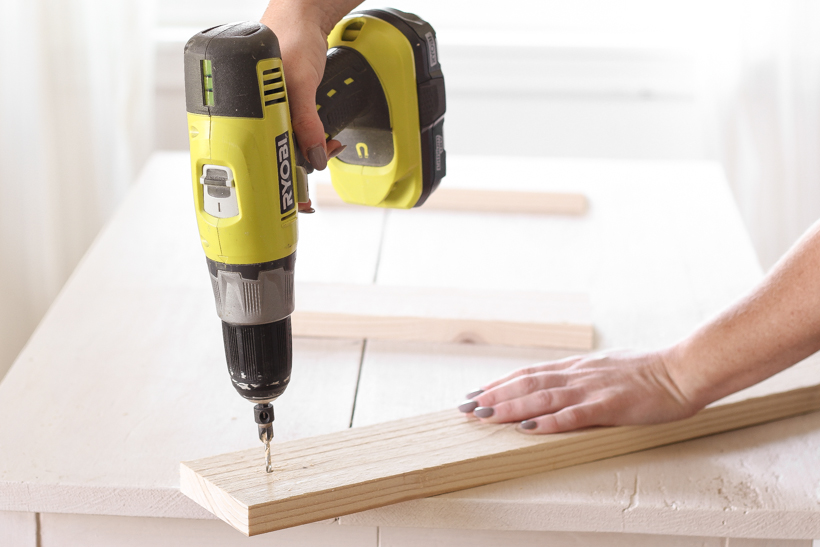
countersink drill bit
Kreg Jig pocket hole system – see note in Step 5 before starting project
wood glue
1 1/4″ wood screws
1 1/4″ Kreg Jig pocket hole screws
sander
finish of choice – I used:
Minwax Pre-Stain Wood Conditioner
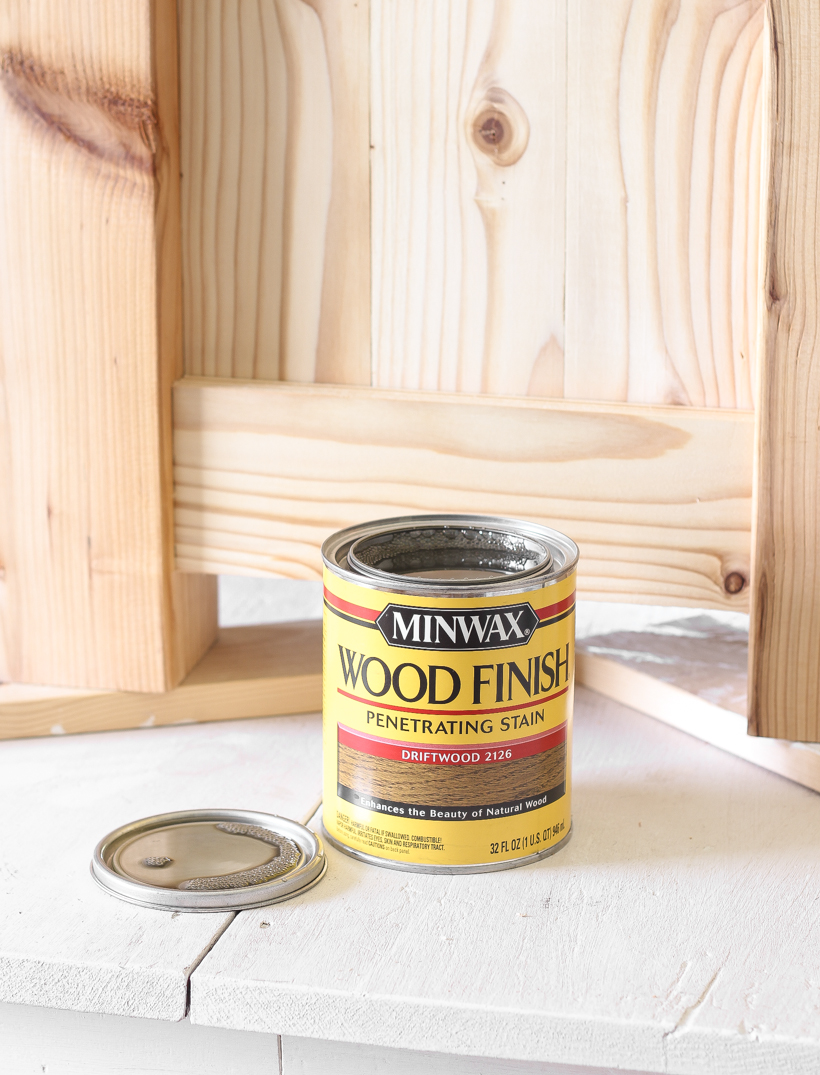
Minwax Wood Finish Stain in Driftwood
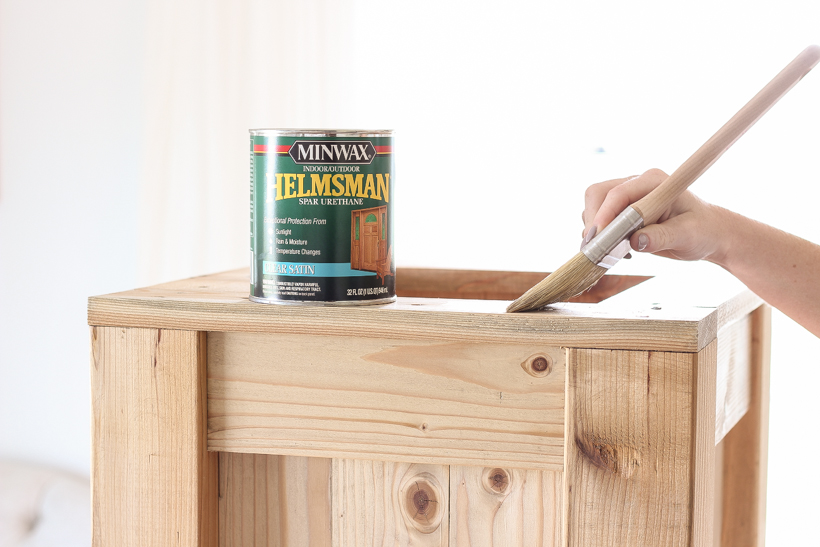
Minwax Helmsman Spar Urethane
CUT LIST:
4 – cedar 4 x 4 cut to 23.25″ (legs)
12 – cedar 1 x 4 cut to 21″ (sides)
8 – cedar 1 x 4 cut to fit – approx. 10 1/2″ (top + bottom trim for sides)
2 – cedar 1 x 3 cut to fit – approx. 10 1/2″ (cleats)
4 – cedar 1 x 3 cut to fit – approx. 13 1/2″ (platform)
2 – cedar 1 x 4 cut to fit – approx. 17 1/2″ (long top trim)
2 – cedar 1 x 4 cut to fit – approx. 10 1/2″ (short top trim)
Important Notes:
– Some boards are measured and cut as you build to ensure you have the most precise measurements possible. I listed approximate measurements to help guide you, but because lumber can have some variances, always measure and cut to fit your project!
– Cedar is a great material for outdoor projects and will be able to withstand the sun and weather much better than the traditional pine lumber I normally use. I was able to find all of the 1 x 3 + 1 x 4 cedar boards next to the pine lumber in my home improvement store, and the 4 x 4 cedar posts I found outside next to the treated lumber. Cedar boards have one smooth side and one more rough side, so make sure you pay attention to which side faces out as you are building.
– Use a countersink drill bit to pre-drill ALL holes before inserting screws to avoid splitting the wood and also to make the screw heads sit flush with the wood.
– This tutorial makes ONE planter. I doubled the materials to build two for my front porch!
STEP 1
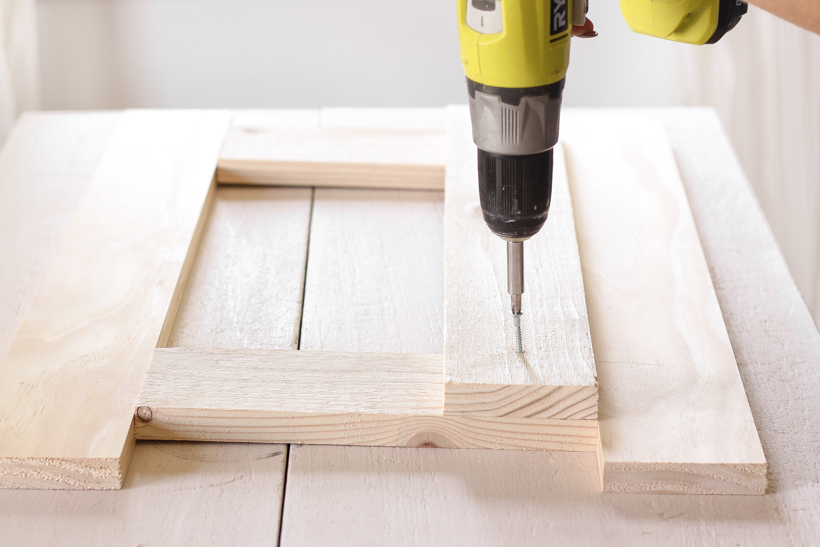
Lay three of the 1 x 4 side boards down next to each other, measure the total width, and cut two 1 x 4 boards to that length for the top and bottom trim pieces (approx. 10 1/2″). Use glue and 1 1/4″ wood screws to attach the three side boards to the top and bottom trim.
Note: I used two scrap pieces of wood to hold the trim pieces steady and level while I attached the side boards.
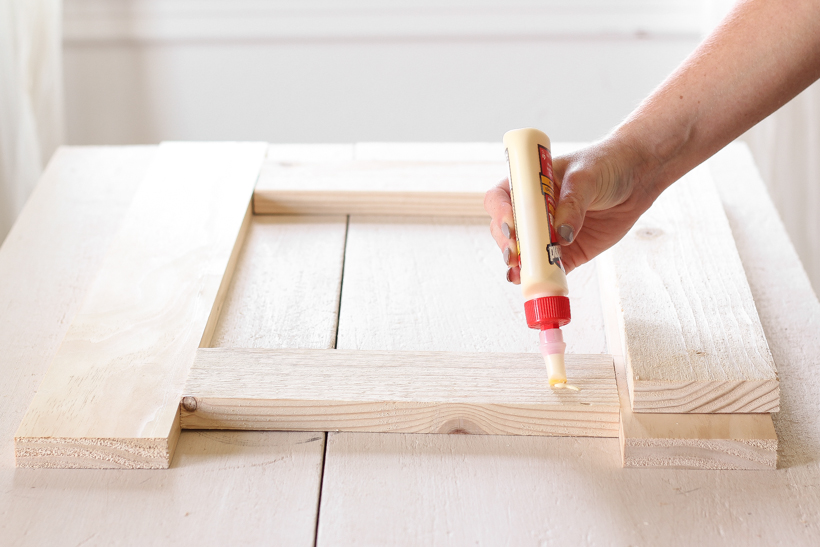
Repeat Step 1 three more times to build all four sides.
STEP 2
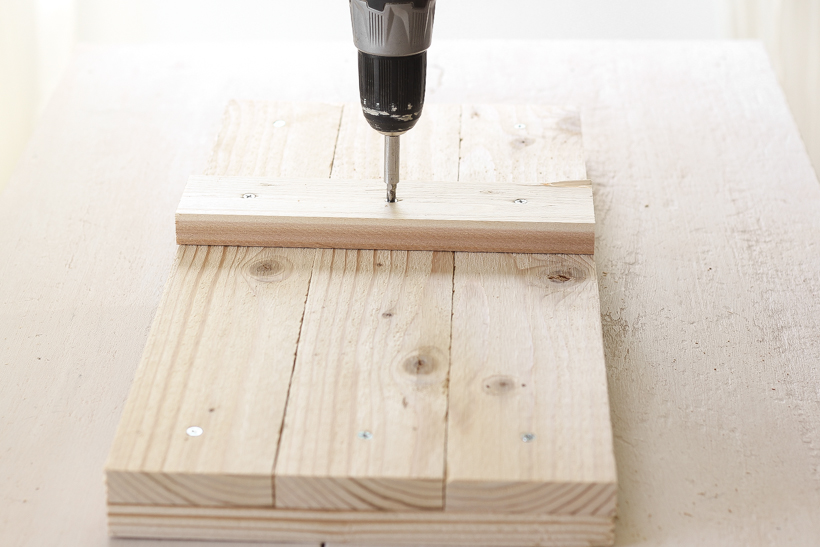
Next, measure and cut a 1 x 3 to use as a cleat for the inside of your planter. It should be the same length as the top and bottom trim pieces (approx. 10 1/2″). Measure 13 1/4″ down from the top of one of your sides, and make a mark with a pencil. This is where the bottom of the cleat will sit (it should be on the opposite side of the trim pieces). Attach the cleat with glue and 1 1/4″ wood screws.
Note: A potted plant will sit on top of a shelf that rests on the cleats, so if you have a specific size pot in mind you want to use (it won’t be seen so it doesn’t have to be fancy) you may want to measure how tall the pot is and make sure your cleat is sitting high or low enough to accomodate the pot. I went to the nursery first and found the plants I wanted to use so I could make sure the cleats were at the right height I needed. A standard medium size pot is perfect for this cleat height! Remember, you can always add more boards on top of the shelf to raise the plant up, but you can’t lower it once it’s attached. So if you’re unsure, go slightly lower than you think for the shelf height.
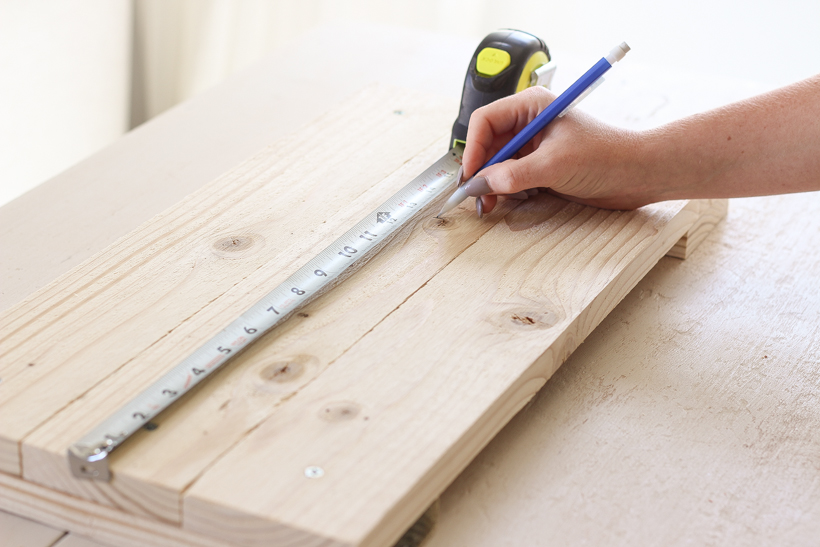
Repeat Step 2 one more time so that you have two sides with a cleat attached and two sides without a cleat attached.
STEP 3
Use your pocket hole jig to drill two holes into all four corners of the sides. You’ll need pocket holes on all four sides you built to attach the legs in the next step.
STEP 4
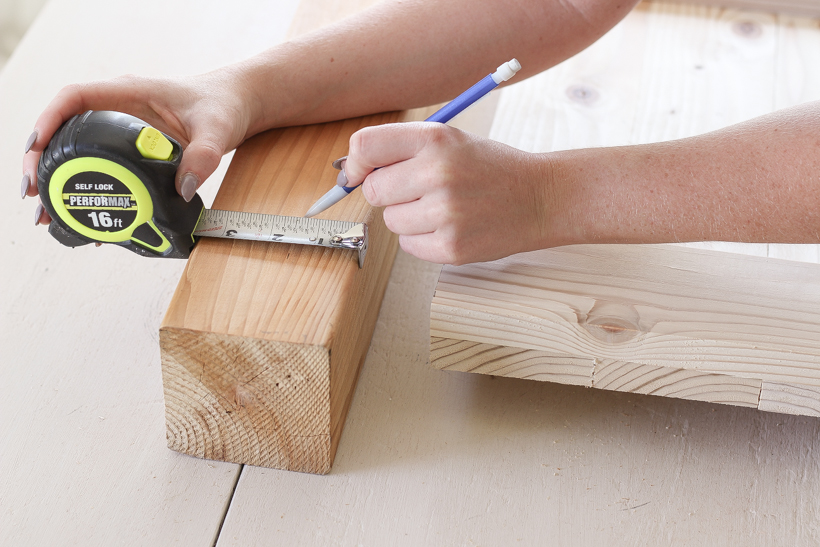
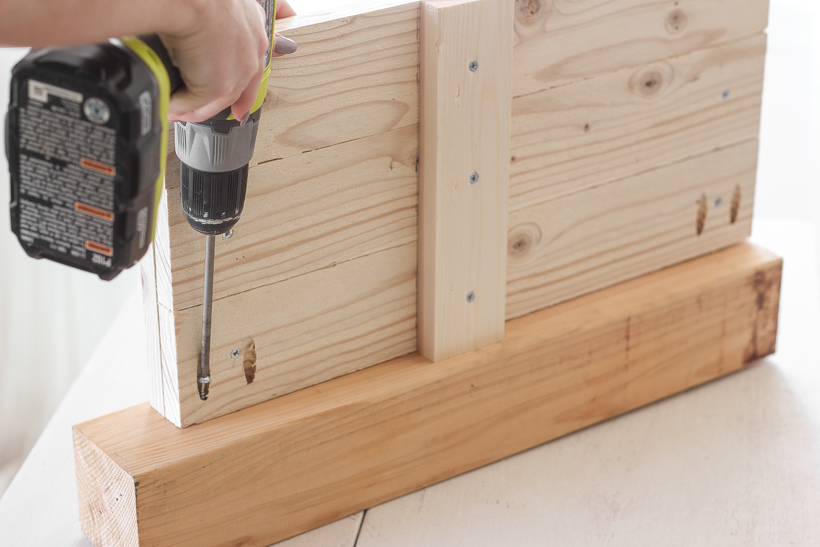
Take one of the 4 x 4 legs and measure 1 1/2″ in from one side. This mark will be where you place the back (the side with the cleat) of your side piece.
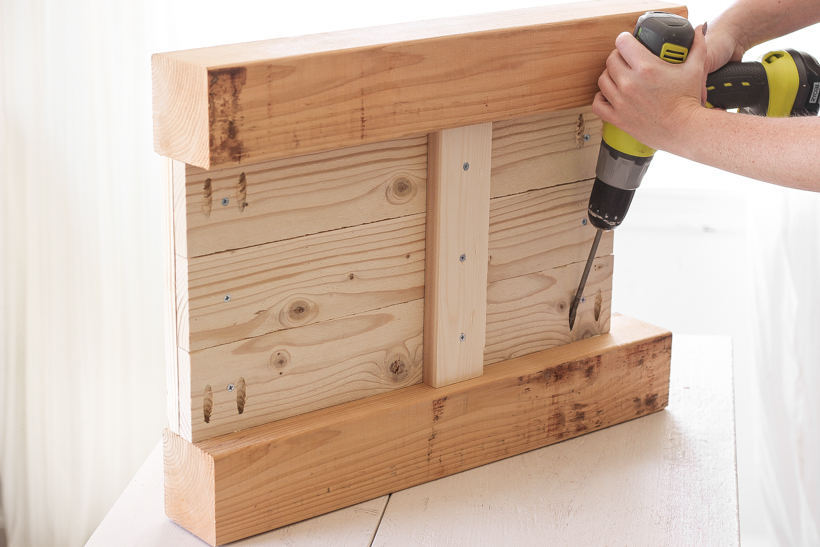
Line up the top of the side piece with the top of the leg, leaving about 2″ open at the bottom, which will become feet for the planter. Remember, the cleat should be positioned closer to the bottom of the side piece than the top. Use glue and 1 1/4″ pocket hole screws to attach the side to the leg.
Repeat on the other side with another 4 x 4 leg to complete one finished side.
Grab the other side piece with the cleat attached and repeat Step 4 again to have two completed sides with legs.
STEP 5
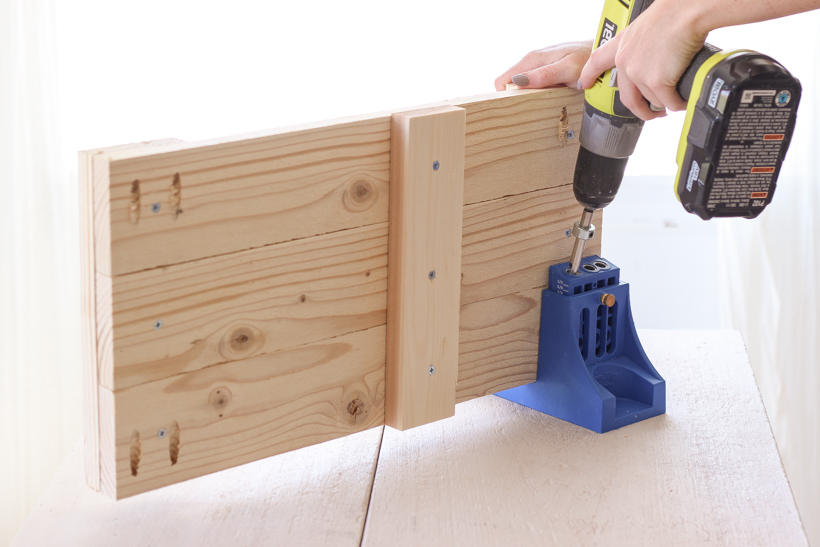
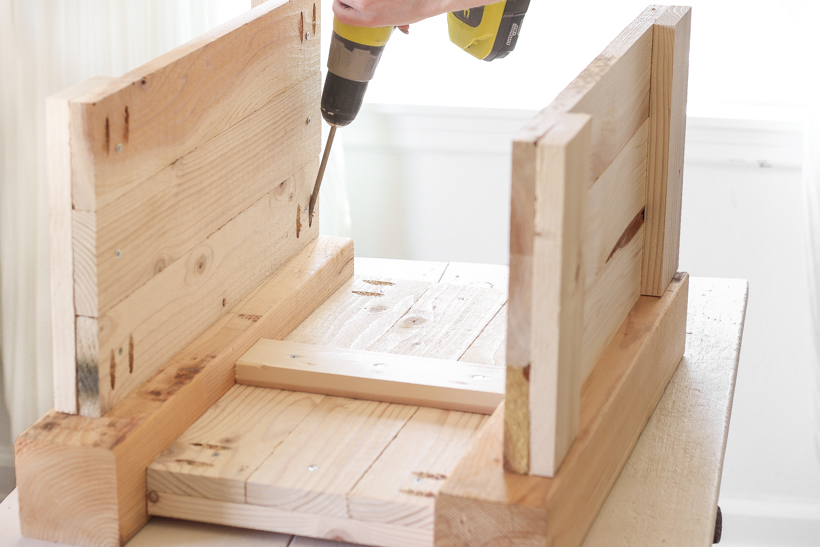
Lay one of the completed sides down with the cleat facing up, and attach the two sides without a cleat to a leg using glue and 1 1/4″ pocket hole screws. The pocket holes, screws, and cleats will all be hidden inside the planter, and the trim pieces should be facing out.
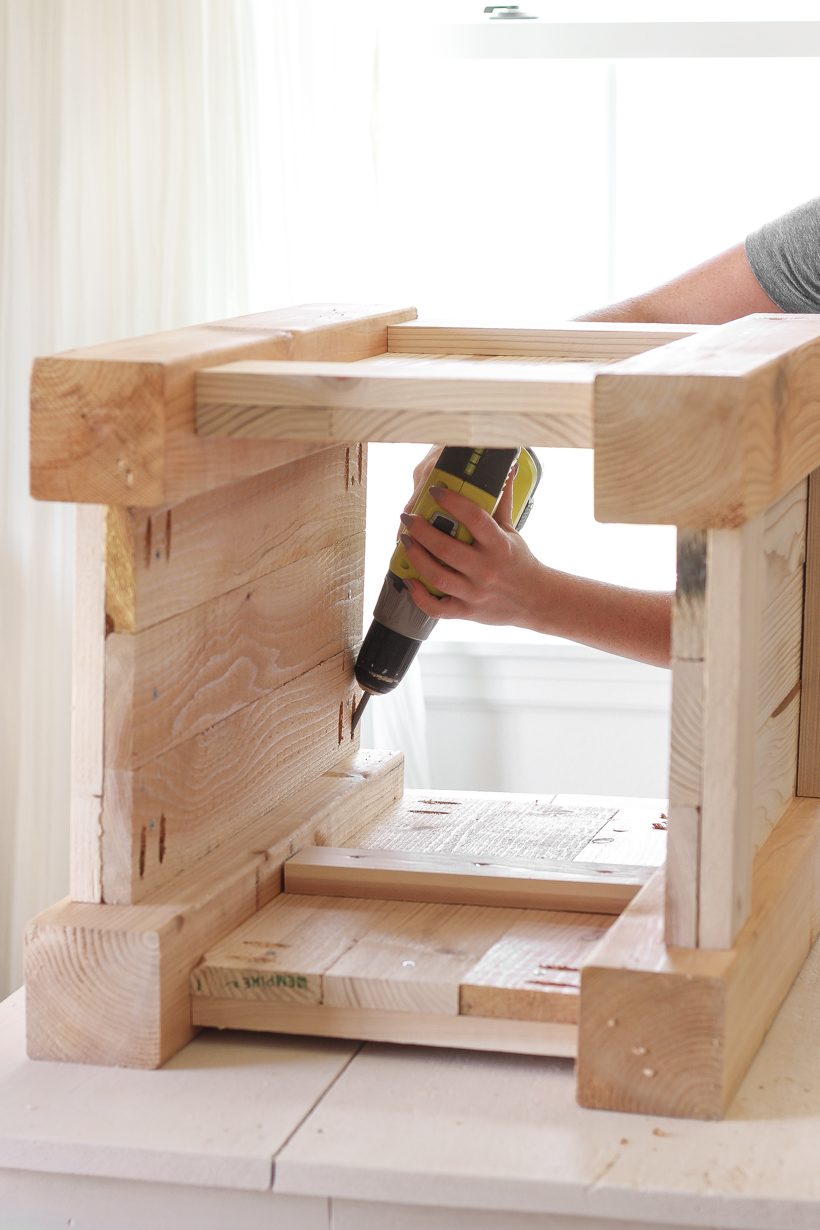
Attach the last finished side with glue and 1 1/4″ pocket hole screws.
Note: Because of the size of the planter, it may be a tight fit to get your drill inside to attach the last side. Kreg Jig makes both a 6″ and 3″ long square driver bit, and I had to run to the store to buy the shorter 3″ driver to finish attaching this side. You could also use a screwdriver that has a #2 square bit attachment, but a drill is much easier!
STEP 6
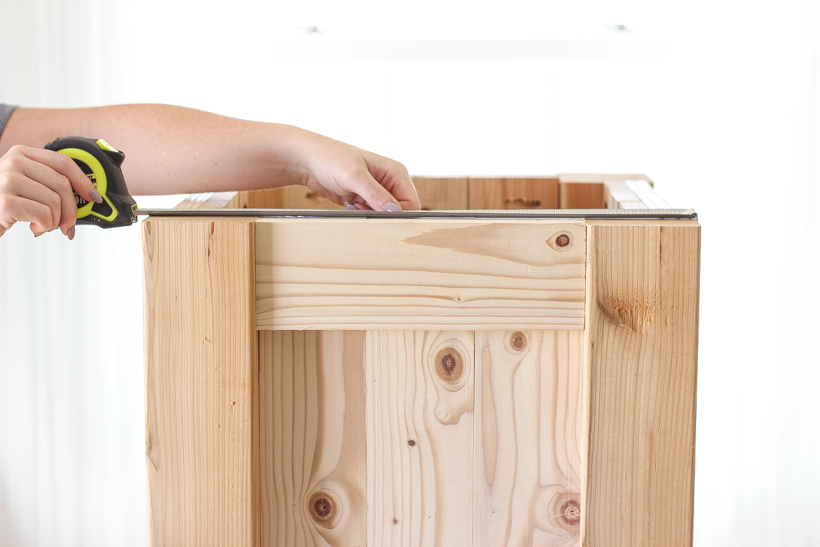
Sit the planter upright and measure the width of the top. Cut two 1 x 4 boards to that measurement (approx. 17 1/2″) to use as the longer top trim.
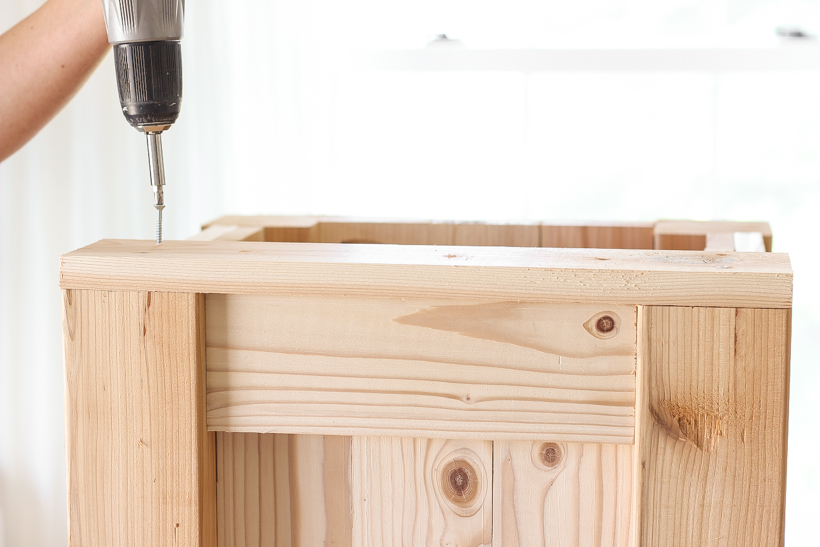
Attach the trim to the top of the planter with glue and 1 1/4″ wood screws. The trim should sit right on top of and flush with the 4 x 4 legs and have a small overhang over the side trim.
Then, measure between the two longer top trim pieces you just added to get the length for the shorter top trim pieces (approx. 10 1/2″). Cut two 1 x 4 to that length and attach to the top with glue and 1 1/4″ wood screws.
Note: I chose to use screws to attach the top trim, but you could also use brad nails instead. I wanted to make sure the trim wouldn’t start to pull away from the planter as it ages, so that is the reason I went with screws over nails, but you can also use wood filler over the screw heads to hide them in before you paint or stain. The plant I added will cover up the screws anyway, so I didn’t worry about that step, but the choice is up to you!
STEP 7
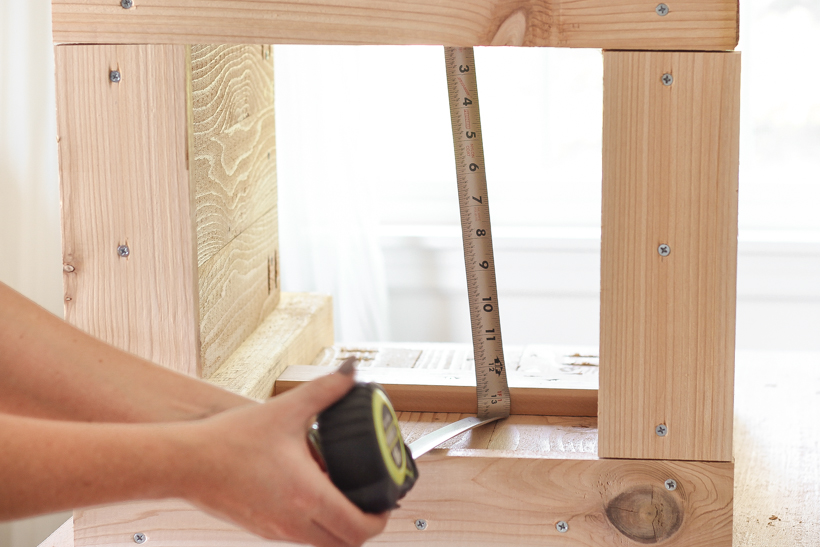
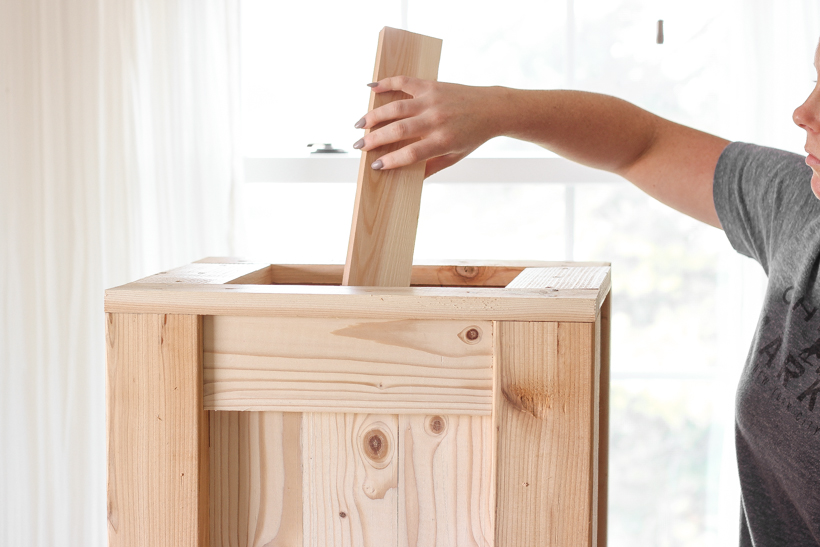
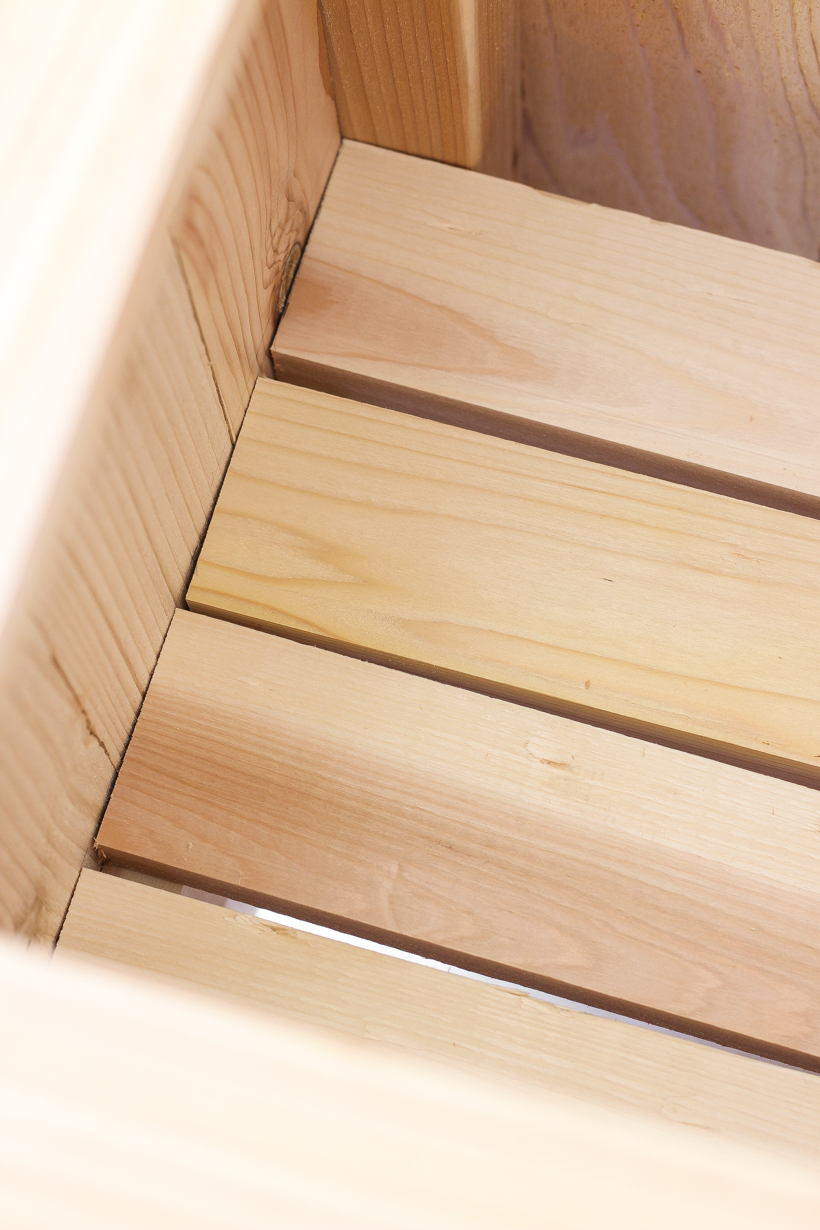
Measure inside the planter where boards will lay across the cleats to create a platform for a potted plant (approx. 13 1/2″). Cut four 1 x 3 pieces to that length and lay them across the cleats.
STEP 8
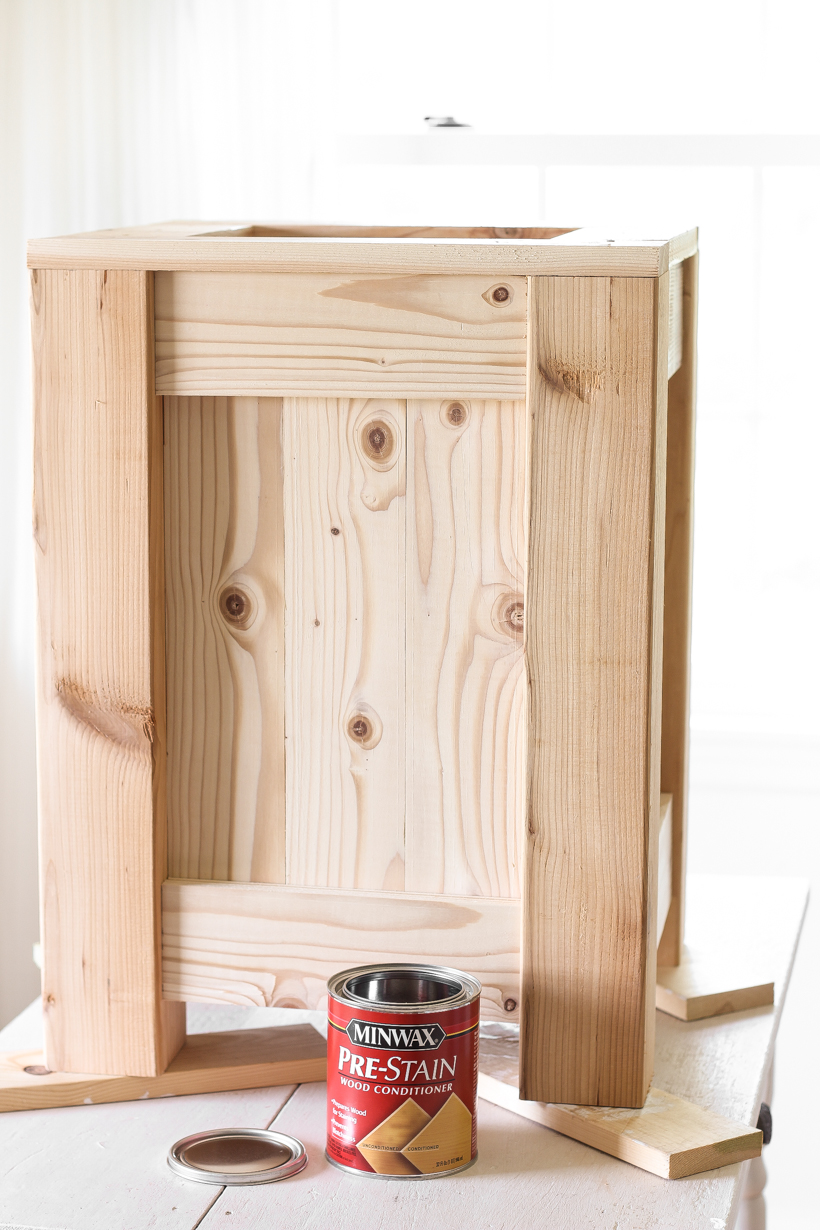
Apply Minwax Pre-Stain Wood Conditioner to the entire planter, and allow it to penetrate for 5-15 minutes before removing any excess that has not soaked into the wood with a clean rag. The conditioner helps the stain soak into the wood more evenly and prevents any blotchiness or streaking.
STEP 9
Within two hours of using the wood conditioner, apply Minwax Wood Finish Stain on the entire planter and allow it to penetrate for 5-15 minutes to achieve the desired color. The longer you leave the stain on the wood, the darker and richer the color will be, but make sure to remove any stain that has not absorbed into the wood with a clean cloth after the maximum 15 minutes. If you still want the color to be darker after the first coat, apply a second coat after allowing the first coat to dry for 4-6 hours.
I chose the color Driftwood for my planter because cedar naturally weathers and grays over time anyway, and I thought the subtle aged gray finish would be the perfect compliment. I also really like the natural look of cedar and didn’t want to do something too dark and dramatic that would take away from its beauty!
Allow the stain to dry for a minimum of 8 hours (or more for high humidity or low temperatures) before applying a protective finish.
STEP 10
For outdoor projects like this planter, it’s important to choose a finish that will help protect the wood over time. I used Minwax Helmsman Spar Urethane in Clear Satin because it is specially formulated for wood exposed to sun, moisture, and temperature changes. UV blockers reduce graying and fading from the sun, and special oils allow the finish to expand and contract with the wood as the seasons and temperatures change. It also creates a protective barrier from rain and moisture, so your planter will last for many, many years to come!
Apply a thin coat of Minwax Helmsman Spar Urethane using a natural bristle brush. Allow it to dry for at least four hours, then sand the entire surface lightly with very fine (220 grit) sandpaper to ensure and even finish and good adhesion for the following coats. Apply a second coat and third coat, again allowing to dry four hours and sanding in between coats. After the final coat, allow the planter to dry for a full 24 hours before normal use.
I hope you guys are enjoying doing some outdoor projects this summer! Stay tuned for more from me, sweet friends. xoxo Liz
I partnered with Minwax on this post, but as always the thoughts and opinions shared are 100% my own. Thank you for supporting our blog and brand partners!


Oh Liz, I love your planter boxes!! They are beautiful. Your decorating style is so awesome – just like you. I look forward to reading all of your posts. You are the best!
Can you give a very rough estimate of cost for these planters?
I want to say everything included they were around $50-60 each!