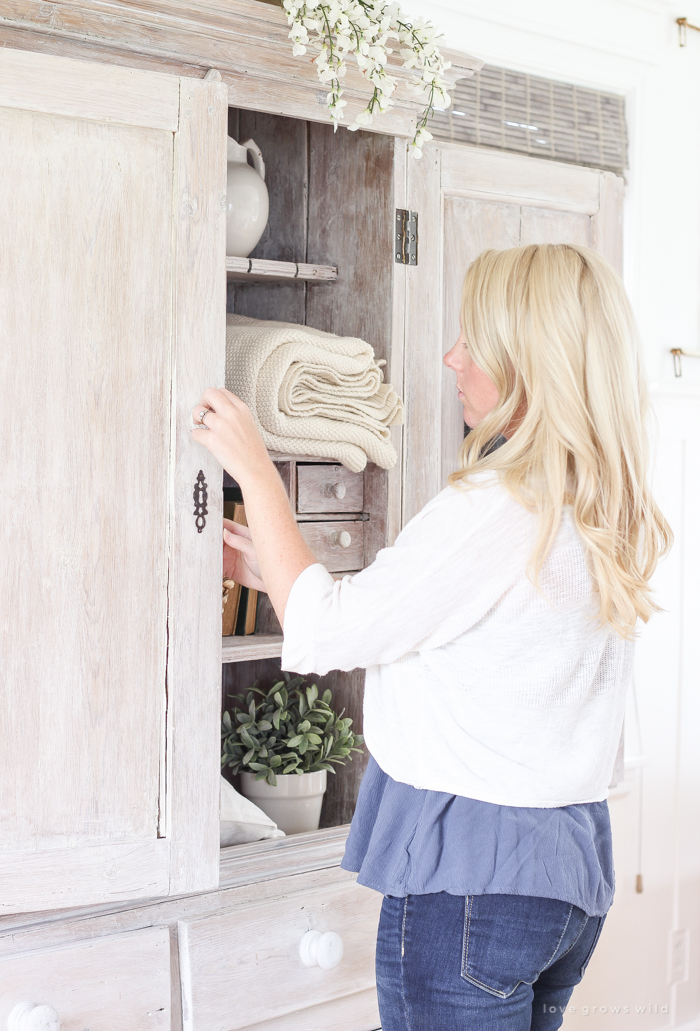
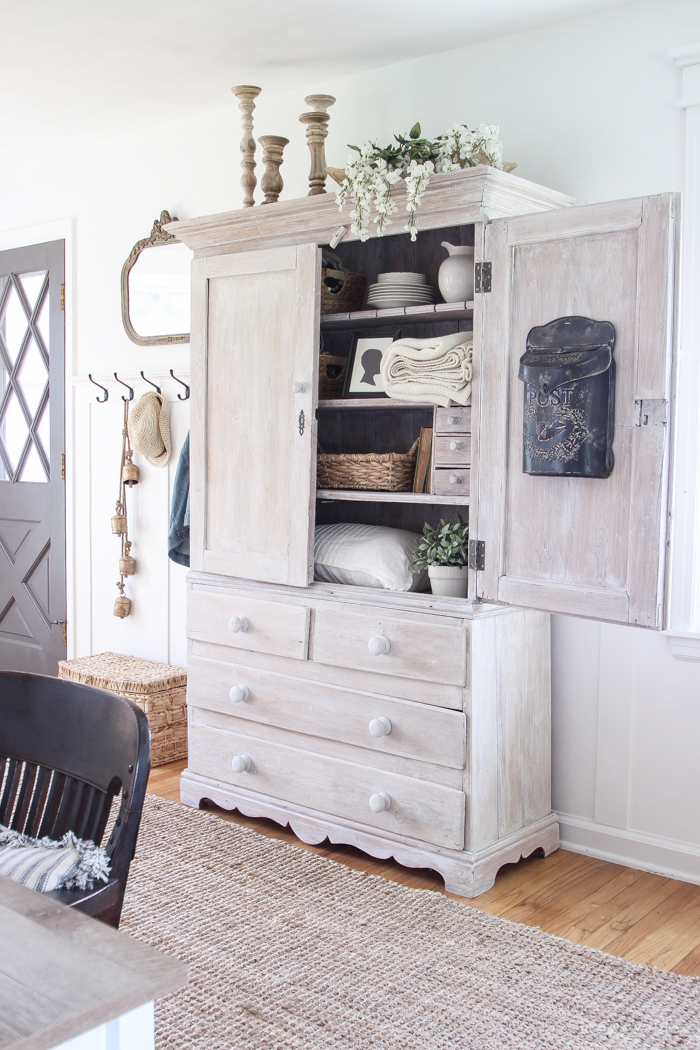
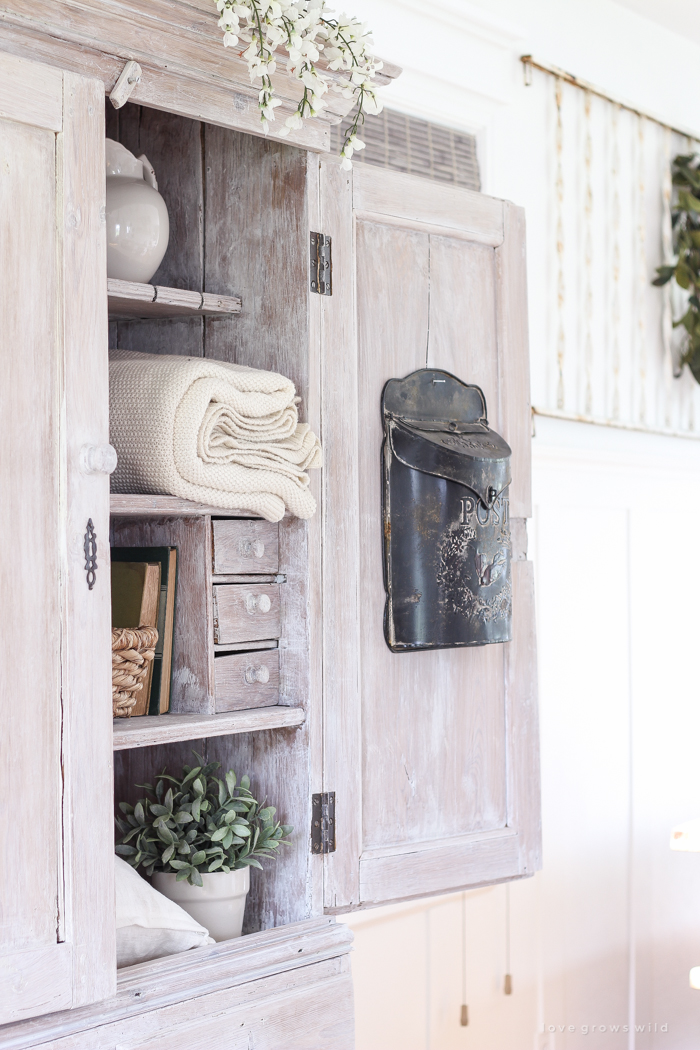
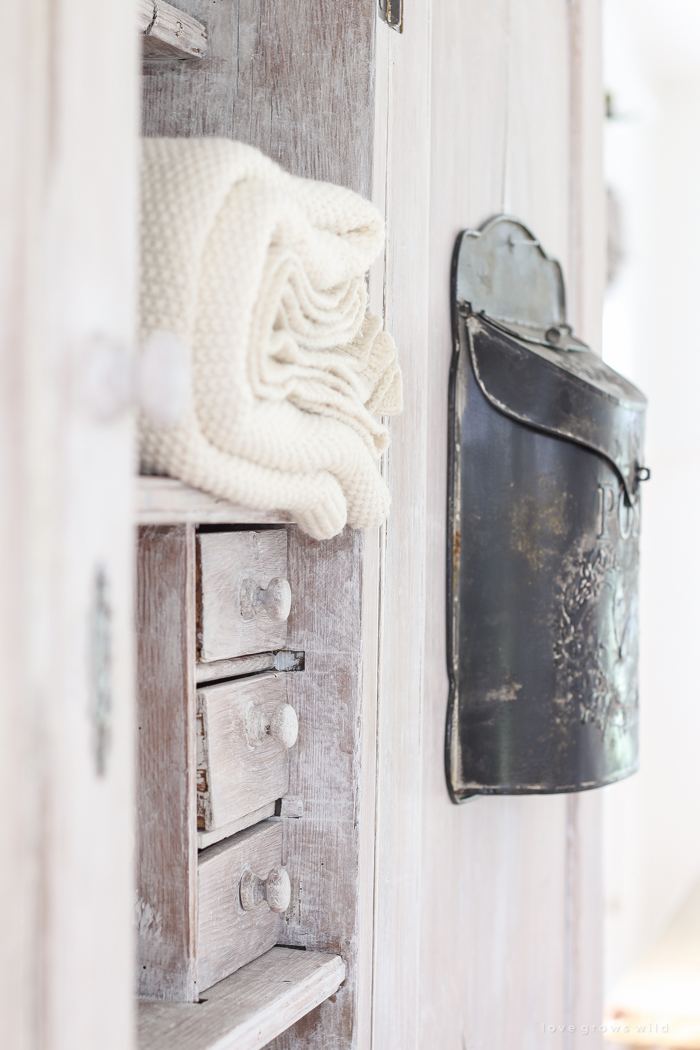
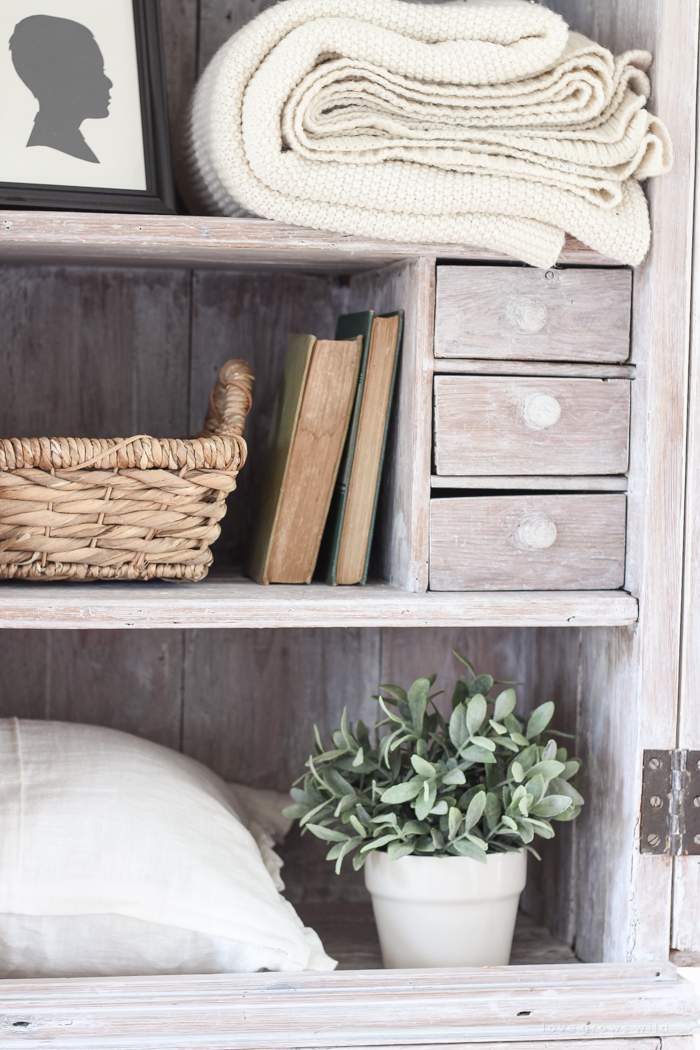
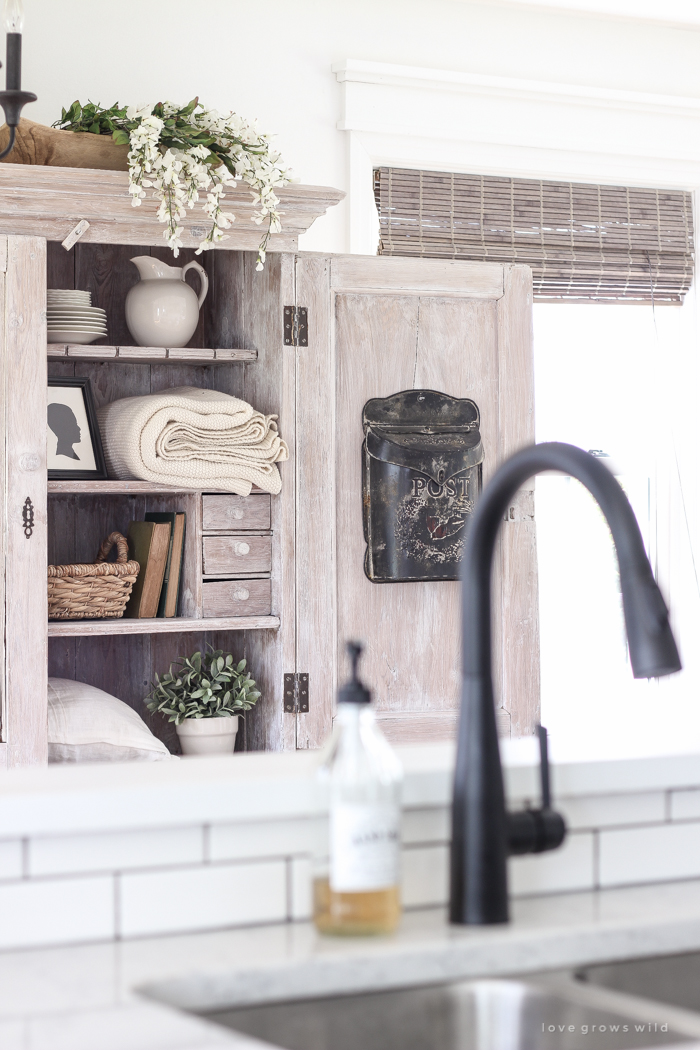
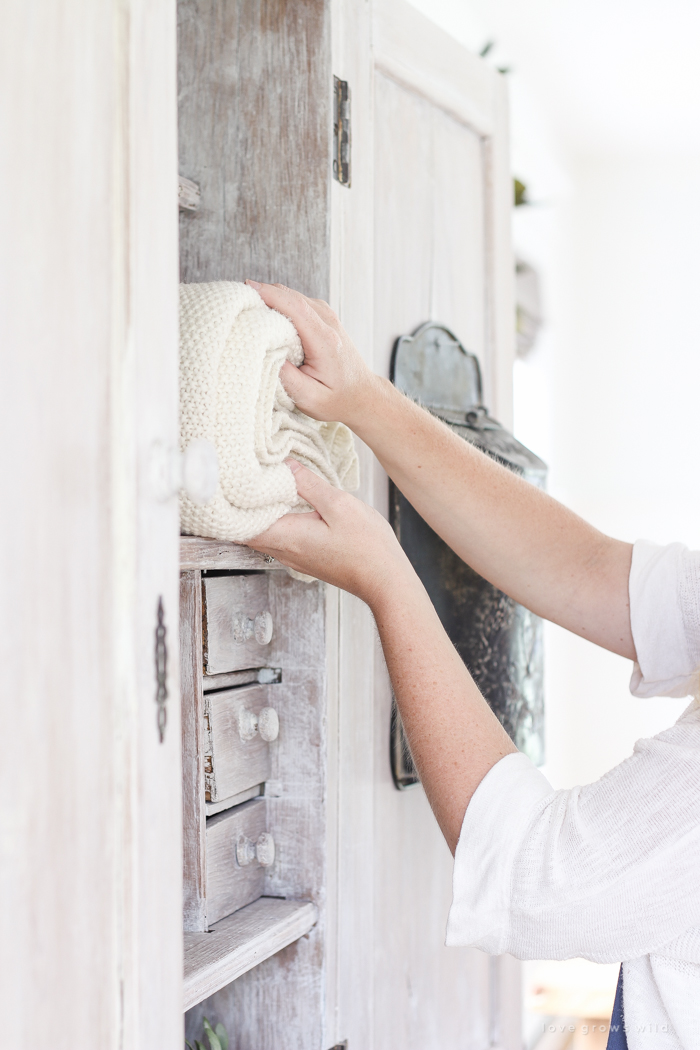
This project/tutorial has been on my need-to-blog list for way too long, but starting the new year (and getting a pretty new blog planner) has finally motivated me to get it done! Last summer I transformed this antique armoire in our entryway from the original rustic wood finish to a soft, dusty white, and I’ve had a ton of questions on how I got this look. So I thought I’d put together a whitewashing tutorial for you guys and show you how I did it! I’ve painted quite a few pieces of furniture in our house, and this technique is one of my very favorites because it tones down the color of the wood but still allows the gorgeous wood grain to show through the paint. And it’s really easy to do!
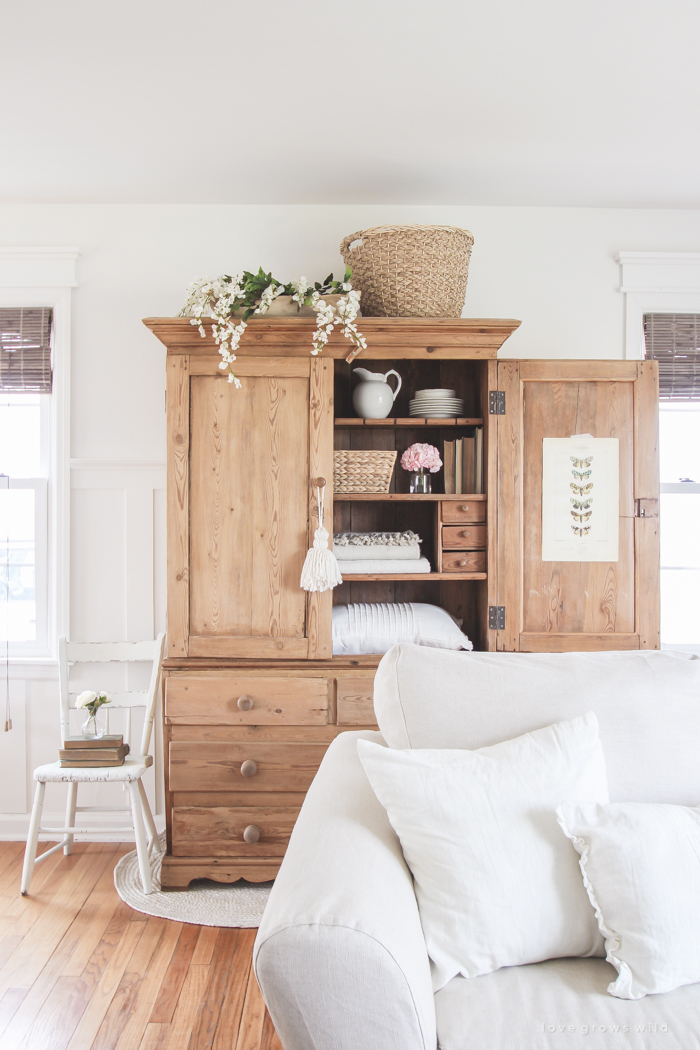
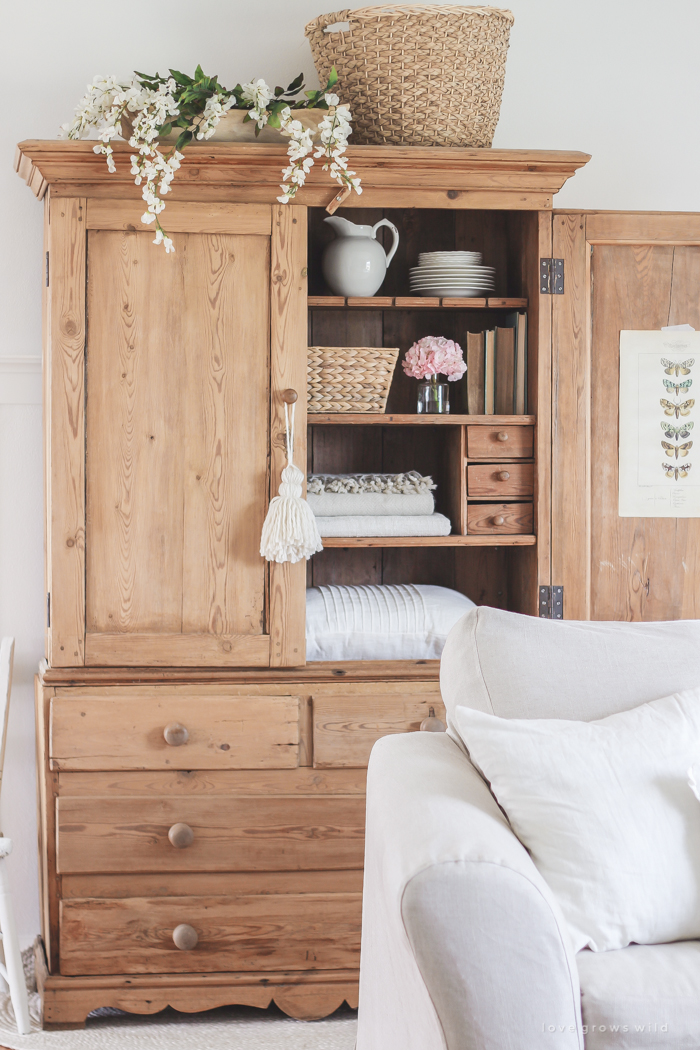
When I first brought the armoire home, this is what it looked like sitting in our living room…
It is such a beautiful rustic piece, and originally I thought I would leave the wood untouched and let it stand out against the white walls. But as I lived with the armoire for a few months and played around with different ways of decorating it, I kept wishing it was white… what can I say? You guys know that light, bright, white farmhouses are my thing! I waited a few more months just to be ABSOLUTELY certain that I wanted to paint the armoire. With a huge antique piece like this once you start painting, it’s hard to go back! But I knew in my heart that I would love it even more if all that wood was brightened up, so I spent an afternoon with my paint brush and Chris Stapleton on the radio and whitewashed my armoire!
Supplies:
white paint (latex or chalk paint)
paint brush
drop cloth
rags
Step One:
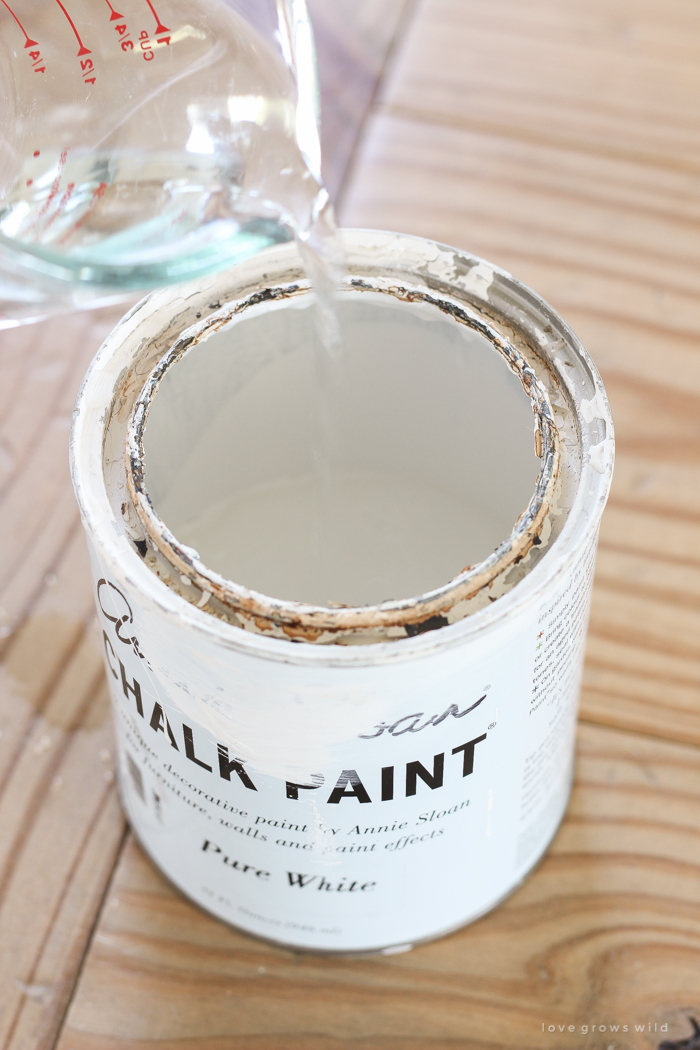
Mix your paint with water in a 1:1 ratio, equal parts paint and water. The mixture will be pretty runny, so be sure to lay down drop cloths under and around your piece of furniture to protect your floors.
Step Two:
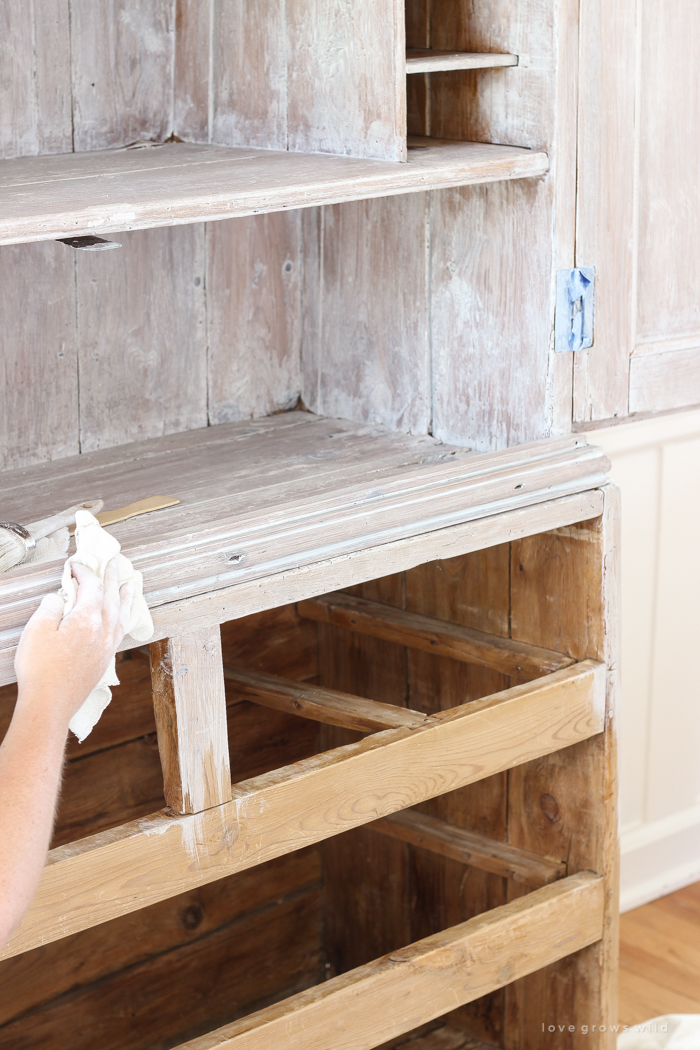
Before you start painting, I would recommend doing a small application test either on a scrap piece of wood or somewhere unnoticeable on the piece of furniture, either on the back or the underside of a drawer like I did. Whitewashing is more of an art than a science, so it’s important to practice before you start. Apply an even layer of paint to the wood using a paintbrush in the direction of the wood grain, then use a clean rag to wipe away the excess paint. Work in small sections at a time (I would say no more than 1 or 2 feet at a time) so the paint doesn’t dry too much before you have a chance to wipe it.
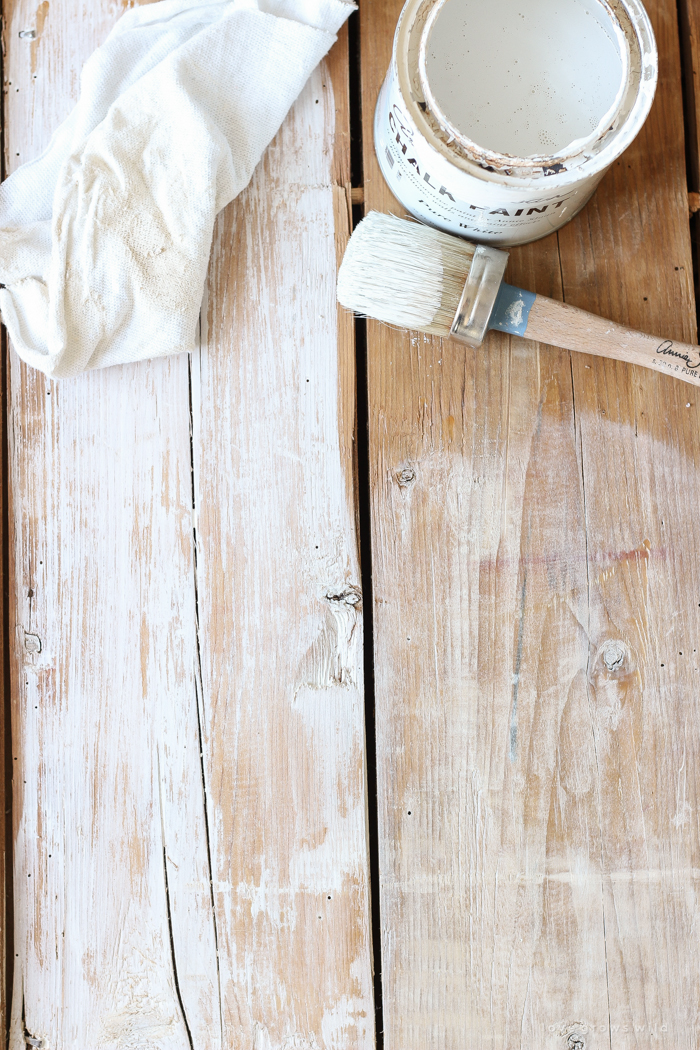
In the photo below, you can see on the left side I started with a less watered down mixture and let the paint dry just slightly before wiping with a rag. The paint was a little too thick still and covered up too much of the wood grain for the look I wanted, and I also had to scrub reasonably hard when I wiped the paint to expose some of the wood. I do actually like this look, but it gave me more of a chipped paint finish than the whitewashed look I was going for.
On the right side of the photo, I added a little bit more water to the paint (using the 1:1 ratio I recommended in step one) and wiped the paint immediately after it was applied. This technique gave the wood that perfectly faded, whitewashed look and was so simple do!
Tips:
If you don’t want white hands like I ended up with, I’d recommend wearing a pair of gloves for this project.
Keep plenty of rags handy because you’ll go through a fair amount of them, depending on how large your piece of furniture is.
If you notice that the paint is looking splotchy after you wipe or if it isn’t wiping easily, wet the rag with water or spray the paint lightly with water using a spray bottle. Once the paint is wet again, you’ll be able to blend it in better. You may also need to add a little more water to your paint mixture if it is still too thick.
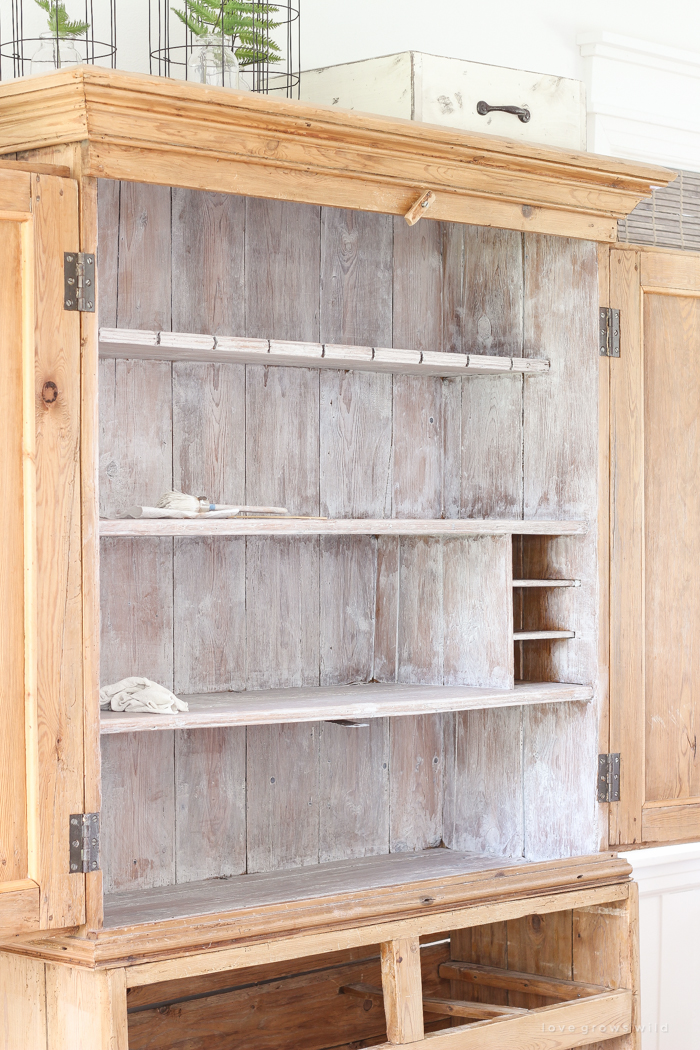
Painting this whole armoire took just a few hours, and while it is a somewhat messy project, it is really easy to do! I only applied one coat of whitewash to the armoire so the wood grain would show through nicely and did not apply any topcoat. I wanted a faded look anyway, so I saved the extra time and effort and skipped a topcoat! If you are going to use a topcoat, I would recommend a clear wax like this one.
This armoire is probably one of my favorite things to decorate in the whole house, and I am so glad I went with my gut and decided to lighten it up. It feels much more “Liz” now! I hope this whitewash tutorial answers any questions you had, and if not, please let me know!
More paint tutorials:
How to Distress Paint with Vaseline
Hutch Makeover with Chalk Paint and a Paint Sprayer
LET’S KEEP IN TOUCH!
Subscribe to Blog | Follow on Instagram
Follow on Pinterest | Follow on Facebook




I really really loved the before best. Sorry.
Did you wax it after you finished? I got a bit confused on that part. Thank you! This may be just what I need to do to the bookcase I have that had a bit of a wash but over the 30 years the pine has now turned too dark.
Hi Gwen! I actually didn’t wax this piece (mostly out of sheer laziness, if I’m being totally honest!), but I would use either a clear wax or my favorite matte finish poly (found here) if I did! I hope this helps! xoxo
You did a great job!
I love it, but I wouldn’t have the guts to do this. I would have left it plain wood, which I also love. 🙂
Awesome and useful post! I’m actually thinking about doing something like that to our unfinished wooden chairs. I may opt for black or gray smoke instead, but still, great food for thought!
Wow, this is amazing! I love what you did her. I want to do something with my cabinets in our lundry room, thanks to you, I know wat to do now.
I love ❤️ every thank you do : ) you are such inspiration! It is stunning ! Did you used any thing too seal after you apply the wash ? Thank you
Hi Eliane! I actually didn’t seal this piece (mostly out of sheer laziness, if I’m being totally honest!), but I would use either a clear wax or my favorite matte finish poly (found here) if I did! I hope this helps! xoxo
Do you think this method would work on oak kitchen cabinets (slightly on the orangey side)? And if so what other prep steps would be needed? Floors Are dark wood laminate.
Love the outcome of your armoire!
Liz I just found your blog through another and I absolutely love the whitewashing. I bought a huge cabinet that I thought would fit in our hallway – well it didn’t so I put it in the corner of our living room. I love the storage it affords but it is like a big brown hole in the living room. I love color – heck our living room is painted pumpkin but I could NOT bring myself to do anything with this cabinet. I will now! We live in Connecticut and are in the middle of a blizzard at the moment so it will have to wait a day or two but I am going to do this. Thank you so much for sharing. Incidentally I just signed up to get your blog.
How much would you sell one of those vertical hanging planters for?
This is so beautiful and your house is gorgeous and so soft and and cozy. I have so many pieces of furniture that I want to white wash! Thank you- pinning!
One of the best I’ve seen. Did you sand the armoire first?
I did not because the wood was natural and ready for paint to adhere well. If the wood had a slick finish or a previous paint job, I would definitely recommend it!