Hi friends! We’ve been so busy working on our master bedroom lately that I thought it would be nice to take a little break and share this story with you today. My Instagram followers have already heard the story behind this project, but for those of you who missed it, here is the story I shared:
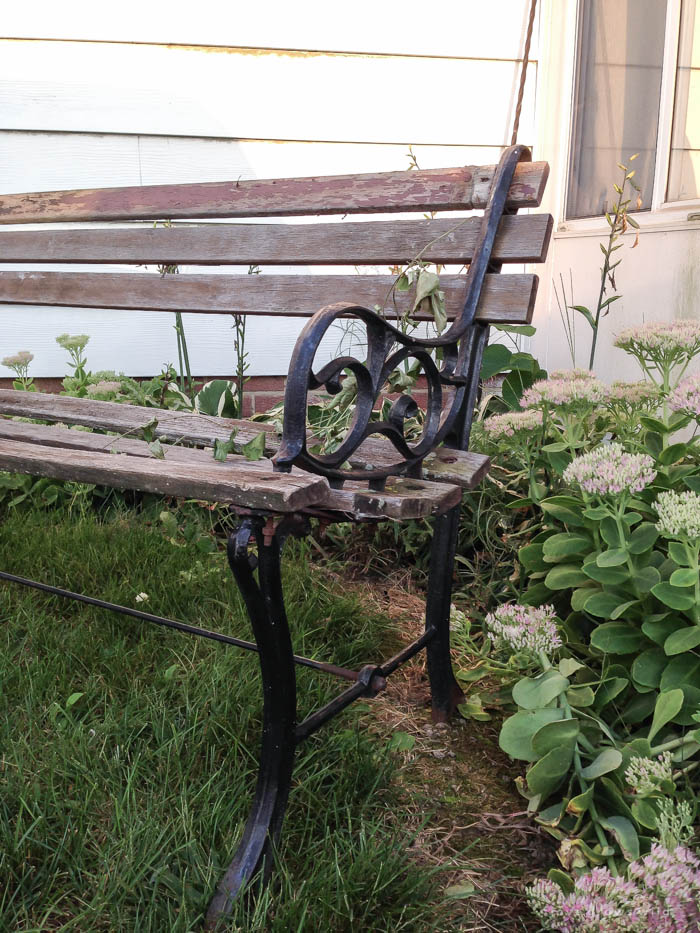
Tonight as I was leaving the gym, I drove past a pile of junk sitting on the side of the road. Most of it was garbage, so I decided to keep driving. About halfway down the road, I couldn’t get this little bench off my mind. I turned the Jeep around and asked the sweet lady if I could take a look at what she had. The bench was in rough condition and worn, with one broken board and a dead vine growing up through it. But I said I’d take it anyway and sent Jeremy to pick it up since the Jeep wasn’t big enough.
A little while later he came back with the bench, and I halfway expected him to make some comment about what junk I was dragging home now, because let’s face it… he knows me too well! But this time, he didn’t. He said, “Babe, my grandma and grandpa had a bench that looked just like this up at the farm. It sat by the front door for as long as I can remember, and grandpa would sit there with me telling me all his favorite stories.” Turning the car around for this old bench was the best decision I made all day. Such a simple thing brought back so many sweet memories of his grandparents and the farm, and now we get to fix this piece up and enjoy it in our own farmhouse. This is why I love what I do… I get to create this beautiful home for my family that is filled with love and laughter and memories of the past. Thank you for sharing this journey with me, sweet friends! I’ll keep you updated on what we do with the bench!
Here is what the bench looked like when we first brought it home:
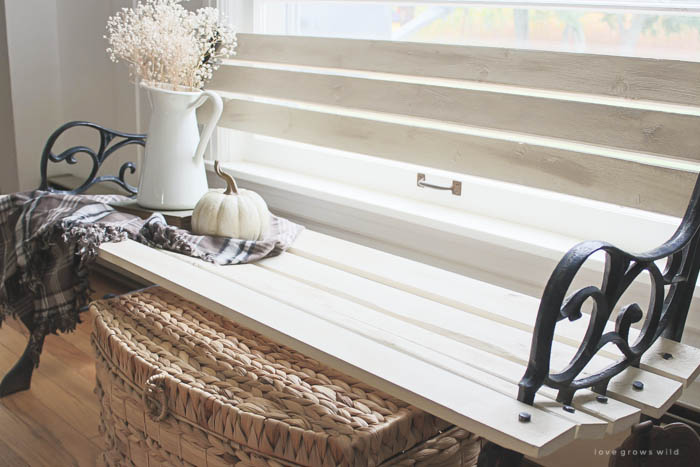
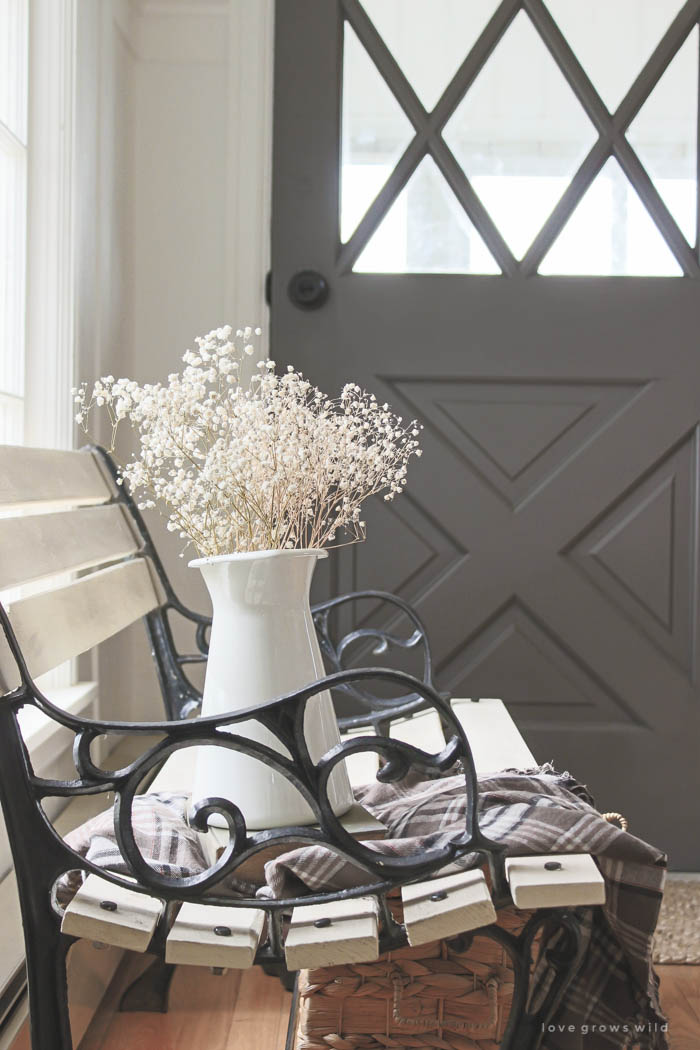
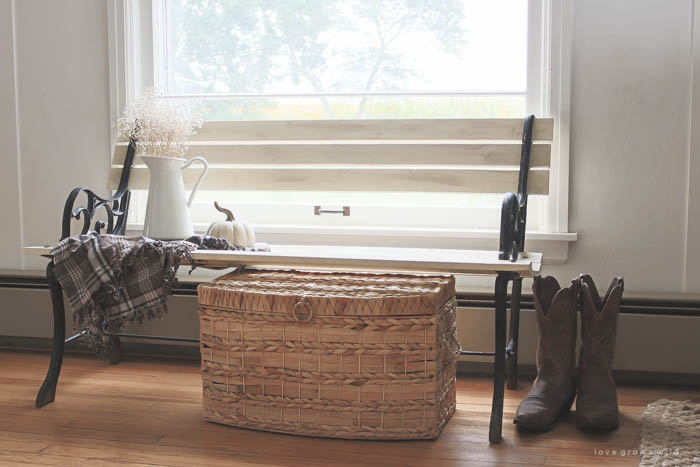
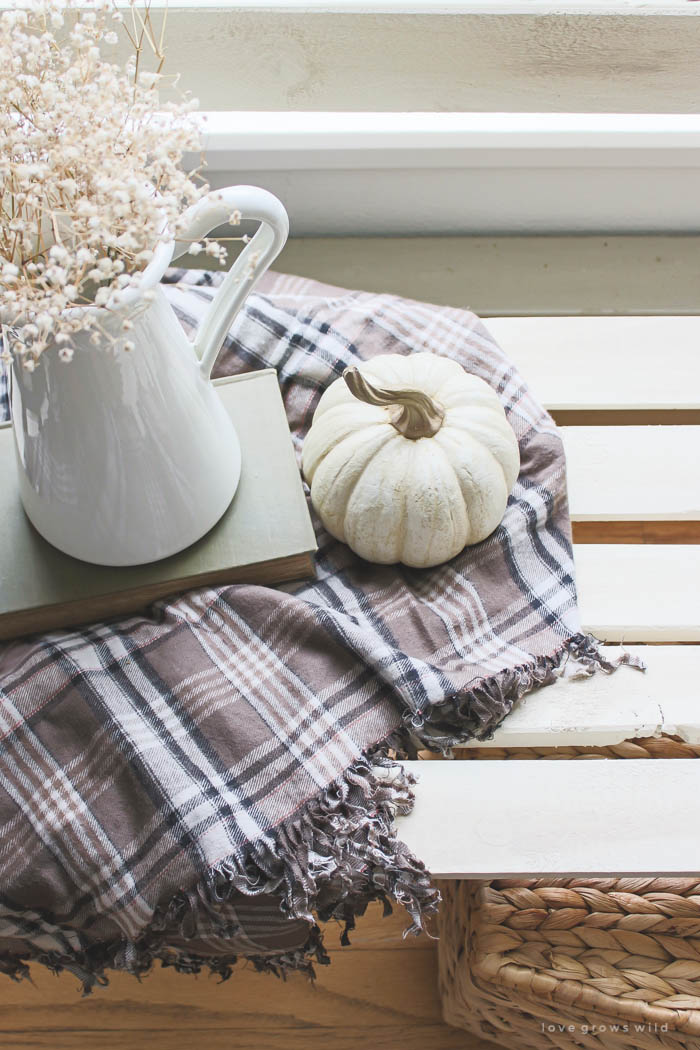
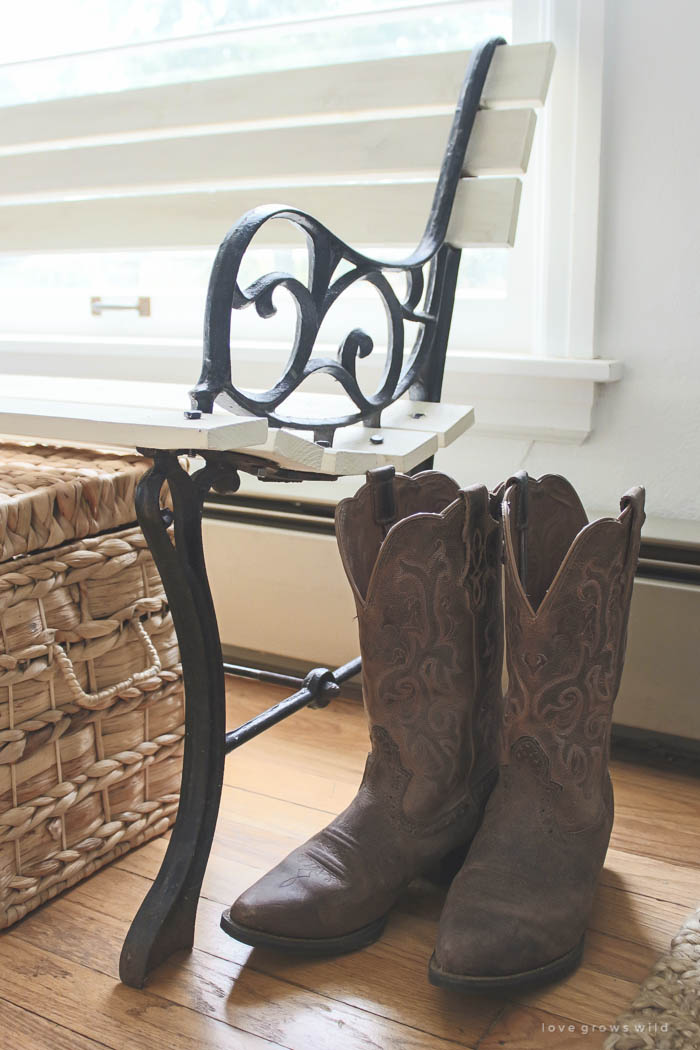
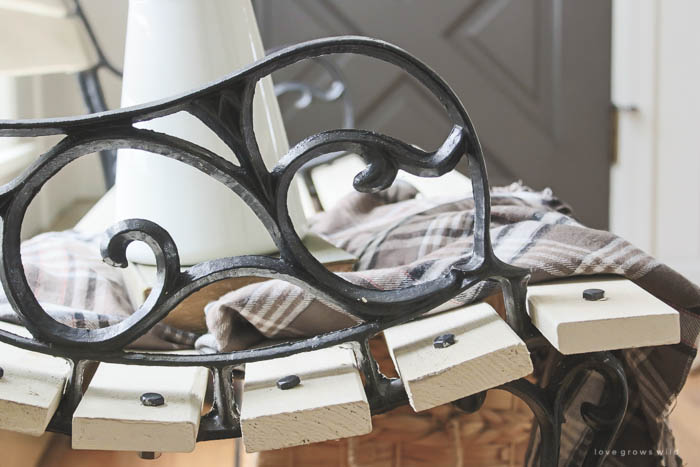
It was obvious that all the wood needed replaced, so that was the first project we tackled. Jeremy picked up some 1 x 3 boards and cut them to fit the bench. Then I sanded each board, cleaned off the sawdust, and applied a coat of Chalk Paint ® by Annie Sloan in Old White. Once that was dry, I added a coat of clear wax and buffed it into the wood. To soften the bright white paint and give it some age, I mixed a little bit of the Chalk Paint ® with dark wax and buffed it into the wood. I didn’t completely cover the boards in the dark wax, just certain areas to give it a naturally aged look. Once they were dry, we attached the boards to the cast iron frame with new bolts, washers, and nuts.
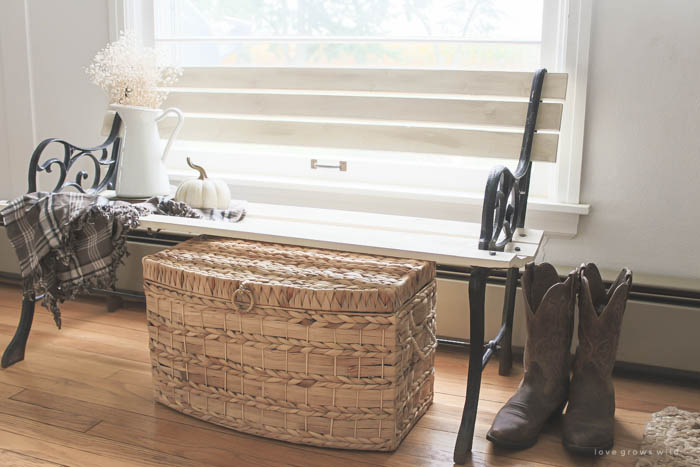
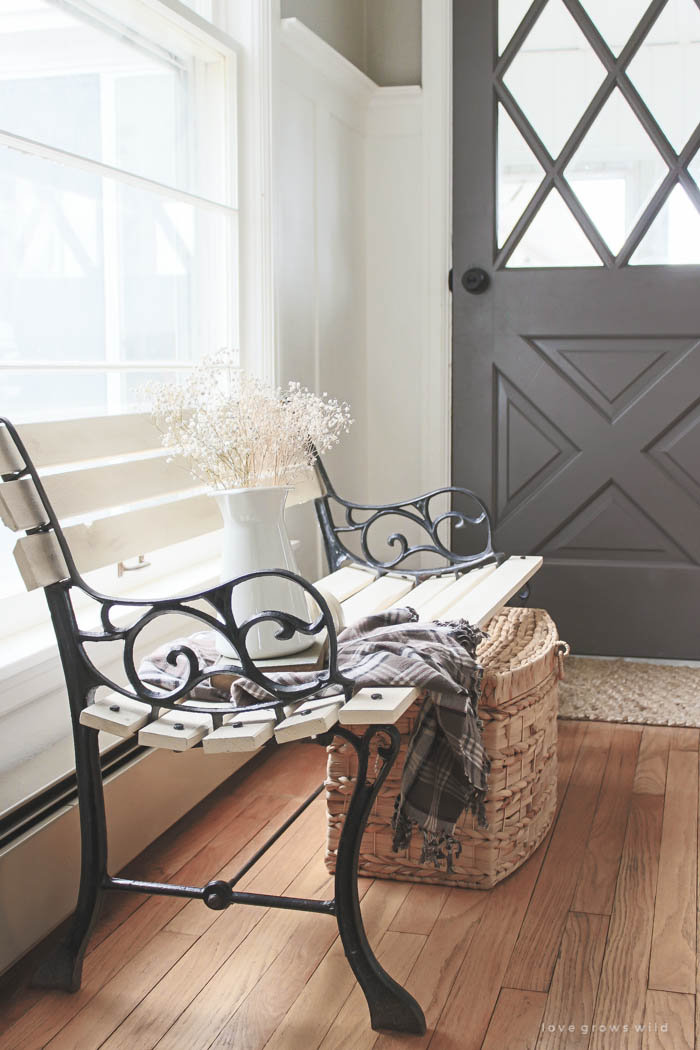
We moved the bench into our dining room/entryway right in front of this sunny window, and I just love the coziness it adds to the space!
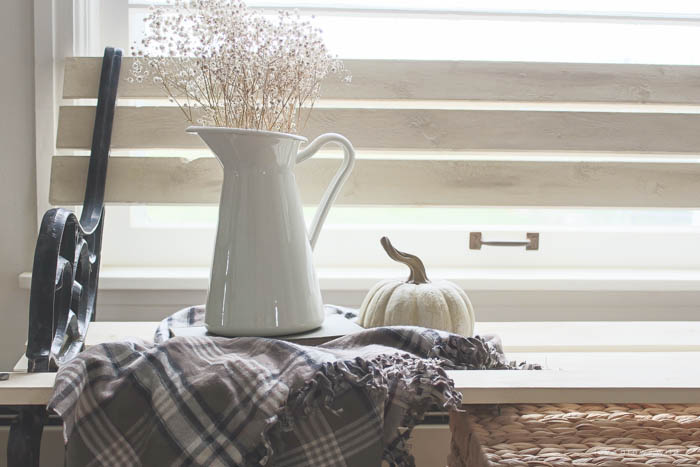
Of course, with fall just around the corner, I couldn’t resist adding a pretty pumpkin and plaid blanket. I just love this time of year!
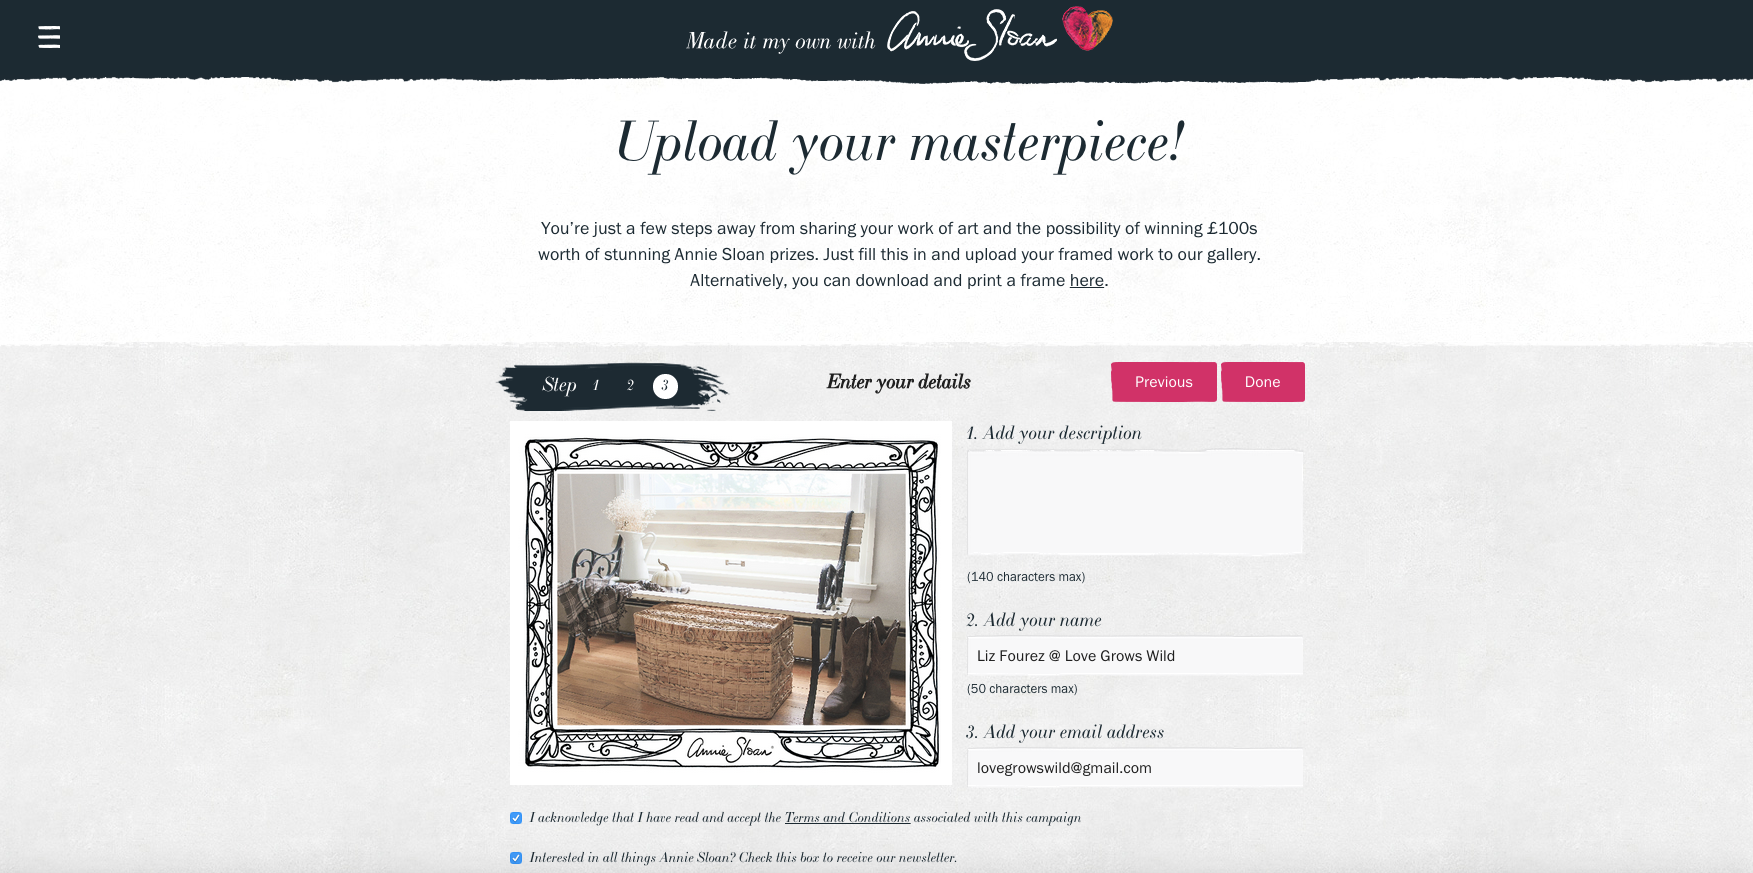
I’ve used Chalk Paint ® for many furniture makeovers over the years, and I know a lot of you use it too! Annie Sloan recently launched the Made It My Own campaign where you can upload a photo of your Annie Sloan projects to their interactive online gallery. It’s really easy! The projects can range from furniture to flooring to decor and everything in between. By posting your project to the gallery, you will automatically be entered for a chance to win hundreds of dollars worth of Annie Sloan prizes, including Chalk Paint ®, signed books, and a unique illustration drawn by Annie herself!
To get started, snap a photo and upload it to the gallery here. This is what my entry looked like:
After you’re done, share it on Facebook, Twitter, or Instagram and be sure to use the #MadeItMyOwn hashtag! If you need help finding Chalk Paint ® by Annie Sloan in your area, click here to locate a stockist.
I’ll be keeping an eye on the #MadeItMyOwn hashtag on Instagram, and I can’t wait to see what projects you guys share! I’m always showing you my projects, so it will be fun to see YOUR beautiful homes for a change!
Thank you to Annie Sloan UNFOLDED for sponsoring this post! I was compensated for my time, but all opinions are 100% my own. I appreciate you all for supporting the brands that make this blog possible!
LET’S KEEP IN TOUCH!
Subscribe to Blog | Browse my Shop | Follow on Facebook | Follow on Twitter
Follow on Google+ | Follow on Pinterest | Follow on Instagram




The story behind this bench is incredible. You and your husband were meant to find it and bring it back to being something of beauty.
what a wonderful project and story. You are truly talented, I recently found your blog and I am really enjoying your posts. We will have to do a shower redo too – soon so I’m taking notes and looking forward to each post. Hope all continues to go well with the new shower.
Hi Liz what a fabi idea you had here, looks amazing, what’s more amazing look at all those memories you are going to make !!! 🙂
Fantastic idea!!! Now I want to find one. 🙂
Hey, wait a minute!! That is my bench!! Lol. I have one exactly like it setting north of our house with weeds growing up through. Haha! YOU have inspired me!! Thank you!! Yours is lovely!!
Beautiful! I love it…and the story, thanks for sharing!
What a transformation. Thanks for sharing. That bench sure looks familiar.
It was beautiful – in the rough – before allthe work. But worth every bit of time and energy. It is really beautiful. And, it is a bench for all seasons…truly.
Oh my that is fabulous!!!! Love the accompanying story too…..this bench is so special! You sure did the right thing by turning around. You could even change it seasonally, at Christmas you could add red and green cushions to it!
DakotasDen
You’ve done great job with this bench!
love this! I am redoing a bench that was my husbands grandparents… Just wondering if you did anything to the metal? I’m also trying to decide if I should use the old wood or not because most of it is still good but a few are bending….
Nope, left the metal as is! Well… I removed quite a few cobwebs first. 🙂
I have a similar bench in my garden. It is in rough shape and needs some boards replaced. It will be well worth the effort. You got a great find and really spruced it up.
What an elegant upgrade for the bench. I have a similar bench that has sat on my front porch for fifteen years. It is beginning to look bit shabby. Your makeover has got me thinking.
i picked up one on the side of the road also !! i love other peoples junk !! love what u did to yours when i get to mine ill send pics !!
What is the name of the paint color of your front door? Love it!
Hi Christina! It’s Rust-Oleum’s Door Paint in Rustic Pewter. 🙂