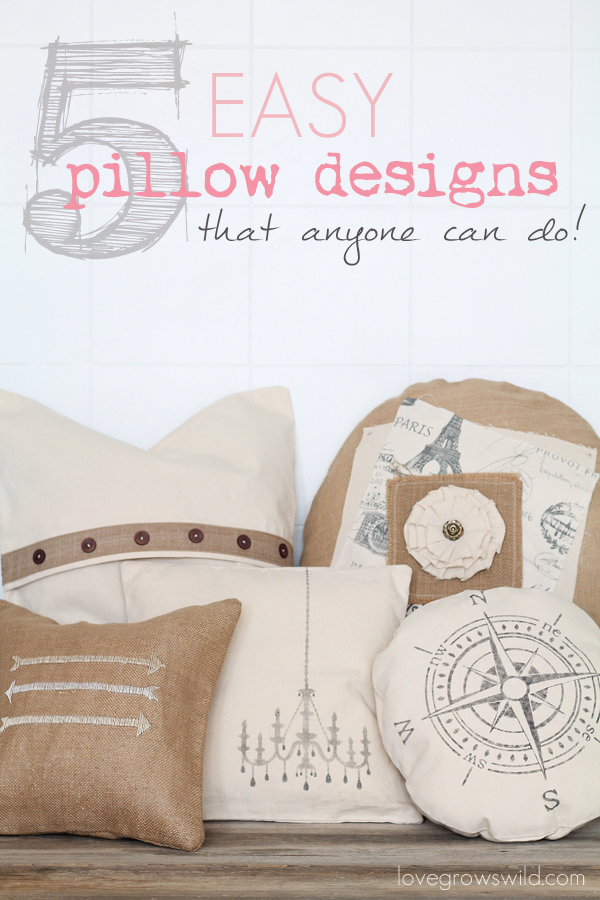
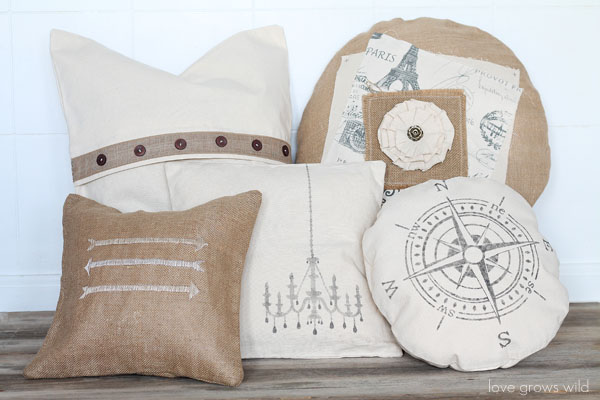
Are you ready to experience some gorgeous pillow eye candy? I hope so! Today I’m sharing 5 easy breezy pillow designs that ANYONE can do! No detailed sewing instructions and no serious crafting skills required… Just fun, easy pillow designs that all start with pre-made pillow covers!
I have friends of mine say all the time, “I’m just not crafty enough to do that!” When I first started creating things for our house, I had little supplies, little skills, and very little knowledge on what I was doing. Trust me, I’ve definitely experienced my fair share of project fails! I would pin ideas like crazy on Pinterest and feel so intimidated by them, so I wanted to put together a series of simple, yet stunning DIY pillows that even a beginner crafter can tackle!
Pillow #1:
– envelope back square canvas pillow cover (from Canvas Corp)
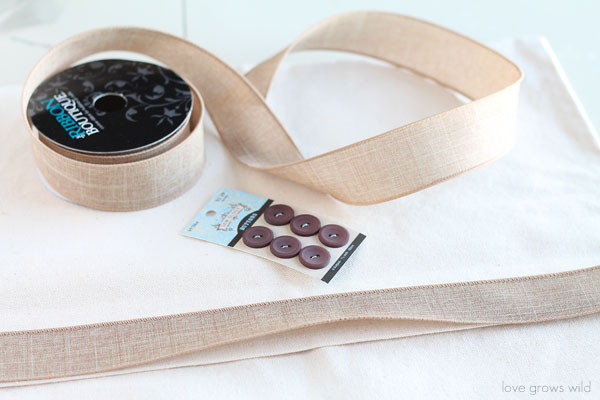
– ribbon
– buttons
– iron-on adhesive
– needle and thread
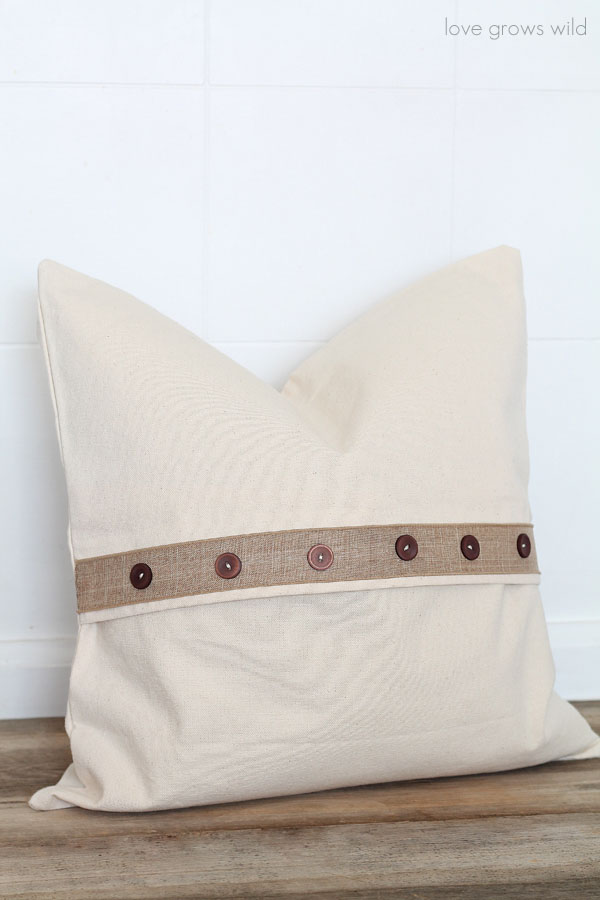
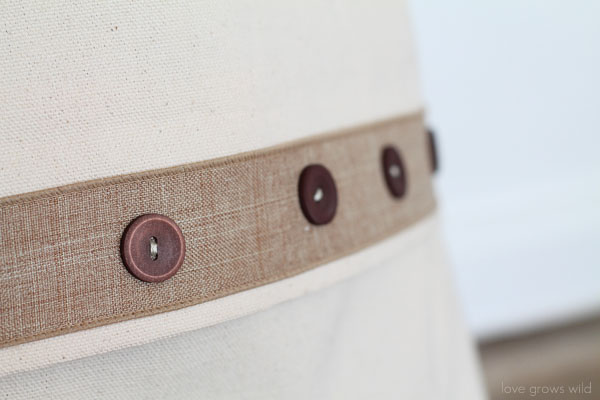
This pillow was probably the easiest of all! Instead of using the front of the pillow cover, I flipped it over and decorated the envelope flap with ribbon and buttons. I just cut a piece of ribbon the width of my pillow cover and used iron-on adhesive to attach the ribbon right on the edge of the envelope flap. No sewing machine required! Then I added some wood buttons to the ribbon with a needle and thread for a little extra detail. That’s it! How simple was that?
Pillow #2:
– square burlap pillow cover (from Canvas Corp)
– embroidery thread
– sewing needle
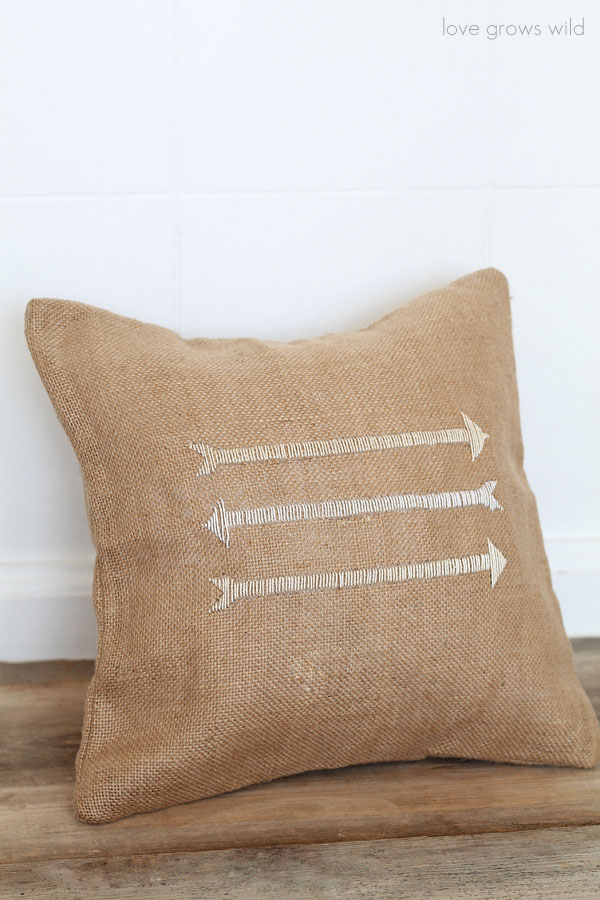
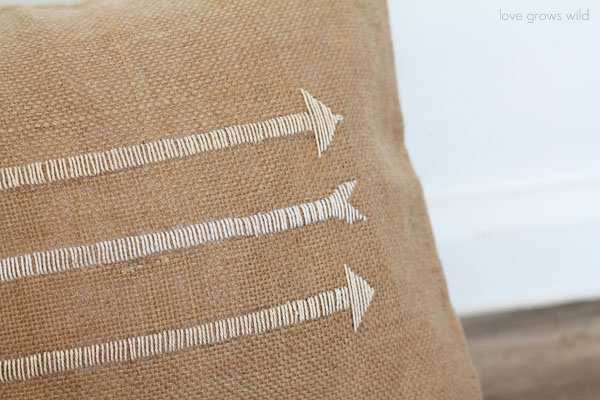
This pillow is fantastic for anyone who doesn’t sew but wants to learn! I first sketched out my arrow design on a piece of paper. You can get as creative as you want with your design, but just remember that the simpler it is, the easier it will be to sew! Then I cut out my arrows and arranged them centered on the burlap pillow. I lightly traced around the arrows to give myself guidelines as I sew and stitched the inside of the design with a needle and embroidery thread. The open weave in burlap makes it VERY easy to sew and keep your lines straight. I finished each arrow by tying a knot in the thread on the inside of the pillow cover to keep the design from unraveling. Such a fun and easy little sewing project!
Pillow #3:
– square canvas pillow cover (from Canvas Corp)
– stencil/vinyl
– paint and paint brush
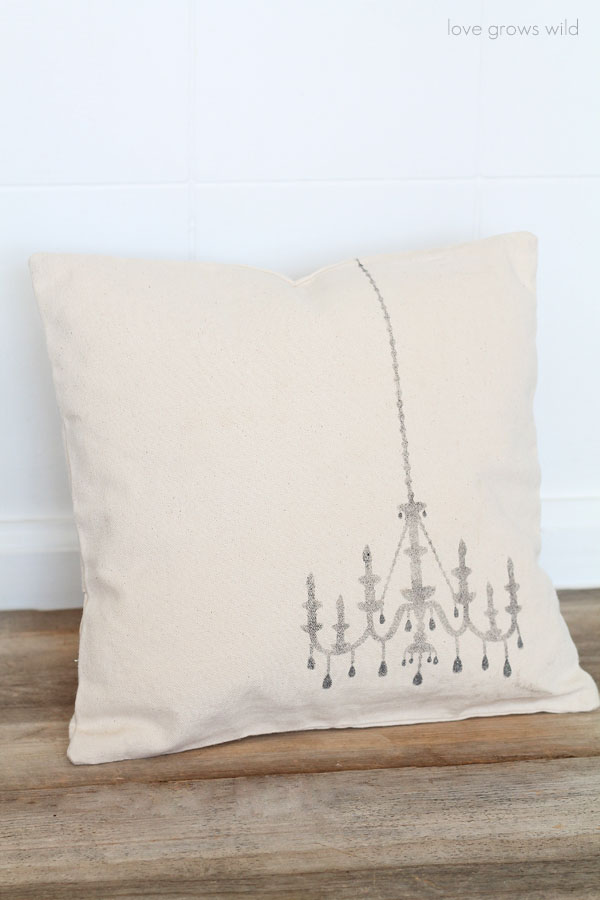
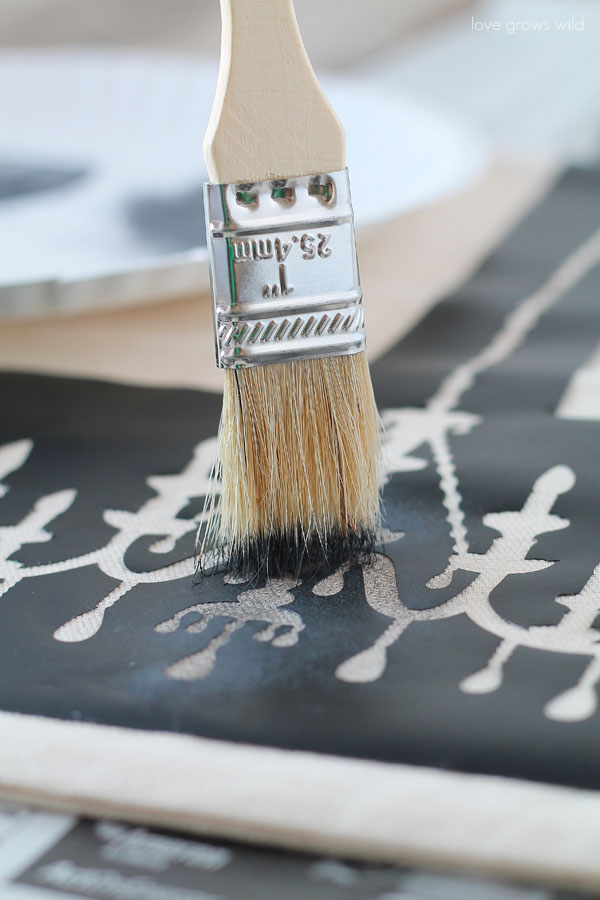
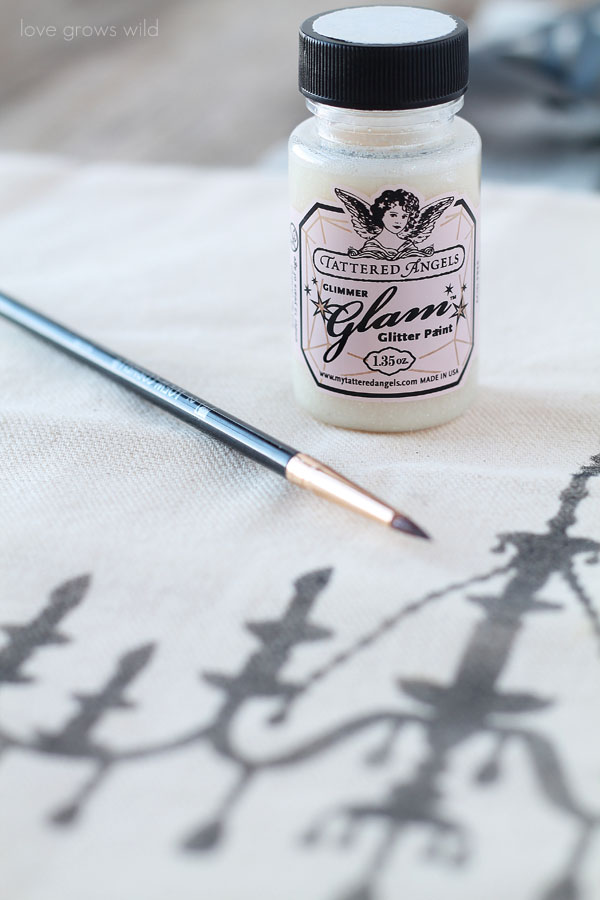
Stenciled pillows are such an easy way to dress up a plain pillow cover. For this chandelier version, I created a stencil using vinyl and my Silhouette CAMEO, but you could also purchase stencils from your craft supply store. You can try a design like this or get letter stencils to do typography. I applied the vinyl stencil on my pillow cover and dipped a paint brush in just a tiny bit of black paint. Then I carefully dabbed the paint brush over the stencil until all the open areas were lightly covered in paint. Tip: When stenciling, make sure to dab the paint brush up and down instead of swiping side to side to avoid getting paint under the stencil. I peeled off the stencil and applied glitter paint (from Tattered Angels) to the chandelier’s crystals to give it a little of sparkle.
Pillow #4:
– round canvas pillow cover (from Canvas Corp)
– stencil/vinyl
– paint and paint brush
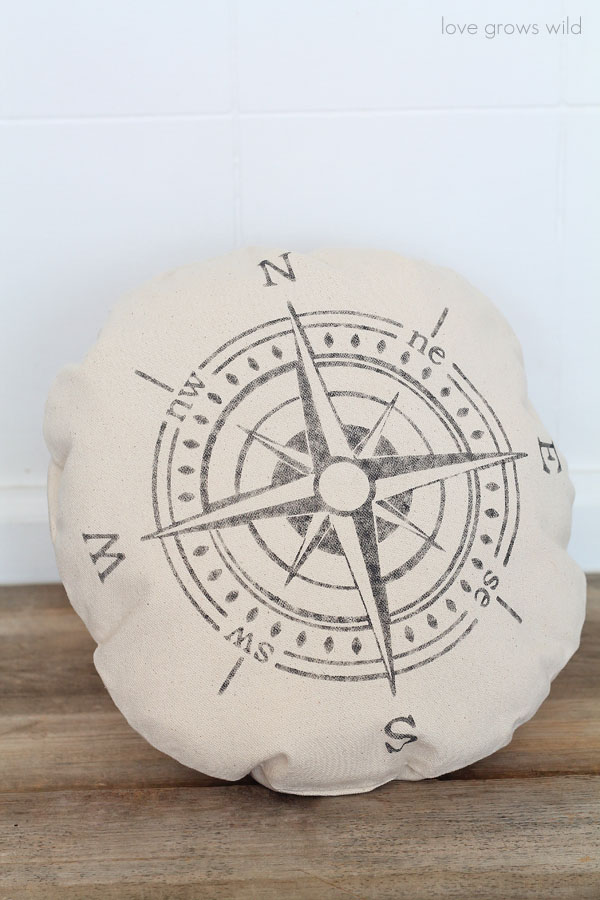
I created this cute little compass pillow using the same technique as the stenciled chandelier pillow. The round pillow cover lends itself perfectly to the compass design. I found a compass image I liked, created a cut file in my Silhouette Studio Designer Edition software, and cut the design on vinyl. Again, you can certainly use store-bought stencils as well! I stuck the vinyl on the pillow cover and used a paint brush to dab black paint all over the design. I used a bit more paint this time for a darker look and didn’t worry about covering everything evenly. It has a beautiful, aged look as though some of the design has worn off over time. LOVE this pillow! It might be my favorite.
Pillow #5:
– round burlap pillow cover (from Canvas Corp)
– scrap fabric, canvas, and burlap
– button
– needle and thread
– iron-on adhesive
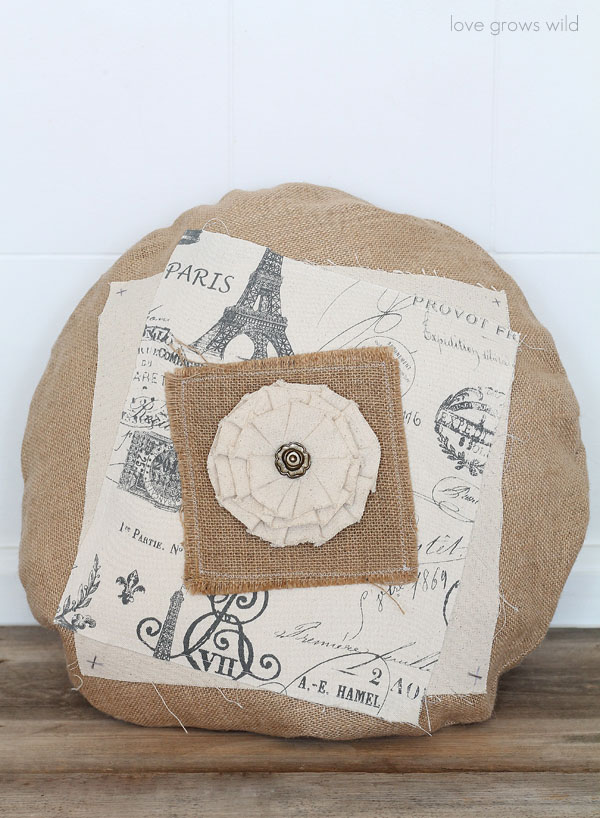
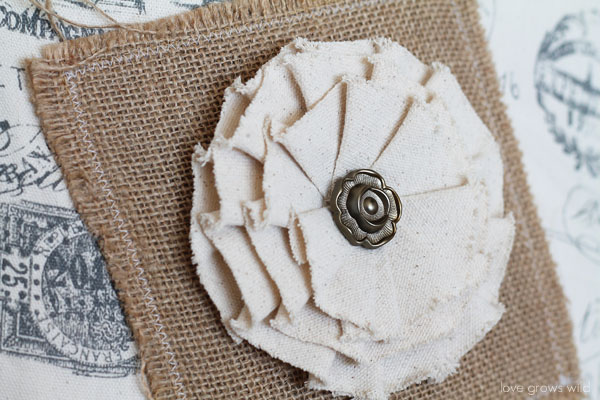
And last but not least, I made a scrappy pillow! I love a textured, layered look, and this burlap pillow is exactly that. I added scraps of fabric I already had to a burlap pillow cover for an easy, no-fuss design that can be customized to your liking. I first gathered all the items I wanted to layer: a canvas flower, a button, a square of burlap, a patterned piece of fabric, and a plain piece of fabric. You can attach all the layers using iron-on adhesive if you’d like, but I chose to do some of the layers with my sewing machine to add some fun stitching. There’s no right or wrong way to make this pillow. Just arrange your layers a bit angled from each other and start attaching! I like to work from the top down, so I started by sewing a button into the center of my flower and hand-stitched the bottom of the flower to the burlap square. Then I used my sewing machine to stitch the next two layers together and finally attached the bottom layer to the burlap pillow using iron-on adhesive. I also added a small “X” stitch detail to the corners of the plain fabric for added cuteness and to help hold everything in place. I love this fun, layered design, and that I was able to use up some of my fabric scraps!
So do you feel empowered to get your craft on? I sure hope so! These pillows are beautifully handmade, but look like they could be straight out of a magazine. Even if you don’t think you’re the craftiest person in the world, you can still create pretty things for your home for a fraction of store prices! You CAN do this! Now take that inspiration and run! Grab some pillow covers and get to work… you’ll have a couch full of pretty pillows in no time!
P.S. Snacks, an ice cold beverage, and your favorite tunes are not required for these easy, breezy projects, but highly recommended. They pair well with a good night of crafting. 😉
Which pillow idea is YOUR favorite?
If you’re interested in purchasing the pillow covers I used, you can find them here!
Like what you see? Subscribe to Love Grows Wild so you’ll never miss a post!
Follow along on Pinterest, Google+, Instagram, and Facebook for more fun!
More DIY decor ideas:
Thanks to Canvas Corp and Craftistas for the pillow covers!
Let’s Keep in Touch!
Subscribe to Blog | Browse my Shop | Follow on Facebook | Follow on Twitter
Follow on Google+ | Follow on Pinterest | Follow on Instagram



I love them all! I think I’ll add the chandelier and button pillows to do my to-do list 🙂 Thanks for the tutorials!
You’re so welcome, Veronica! I love the way those two turned out! Have fun pillow making!
Very chic! I would love for you to share on my Chic By You Link Party @ http://chicbytab.blogspot.ca/2014/03/chic-by-you-wednesday-link-party-2.html. Hope to see you there!
Thanks Tabatha!
Love the pillows but how do you buy them. Went to their site and nothing there about buying. Thanks for any info you can give me.
Hi Sheila! You can buy most of the pillow covers I used through Craftistas here: http://shop.craftistas.com/collections/canvas-home-decor
Have fun crafting!
All 5 pillows look great! My favorites are pillows 1 and 5. Cute!
Navy Wifey Peters @ Submarine Sunday Link Party
Thank you so much!
OMG the fails, I have so many fails! LOL I love all of these pillows, I don’t know which one I love the most!
Me too, Heather! All those fails make the successes even sweeter though. I’m so glad you like how the pillows turned out!
These are all really great and easy DIY projects! GREAT projects! I saw your link with 36th Avenue – well done!
I’m glad you enjoy them as much as I do! Thanks for stopping by, Terry!
I was wondering if you know of a place to find a stencil for the compass pillow?
Hey Josie! I just searched “compass stencil” on Etsy.com and found quite a few good options. I’d check there! Have fun creating! 🙂