

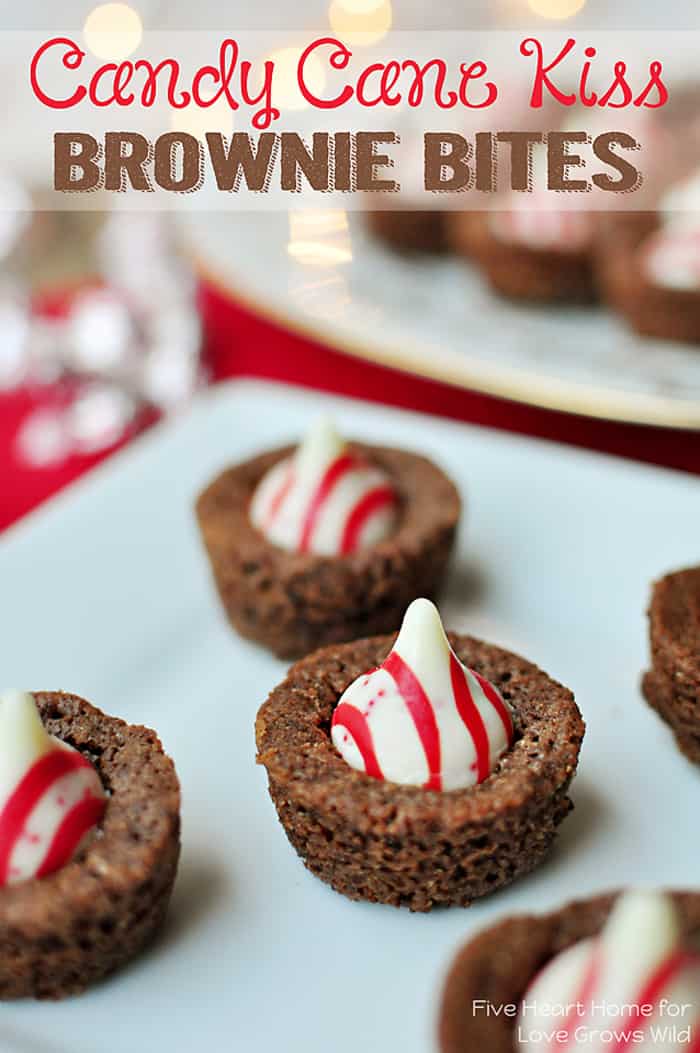
Candy Cane Kisses dress up moist, chocolatey brownie bites for a festive addition to your holiday cookie platter!

Hi, everyone…it’s Samantha from Five Heart Home! I just loved sharing my Apple Praline Baked French Toast with you last month, and I’m very excited to be returning to Love Grows Wild today with another fun recipe!
In case you haven’t heard, it’s the most wonderful time of the year! One of my very favorite traditions of the holiday season is baking Christmas cookies with my kids. There are certain ingrained-since-childhood recipes that I have to bake every year or it just doesn’t feel like Christmas. And there are other recipes that we decide to add to our seasonal cookie platter for something new and different. These Candy Cane Kiss Brownie Bites would be one of my new creations this year!
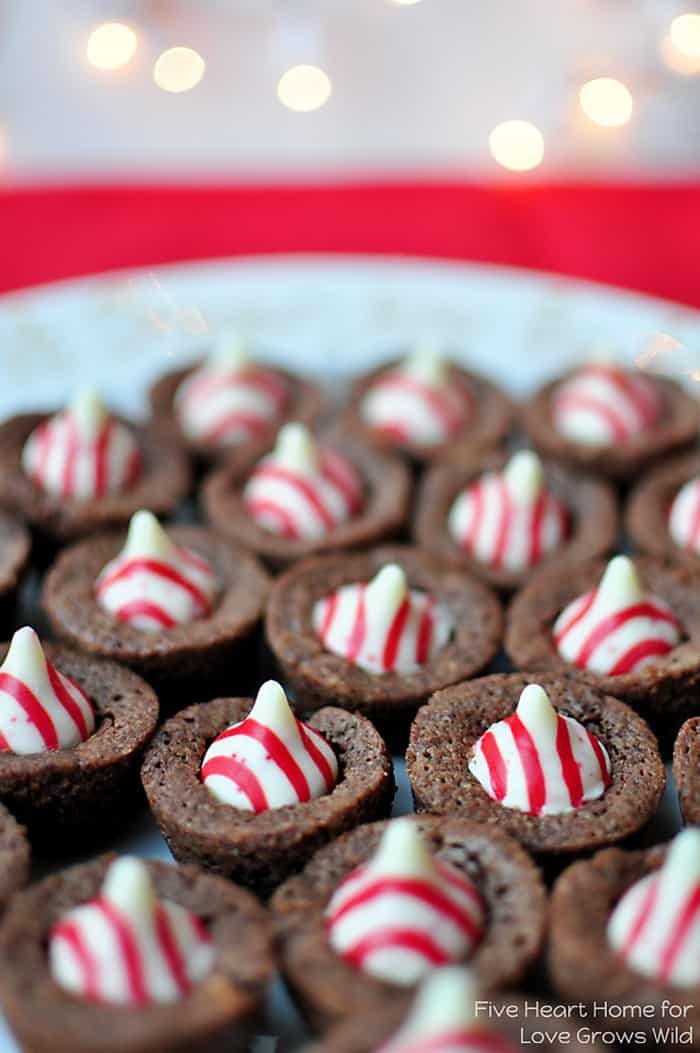
I’ve always loved peppermint bark, so combining Candy Cane Kisses with something chocolatey was a no-brainer. Baking up my favorite brownie batter in mini muffin pans yields cute, moist little brownie bites, and they are the perfect vehicle for these darling red and white striped chocolates. I’m telling you, the fudgey brownie and the creamy white chocolate (with its candy cane-like flavor and crunch) are just made for one another! And how pretty would these little gems look on a cookie platter? Not only are they fun to eat, but they’re also easy to package up, making them perfect for holiday gift giving!
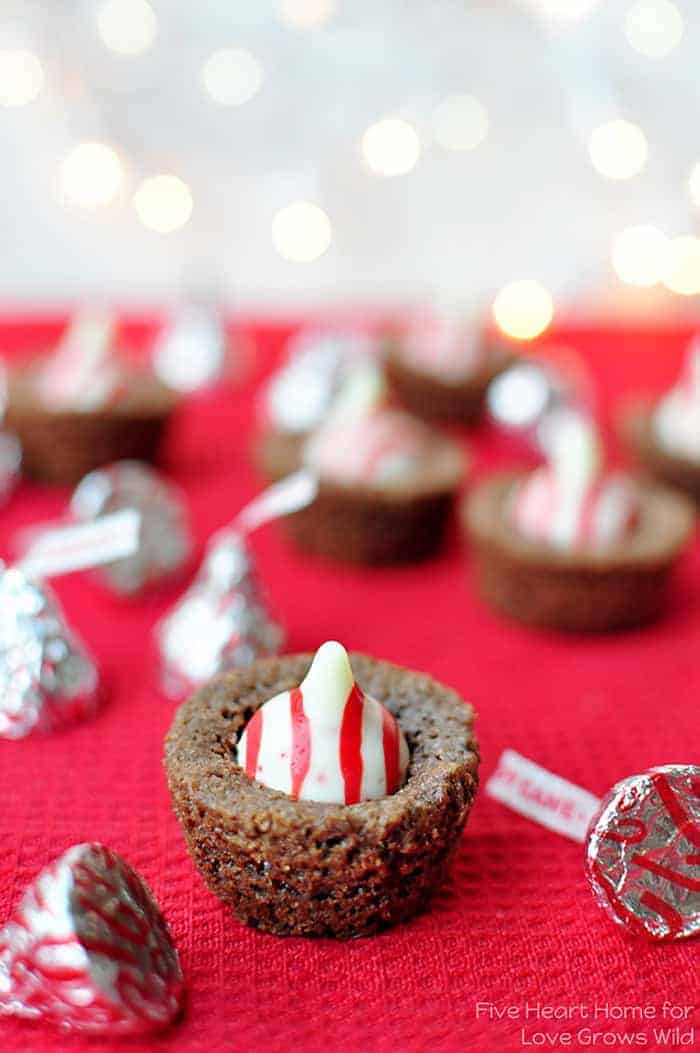
If you’re short on time, feel free to use your favorite boxed brownie mix. But I promise, this homemade brownie recipe can be whipped up in no time! I love baked goods that start with melted butter…not having to soften the butter means one less thing I have to remember ahead of time. All you have to do is bake your batter in mini muffin tins, and then once they come out of the oven, gently press a Kiss on top of each brownie. The key here is that you must allow your brownies to cool completely in the pan before attempting to remove them, or else your chocolate will still be soft in the center and it will ooze all over the place….still delicious, but not quite as aesthetically pleasing. 😉

I also learned while making these that using paper liners for your muffin pans is the way to go! It is possible to simply use nonstick pans and grease them well, but since you’re not able to pop your brownies out of the pan until they’re completely cool, they do have a tendency to stick. I remedied this problem by running a thin knife around the edge of each brownie, which helped to loosen it and from there it came right out. Occasionally, a small piece would stick to the pan, but it was easy to peel off and press back into the missing spot in my brownie. However, paper liners would allow you to avoid this issue altogether. No possibility of sticking, no time required to loosen each brownie, no mess…yes, I’ll be taking the paper liner route next time!
These brownie bites are totally customizable based on your favorite flavor of candy Kiss. There are some delicious holiday varieties that would be a perfect complement to these treats, such as Cherry Cordial or Mint Truffle. Even good ol’ Caramel Kisses would be good with these brownies, and you can find those all year long!
I hope that these Candy Cane Kiss Brownie Bites earn a special place on your holiday cookie platter this year! They’re fun, they’re festive, they’re cool and minty and moist and chocolatey and delicious…and after this year, they’re going to become a Christmas cookie tradition at our house. Enjoy, y’all!

- 1 cup all-purpose flour
- ½ teaspoon salt
- ½ teaspoon baking powder
- ¾ cup unsweetened cocoa powder
- 1 cup unsalted butter
- 2 cups sugar
- 3 eggs
- 1 tablespoon pure vanilla extract
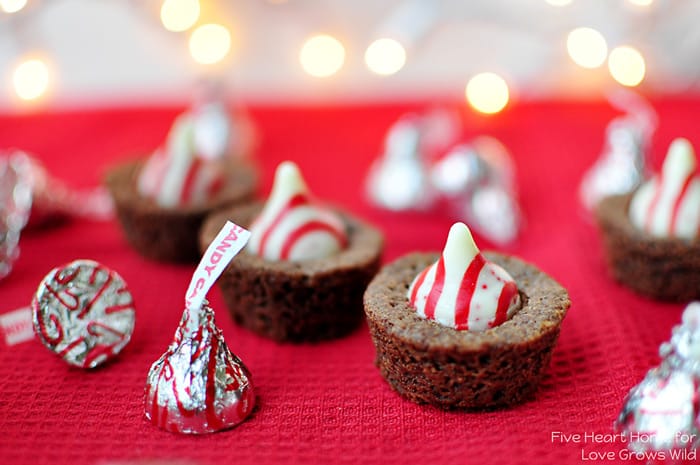
- 48 to 60 Hershey's Candy Cane Kisses, unwrapped & frozen
- Preheat oven to 350°F. Line mini muffin pans with paper liners, or generously spray with nonstick cooking spray.
- In a large bowl, whisk together flour, salt, baking powder, and cocoa; set aside. In a large pot set over low heat, melt butter. Remove from heat and stir in the sugar. In a small bowl, whisk together the eggs and the vanilla. Temper the eggs (slowly bring up their temperature so that they don't scramble) by stirring a spoonful of the butter mixture into the eggs. Then use a wooden spoon to stir the egg mixture and flour mixture into the butter mixture until well incorporated.
- Scoop batter into lined mini muffin pans, filling each cup ⅔ full. Bake for 10 to 12 minutes or until just set, taking care not to overcook. After removing pans from the oven, immediately and gently press a Candy Cane Kiss onto the top of each brownie bite. Allow brownies to cool completely in pans set on a wire cooling rack until Kisses are completely hardened. Remove brownies from pans and store in an airtight container. Yields 48-60 brownie bites.
Using paper liners in your mini muffin pans is recommended. However, if not, use a thin knife to loosen each cooled brownie bite before attempting to remove it from the pan.
Freezing the Kisses ahead of time will help them hold their shape as the brownie bites cool. Also be sure to have them unwrapped before your brownies come out of the oven, because you will have to work quickly getting them placed on your hot brownies!
Feel free to change up the flavors of your Kisses...Mint Truffle, Cherry Cordial, and even Caramel would also be delicious! Just beware that some varieties of Kisses have softer centers than others, and you'll need to be very gentle working with those so that they don't collapse.
I’d be thrilled to have you visit me at Five Heart Home all month long for more holiday inspiration!
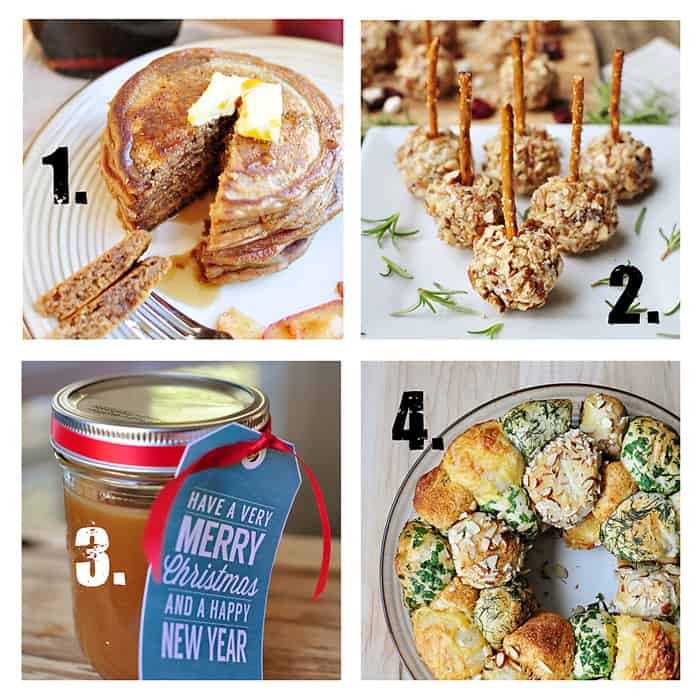 1. Gingerbread Pancakes
2. Mini Cheese Ball Bites
3. {5-Minute, 5-Ingredient} Homemade Caramel Sauce
4. Savory Herb & Cheese Monkey Bread


These look super delicious!
Don’t they? Mint and chocolate are such an awesome combo! Thanks for stopping by, Pamela!
These are super cute and festive. Great to have around on the holidays for all those last minute pop in guests.
Exactly! It’s always nice to have extra baked goodies around for whatever comes up! And I bet Santa loves them too 😉
Samantha, these look delicious! I just tried the mint kisses for the first time last weekend and just know they’d be spectacular in brownies. I also learned my lesson last weekend with baking brownies in muffin tins without liners. I greased the non-stick muffin tins with shortening, and those pesky brownies still wouldn’t budge. Definitely seconding your recommendation to use muffin cup liners! 🙂
I agree, what a great combo! Mint and chocolate are always winners in my book! And I’ll definitely be sure to use muffin cup liners too – thanks for the tip!
These brownie bites look delicious. Pinned!
Thanks for the pin, Tammy! Don’t they look scrumptious? Yum!
Great project !!
I would love you to come and share @ Craft, Create & Inspire linky party !!!
Look forward to seeing you there 🙂
http://livel0vecreate.blogspot.co.uk/2013/12/craft-create-inspire-linky-party-9.html
Claire x
Wow, these look great! I love these, and I know my hubby will too. How could anyone go wrong with chocolate and peppermint? Yummy. 🙂
If chocolate and peppermint is wrong, I don’t want to be right! Lol! Thanks so much for stopping by, Kimie! Happy holidays!
I love “one bite” desserts, and also love any chocolate/peppermint combination. Might have to add these to my Christmas goodies list!
Yes, add them to your Christmas goodies for sure! I can’t wait to dive into them for the holidays! So glad you could stop by 🙂
These look so yummy, Samantha & Liz! And I love that cute Christmas plate, too! So festive!
Thanks, Kristi! I’m really enjoying all these yummy holiday treats!
I tried making them, and they just have too much butter. The ingredients wouldn’t stabilize, and they collapsed in on themselves. Maybe I read it incorrectly? However, they just didn’t work for me.
Hi there! I’m so sorry to hear that these didn’t work out for you! That ratio of butter is pretty standard for a brownie recipe, so I’ve been trying to think of what may have gone wrong. In my experience, when a recipe made in a muffin pan collapses, it’s usually the result of underbaking by a few minutes. OR the muffin cups may have overfilled with batter (the batter needs the structure of the sides of the pan to rise properly, so if there’s too much batter, it rises and then sinks again). Do you think either of those issues could be the culprit? I hope this recipe works out for you if you try it again…thanks so much for stopping by to share your comment!
These are so cute!
These look so festive and tasty!!
I had high hopes for these but they came out a bubbly mess. I removed from the oven with the butter in the brownie sizzling.
So sorry to hear that, Michelle! Thank you for the feedback on the recipe though. 🙂
These look delicious!
This was a great recipe and great idea, thanks for posting! I think it might be helpful to note that it could take a LONG time for the kisses to cool enough so they don’t collapse. I kept poking at the kiss on a “test” brownie and an hour and a half later, it was still mushy (though they’d been in the freezer for days at that point). I finally put them in the fridge and that helped the process go a lot faster. The consistency of the brownies was a little sticky/clumpy (they’re sticking to the cupcake liners like glue) but that may have been because I didn’t temper the eggs enough.
Oh yeah, and do NOT try to take the brownies out of the muffin pan while the kisses are cooling- they’ll collapse immediately!
Froze the kisses for half a day, they immediately melted upon placing them on the brownies. Probably should have waited until the brownies cooled a little. Also were impossible to get out of the muffin liners – stuck like glue as the other commenter said.