

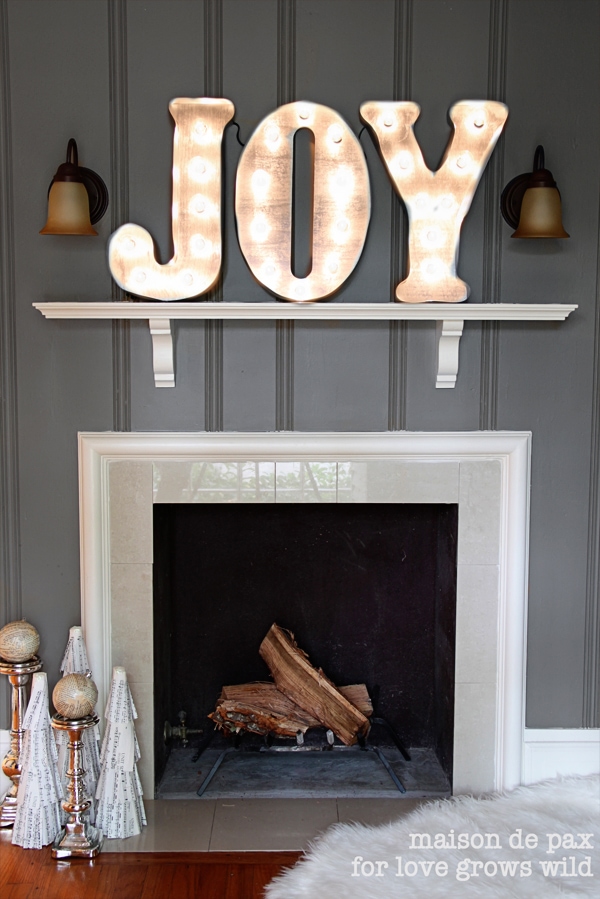
Happy Thanksgiving and Merry Christmas, Love Grows Wild readers! It’s Rachel again from Maison de Pax, and I’m so excited to share my favorite DIY Christmas project with you all today. I’ve obviously been feeling a little more craft-y than usual this holiday season, as evidenced by my sheet music Christmas trees on the hearth below, but this project was much more up my alley: it involved power tools and paint. My. kind. of. “craft”.


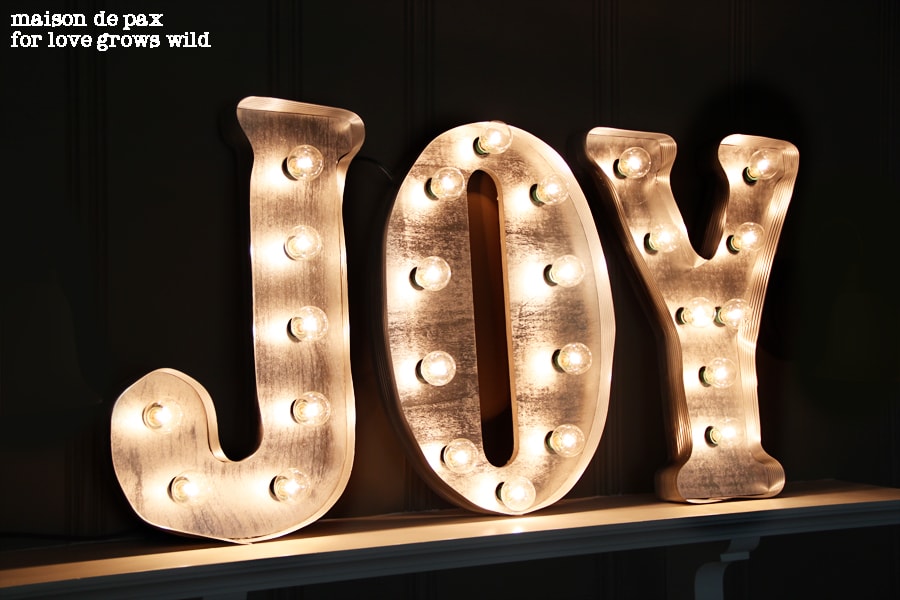
Aren’t they fabulous? The best part is that I’ve seen similar ones for sale for hundreds of dollars… and mine cost less than $50. Wouldn’t you like to make some for yourself?
Here is what you’ll need to make your own vintage marquee letters:
- wooden letters (I got mine 40% off at Hobby Lobby, but to save even more money, you could cut them yourself from plywood using a jigsaw)
- drill press (or drill with very large bit)
- ribbed plastic shelf liner (I found this product at Target) – note: ribbed liner is not essential, but I love the way the ribbing looks like corrugated metal once painted and it provides a guide to keep it straight when applying it to the letters.
- hot glue gun
- chrome spray paint
- globe string lights (I bought these from Target, too)
- masking tape
To make your own vintage marquee letters:
- Lay your lights on your letters and decide where each bulb should go, then mark the spot with a pencil.
- Drill holes for your lights just large enough for the base of the light to fit through (you’ll have to unscrew the bulbs to do this). This is where a drill press comes in handy if you have access to one… If not, a handheld drill with a large bit will do the trick, but you’ll have to be careful to keep your holes clean.
- Cut the shelf liner into strips wide enough to create a lip around the letter. I used 13 ridges of the shelf liner I bought for each strip, but if you make smaller or larger letters, you may want more or less, so eyeball the material to your liking.
- Line up your shelf liner strip so that it has a very tiny overlap on the back of the letter (1-2 ridges only) and a significant overlap on the front. Then hot glue the strips around the edge of the letter, using the ridges in the shelf liner to guide your placement.
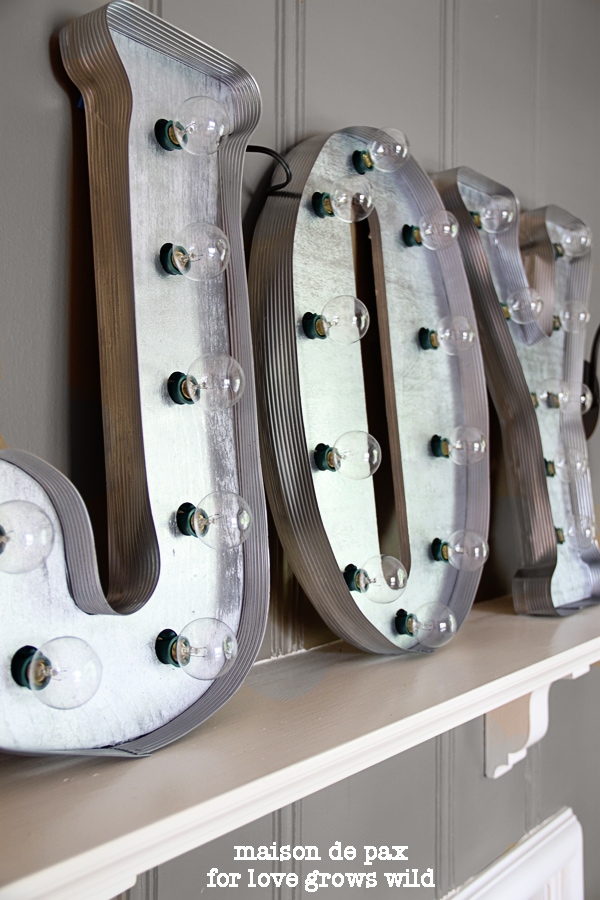
- Place the letters face up and spray paint silver.
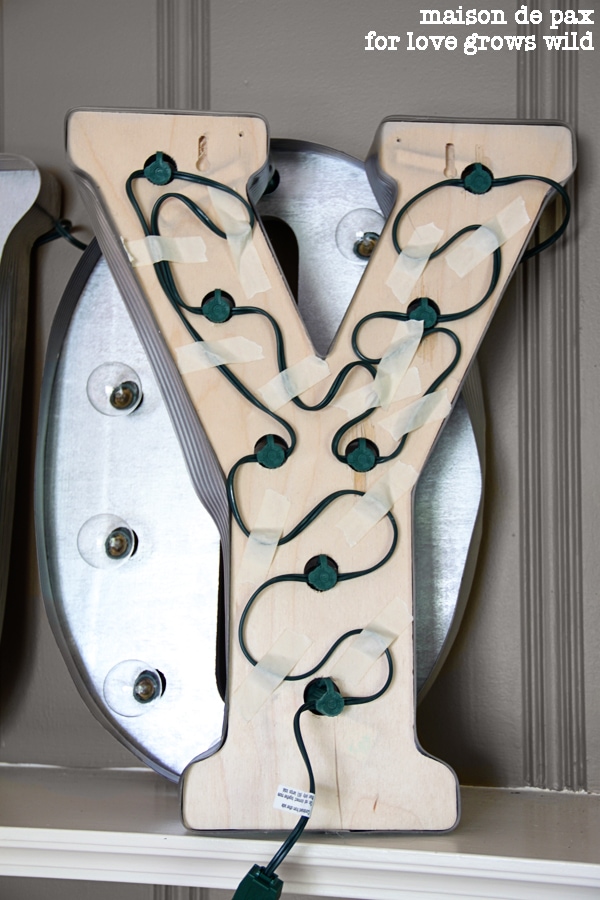
- Place the letters face down and insert all the light bases through the holes, careful to keep the cords as flat as possible on the back of the letters (so they won’t be noticeable later).
- Tape down excess cords with masking tape.
- Place letters face up and screw in light bulbs.
- Plug it in and enjoy it!
You can see here the process for placing the light string through the holes, as well as the tiny overlap of shelf liner on the back. I did that to hide the cords if someone were looking at the letters from the side.
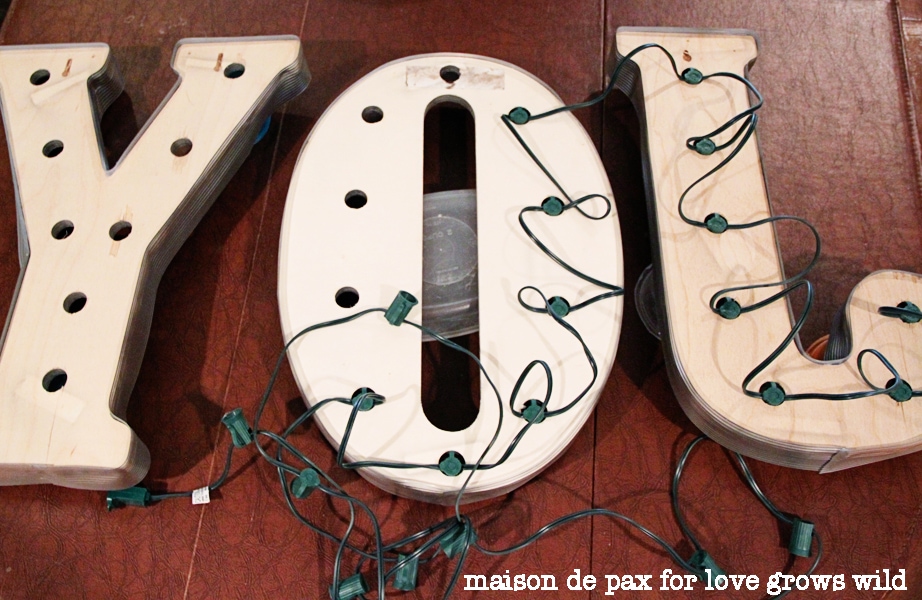
And here is the final state of the back. It may not be gorgeous, but it does the job.
But the front is stunning…
I love the vintage, almost industrial look. I love that they can rest on the mantel or hang on the wall because they’re really not very heavy. I chose to do JOY for Christmas, but you could choose anything; you could even do just a Monogram and leave it up all year. Hmmm… I may have another one to make in my future! In the meantime, I will relish these this Christmas season.
I hope your holiday is filled with JOY, as well!
Connect with Rachel:

Let’s Keep in Touch!
Subscribe to Blog | Browse my Shop | Follow on Facebook | Follow on Twitter
Follow on Google+ | Follow on Pinterest | Follow on Instagram | Subscribe to Newsletter
P.S. I’m sharing this post at some awesome link parties… Check them out HERE!

Very cool, Rachel!!! LOVE 🙂
Such a creative and fun project…thanks so much for sharing!!!
You’re so welcome, Jennifer! I love how big the letters are… they make such a statement! Thanks for stopping by!
Love it! Such a neat project.
Isn’t this fun, Julie? And pretty easy to make too! Thanks so much for stopping by!
These look awesome! I love it!
Thanks Jenn! Don’t you just love them up on a mantel? What a show-stopper! Rachel did a fantastic job on them! Now I may have to recreate them in my house too 🙂
Looks Awesome! So jealous, I want some! Love It!
Me too, Mellisa! Rachel did such a great job on these! Thanks so much for stopping by!
This is AWSOME!! Thanks so much for sharing!! Found you on “Show & Tell”:)
You are so welcome, Marisa!! I’m glad you stopped on over!
These are just fabulous, ladies. I imagine they’re the focal point of all of the Christmas decor in the house…so much fun!
Very creative. I need to make some. Thanks for sharing.
Audrey Z. @ Timeless Treasures
You’re very welcome, Audrey! I can’t wait to give these a try myself! Rachel did a fantastic job!
OMG this is amazing! Way to go Rachel!
Hugs,
Jamie
Right?? I LOVE what Rachel did! I definitely want some for my house now. Thanks for stopping by, Jamie!
Featuring this today over on my blog! Thanks so much for linking up to {wow me} wednesday.
Ginger @ GingerSnapCrafts.com
Thanks so much, Ginger! You’re the best!
This is gorgeous! Awesome job Rachel-thanks for sharing ladies! 🙂
You are so very welcome, Melanie! I agree, Rachel rocked this project! She needs to come help decorate my house now! 😉
You make it look so easy, thanks for sharing! [email protected]
You’re so welcome, Andrea! Rachel did a fantastic job on her tutorial. Glad you enjoyed it!
I might have missed you mentioning it, but I was wondering what height you used for the wood letters. Thanks!
Hi Elise! The letters used for this project were about 18″ tall. It was the biggest size wood letter from Hobby Lobby. I hope this helps! Thanks so much for stopping by!
Found your site as I was searching to buy new jOY lights as I have had to return my lights from Restoration Hardware four times! They haven’t all worked- so frustrating! Yours look awesome. Are you interested in making more and selling one to me?!!! :)- Suzanne
What a bummer that they haven’t all worked! I bet you could tackle Rachel’s tutorial for these JOY lights! 😉
Love this! Thanks so much for the detailed instructions!