Thank you to Craftistas for supplying the products for this project! All thoughts and opinions are my own.
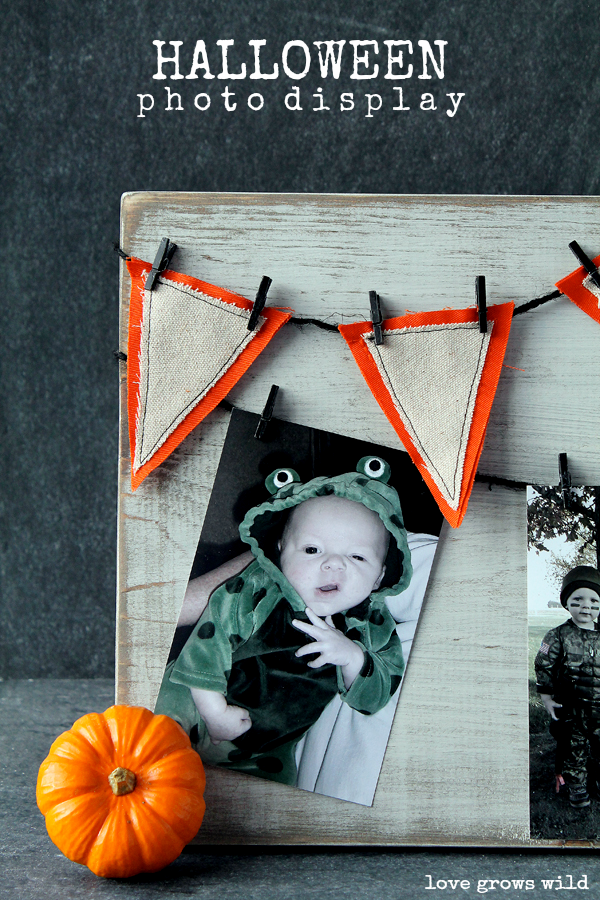
I love looking back on Halloween photos of my kids and all the cute costumes they wore! Learn how to create this fun and festive Halloween Photo Board Display to show off your little ones all dressed up! This is a great piece of Halloween decor that you can use year after year.
Okay, so I’m going to be honest… I absolutely LOVE decorating for Fall (as evident by my giant Fall sign and Fall decorated kitchen), but I’m not that big into decorating for Halloween. The first reason probably being that I’m not that into orange, but also because I feel like I’m constantly re-decorating all season long between Halloween, Thanksgiving, and Fall in general. So as the years go by, I find myself pulling out the witches, ghosts, and goblins less and less and going with a more basic autumn approach.
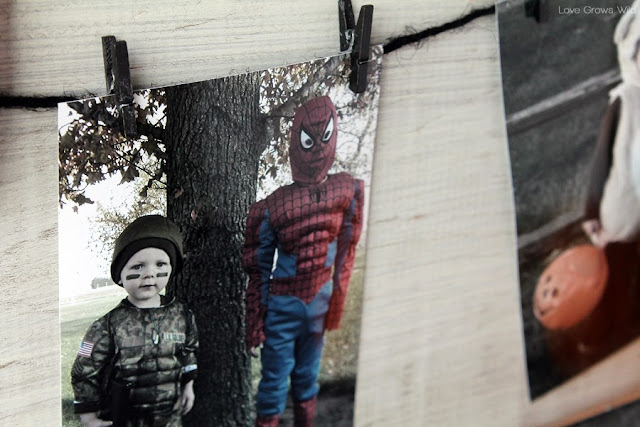
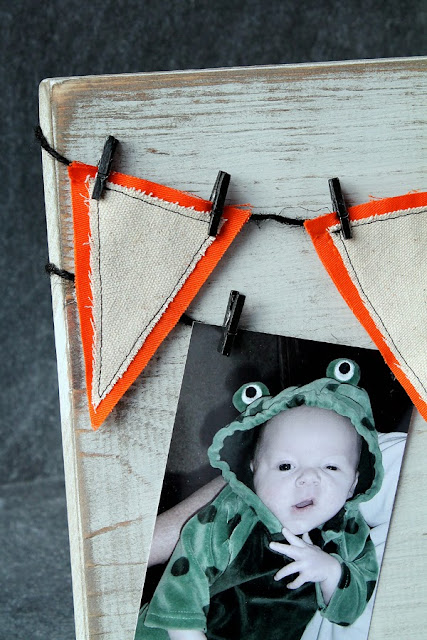
BUT the other night I was going through our old photos and realized there is one Halloween item I would love to display… the kids’ Halloween photos! It’s been so long since I’ve looked at these pictures that I almost forgot how cute my little baby was as a frog four years ago or how adorable my big guy looked in his teddy bear costume when he was two! So I created this simple Halloween photo board to display our past Halloween photos, and I just love it!
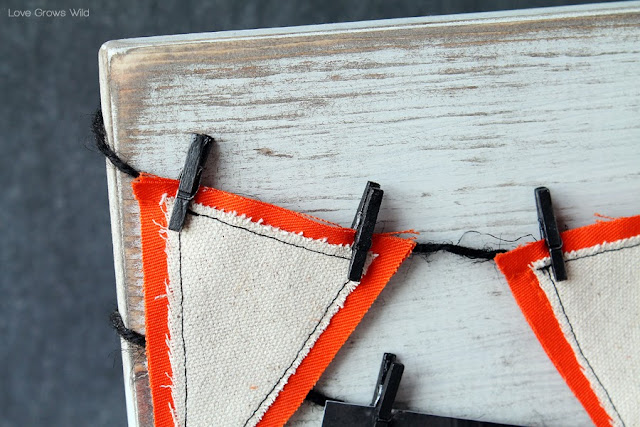
I started with a 1 x 12 board cut down to about 20″ long. I stained the wood with a dark walnut stain first, let it dry, sanded it lightly, then painted over the stain with a creamy white paint. After everything was dry I sanded the board to give it an aged, distressed look, focusing mostly on the corners and edges. I love how you can see the layers of raw, stained, and painted wood! I just makes my heart happy : )
Then I created a cute little bunting by sewing together some natural canvas and orange canvas triangles with black thread for the perfect Halloween look. I wrapped a piece of black jute rope around the board and secured the ends behind the board with tape. You could also use a dot of hot glue if you’d like. Then I used tiny black clothespins to hang the canvas triangles on the rope. Easy and cute!
I edited my three favorite Halloween photos of the boys using the same color effects for a unified look and printed them as 4×6 photos. I hung them below the bunting on another piece rope with the mini clothespins.
I placed this photo board on our mantel and loved watching the boys oooh and aaah over their past costumes! They were so proud to see their photos displayed, and we had so much fun taking a trip down memory lane! How could I ever forget about this cute little froggy face…
Do you remember when I told you about the new company I discovered, Craftistas? I partnered with them on my Rope Letters project, and I cannot wait to share with you all the fun things I have planned with them for the future! But more on that later : )
The hard-working girls at Craftistas have put together a bundle of the supplies needed to make this Halloween photo display, and now you can purchase the exact items I used and have them shipped straight to your door! How cool is that??
Just use the widget below to select the items you need and make your purchase! Craftistas will send all your supplies, and you can get started making your own Halloween photo display! Just grab a board, stain, and paint from the store, and you’ll be good to go!


Oh my gosh, this is so cute! I am not a huge fan of picture frames and I like to opt for more creative ways to display photos. Great job and good idea!! 🙂
Such a cute idea, Liz! 🙂
ADORBS!!
This is adorable!!! I love decorating for fall too – I can see making one of these for other holidays too!