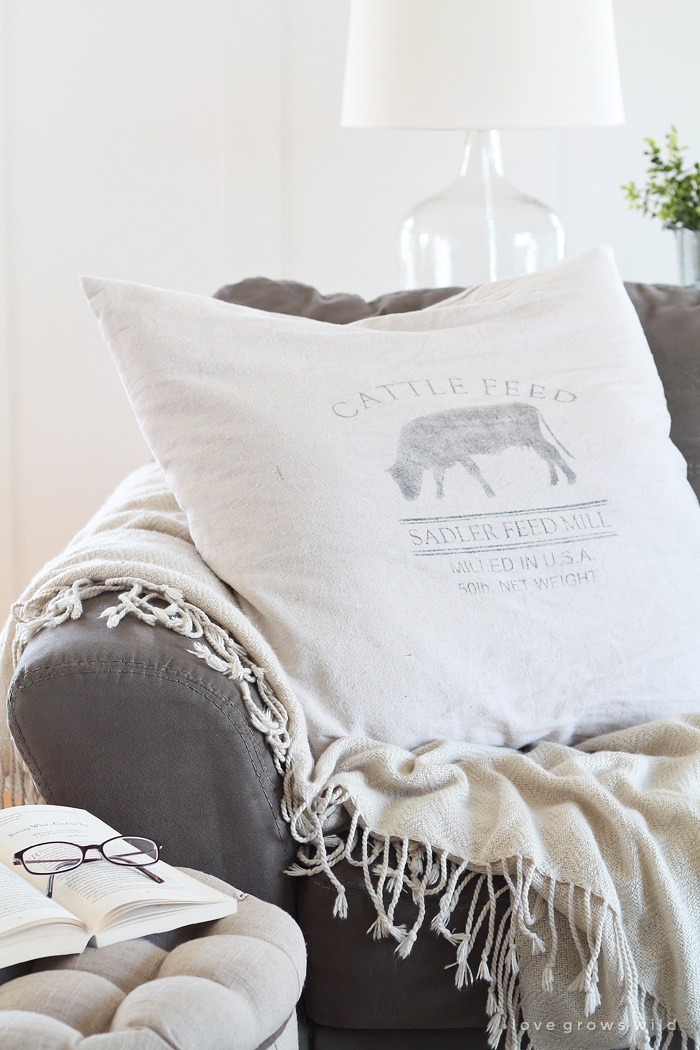
With all the changes we’ve made in our living room recently, I was dying to get some new pillows on our couches. I wanted something that would be casual and cozy, because let’s face it… 99% of the time my kids have all the pillows thrown on the floor anyway, so nothing frilly or fancy was going to work in here. I looked into a couple different fabric options, but ended up going with the least expensive thing I could find… drop cloth!
Those canvas drop cloths you find at the hardware store for painting are PERFECT for creating neutral, casual pillows, and they are so darn cheap, you could afford to make hundreds of pillows if you wanted. They come in different sizes, but the one I bought was 9’x12′ and cost me barely $15. That’s a lot of fabric to work with! I definitely recommend running the drop cloth through the washer and dryer once before you do anything with it. This will soften up the canvas and get rid of any wrinkles or stiffness.
I’ve spent A LOT of time pinning pillows ideas over the last few months and happened to stumble across a reproduction feed sack that totally stole my heart. Did you know that when I met Jeremy he actually owned and operated a livestock feed mill? We spent our days making feed for cows, pigs, goats, chickens, and any other farm animal you could think of. Jeremy was out in the mill doing all the heavy lifting, I was in the office doing the bookwork, and our boys (who were just babies at the time) were crawling around the store on bags of dog food and batting their eyelashes at all the customers. Wyatt was just a week old when I came back to work, and we had a playpen set up in the office where he could nap. It seemed crazy and stressful at the time… working side-by-side with your spouse everyday with a baby and toddler under your feet… but I look back on it all now and realize how sweet of a time that really was.
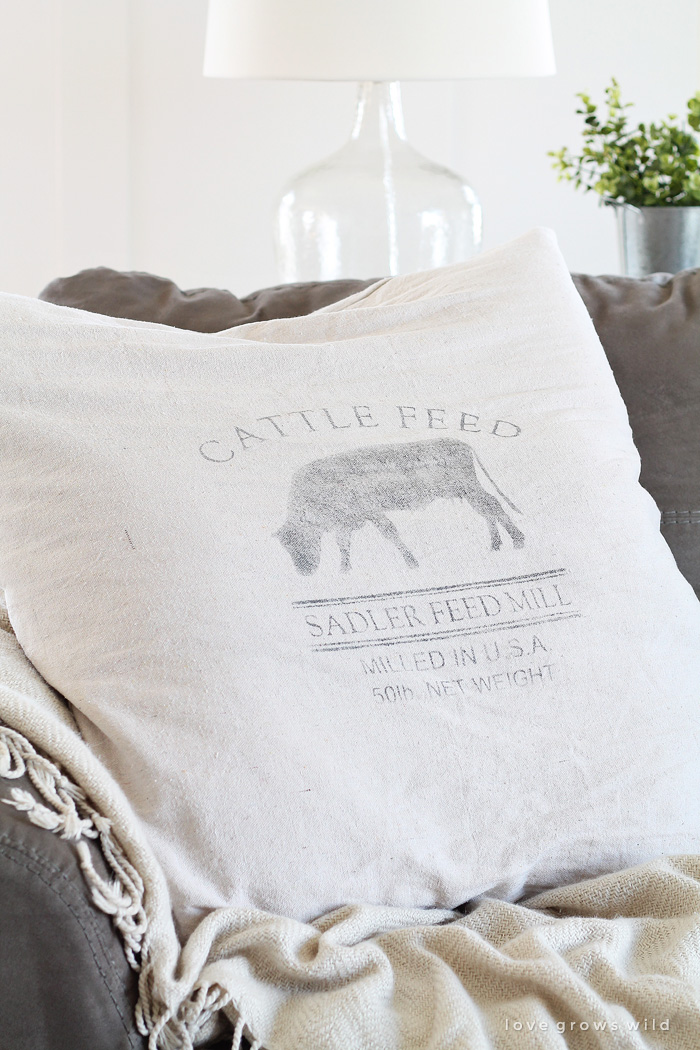
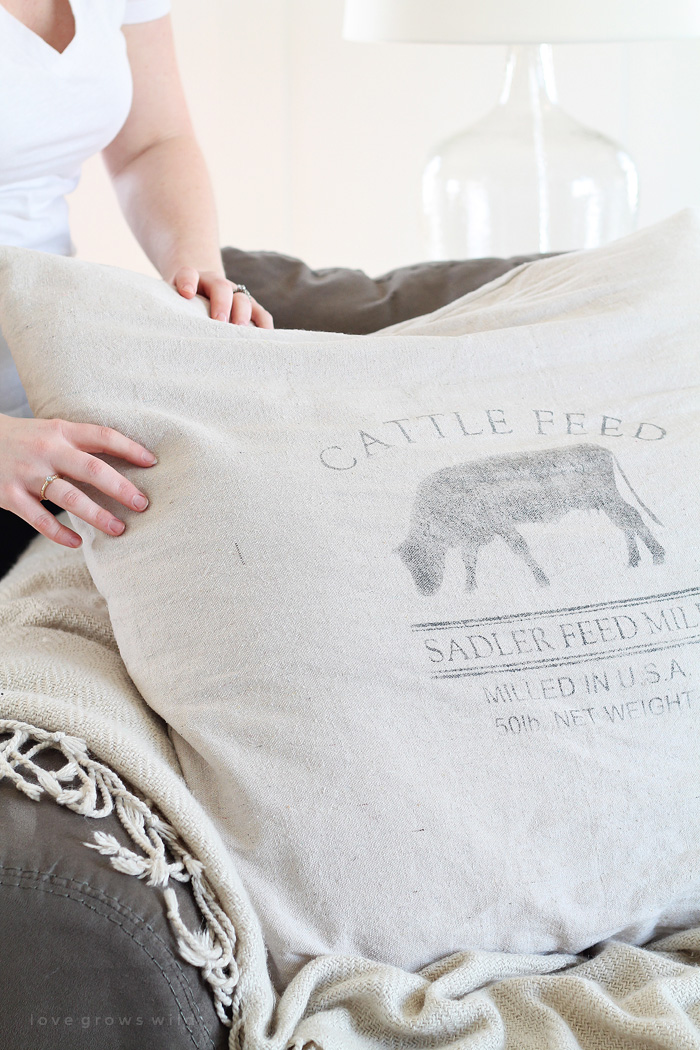
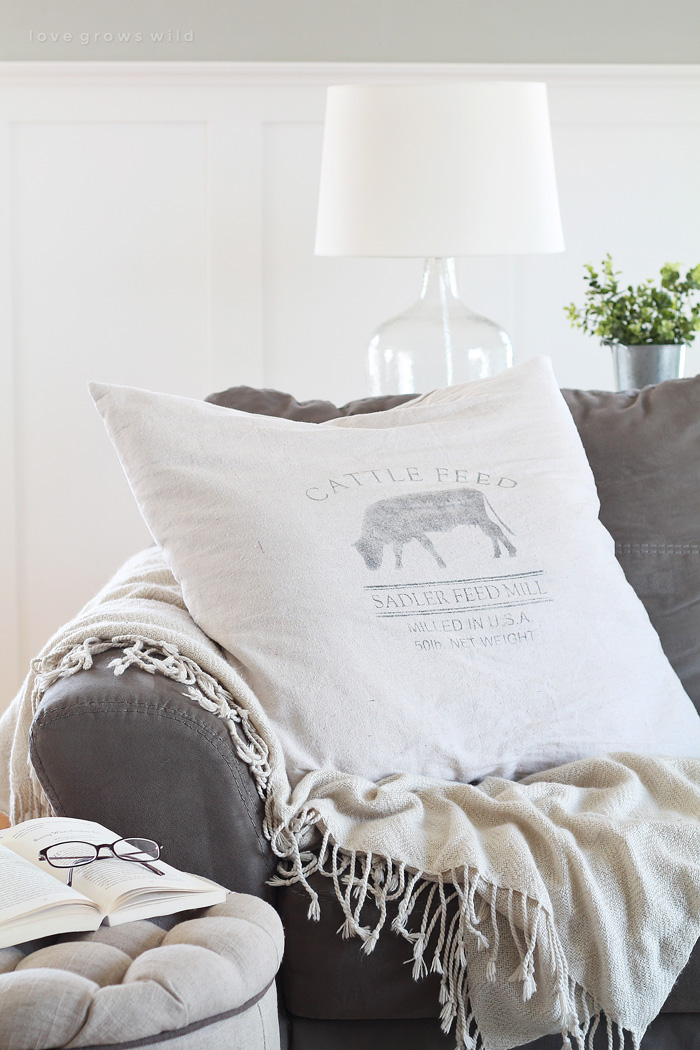
So when I saw that feed sack idea, I knew it would be absolutely perfect for our little farmhouse. I even used our old feed mill’s name on the pillow! I made some super easy envelope pillow covers, created the feed sack design using my Silhouette Cameo, and painted the design onto my pillow cover with some heavily watered-down paint. I didn’t want the design to be too bold, so watering down the paint gave it that old, timeworn look I was going for. If you don’t have a Silhouette, you can certainly recreate a version of this using stencils or stamps.
I make my own pillow covers vs. buying new probably 9 times out of 10, so I wanted to show you guys a quick tutorial on how to make them. Even if you don’t have mad sewing skills, these are actually really easy!
Step One:
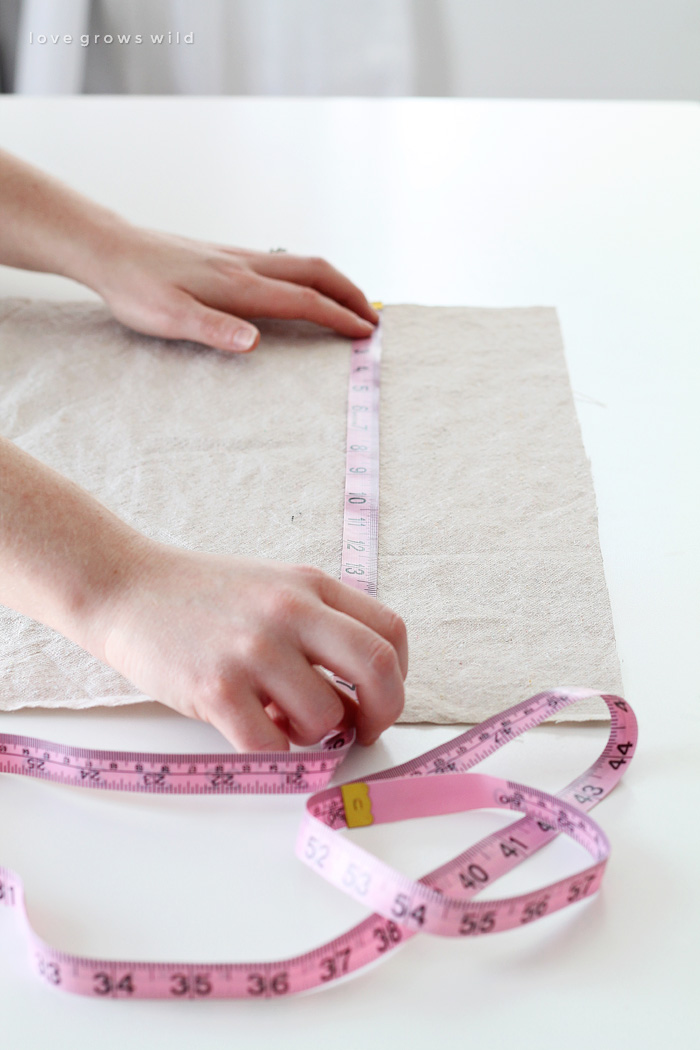
Measure the pillow form you’ll be using. (Mine was 17″ x 17″)
Add 1″ for a seam allowance. (18″ x 18″)
Step Two:
Cut a piece of fabric to that measurement. (18″ x 18″) This will be the front of your pillow.
Step Three:
Cut another piece of fabric the same width as your front, but add 4″ to the height. (18″ x 22″)
Now cut it in half widthwise. (Each piece is now 18″ x 11″) These are the back pieces of your pillow.
Step Four:
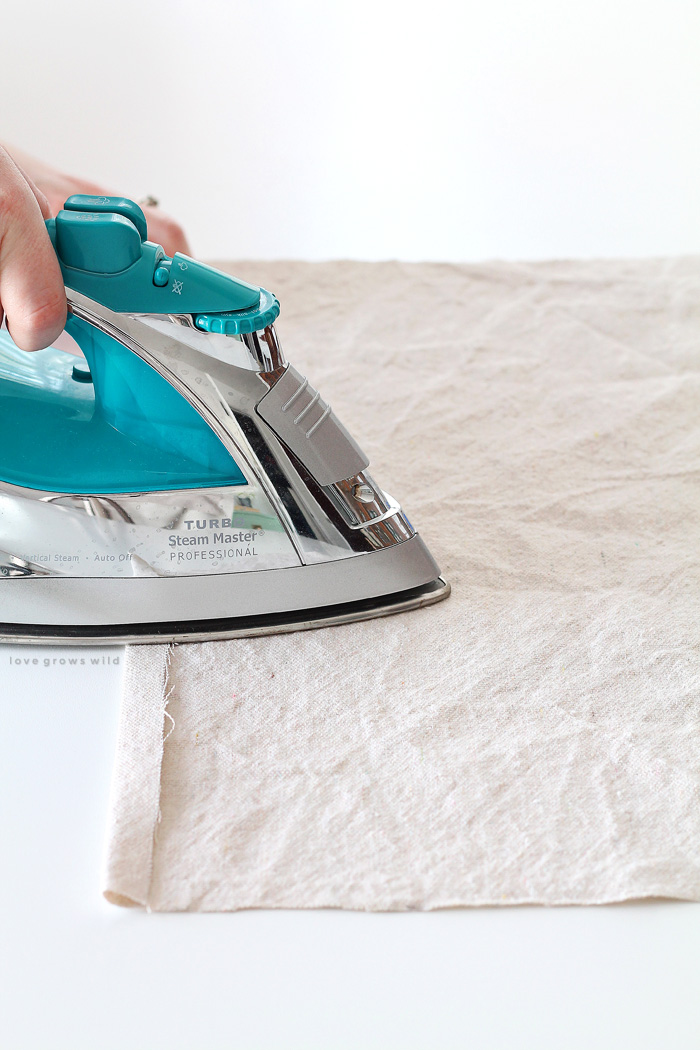
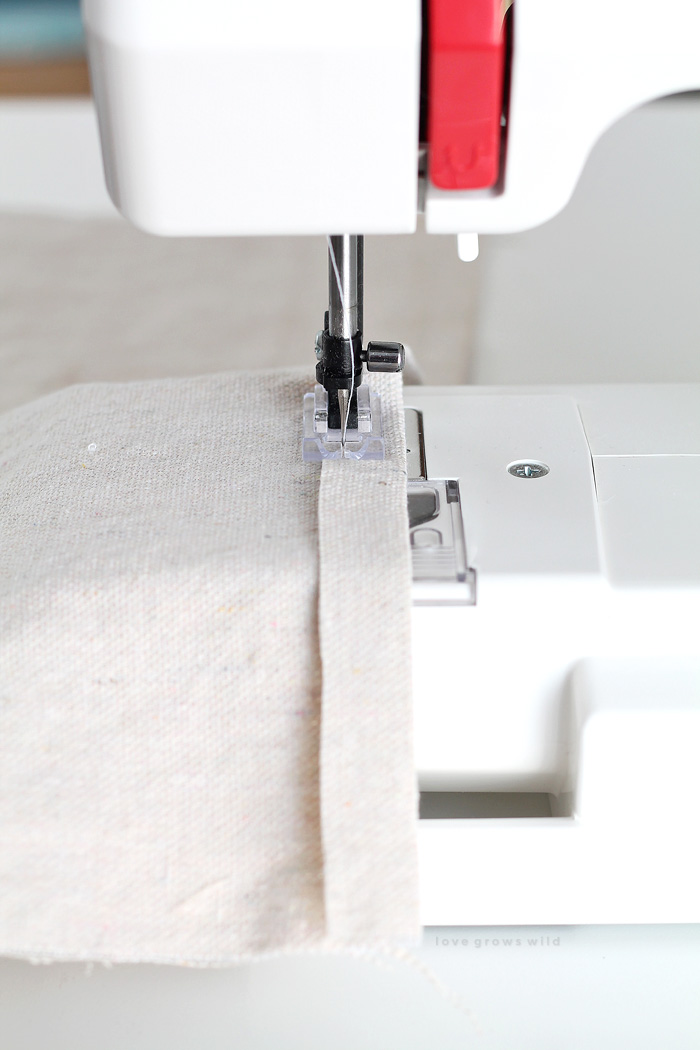
Make a fold on one long edge of each back piece towards the back of the fabric, press with an iron, then stitch the hem.
Step Five:
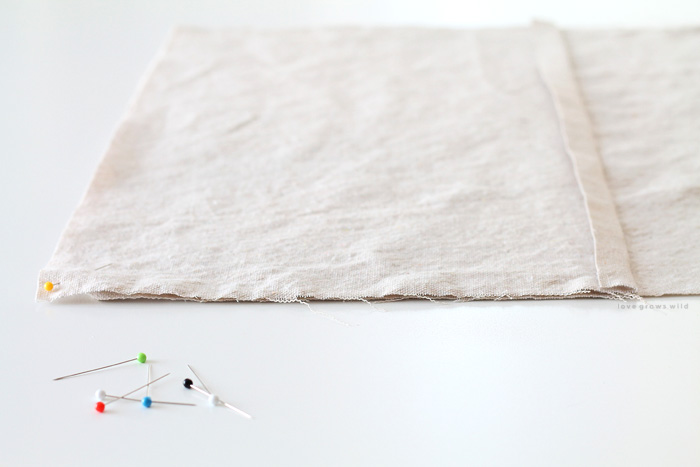
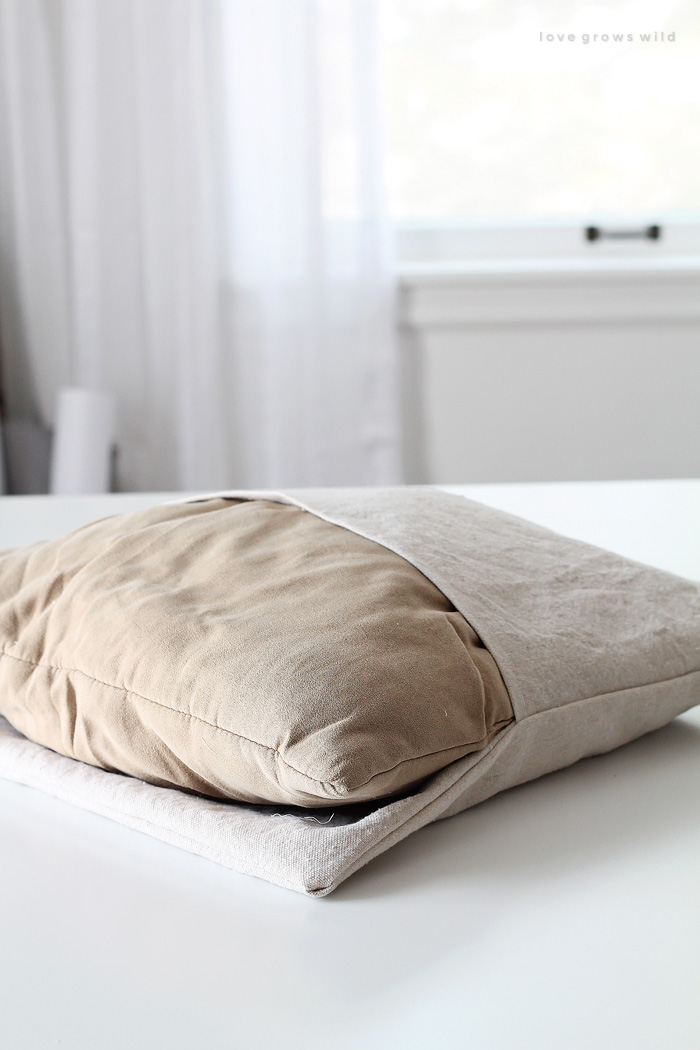
Lay your front piece of fabric face up. Then place both back pieces on top, facing down, with the hemmed edges overlapping in the center. Pin the fabric pieces together along the edges and sew all four sides of the pillow cover.
Step Six:
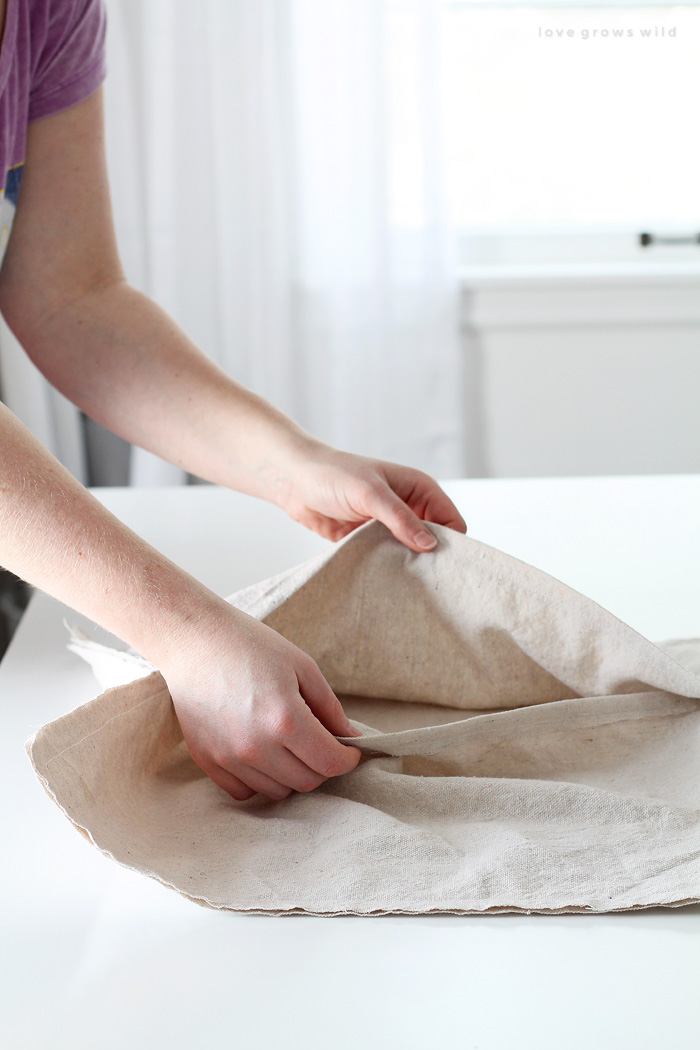
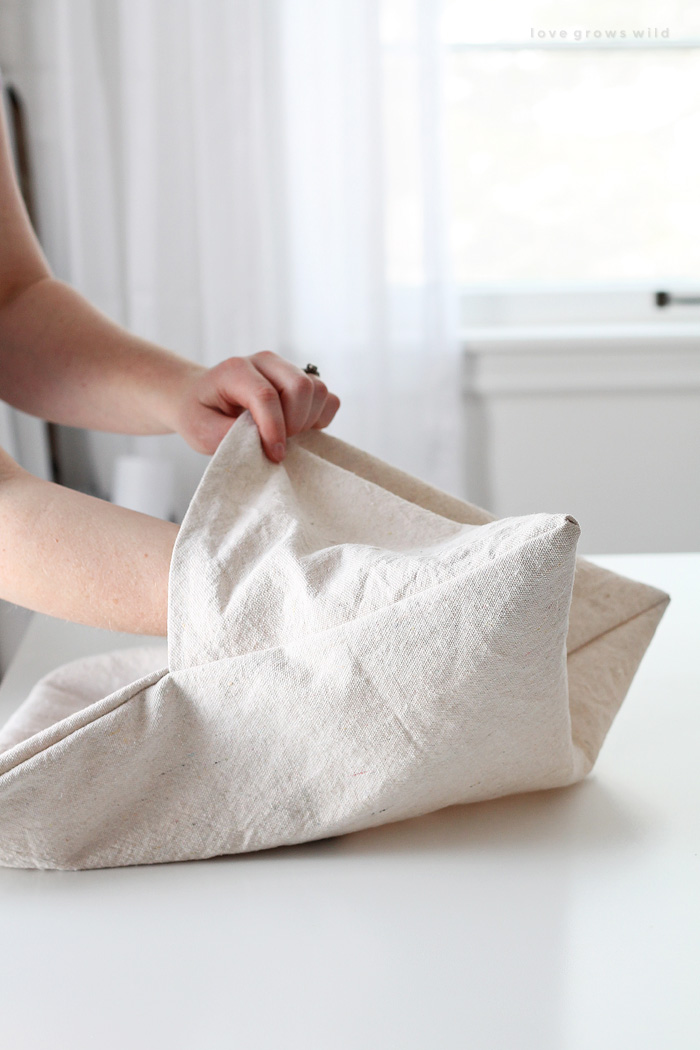
Open up the back pieces and turn the pillow cover right side out.
Step Seven:
Add a pillow form!
I am SUPER pleased with how these turned out. I was able to make a whole bunch of new pillow covers for our living room, using the pillow forms I already had, for just $15. #winning!
But the thing I love most about these pillows is the sweet nod to our family’s beginning with this vintage feed sack design. Very farmhouse, very rustic, and very very US!
Tell me what you think! Leave a comment below and share your thoughts on our new feed sack pillows… I can’t wait to hear your feedback!
Are you making this project? I’d LOVE to see it! Post a photo of your creation on Instagram and use the hashtag #MyLGWProject. It may just get featured!
Feeling inspired? Check out these ideas:
LET’S KEEP IN TOUCH!
Subscribe to Blog | Browse my Shop | Follow on Facebook | Follow on Twitter
Follow on Google+ | Follow on Pinterest | Follow on Instagram



Wow! This is so easy and the overall result is gorgeous! I own a Silhouette Cameo, and go figure, I never once thought to use it with fabric. Once again, that little machine is a miracle worker. 🙂
Great tutorial! Thanks!
Love your grain sack pillow. I have some old grain sacks that I need to make pillows out of. I always make envelop pillow covers. My grand daughter wanted to learn to sew and make her Daddy a pillow. I told her we would be making an envelop pillow. We made it and when she gave it to him, she said, “this is an envelop pillow. If your hands get cold you can put them in here to keep them warm. lol! You have to love kids – she is 7.
Bev
So, so sweet! 🙂
Hi Liz. My first visit and I like what I see! These look awesome and using drop cloths is genius, I tell you! Love your work. Mimi xxx
I love this way of making a pillow. Sometimes I use a decorative stitch to sew the seam down on the turn under part instead of just a straight stitch, this way if the pillow happens to get turned with the back showing ( my great grand kids playing ) it looks great on both sides.
Well, of course they are just great! Thanks for the detailed instructions. It’s already pinned.
Thanks for such a clear, easy to follow tutorial. Looking forward to trying this!
Simple tutorial with great directions. Did you stamp the print?
I made a stencil using my Silhouette Cameo and used a paint brush and watered down paint to fill in the design. A stamp would work well too though!
Super cute Liz! It’s crazy to think about the boys being that little, running around the feed mill. Time flies when you’re having fun 🙂
Seriously, where did time go??
Gorgeous as always Liz! How do you get so much beautiful light in your room? Jealous! Thanks for linking up at The Handmade Hangout!
What material did you use to make your stencil?
I cut the design on adhesive vinyl for the stencil.
Did you use regular paint or fabric paint for the image?
Yes, fabric paint would be best to use! I like to keep a small bottle of fabric paint medium on hand. That way, I can just mix up a little bit of the medium with my desired paint color instead of buying each specific fabric paint color I want to use. I hope this helps!
I love these! I tried to make one, however, and my image “bled” every time. (I tried the process several times on a drop cloth scrap. I tried different consistencies of watered down pain, but I couldn’t get that light/worn look without the paint bleeding and running out of the stencil.) I did not use fabric paint…I used latex. Do you think thats my problem? Would love to get this to work…thanks!