Do you have great dining room chairs, but no longer love the color? This tutorial will teach you how to strip, paint, and recover your chairs! Just follow these easy step-by-step instructions to give your chairs a big makeover!
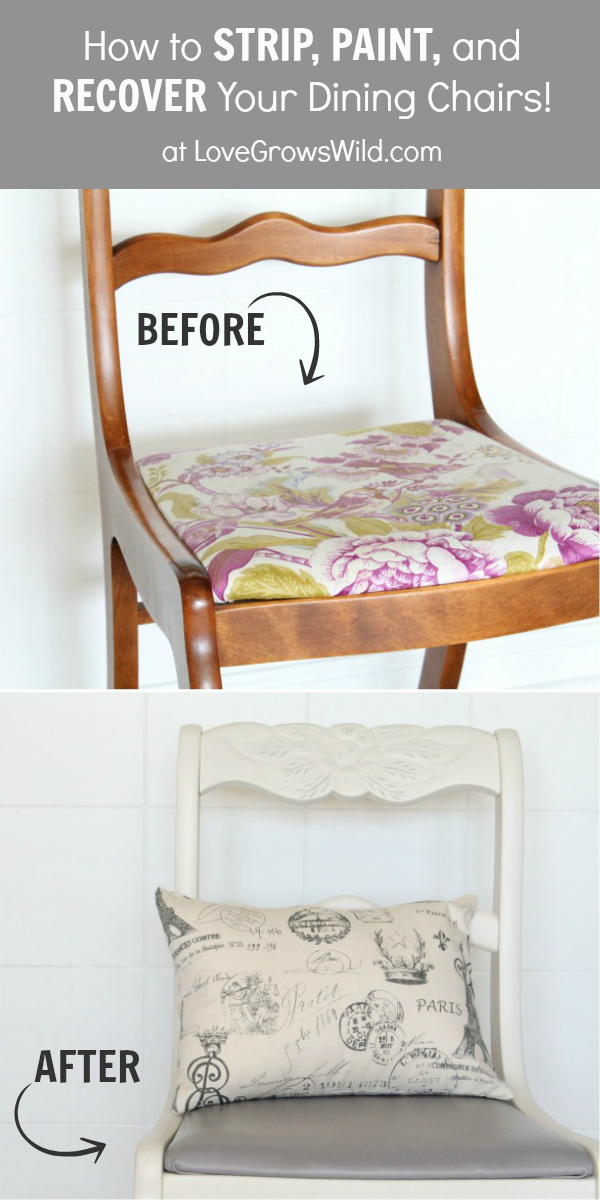
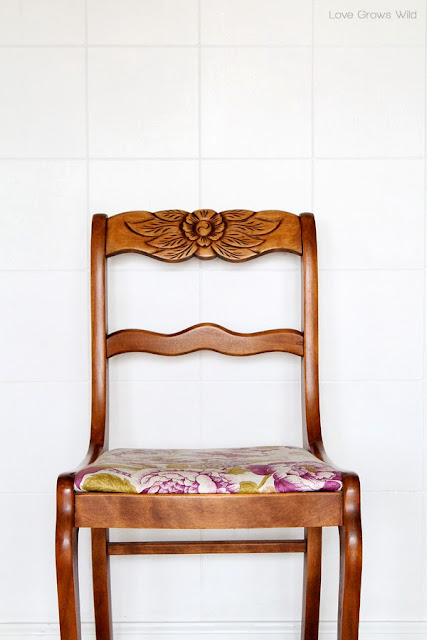
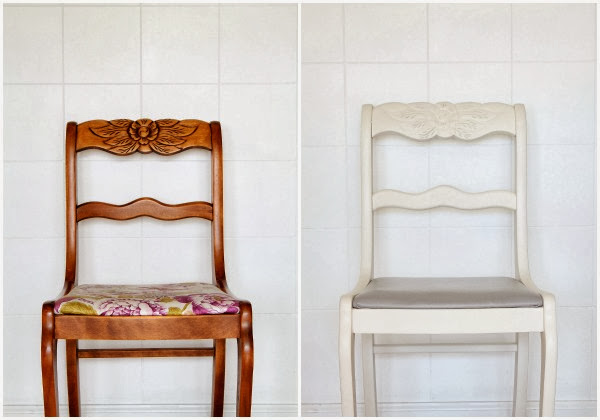
I feel like this post has been in the works FOREVER! Ever since we inherited a bunch of furniture this past year, I’ve been dreaming of giving each piece a fresh, new makeover, and my dining room chairs were at the top of my list! Here’s a look at what I started with…
Great chairs. Beautiful curves. Lovely carved details. Vintage white floral fabric… Yeeeeah, did I mention I have two boys under the age of 8? There is just no keeping vintage white fabric clean when there are two messy boys involved! So I knew the dirty, stained fabric on the chairs had to go, and I figured I might as well get the chairs painted while I was at it. The painting process seemed SO daunting to me, and I must have Googled hundreds of pages searching the right way to do it. Through a bit of trial and error, I found what worked best for me, and I wanted to share everything I learned with you so you can do it too!
First I figured out where would be the best place to work on the chairs. I wanted to do them outside, but out here in the country the wind can be pretty fierce. So I decided to turn our open-sided shed into my makeshift painting studio. I found a long folding table in our basement and drug it out to the barn to use as a stand for my chairs. It’s a lot easier to work under the chairs this way! I also covered the table in a plastic painter’s cloth and grabbed a few spare blocks of wood to set underneath each of the chair legs. This way the paint wouldn’t stick the chair and cloth together!
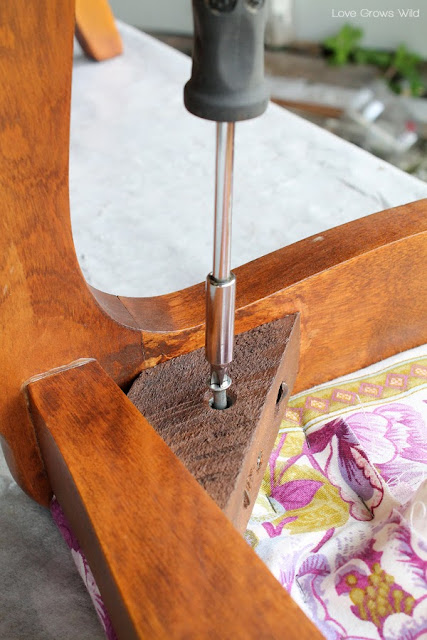
I flipped the chairs upside down on the table and removed the screws above each leg to detach the seat cushion. Make sure you keep the screws in a safe place together with the cushions!
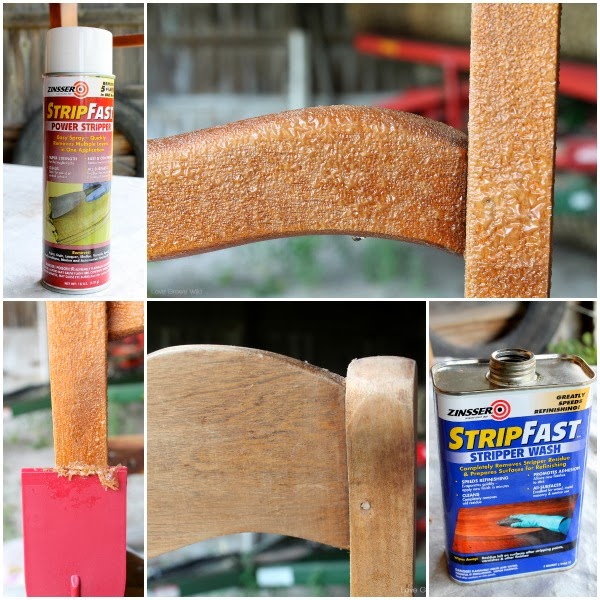
I wanted to remove the old finish from the chairs and start with a fresh new coat of white, so I purchased a can of Strip Fast Power Stripper from Zinsser. With some of the curves and details on this chair, I knew it would be difficult to sand the entire piece down to prep it for paint, so I figured stripping it down to the bare wood was my best bet. And it worked like a charm!
Make sure you cover anything you don’t want sprayed and do this in a well ventilated area! I liberally sprayed the stripper onto every surface of the chair and let it sit for about 10 minutes. You can see in the picture below how the old finish bubbles up! Then I used a plastic scraper to scrape away the old finish, leaving the beautiful raw wood behind. It’s a glorious process! After I scraped all the old stuff off, I wiped the chairs down with Zinsser’s Stripper Washer to remove any remaining residue. I love that it dried almost instantly and left the chairs perfectly clean and ready for paint!
Here’s where it gets interesting: When I first started this process, I decided spray paint would be the best option for painting the chairs. Again, all the curves and details would take forever to paint with a brush, and I’m just not that patient! I found the perfect shade of white (not too white, not too ivory) in a satin finish at Lowe’s and painted my first two coats on the chairs. After weeks of trips back to Lowe’s with no luck finding the same color spray paint, I decided it was time to invest in a paint sprayer! These poor chairs were seriously sitting in my barn for almost a month!
The first sprayer I bought was the Wagner Power Painter Plus, and I couldn’t wait to bring it home and try it out! I carefully read the directions, filled it up, and started spraying. No matter what setting I adjusted it to, huge amounts of paint came spraying out causing little beads of paint everywhere instead of a nice, smooth finish. By the time I went over the chairs enough to try to even everything out, the paint was running everywhere down my chairs, and I ended up in a ball of tears! I had been waiting WEEKS to finish these chairs, and now they looked horrible! The next day I got over my pity and exchanged the sprayer for an upgraded version, the Wagner Flexio 590 Sprayer. I think there were angels singing as I walked out of Lowe’s with this baby!
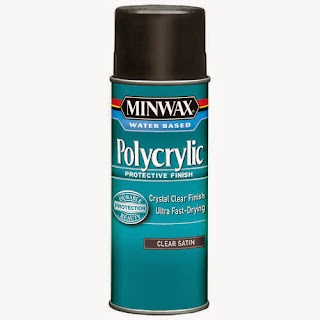
It has so many more adjustable settings than the first sprayer and even has a second attachment made specifically for the fine finish I was looking for! It sprayed like a dream! After sanding down my drippy paint spots from before, I was able to finish painting with my new sprayer in no time flat. I used my favorite white paint, Olympic Heirloom Lace. After the paint was completely dry, I sprayed a few coats of Minwax Polycrylic in Clear Satin to protect the chairs. Using the Polycrylic ensures your white paint won’t turn yellow!
Moral of the story: if you’re planning on refinishing multiple pieces of furniture, it is a fantastic investment to purchase a paint sprayer! Just do NOT buy a cheap one or you will be sadly disappointed! Your husband will not appreciate the sobs he has to listen to… trust me : )
Now we’re onto recovering the chair cushions! As I said before, with two little boys eating on these chairs, I knew pretty fabric was not a great option for us. Even if I found a pretty durable fabric, I knew I would be a wreck every time they sit down with a big bowl of spaghetti, so I went in search of a better option! You know what I came up with… Marine Vinyl. It’s like the stuff you would cover boat seats with! I figure if this stuff could withstand wet bathing suits, sun, and wind, it would surely hold up to what my boys will put it through! No matter what spills may happen, I can just wipe these seats right off! This marine vinyl is PERFECT for families with little ones! I found the vinyl at Joann’s, and it comes in a variety of colors. It’s not too badly priced with a coupon either!
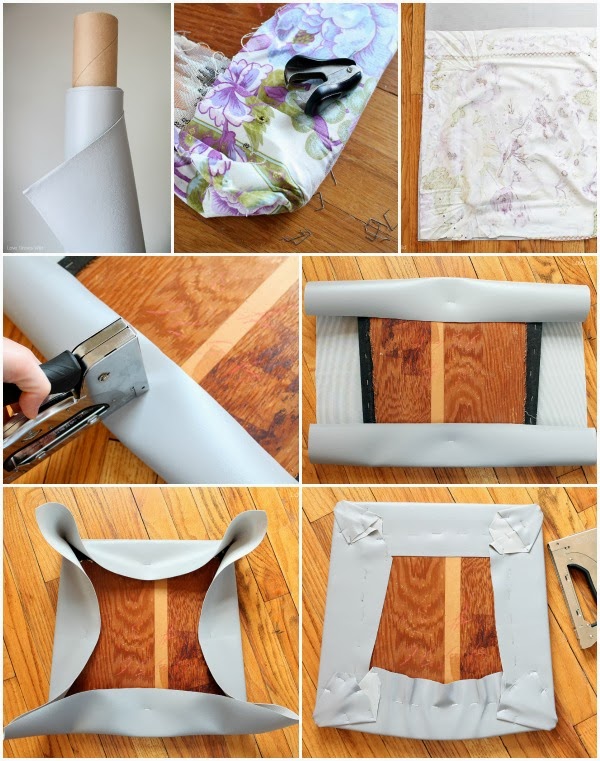
These chair cushions had at least 3 or 4 layers of fabric stapled to them over the years, so I removed most of them down to the bottom layer. The seat padding was still in pretty good shape, so I left that alone. I used one of the pieces of fabric I removed from the chair as a template for cutting my vinyl. I centered a seat cushion on one of my cut pieces of vinyl and wrapped the vinyl over the cushion. I put a staple into each side, pulling the vinyl taut as I stapled. Then I worked each corner until I got it to lay as flat as possible and stapled everything in place. Since this vinyl is much thicker than fabric, it takes a bit of finesse, but it’s really not a hard to do!
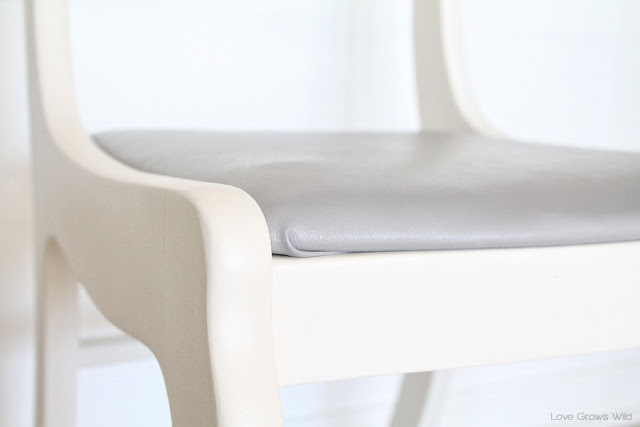
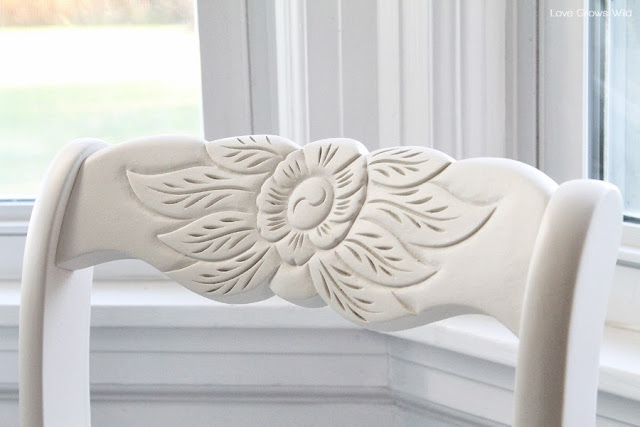
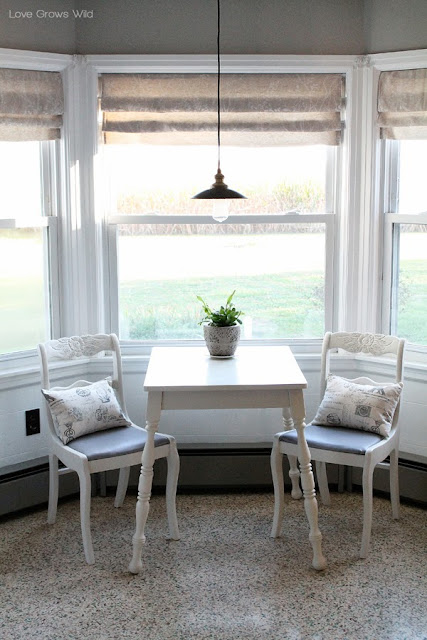
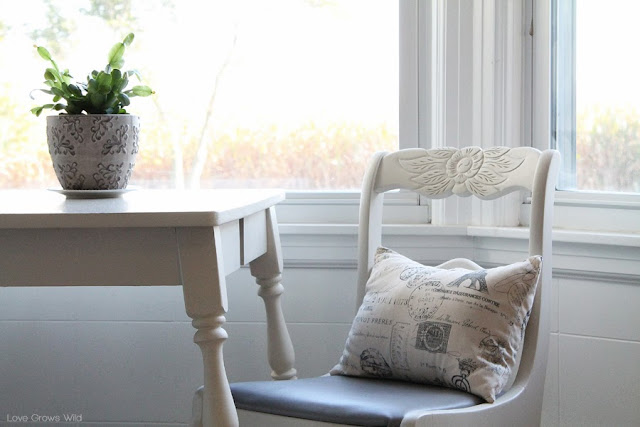
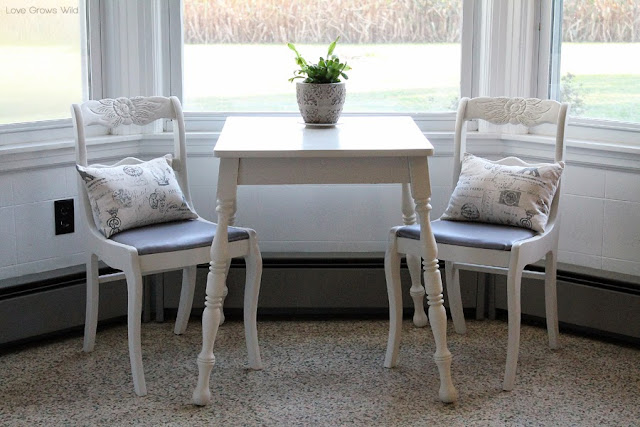
And now… after weeks of waiting… here’s my newly-refinished chairs!!
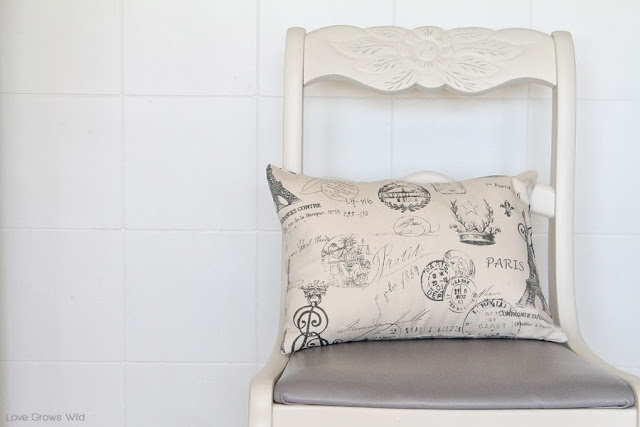
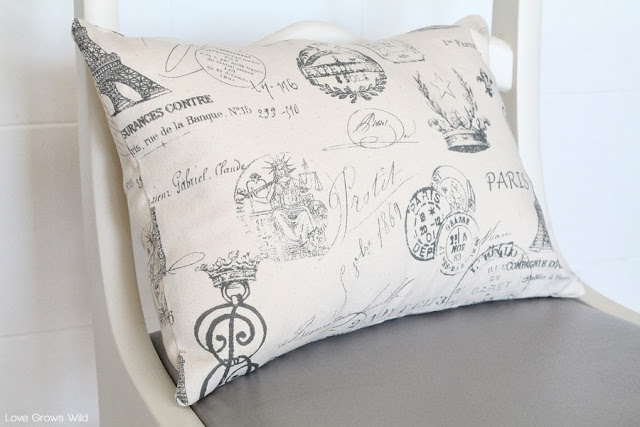
I made these sweet little pillows with some fabric I found at Hobby Lobby. I love the design and how well it ties together the white, ivory, and gray colors!
And now this sunny little nook in my kitchen is complete!
Wouldn’t you love to sit and have some coffee with me here? It’s the perfect spot to read a good book and enjoy all the sunshine coming in from the windows!
So tell me what you think! Do you like the new look of the chairs? Do you like the idea of using vinyl instead of fabric? I’d love to hear your thoughts!
Check out more projects from our kitchen makeover:
Let’s Keep In Touch!
P.S. I’m sharing this post at some awesome link parties… Check them out HERE!









These turned out beautifully, Liz…what a great job you did! I have always been too intimidated to tackle a job like this, but you make it seem very doable. I have ivory fabric covered chairs with small children as well and I love the idea of recovering them with vinyl! I’m so glad you resolved your paint spraying issues and shared your trial and error with the rest of us. You should feel very proud every time you look at your lovely new chairs! 🙂
Have you tried chalk paint? There’s no priming/sanding/stripping, you just paint and finish with wax. Easy peasy.
OMG gorgeous! I love the colors! Have been on the hunt for a new dining set…may have to pay more attention to those garage sale finds!
Your chairs look great! I have been wanting to redo our kitchen chairs for a while now. You have such great tips! I hadn’t thought stripping stain would be so easy but now I think I’ll do that. Sanding is just too hard with all those curves!
I like the idea of the boat fabric too. I have been trying to decide on fabric for our chairs once I get them painted and had been toying with the idea of using dropcloth. I’ve been rethinking that with a little boy running around and another little boy on the way. The vinyl is brilliant!
Liz they look so beautiful! I love how much more the carving stands out when it’s white. I love everything you do – so simple yet elegant.
Liz, they look great! I liked them before too, but I feel ya on fabric being a no-go with boys! 😉 I read another post recently of someone who re-covered their chairs with vinyl, and she recommended poking little holes in the vinyl with a pin, because when she did it originally the vinyl ripped over time since it doesn’t give/breathe like fabric! Of course, if they eventually rip, you can always just recover them…the painting part is the hardest! They look lovely! 🙂
That’s a really great point, Beth! Thanks for the tip! I’ll have to think about that!
I love the color you chose for these chairs. I’ve also experimented with re-covering chairs and find it such a fun and easy way to get some fabulous custom furniture in a hurry on a budget. Thanks for the tips on stripping and painting with a sprayer. I’ve been debating making a purchase of this sort for awhile and just haven’t taken the plunge. I think I’m willing to give it a go with your recommendations. Thanks a million!! 🙂
Beautiful is not even close to what these chairs are…I love it! I’m wondering if I can pad my dining room chairs that have no pad right now? What do you thinK? I will be painting them too but feel like they need some cushioning on the seat.
Your chairs, that little nook, it is all just gorgeous. Sorry you had issues with the first paint sprayer but with DIY it’s always live and learn isn’t it. Glad that you shared your experiences with us and save us from having those issues. Now that you have a good paint sprayer I imagine that open-sided shed is going to see a lot more activity in the future 🙂 Have fun!
Yes, it certainly will! No piece of furniture in my house is safe now : )
Come visit us at http://obsessiveandcreative.blogspot.com/2013/10/craft-frenzy-friday-8.html
We are having a party and it won’t be the same without your creativity!
Craft Frenzy Friday!
I love how they turned out! Yikes what a lot of work, but it was worth it in the end. They are gorgeous!!!
Such a fresh change…they look great!!
Pinning! I’m also going to remember about the sprayer when I write my post on painting kitchen cabinets. A sprayer would have made the job go so much faster.
oh wow, this chair looks absolutely gorgeous on white. I love the flower detail.
It’s that flower detail beautiful? Thank you for the sweet compliment!
These are gorgeous! You did an excellent job!!
Thank you so much, Gretchen!!
I wish I had found this post ages ago! I had a couple of really cool chairs that I wanted to revamp and I finally gave up on them because of the sanding.
My question is – how did you get all the old paint out of the flower detail?
I scraped as much of the finish off as I could after applying the stripper, but I just painted over any finish that remained in the small crevices. It still covered nicely! Thanks for stopping by!
Hi Liz,
You did a great job on these chairs!
May I ask you which paint color did you use?
Thank you
Thank you, Mercedes! I just love the way they turned out. The paint I ended up using was Heirloom Lace from Olympic. I’ve used it on all kinds of furniture around my house! Thanks for stopping by. 🙂
The chairs look great, did you use the spray can polycrylic, or did you spray it from the 590? If so what air and flow setting did you end up using?
Hi Cody! I did end up spraying the chairs from a can for the polycrylic. Hope this helps!
Love the chairs and tips! Inspirational!!! Question: Did you sand in between the coats of the polycrylic like it says to do on the can? I have a painted piece I’d like to protect, but I don’t want to potentially damage the picture painted on the furniture by sanding. Didn’t know if it was a necessary step or if I should brush the protective finish on…hoping I don’t have to. I love a good spray can! Hate fighting brush strokes… Thanks for your super informative posts!
Great question! If I remember correctly, I did not sand in between coats. My chairs were a beast to sand! If I had accidentally sprayed too much in a certain area, I would sand that down lightly, but in general, I did not. I hope this helps!
Gah! I’m in love with your blog. It hurts my heart a little that you had to get rid of that GORGEOUS vintage flower material but completely understand and vinyl truly is the way to go!
I am in the midst of painting/recovering our ancient dining room table and chairs and will be using your experience to help me!
Thanks so much!!
I’m so happy to hear that, Melissa! Glad I can help you along the way. I bet your dining set is going to be amazing when it’s finished! I still have my table on the to-do list, and I really should tackle it soon! Have fun painting, my friend! 🙂
Your chairs look very much like 4 I have that belonged to my mom, but they are in a dark cherry wood/stain. One person suggested using chalk paint and not stripping them??? I’m pinning you and hoping I get around to making mine as beautiful as yours very soon! Thank you for the inspiration.
Yes, chalk paint would be a great solution! Just make sure to seal them really well, as dining chairs can take quite a beating over the years. At least I know mine definitely do! 🙂
Thanks for this helpful tutorial!! I’ve never strip wood before and would like to repaint a chair. Do I need to spray paint if I want to create a distress paint look? I saw your other post about using Vaseline to create a distressed look.
Hey Lisa! There are a number of ways you can get the distressed look, but basically you’ll want to paint the chair first, then remove some of the paint in areas where the chair would naturally age. You can paint the chair with a paint brush or use spray paint, whichever you prefer. And yes, the Vaseline technique works great! You can use Vaseline before painting (like I described in that post you mentioned) or you can use sandpaper to remove some of the paint after it dries. I hope this helps!!
Great transformation!Now I want the same paint sprayer as yours.
OMG. I literally just picked up these exact same chairs last week from a garage sale, and was wondering how to re-finish them. This was the first link I clicked on in my search! Talk about serendipity! I have a set of 8, that I’m hoping to have done by Thanksgiving dinner and I’ve never painted furniture before! This makes me feel a bit more confident.
Hi everyone I’m here cause I just sold 8 chairs almost exactly like these including the captain’s chair and I’m no expert. Sold all for $200 and my brother said that they looked antique and could have been worth a lot of money and I’m dying to know how much they really where worth. Can anyone help me out? Thanks.
These chairs are beautiful and I owned 8 of them including the captain’s chair. Unfortunately I sold them for $200 and my brother said they could have been antique. Can anybody help me out if these were actually worth a lot? Thanks.
where did you purchase these chairs at?
Here we go. Another ” slapped white paint over lovely wood ” job!.You took two beautiful chairs and literally destroyed them. The chairs were beautiful before. The wood is gorgeous. And now that you painted them white the carved detail at the top just disappeared.
Hello, I realize this is an old post and I love the chairs – I just bought 4 exactly the same and will follow these instructions to transform them! 🙂 BUT, I also love the table. It’s super cute, unique and petite. Did you make this yourself or did you modify an existing table? thank you!
That last post was harsh but I also liked them better in the wood finish