
So remember that one time when I made a big, beautiful, rustic chalkboard for my kitchen? (If not, you should totally go check it out after this!) It was one of my first big DIY projects, and is still probably one of my favorites to date. You just can’t go wrong with a big kitchen chalkboard framed in old, weathered wood. Or faux weathered wood, in my case!
I thought adding that chalkboard would give me a space to plan my meals out for the week, but truth be told, I usually end up doodling chalk art all over it and can’t stand the thought of erasing all my hard work! Perfectly formed typography drawn in chalk is NOT something you let go to waste! 😉
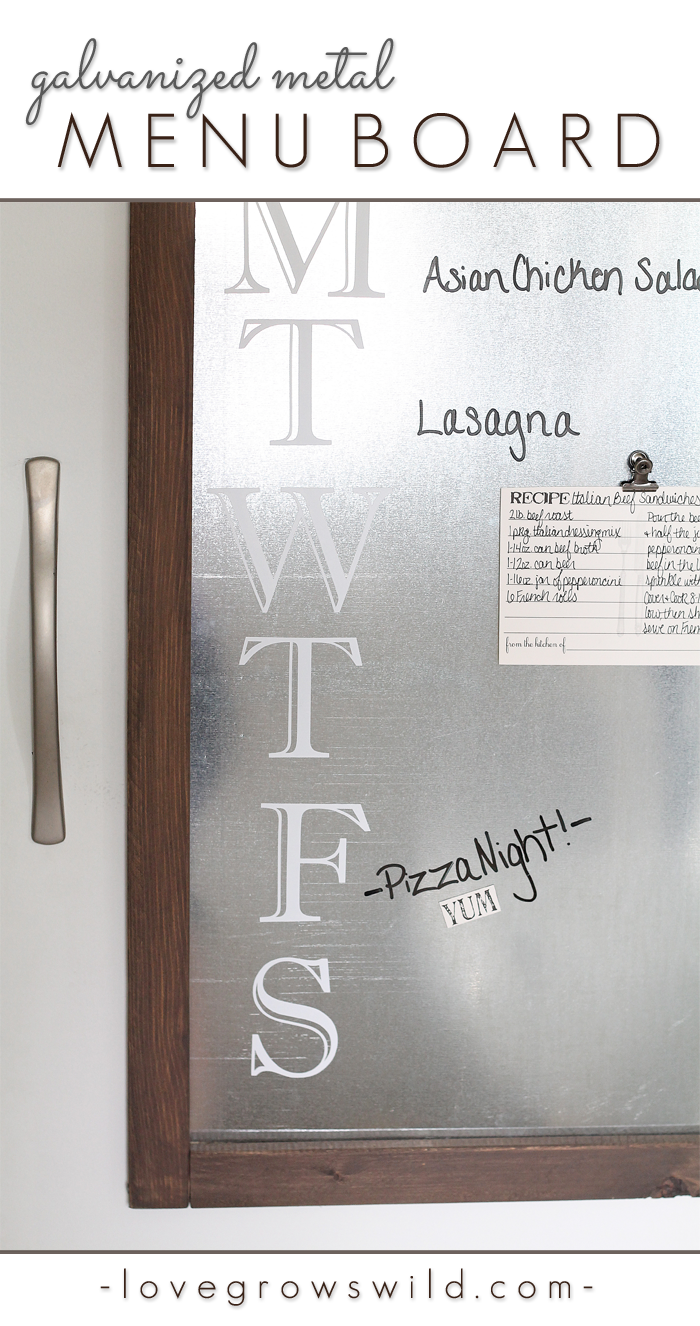
I needed to find another solution for organizing my meal plan for the week, so I came up with this idea for a Galvanized Metal Menu Board. Guys… it turned out even better than I imagined! It’s super easy to put together, I didn’t have to make any nail holes to hang it, and it’s both magnetic AND works as a dry erase board! You are going to love this easy DIY project! Grab your tools, and I’ll show you how it’s done!

Supplies:
wood furring strips ($1.56 for 2 – 1 x 2 x 8″ pieces)
galvanized sheet metal ($6.78 for a 16 1/2″ x 30″ piece)
4 pack Command Picture-Hanging Strips
paint or stain and paint brush
drill and screws
Here’s what you need to know:
– I found sheets of galvanized metal at the hardware store where they keep supplies for duct work. They had a 16″ x 30″ piece, which was the perfect size for my pantry door where I wanted to hang the menu board. Depending on the size board you want to make, you may need to get a larger piece of sheet metal and cut it down with tin snips, which you can also find in that section of the hardware store.
– I originally hadn’t planned on creating a frame around the board, but the edges of the sheet metal are pretty sharp, and I didn’t want to have to worry about my kids being around it. Nobody is allowed to bleed on Mommy’s new project! Just kidding, of course. 🙂 But be careful when you’re working with it!
– To create a frame around the metal, I used wood furring strips. They are small, cheap pieces of wood that are perfect for framing and can be found in the hardware store’s lumber section. You might have to dig through the pile a little bit to find one that is good and straight, but it’s a great source for small, cheap wood! You can either make straight cuts for your wood or miter the corners, but for this project I chose to keep it simple and use straight cuts!
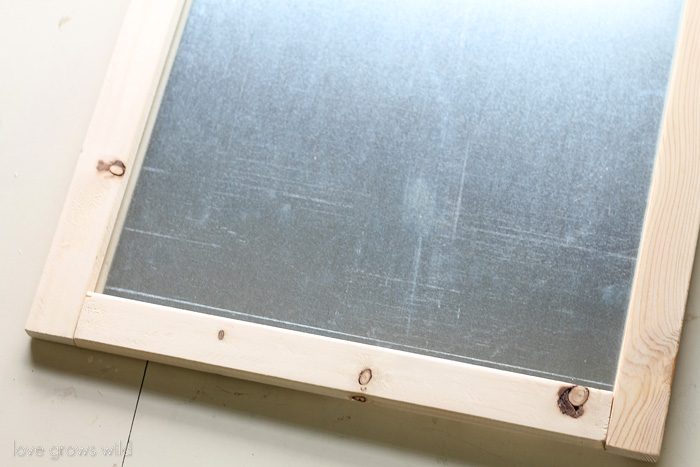
Step 1: Cut 4 pieces of wood to fit around your sheet metal. You want the metal to be hidden behind the frame, but make sure you leave enough room to drill a screw into the back.
– My sheet metal was 16 1/2″ x 30″, and I cut my wood to 30 3/4″ (sides) and 14 1/4″ (top and bottom).
Step 2: Sand down any rough edges on the wood and paint or stain in your color of choice.
Step 3: Create the frame by using 2″ screws on the sides to attach all four pieces.
Step 4: Flip the frame over and place the sheet metal on top. Secure the metal to the wood frame with your drill and some screws. You’ll need to use short screws so they don’t go through the front of the frame.
– I used about 16-20 screws evenly spaced around the frame.

Step 5: To hang the menu board without adding any holes or nails, follow the directions on your package of Command strips. They’re really easy to use and hold perfectly!
To finish my menu board, I added the days of the week using some white vinyl letters cut from my Silhouette Cameo using the font Imprint MT Shadow. If you don’t have a vinyl cutter, some letter stickers from the craft store would work too! The sheet metal makes a PERFECT dry erase board, so keeping track of our meals is super easy.
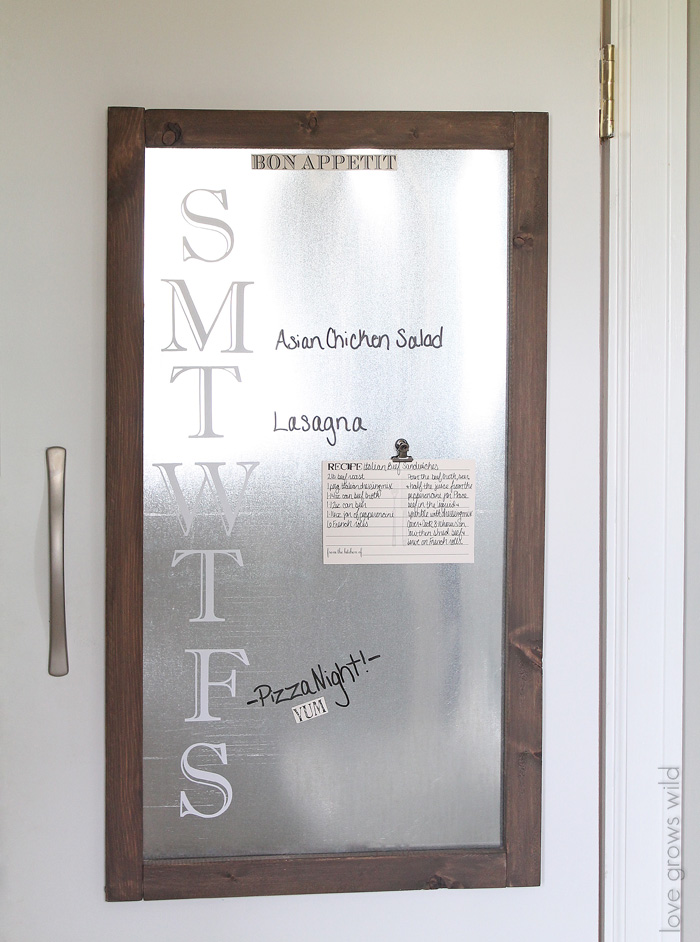
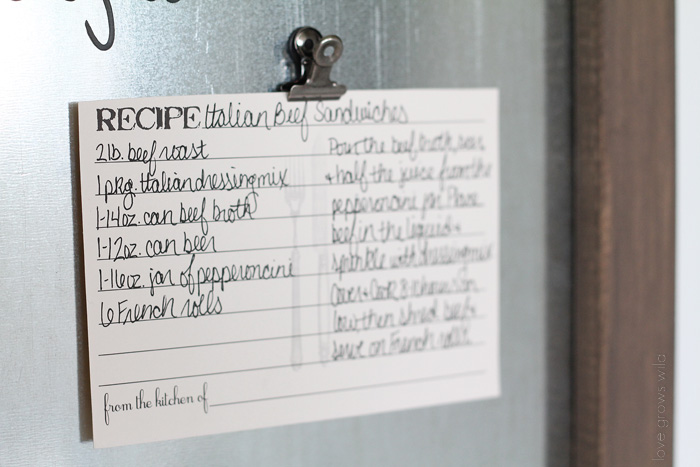
Using sheet metal also makes the menu board magnetic, so I created a few fun magnets to hold our recipe cards. That way I don’t have to go searching everywhere for recipes when it’s time to get dinner started! I glued a small, round magnet to the back of a clip to hold recipe cards, like this one for our favorite Italian beef sandwiches. Yum… those things are the bomb.com!
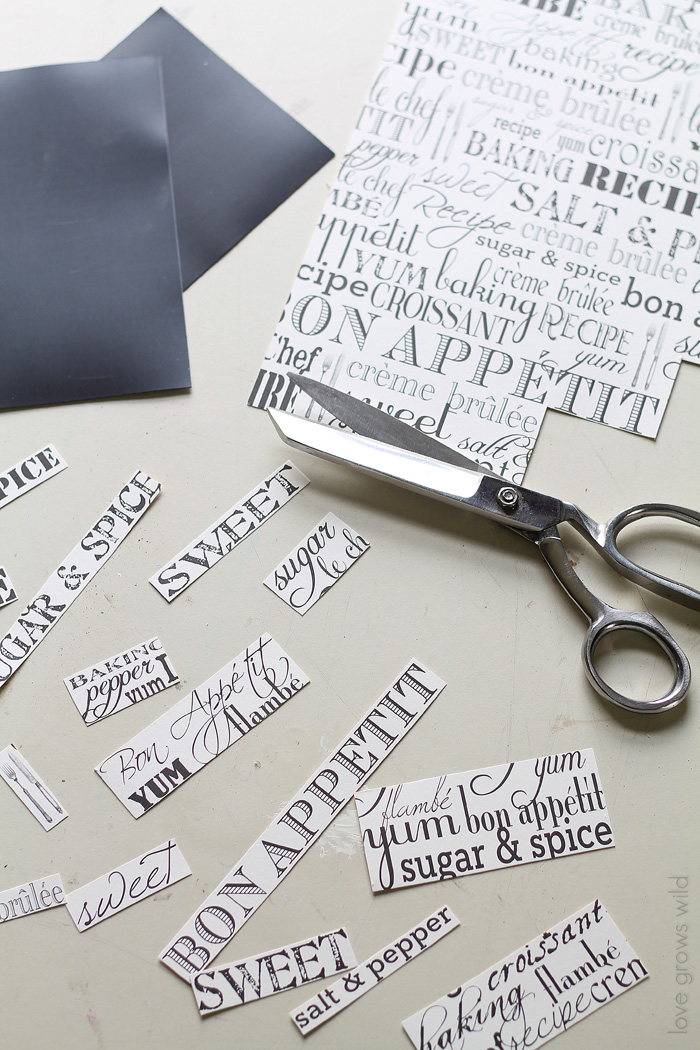
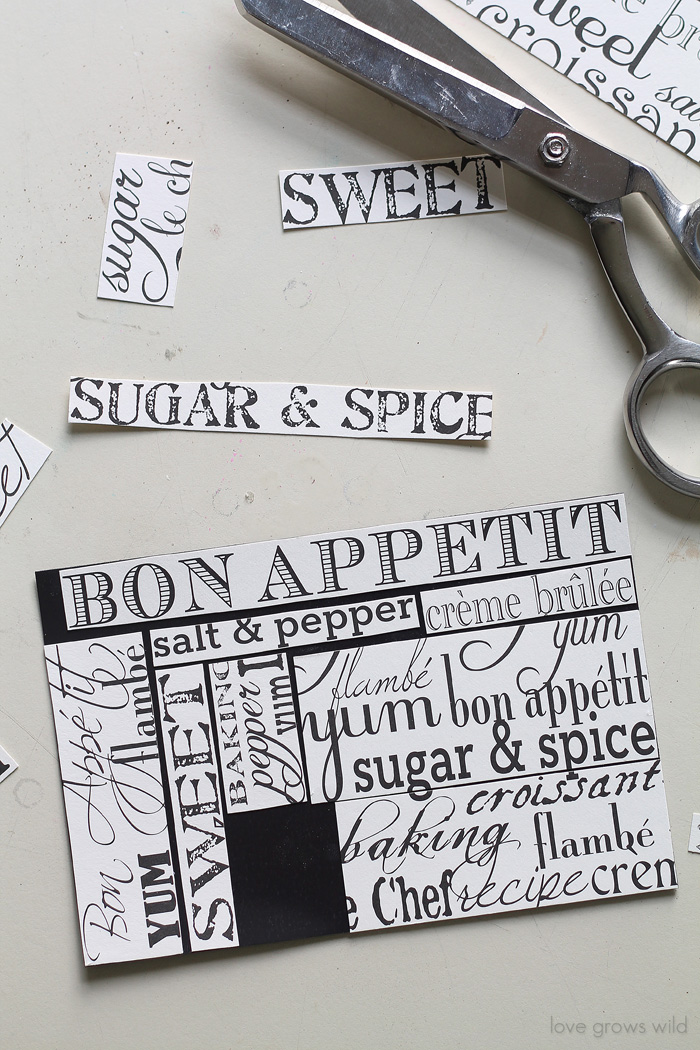
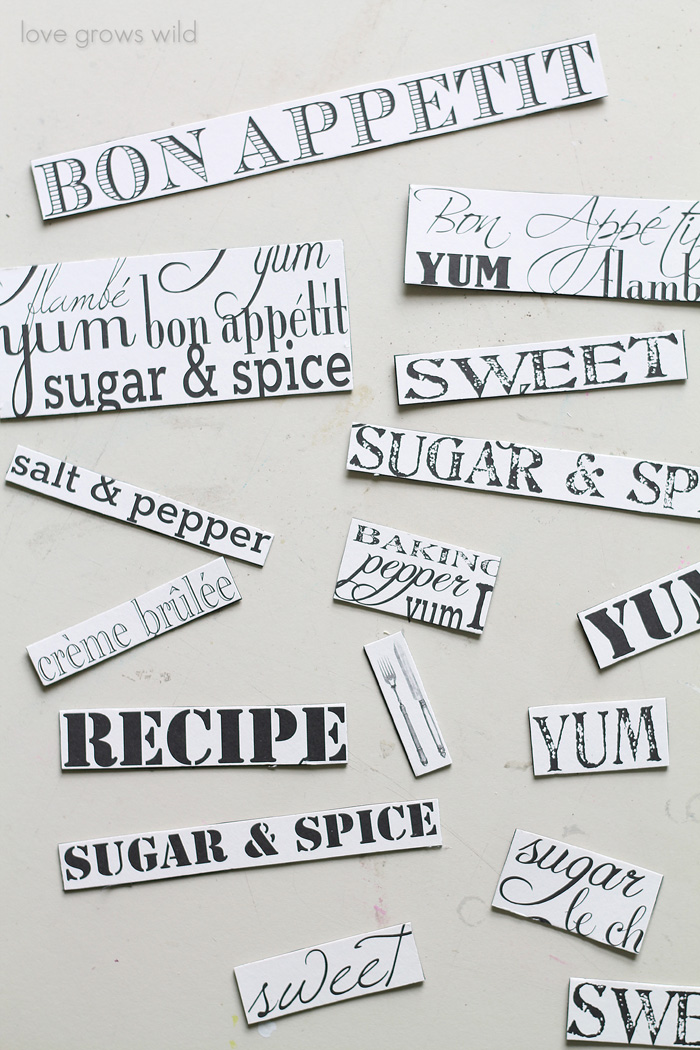
I also had some fun recipe-themed scrapbook paper, so I made magnets with that too. Using adhesive magnet sheets makes it really simple! Just stick the paper on the magnet and cut it into whatever shapes you want.
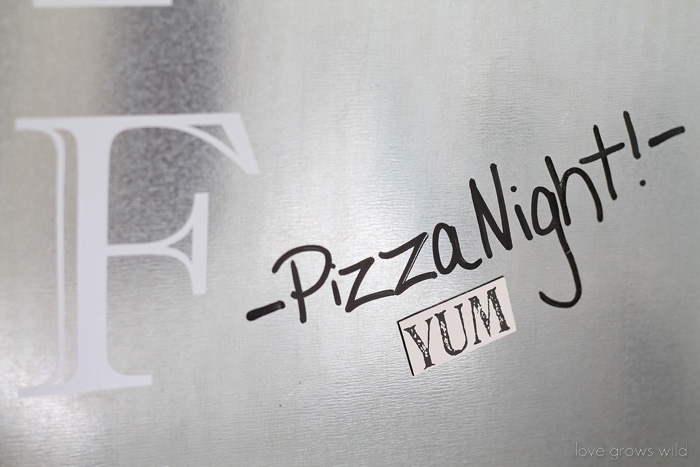
My family likes to leave little notes by my dinner choices… apparently someone thought Friday pizza night was a good idea!
So what do you think about this galvanized metal menu board? Would you use one in your kitchen? What about an office for keeping track of important dates or notes? I’d love to hear your thoughts!
Like what you see? Subscribe to Love Grows Wild so you’ll never miss a post!
Follow along on Pinterest, Google+, Instagram, and Facebook for more fun!
More DIY Project Ideas:
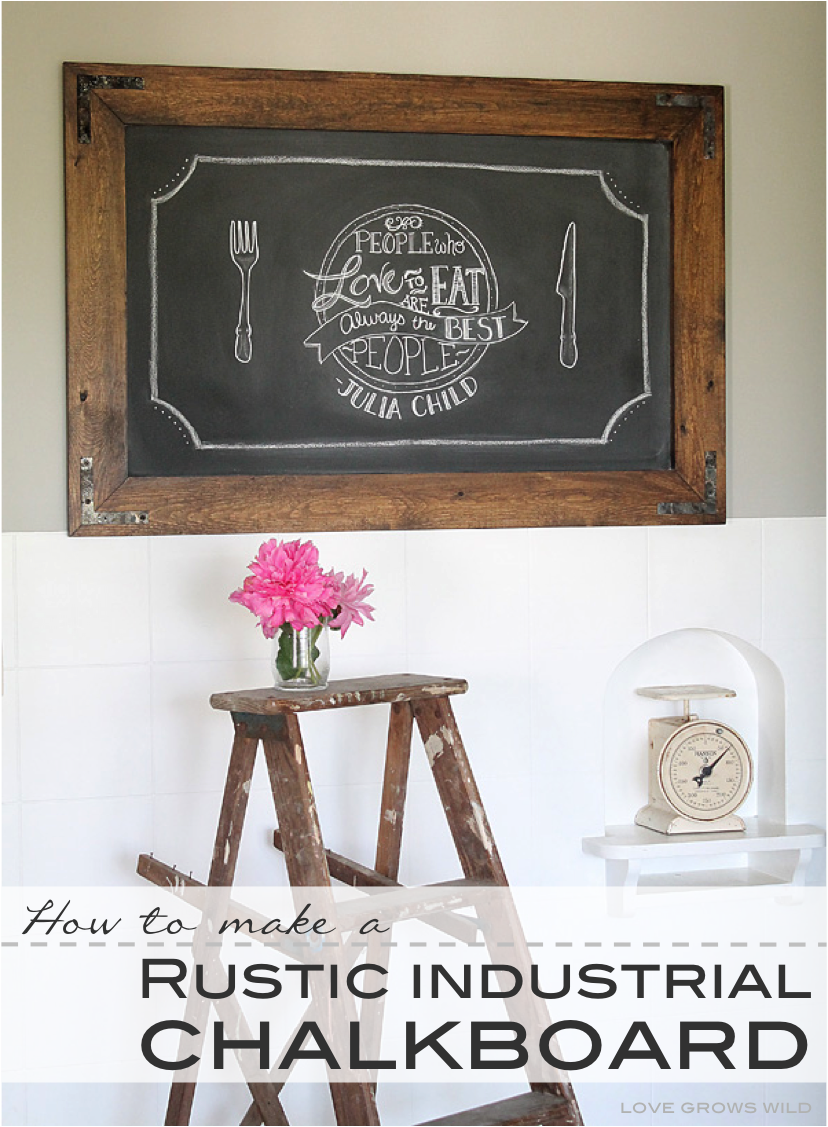
DIY Rustic Industrial Chalkboard
Distressed Market Fresh Kitchen Sign
Thanks to Craftistas and Canvas Corp for the fun scrapbook papers!
LET’S KEEP IN TOUCH!
Subscribe to Blog | Browse my Shop | Follow on Facebook | Follow on Twitter
Follow on Google+ | Follow on Pinterest | Follow on Instagram

This is awesome! Love it!
Thanks, Misty!! Hugs 🙂
Love this idea!
Thanks, Katie! It’s so handy for keeping us organized! Have a wonderful weekend, girl! 🙂
Can I just be more crafty so I can make this?!! It’s SO cute!!!
You can totally do this, Jen!! I have 100% faith in you. If all else fails, pour a glass of wine, call me, and I’ll talk you through it! 😉
My husband is making me this as we speak! Really looking forward to getting more organized with my meal planning – hope it looks as good as yours!
That’s so cool, Kellie!! I think you’re going to absolutely love it! Major brownie points for the hubby. 🙂 You’ll have to let me know how it turns out!
I love this Liz – absolutely love it!!!!! Ideas are swirling in my head on where I will put this in the new house.
I am dying to see what this new house is going to look like! You’ve been a busy bee lately getting things ready! And this menu board… I’m completely in love!
I had no idea you could use galvanized metal as a dry erase board. Great idea!
I love the dual purpose! I absolutely adore my chalkboards, but sometimes grabbing a quick dry erase marker is way easier. Thanks for stopping by to check out my new menu board!
I love this! I would love it if you joined and contribute your awesome posts at my link party at City of Creative Dreams , starts on Fridays 😀 Hope to see you there at City of Creative Dreams Link Party.
Thanks for stopping by, Shanice!
Stopping by from The Sunday Showcase link party. This turned out great! I need to this for my blog calendar in my craft room. Thank for sharing.
I’ve had that thought too! Wouldn’t this be great for a huge calendar? You’ll have to let me know how yours turns out, if you go for it!
That is cool!!!! I love that idea. It is just my hubby and I and we do freezer meals so this would be great. We could determine what we wanted to eat on the weekend, plan it out and whoever has the most energy when we get home from work can start heating up supper. I think I need to make this…
This sounds perfect for you both! And I love how you put that… “whoever has the most energy when we get home from work…” That’s exactly how it is! Lol 🙂 Have fun making your new menu board!
Pretty Cool!! Thanks for the great info and how-to’s!! Appreciate you!!
I’d like to invite you to visit my blog – I am hosting a giveaway to celebrate my 50th post!! Taunya Butler at daisiesgirl.com
Thanks for the love, Taunya! 🙂
I love this! Of course. It turned out beautiful.
Thanks, girl!
What size font did you use? Thanks 🙂
Hey Nikki! I can’t remember the exact font size I used (I apologize!), but all the letters are 3″ tall. Hopefully that will help with your spacing! I’d love to see how your project turns out!
beautiful very beautiful
Thank you!!
Love this menu board! My 6 year old loves to read my weekly menu on my grocery list, so I figured he’d love seeing this so he can check it each day. My husband just went to Home Depot for some lumber so I had him pick up the materials to make this. Do you happen to know what stain color you used? Hoping it’s one we already have on our shelves!
That’s great, Sam! I believe I used dark walnut stain on my menu board. Have fun creating!
I saw this on Pinterest and thought what a great idea…pinned it of course and kinda forgot about it. Today I was thinking about buying a dry erase board for the kitchen, and remembered this post. Sent the hubby to the store and this evening I have a brand new custom made dry erase board. Thank You!
Yay!! That is awesome, Jennifer! I love re-discovering old, forgotten pins too. I hope you enjoy the new dry erase board!!
How do you clean the dry erase marker off of the sheet metal? My dry erase marker eraser isn’t getting it off completely.
I just use a napkin or paper towel, and it wipes right off. You can see a very faint trace of the previous writing, but I don’t think it’s really noticeable on mine.
so happy i found this! love your site!
I love the idea. I wonder if the liquidchalk markers would erase off the metal? Has anyone tried that?
Did this for my wife, but the dry erase does not erase very easy. Takes some serious elbow grease. What kind of pen are you using? We used vis-a-vis dry erase pen.