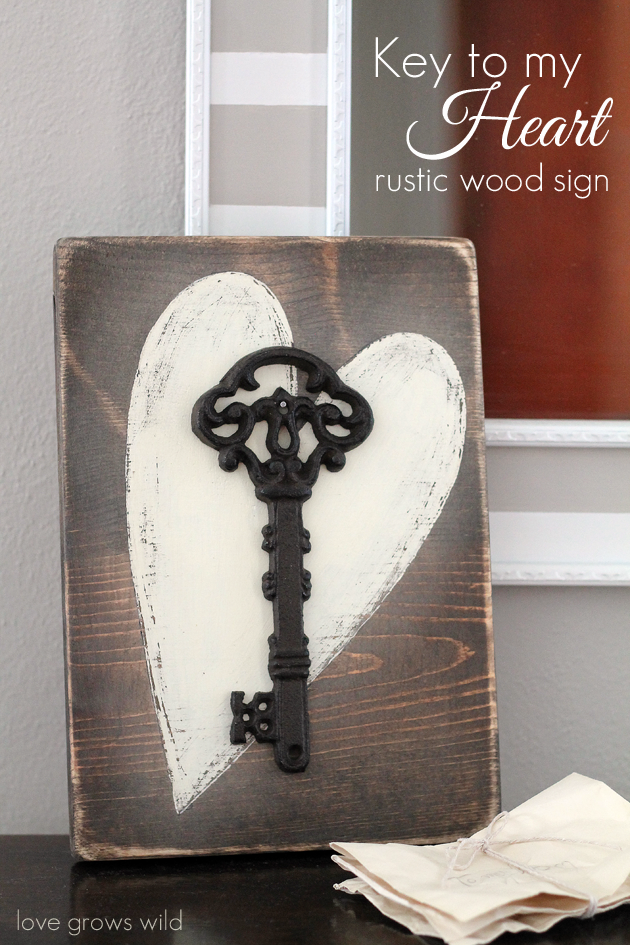
Add a touch of romance to your home with this sweet Key To My Heart sign! It’s perfect for Valentine’s Day and would look great hung in a master bedroom too!
Okay, okay, before we get all sappy with hearts and Valentine’s Day and Cupid and love, let me just say this: I don’t decorate for Valentine’s Day. I barely feel like I’ve got my house back in order from Christmas, and I’m just enjoying a normal, clean, non-fussy house for awhile. Do you feel the same way? It seems like the smaller holidays come and go so quickly that I just don’t have the time to go all-out decorating for each one. Sorry Cupid… Santa wore me out! 😉
But all the stores have such cute Valentine’s decor out right now, and it has inspired me to create a few projects that give a wink and a nudge to the day of love, but are versatile enough that they can be left out all year long. Yay for double duty! I guess I can justify decorating for Valentine’s Day if it’s something that stays out all year! This rustic wood sign turned out even cuter than I pictured in my head, and I’m so excited to share it with you guys! Here’s how I made it:
Supplies
- 1 x 8 wood board
- sand paper
- metal key (found at Hobby Lobby)
- stain
- foam brush
- scrap paper
- pencil
- paint
- nail
- hammer
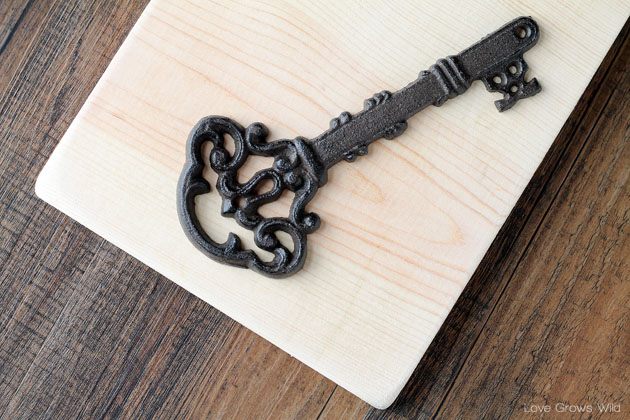
I started with a piece of 1 x 8 scrap wood from my garage that I cut to 11 1/2″ long and sanded the corners and edges down until they were nice and rounded. I think rounded edges help give a piece that worn, rustic look, so I do that on lots of my wood projects. I found this pretty metal key on sale at Hobby Lobby for only $3.50 and used that to help determine the length I wanted for my sign.
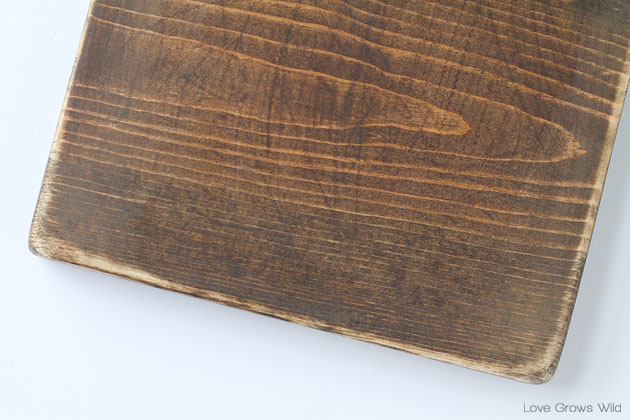
After wiping away all the dust from sanding, I stained the wood in dark walnut. I applied the stain with a little foam brush and let it sit for about 10 minutes before wiping away any excess stain that hadn’t seeped into the wood. After letting the stain dry for about an hour, I sanded the wood again, focusing on edges and corners, until it was distressed to my liking.
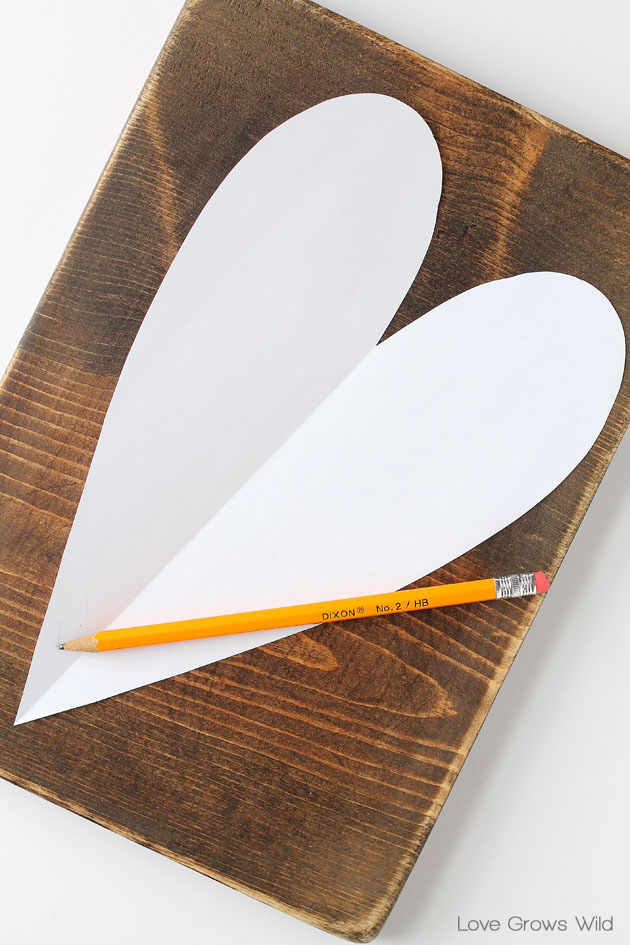
Then I drew a heart template on a piece of scrap paper and cut it out with scissors. Tip: Fold your paper in half to get a perfectly symmetrical heart shape! I placed the paper heart on the wood at a slight angle and traced around it with a pencil, pressing hard to create an indent in the wood.
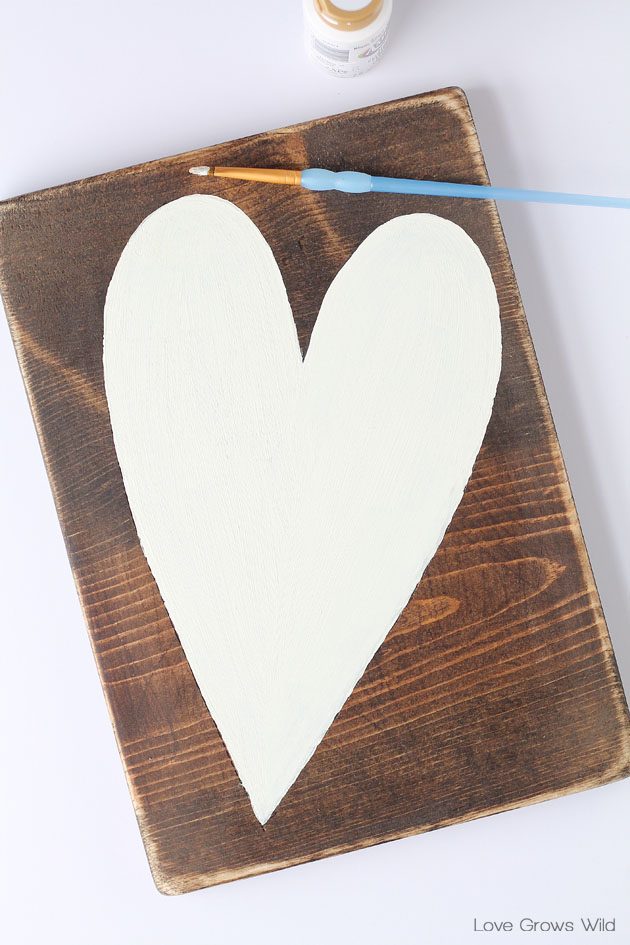
I painted the heart using white acrylic paint mixed with a tiny bit of yellow to give it a nice, creamy look. It took 2 coats to get good coverage.
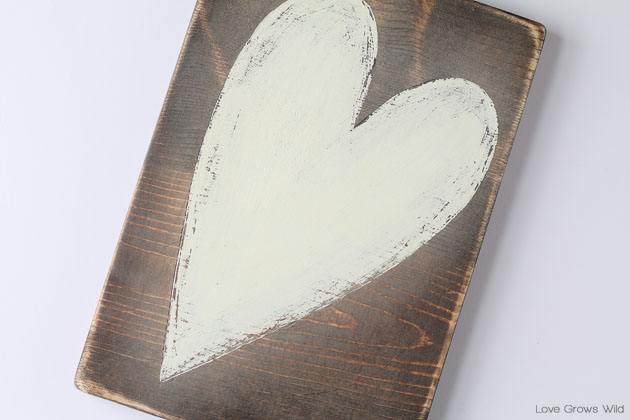
Then I grabbed my trusty sand paper again and distressed the edges of the heart. This made the stained wood around the heart get really hazy, which was kind of a bummer but also looks kind of cool too. I can’t decide. Let’s just go with “it adds to the rustic look” theory. That works for me! I probably could have avoided the haziness if I would have used one of the many gallons of paint sitting in my basement, but I needed such a small amount for this project and those little bottles of craft paint are so darn handy. Oh well!
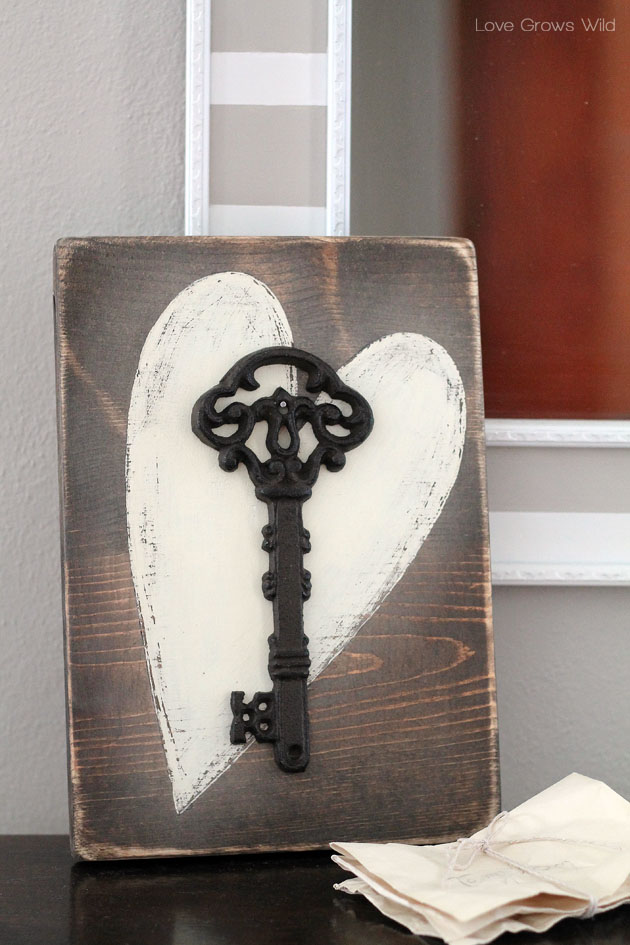
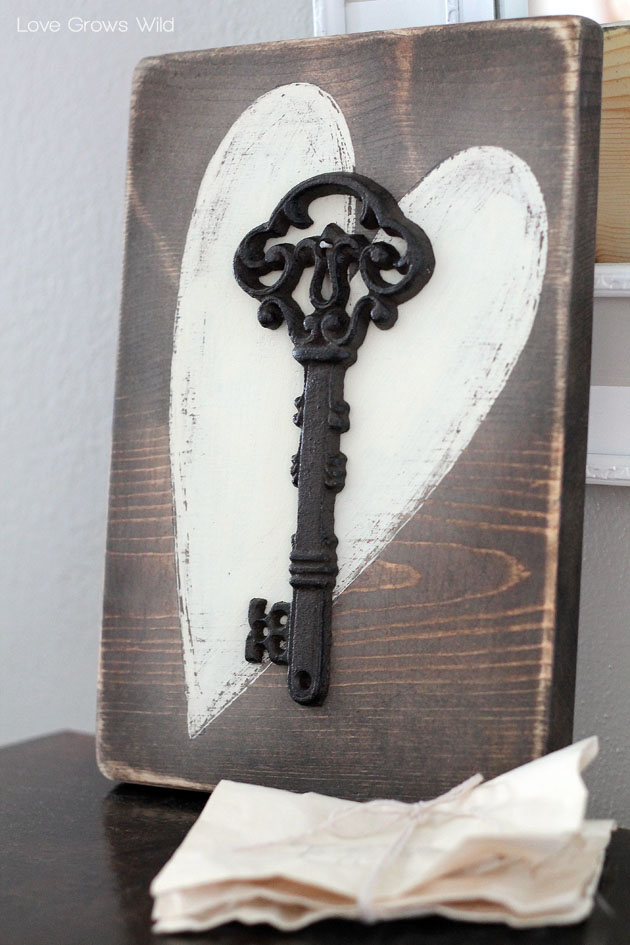
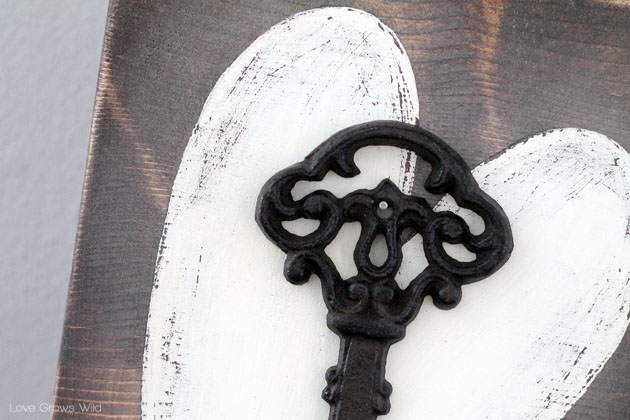
I added the metal key over the heart with a small nail, and that’s it folks! Cute, versatile Valentine’s decor complete!
Distressed, chippy paint edges make my heart swoon.
I have this sign sitting out on a table by my front door for now, but I think I’m going to move it up to our master bedroom once Valentine’s Day is over. Such a pretty way to feather our “love nest!”
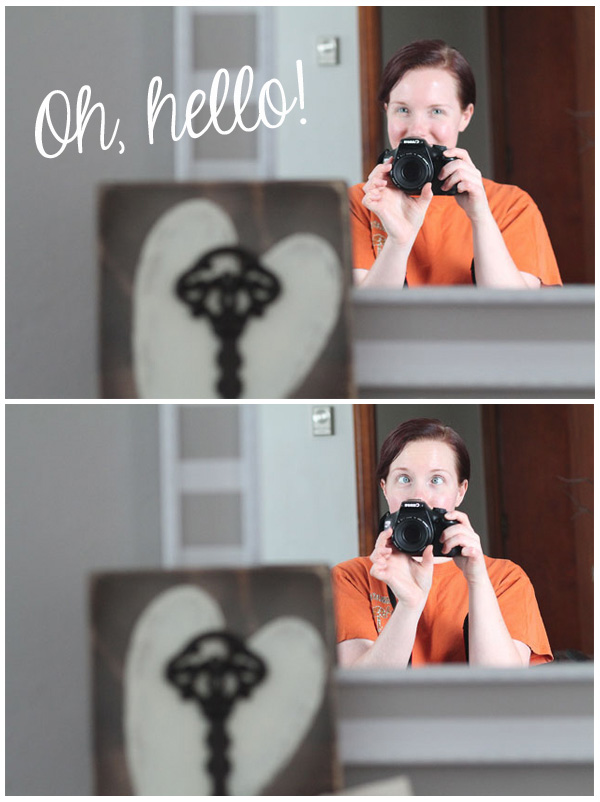
I couldn’t help but take advantage of this gorgeous, post-workout, no-makeup shot I caught of myself in the mirror. Enjoy! 😉
Do YOU decorate for Valentine’s Day?
More Valentine-inspired projects:
FREE Printable Valentine Cupcake Toppers for Girls & Boys




You had me laughing at “Sorry, Cupid…” 😉 Love this, Liz, and you are so right…perfect for Valentine’s decorating and all year long! Cute, cute!
Glad I could make you laugh! Cupid gets the short end of the stick this year, because I’m really enjoying my clean, non-cluttered house right now! 🙂 Thanks so much for always leaving the sweetest comments, Samantha!
I heart this, Liz!! 😉
Thank you, Val!! I feel the love! 😉
I like the way the edges of the heart are “hazy.” If it looked too pristine, I think it would have lost something in the translation. Besides, we all know love is never crisp edges, it has its hazy, soft, blending moments.
That’s a very good point, Gail. I hadn’t thought of it that way! I’m so glad you enjoyed my little project! Thanks for stopping by. 🙂
I love this project, its such a fun idea, and it looks amazing. Thank you for sharing!
Sheena @ http://thekeeperofcheerios.blogspot.com/
Thanks so much, Sheena! I don’t normally do much for Valentine’s Day, but I love the way this sign turned out! Glad you could stop by. 🙂
I love all of your projects and this one is no exception! I would love it if you linked up to The Makers! http://upcycledtreasures.com/2014/01/the-makers-link-party-1/
Have a great week!
~Katie @ Upcycled Treasures
Thank you so much, Katie! You’re too sweet!
dude. so cute! i have a big key that i’ve been trying to figure something to do with! thanks 🙂 http://www.handmadeintheheartland.com
You are so welcome, Angela! Glad I could provide a little inspiration! 😉
I love your sign!
Thank you Virginia!
I can’t pass up a rustic key design…love how beautifully simple it is.
Thanks Sabrina! I love simplicity in my life. 🙂
Love love your cupcake toppers, so darned cute, boy do those cupcakes look good. I’ll never be skinny since I love and eat cupcakes, candy, pie, cakes, what a bad girl. Yours look scrumptious, now I’ll have to see if City Mkt. has any cupcakes on bargain rack tomorrow. If not, guess I’ll have to pay full price, what a terrible sacrifice, lol.
Anyway, thanks so much for the adorable cupcake toppers, they’re perfect. Very sweet of you to share them with us. Happy weekend
Even tho I don’t do much decorating for Valentines day I have to make your sign, it’s perfect for general decorating. Would look great anywhere in home. A great chotske and conversation starter. Love this post. Happy weekend
Thanks JaneEllen! Hope you enjoy!
This is such a lovely art project! I’ve featured it in a round-up of heart shaped art projects for this years Valentine’s Day on my blog here if you’d like to take a look: http://www.ashleypicanco.com/5-diy-valentines-day-canvases/ Thanks for sharing your creativity!
Thank you so much, Ashley!!
Wanted to share with you…I enjoy your silliness as much as I enjoy your project/how to’s. Thanks!
Haha, I’m so glad you enjoy it! 🙂 Have a great weekend, Rise!