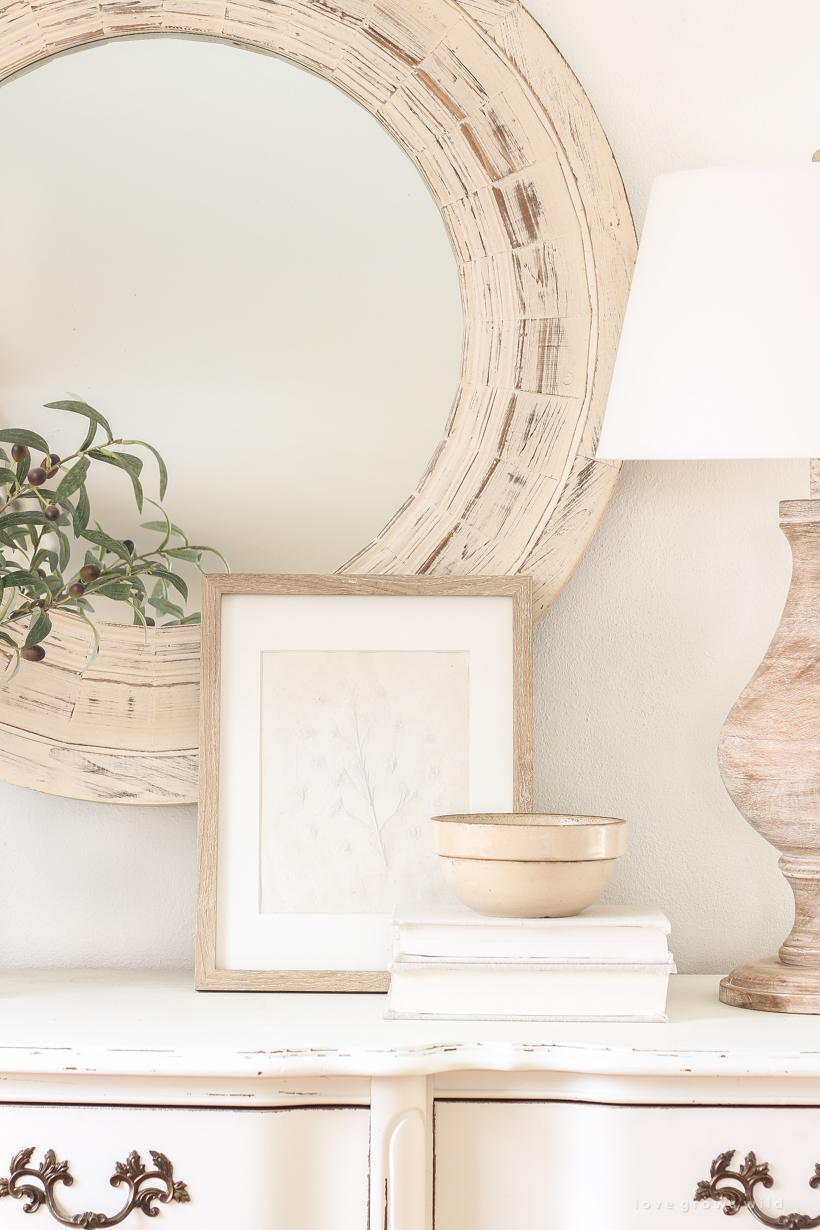
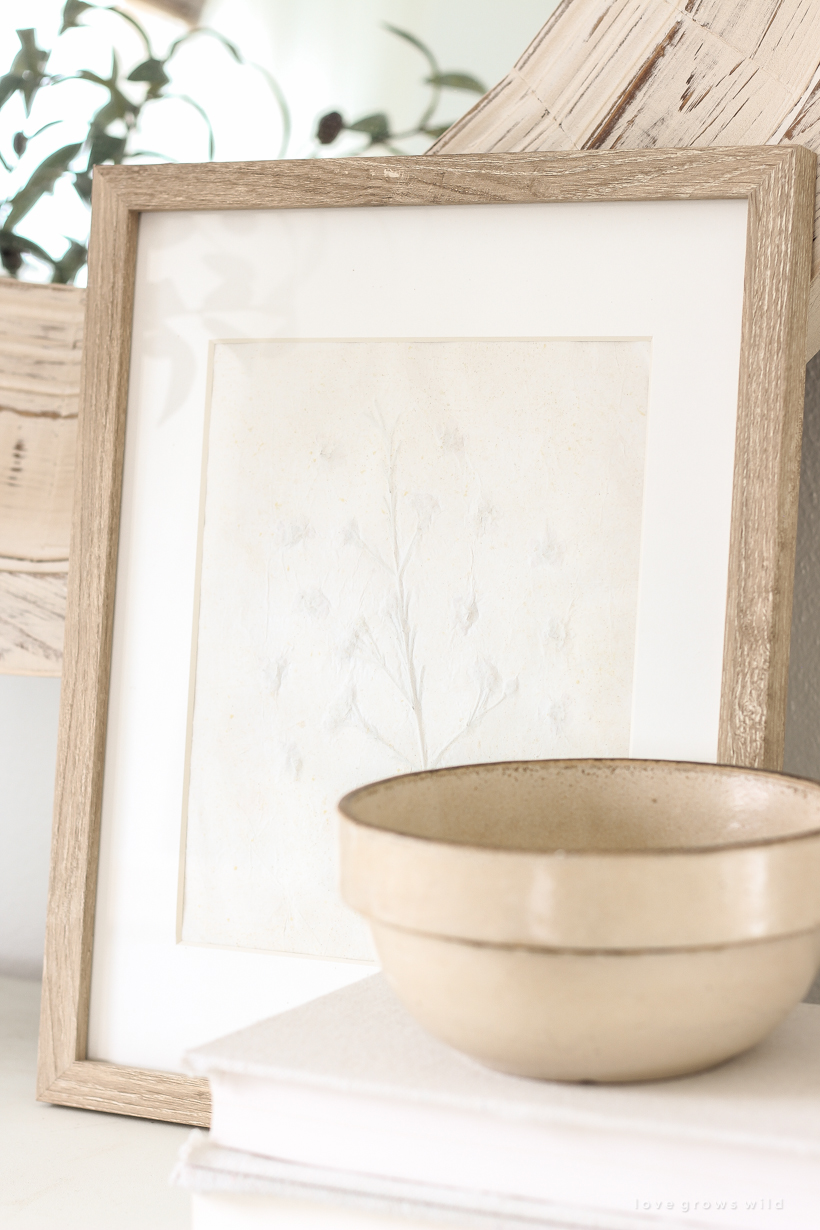
It’s been a long time since I’ve done a good old-fashioned, simple, quick DIY decorating project, and I am so excited to share this one with you today. With spring just around the corner, an idea popped into my head for some kind of botanical floral-inspired artwork that had vintage appeal, so I gathered up some supplies and started experimenting. The end result was exactly what I had in mind, and I love that you can make this Paper Mache Pressed Flower Art with just a few supplies that you probably already have on hand. Very budget-friendly! This little project took me back to the days of art class in elementary school, and I love those moments when I can get lost in the creativity and come up with something beautiful out of nothing.
I was able to create several pieces of art from just one bouquet of grocery store filler flowers and greenery in the matter of about an hour once I had the flowers pressed and ready to go. So much pretty, delicate texture and the perfect vintage appeal. I have all the details in the tutorial below, so let’s dive right in! There’s also a surprise at the end, so make sure you keep scrolling all the way down.

PAPER MACHE PRESSED FLOWER ART
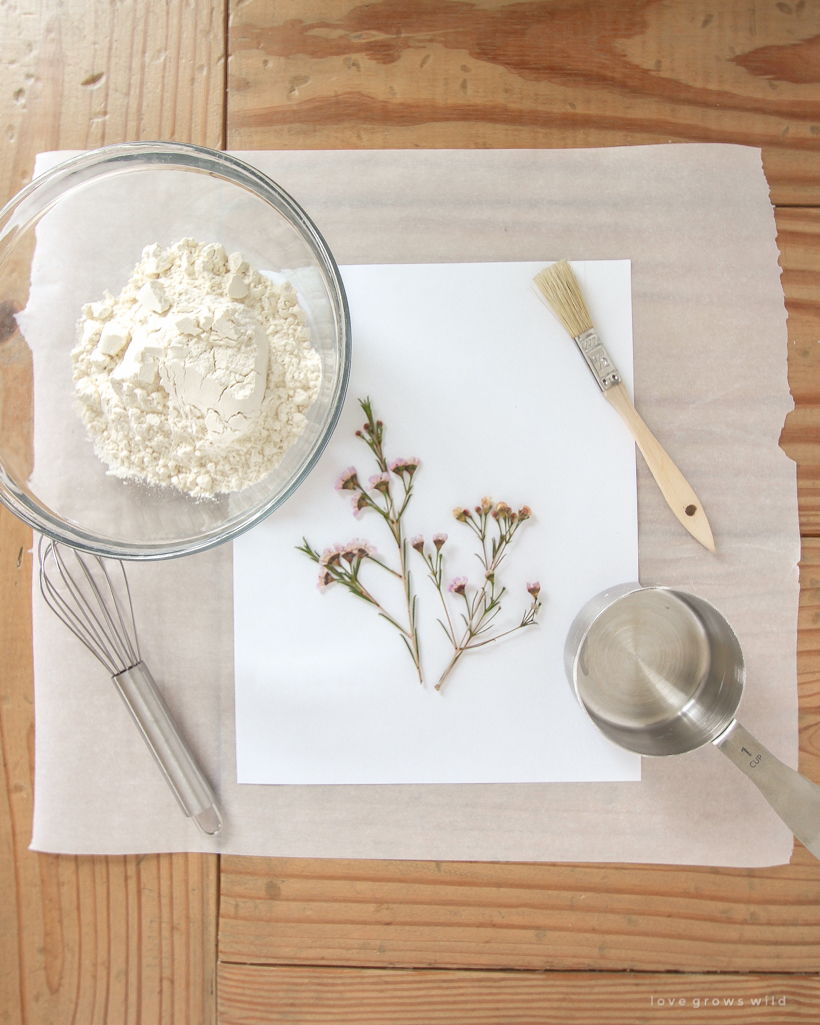
SUPPLIES:
parchment paper
pressed flowers or greenery
bowl
all-purpose flour
water
salt
whisk
paint brush
computer paper
tissue paper
Note: Flowers and greenery with interesting defined shapes work best for this project. To press them flat, slide in between sheets of parchment paper, and place between pages in a heavy book like a dictionary. Allow to dry for 1-2 weeks before using. You can also buy already dried pressed flowers here.
STEP 1
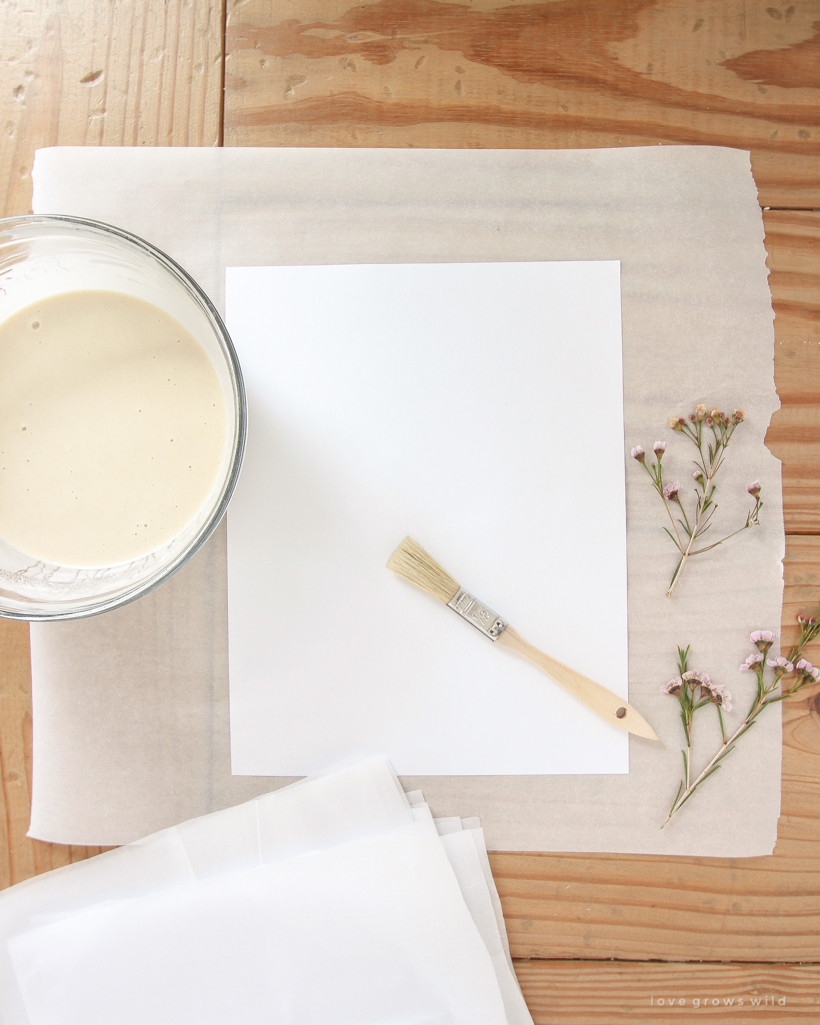
To make the paper mache paste, combine 1 cup flour with 1 cup water in a bowl and add 1-2 teaspoons of salt. Whisk until well combined and no lumps remain.
STEP 2
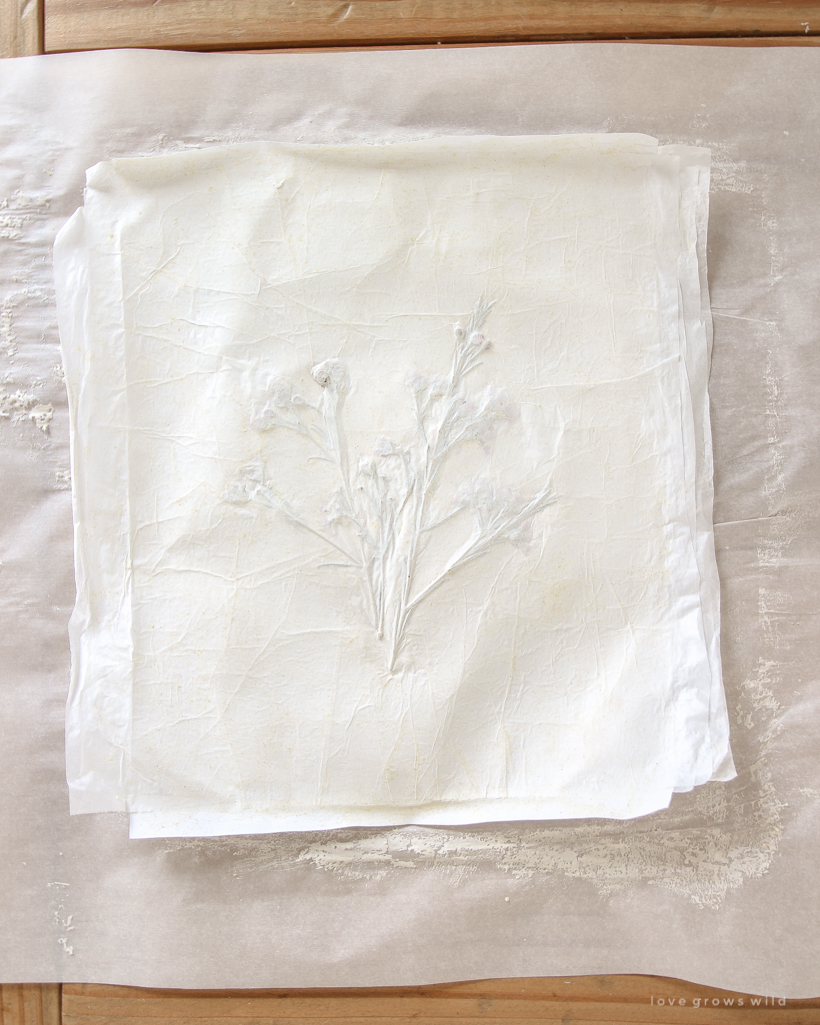
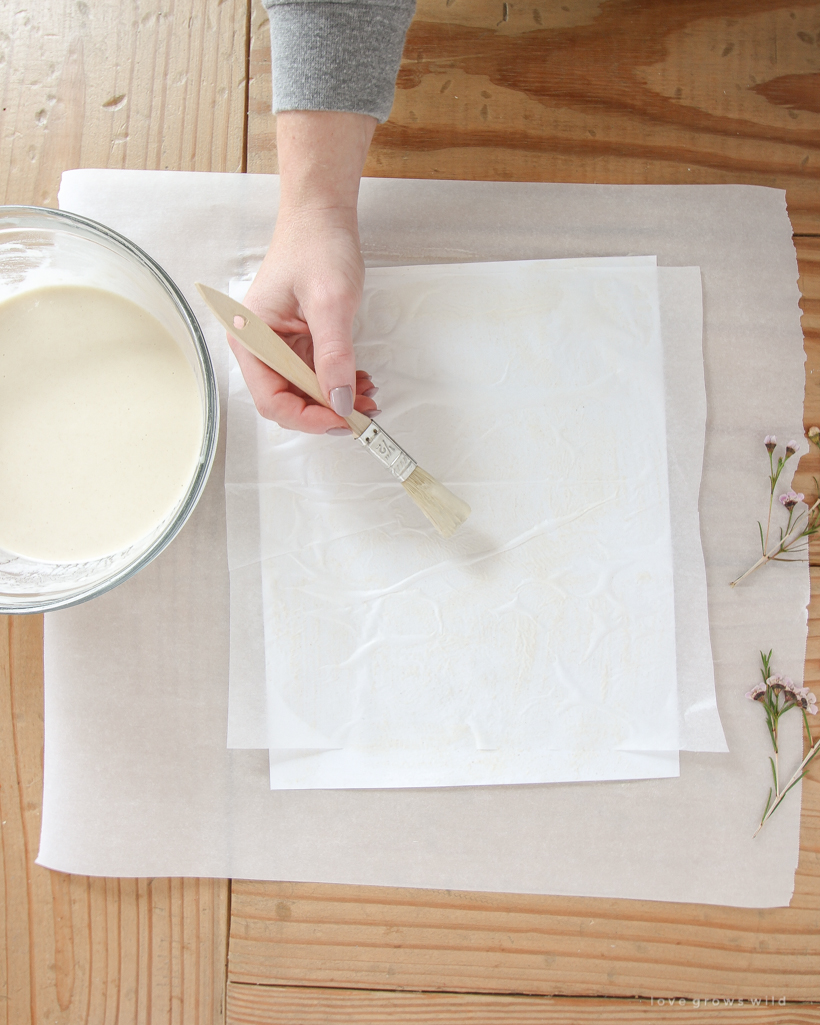
Place a sheet of parchment paper down to protect your work surface, and lay a piece of computer paper on top. This paper is thicker than the tissue paper and will act as a sturdy base to build your artwork on. Use a paint brush to apply a thin layer of paste to the computer paper. You want to use just enough to dampen the first layer and allow the tissue paper to stick. Place a piece of tissue paper on top, and smooth out any air bubbles. Don’t worry about wrinkles; those actually will help build up the texture of the art. Then apply another thin layer of paste on top. Repeat this process until you have 2-3 layers of tissue paper added.
STEP 3
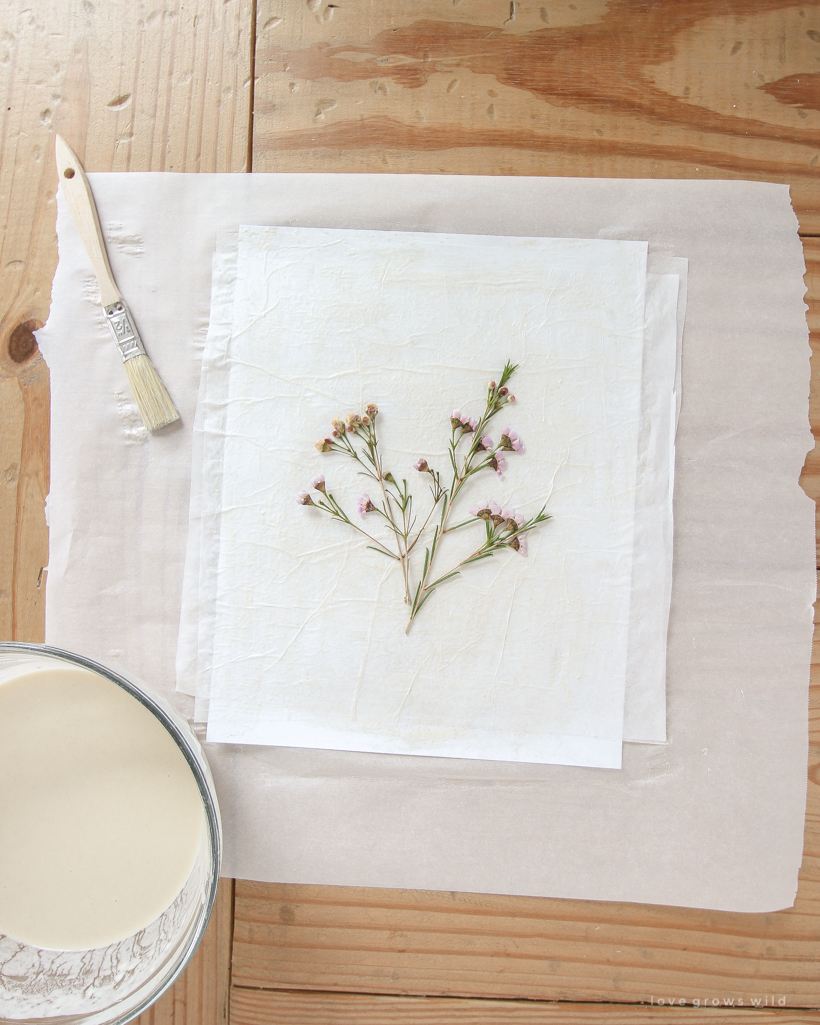
Position your pressed flower on the pasted tissue paper, and gently apply paste on top of the flower as well. Be delicate so that you don’t tear any of the petals or leaves.
STEP 4
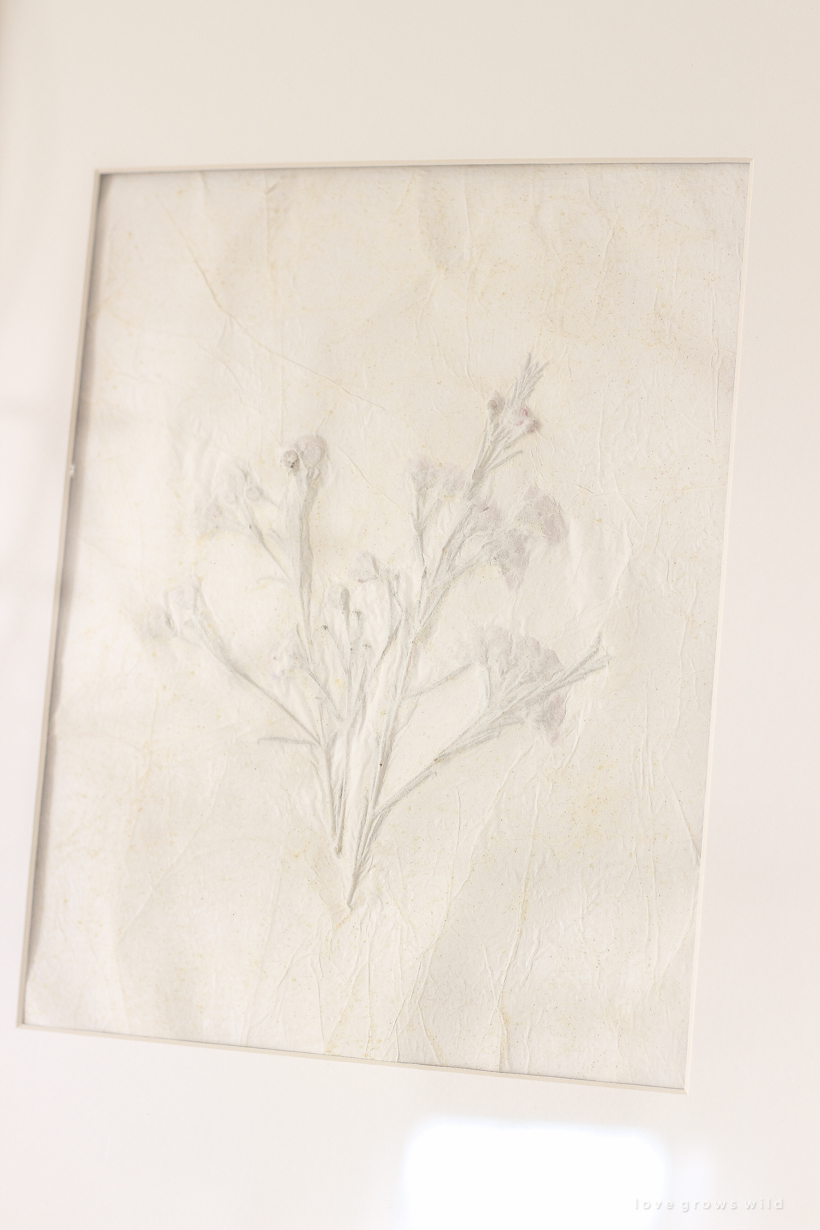
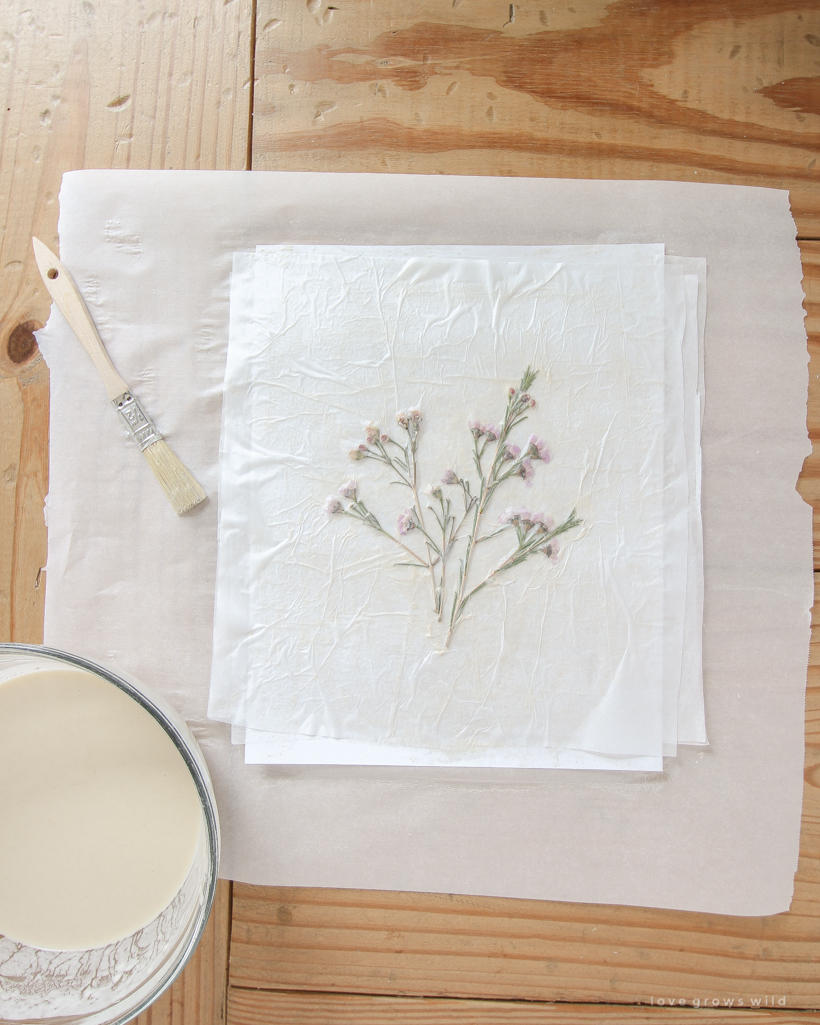
Place another sheet of tissue paper on the flowers, and continue building the art with layers of paste and tissue paper until you are satisfied. I only used two sheets of tissue paper on top of my flowers so you could still see the shape and a little bit of the color underneath.
STEP 5
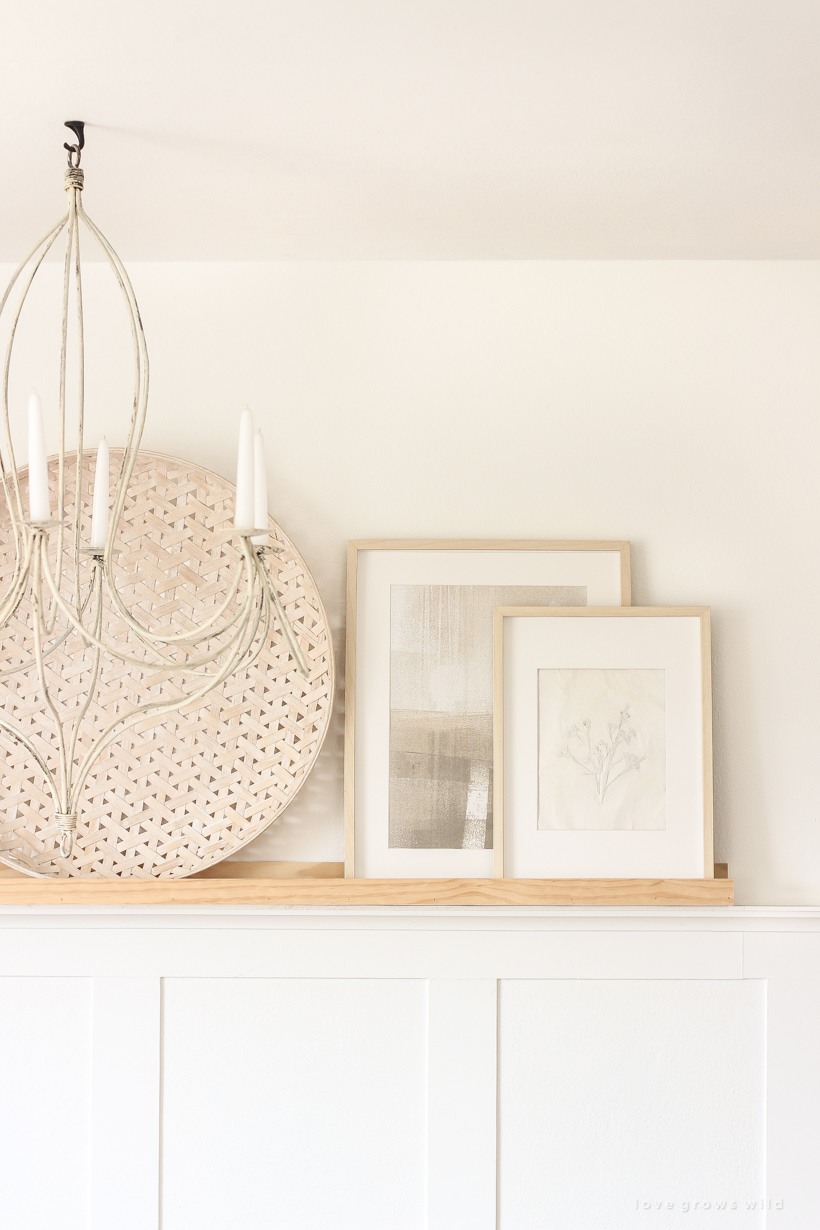
Allow your art to dry completely before framing. To speed up the process, you can use a hair dryer on the low heat setting.
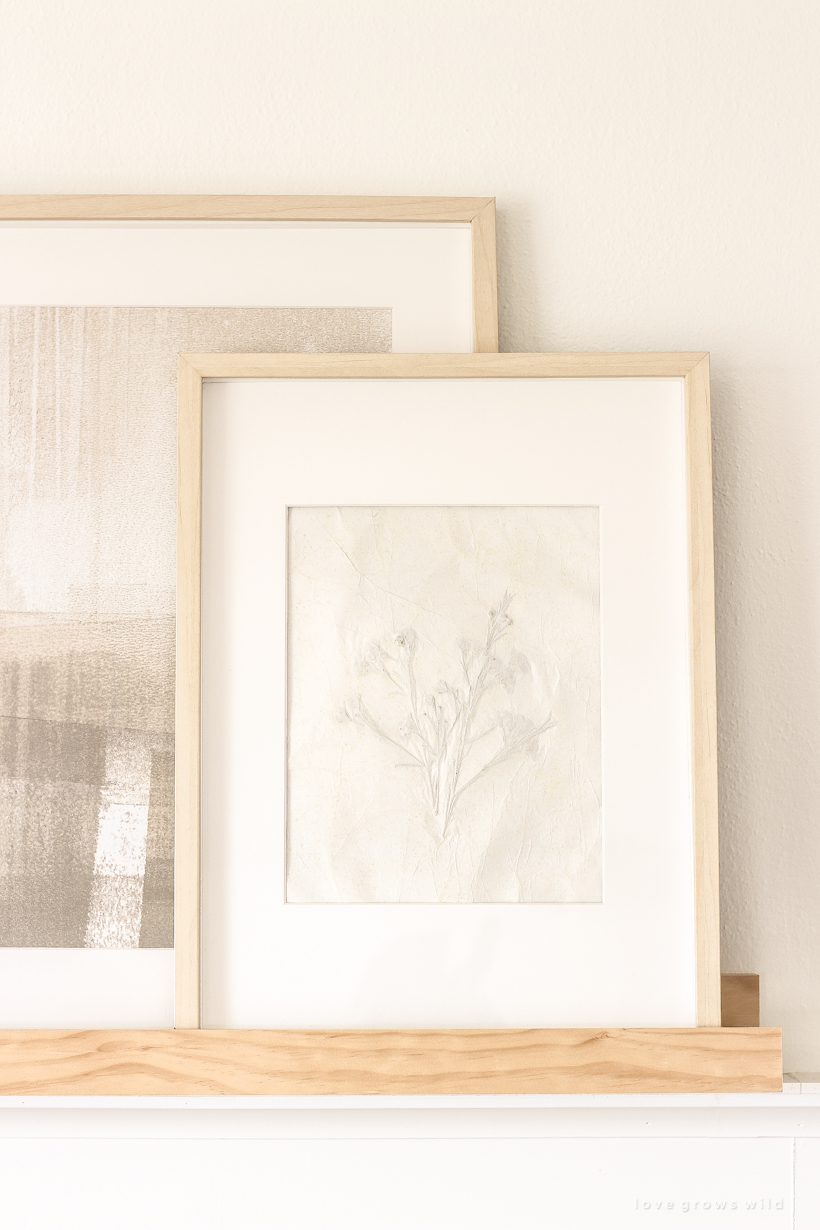
SOURCES
round mirror | diy art shelf | wall basket | frames | chandelier
As a special treat for you today, I have not only one DIY project to share, but SEVEN! A group of my blogging girlfriends decided to all share a fun project together today, and I can’t wait for you to see what they came up with:
Natalie from Vintage Porch
diy old clocks
Sarah from Sarah Joy Blog
diy antique books in five minutes
Bre from Rooms for Rent
diy planked bathroom ceiling
Shannon from Fox Hollow Cottage
how to install shiplap above a fireplace
Rachel from Maison de Pax
diy painted bunk beds
Randi from Randi Garrett Design
heart pound cake recipe


Beautiful!!! I love the texture, Liz.
This is so cool! I can’t wait to try this sometime! 😍
Wow! I love this so much! You are so clever! xoxo
That turned out so pretty Liz. What a neat process!
It looks so soft and delicate.
WoW !! Great DIY projects from one and all !! Thank You for sharing…❣️ linda of no.cal.
Ok, I need to do this pronto!! Love it. Such a great project for spring too!
Thank you so much for sharing! I love this project so much and will definitely be trying(possibly with my 3 little boys to see what they can create as well 💙) love the simplicity and texture of it. Can’t wait to see the results!!