
If you’ve been around here for a while, you know I’m obsessed with my Ninja Creami.
It’s the easiest way to make healthy, high-protein ice cream that tastes just as rich, creamy, and decadent as the real thing — but without all the extra sugar, fat, and calories.
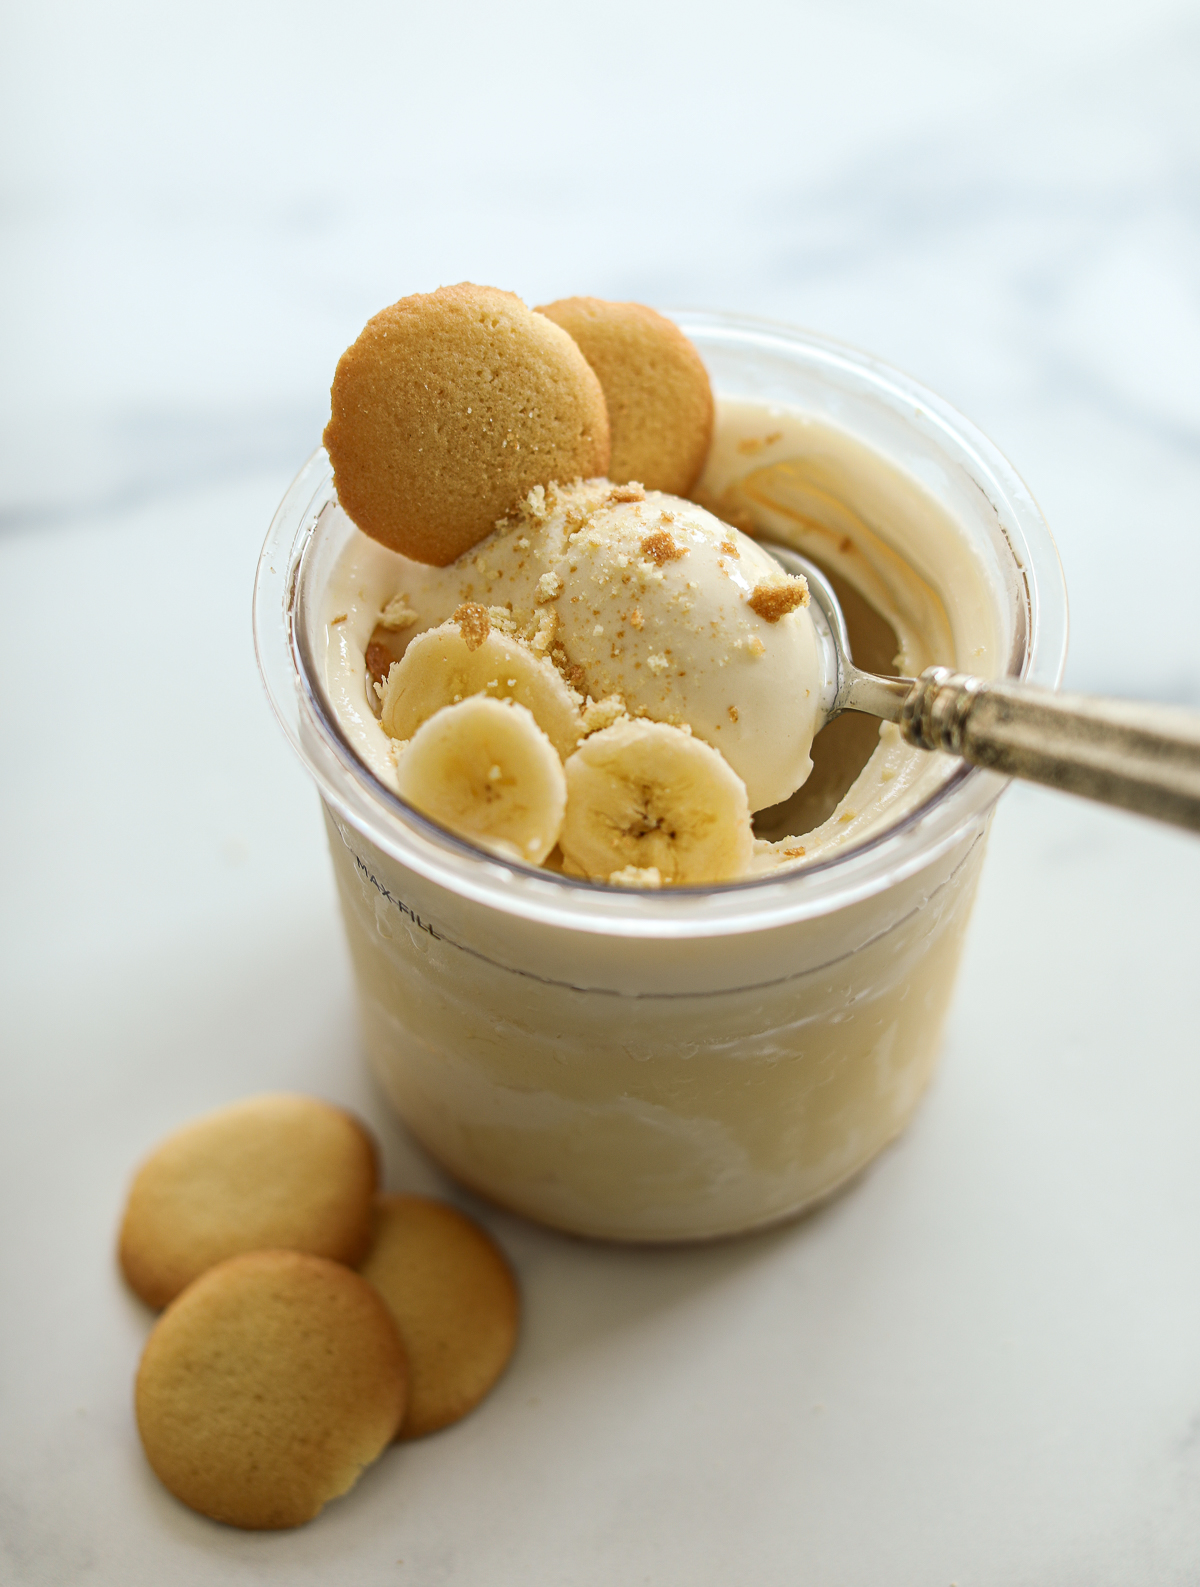
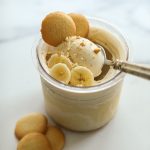
Today we’re taking one of my favorite classic desserts — banana cream pie — and turning it into the perfect summertime guilt-free treat. Think creamy banana ice cream with little bits of vanilla wafer throughout… sweet, nostalgic, and totally satisfying.
This recipe is:
- High-protein & macro-friendly — perfect for hitting your protein goals while enjoying dessert.
- Easy to make — just blend, freeze, spin, and enjoy.
- A healthy twist on a nostalgic flavor — so you can indulge without the sugar crash.
If you’ve made my Vanilla Protein Ice Cream before, this one follows the same simple method, but with a few fun flavor additions. Here’s what you’ll need:
I make all my Ninja Creami recipes in this Ninja Creami model, and I can honestly say it’s one of my most-used kitchen appliances — especially in the summer. If you’re thinking about getting one, I highly recommend also grabbing a few extra pint jars so you can prep multiple servings at once. Each pint needs to freeze solid for about 24 hours before it’s ready to spin, so having extras means you’ll always have a jar ready and waiting in the freezer.
How the Ninja Creami Works
Making ice cream in the Ninja Creami is quick, easy, and foolproof. Here’s the step-by-step:
1. Freeze Your Base
After blending your ingredients, pour the mixture into a pint jar, pop on the lid, and freeze it solid for at least 24 hours.
2. Defrost the Sides
When you’re ready to enjoy, either run the outside of the jar under warm water for 15–20 seconds (my preference) or let it sit on the counter at room temperature for 10–15 minutes. This softens the sides just enough so everything blends into a creamy mixture and prevents those icy edges.
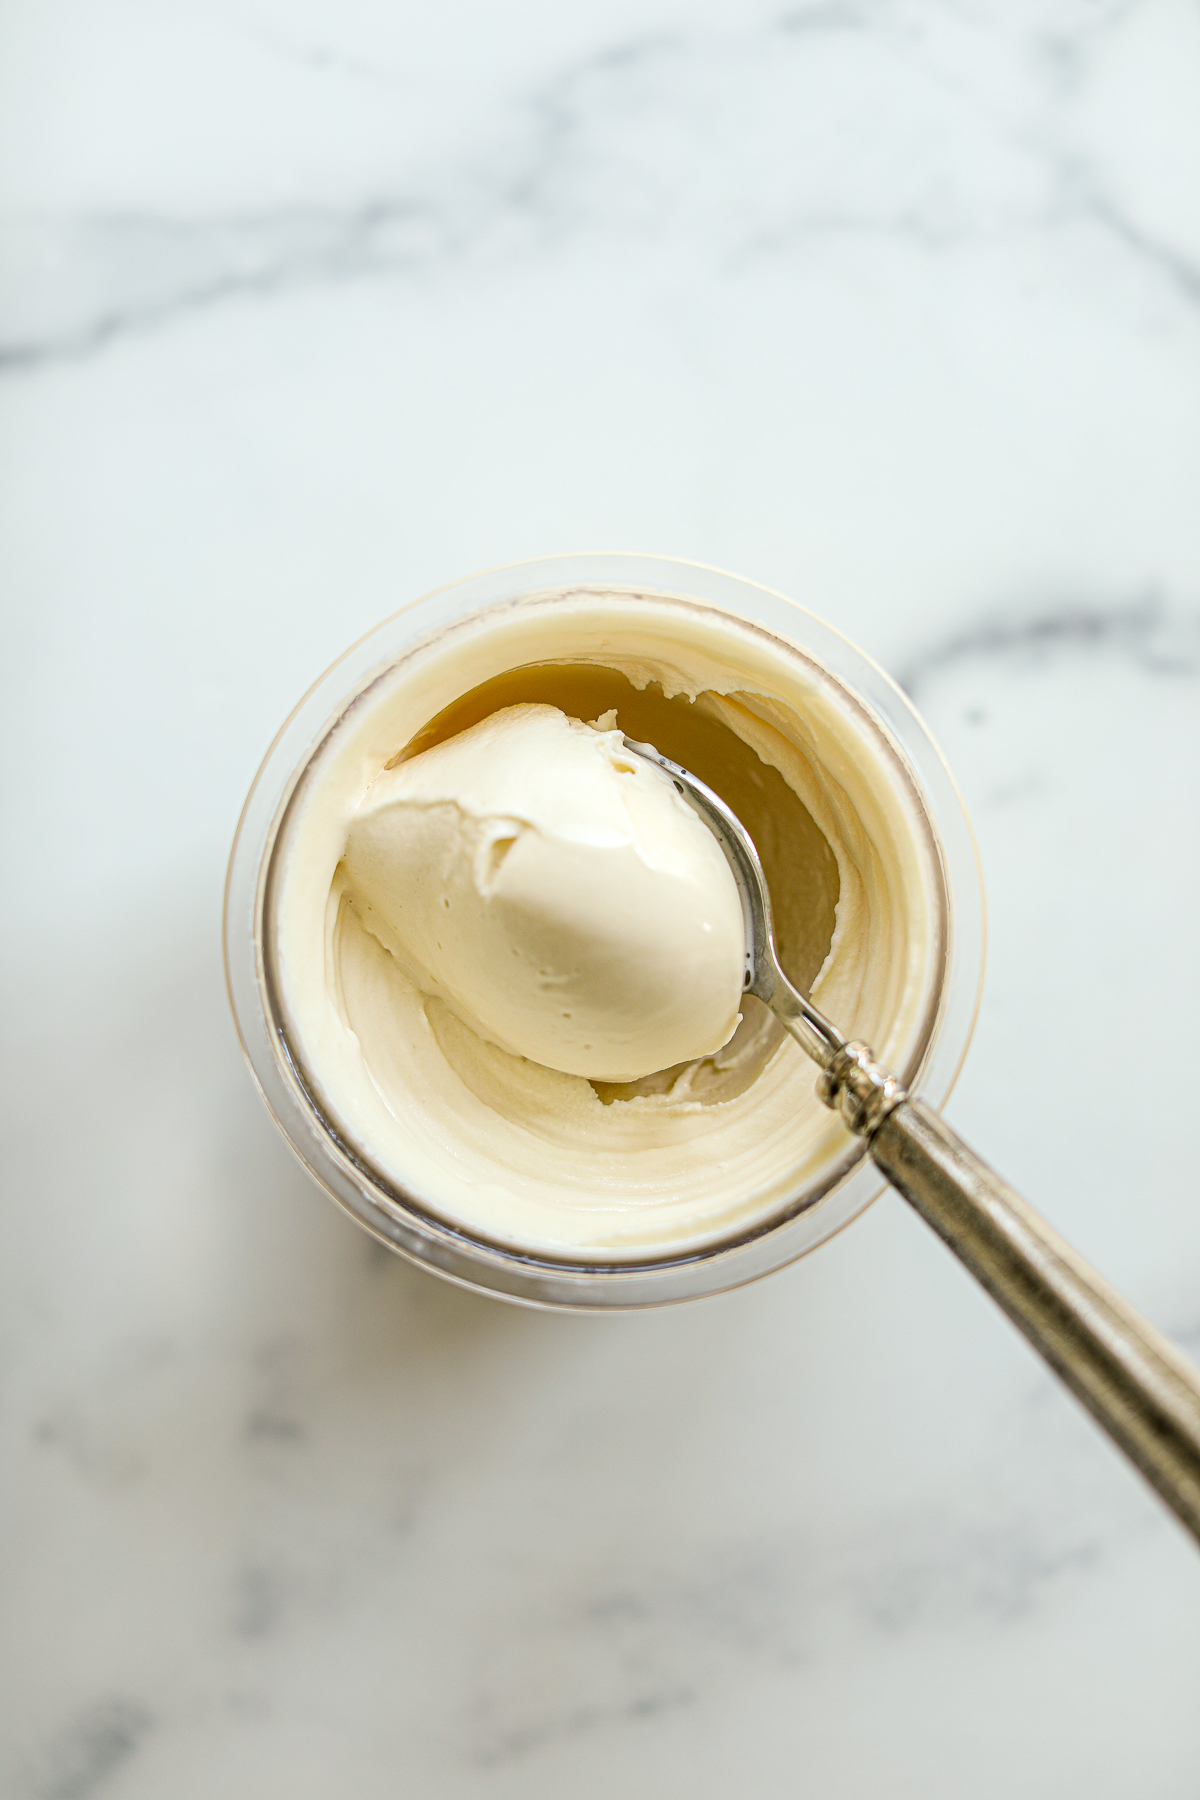
3. Spin on Lite Ice Cream Setting
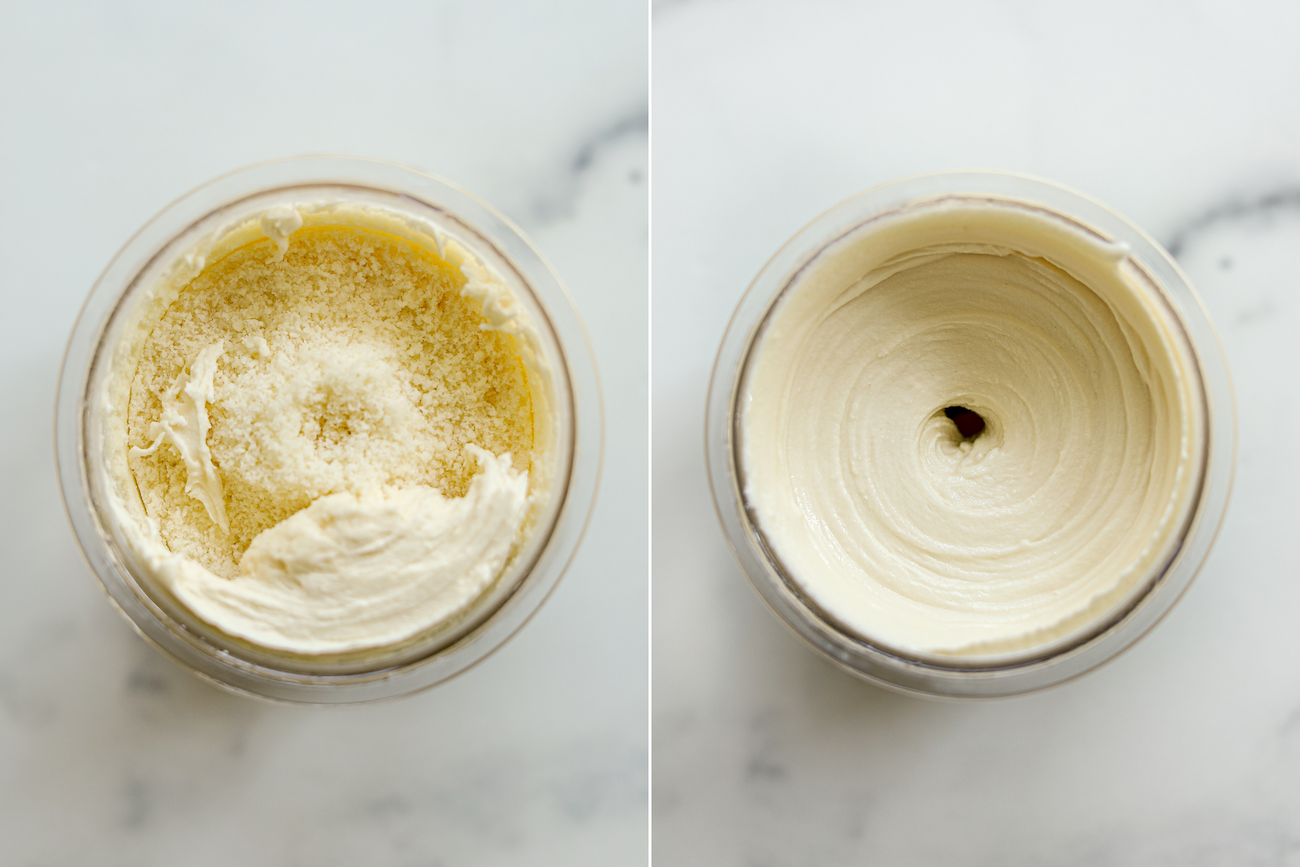
Once it’s frozen, lock the jar into the Ninja Creami and run it through the Lite Ice Cream setting. This is where the magic happens — the machine shaves through the frozen base, turning it into an icy powder.
4. Re-Spin if Needed
Add about 2 tablespoons of milk and spin it a second time on the Re-Spin setting. This step is what transforms that icy powder into a smooth, creamy, ice cream-like mixture.
5. Add Your Mix-Ins
You can use the Mix-In setting to gently blend in your toppings, but for this recipe, I like to simply sprinkle the banana and vanilla wafers on top. This way, they stay in bigger chunks instead of getting broken down into the ice cream.
Banana Cream Pie Ninja Creami Ice Cream
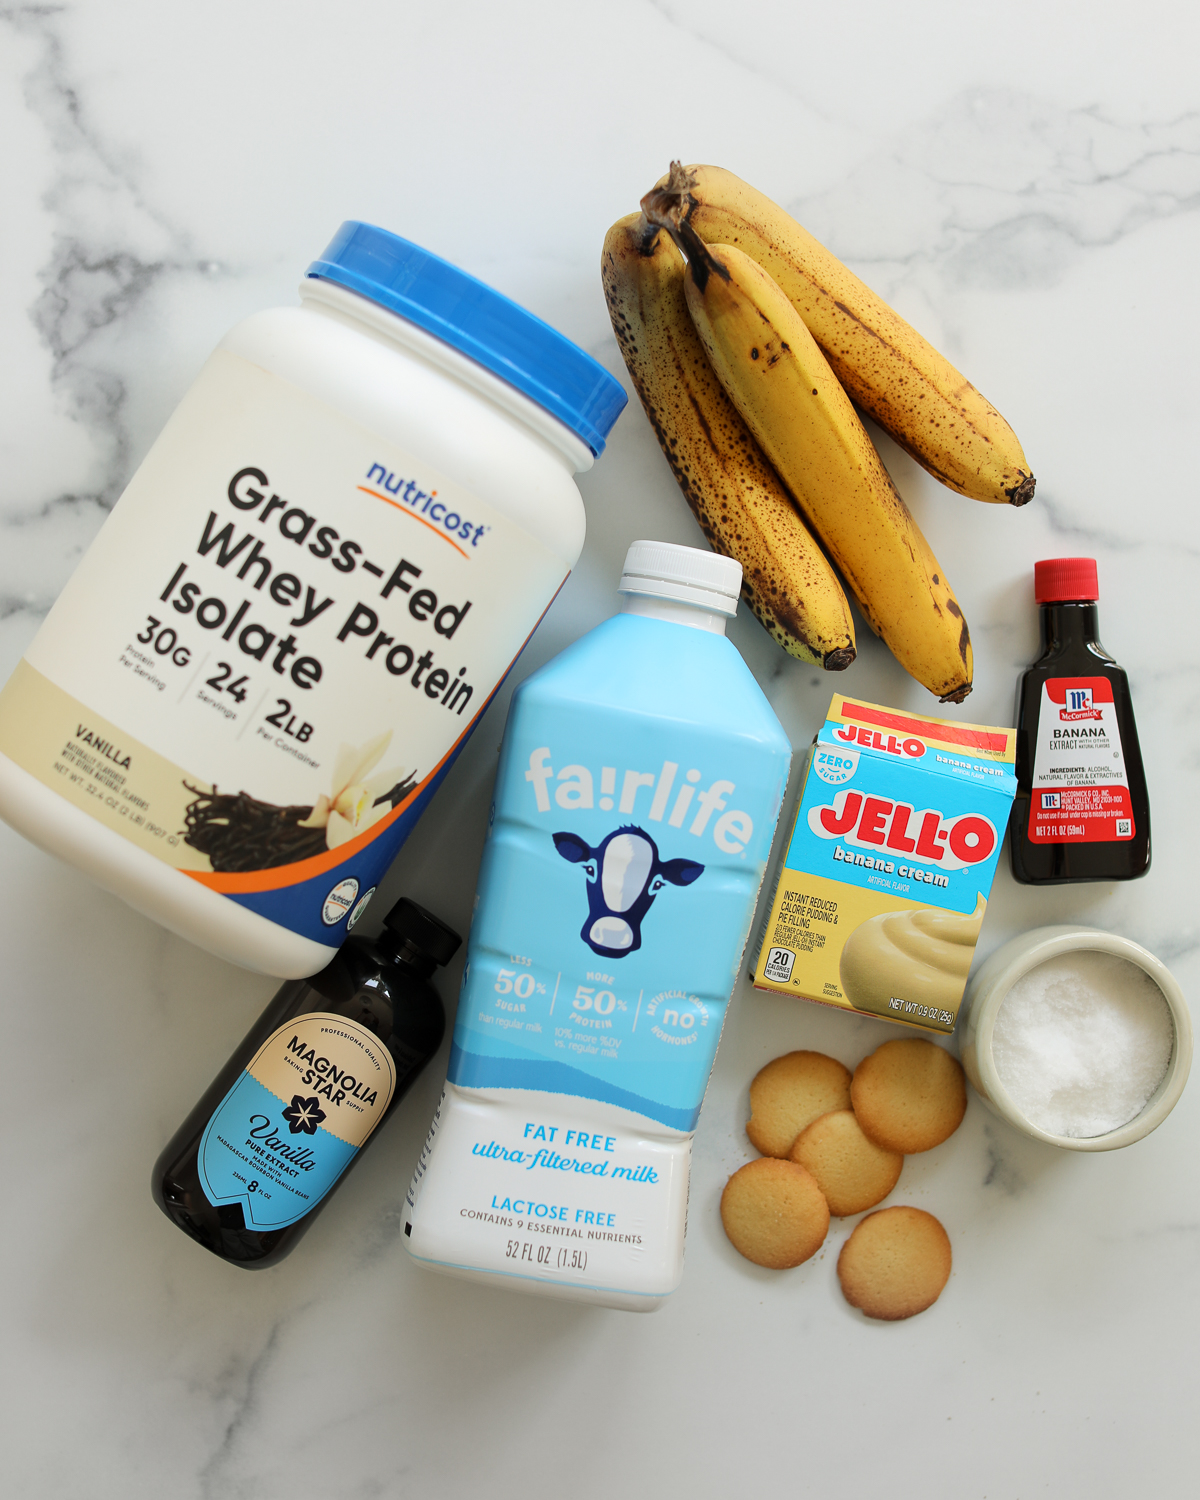
Ingredients
1 1/2 cups (350 grams) milk + 2 tablespoons
1 serving vanilla protein powder
1 1/2 teaspoons (7 grams) sugar-free banana instant pudding mix
1/2 teaspoon (2 grams) vanilla extract
1/4 teaspoon (1 gram) banana extract – optional, see notes
pinch of salt
TOPPINGS:
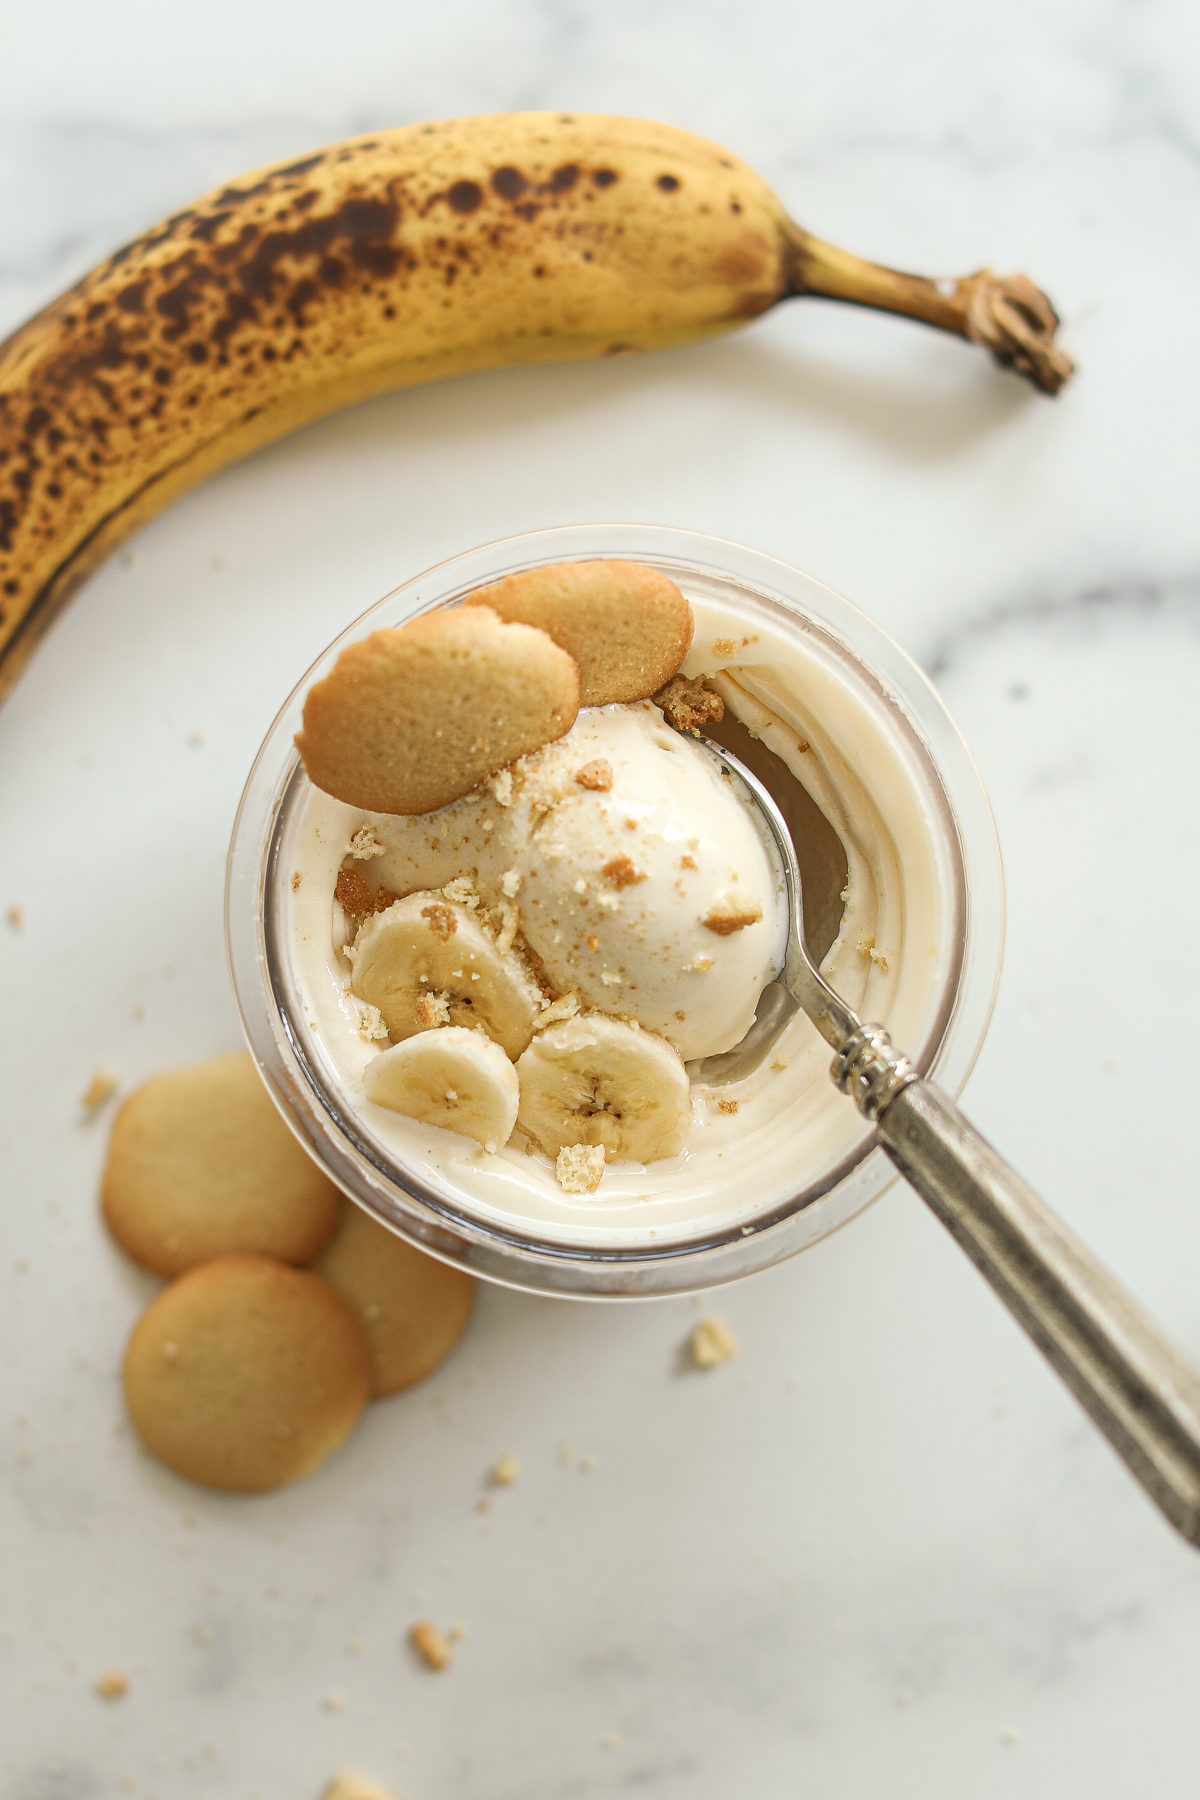
1/2 banana, diced (50 grams)
4 vanilla wafers (15 grams) – can also use graham crackers
Instructions
Add all ingredients except the toppings to a Ninja Creami pint jar, and mix until well combined and smooth. Cover with lid and freeze for 24 hours.
Remove jar from the freezer, and insert into the Ninja Creami machine. Spin once on the “Lite Ice Cream” setting.
Add 2 tablespoons milk, and spin again on the “Re-Spin” setting.
Top with banana and vanilla wafers or graham crackers and enjoy immediately.
Notes
YOU WILL NEED:
Ninja Creami Ice Cream Maker
Ninja Creami pint jars
kitchen scale – optional, but makes adding ingredients quicker/easier
handheld whisk/frother – optional, but makes mixing everything right in the pint jars so much easier
I use Fairlife fat free or 2% milk because it has more protein and less sugar, but you can use any kind of milk you prefer. The higher the fat %, the creamier your ice cream will be, but there are plenty of options out there to best fit your lifestyle and macros (if you track).
The exact serving size varies between protein powders, so check the label on yours to see how many grams to add for 1 serving. I prefer to use a grass-fed whey protein isolate, which is higher in important nutrients, supports sustainable farming, and lower in fat, carbs, calories, and lactose. This brand I’ve been using is 39 grams per serving.
The pudding mix adds flavor, sweetness, and helps stabilize the ice cream for a perfectly thick, creamy texture. Some store-bought mixes have less-than-ideal ingredients, so I like to use a more natural version like this one when possible. If that’s not a big concern for you, a regular sugar-free instant pudding mix works just fine. You can also use collagen powder as a stabilizer instead of the pudding mix, but you will need to add banana extract to get that banana flavor.
I usually only eat half a pint at a time, and you can easily re-freeze the rest. Just scoop out what you want, smooth the remaining ice cream to the bottom of the jar, and return it to the freezer. When you’re ready for the rest, run it through the Ninja Creami again using the same process.
Serving: 1 entire pint + toppings, Calories: 426, Carbohydrates: 40 g, Protein: 52 g, Fat: 3 g
If you make this recipe, share and tag @lizlovegrowswild on Instagram!
MORE RECIPES TO TRY
Ninja Creami Vanilla Ice Cream Recipe
Snickers Dates
7 S’mores Recipes We Love
Nutella Stuffed Chocolate Chip Cookies
Zucchini Bread
Salted Caramel Apple Crisp
This has quickly become one of my go-to afternoon snacks or nighttime desserts. It’s sweet, creamy, and feels like such a treat… but I know it’s actually fueling my body, not working against it.
If you’re looking for a reason to pull your Ninja Creami out again (or finally grab one!), this Banana Cream Pie flavor will win you over instantly.
As always, I sincerely appreciate you shopping through the links I share, which allows me to make a small commission from your purchase while your purchase price remains the same. When you use my affiliate links, I’m better able to create content for this blog as well as support my family, and I thank you from the bottom of my heart for supporting what I do!
STAY CONNECTED:
Shop my Posts | Shop my Amazon Store
Join our Community | Follow on Instagram
Follow on Pinterest | Follow on Facebook

Leave Your Comments