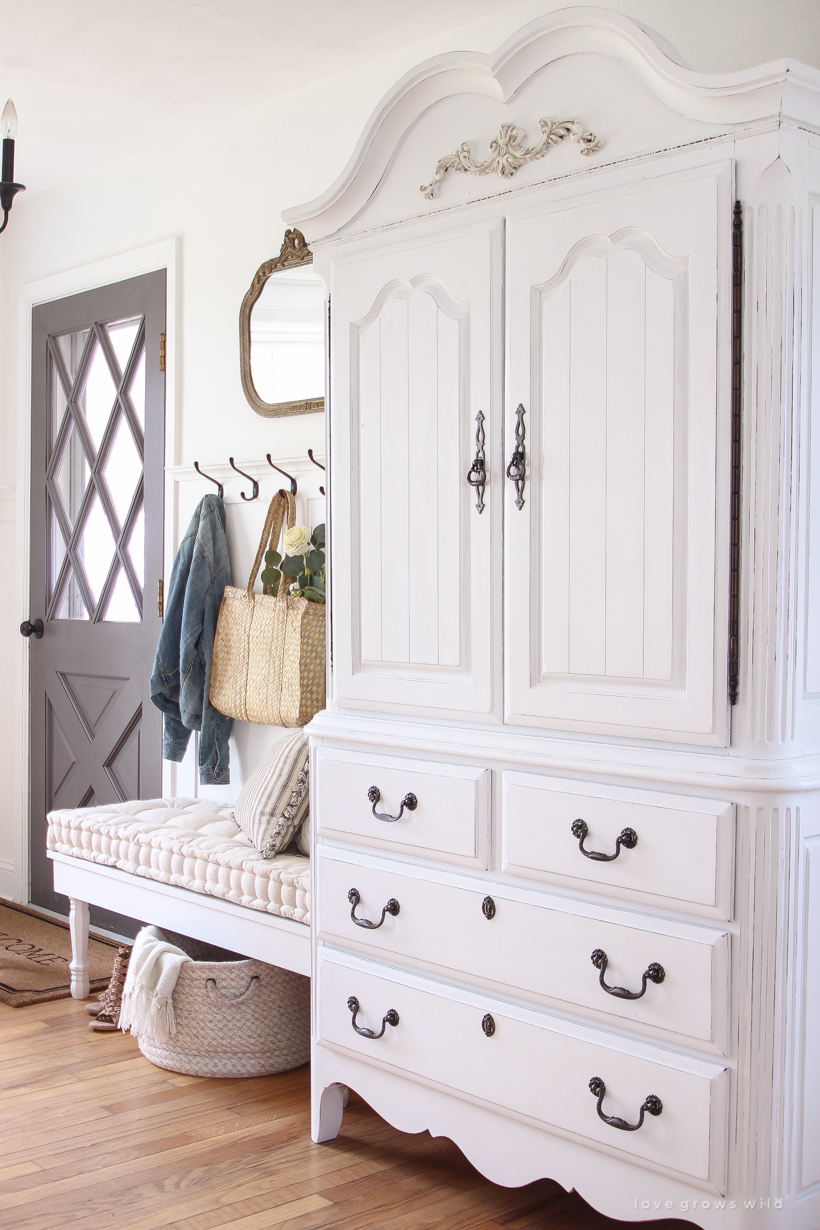
Today I’m finally sharing the paint makeover I gave to the armoire in our entryway and a tutorial for the best way to antique furniture!
The Backstory:
A big part of our recent entryway makeover was the addition of this beautiful armoire for storage, but it definitely didn’t come home looking like it does now. I spotted the armoire at the antique store where Love Grows Wild Market is located, and I instantly fell in love with all the decorative trim and details this piece had. I kept telling myself that if it was there the next time I came in, it was a sign and this beauty was meant to come home with me. Sure enough, the armoire was still there, and I got a great price on it. It is truly a struggle not to take home ALL the treasures I find at the antique store, but it’s fun to see the different pieces that come in and which ones sell quickly.
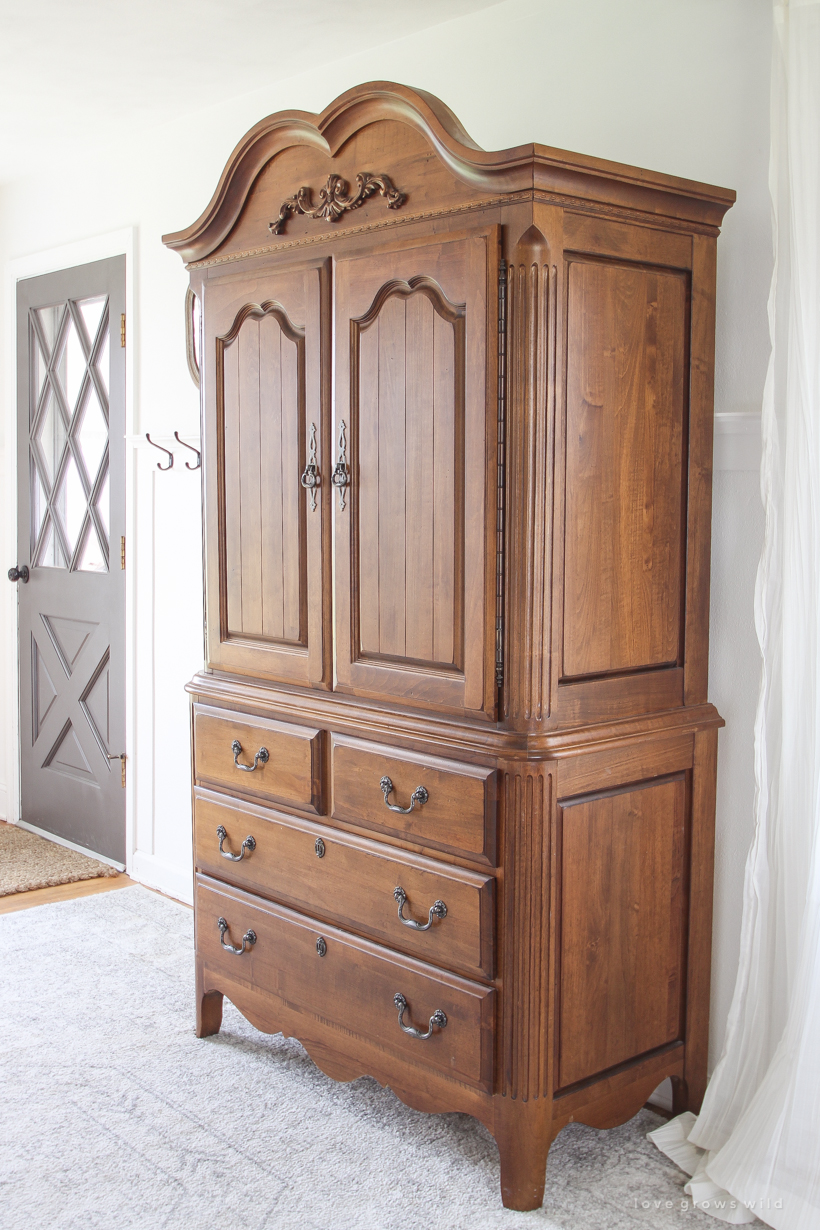
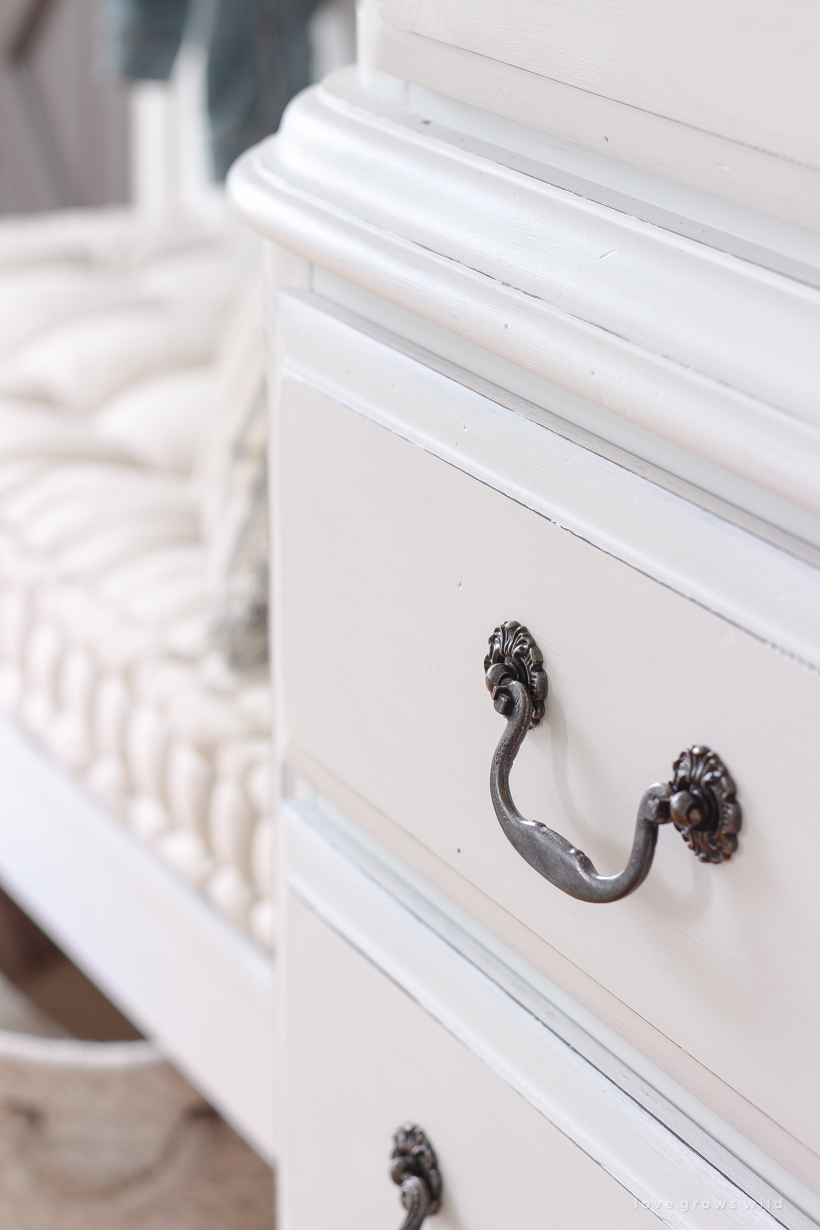
This armoire started with a beautiful basic wood tone, and for a few weeks after I brought it home, I tried to live with it as is. It was in perfect condition and really didn’t need any work done to it, but the massive size and darkness of the wood felt overpowering in our light, bright farmhouse. So I decided to paint it my signature white to blend in with the rest of the space. Now before you think that I painted over a priceless antique, don’t worry… this piece of furniture is NOT antique. The markings on the back said that it came from a big box store in the last 10 years or so, and the wood is the cheap stuff furniture is made from today. But the decorative details on the top and the unique hardware have so much character that makes it FEEL like an antique, so I felt like this would be the perfect project to paint to make it feel like ours.
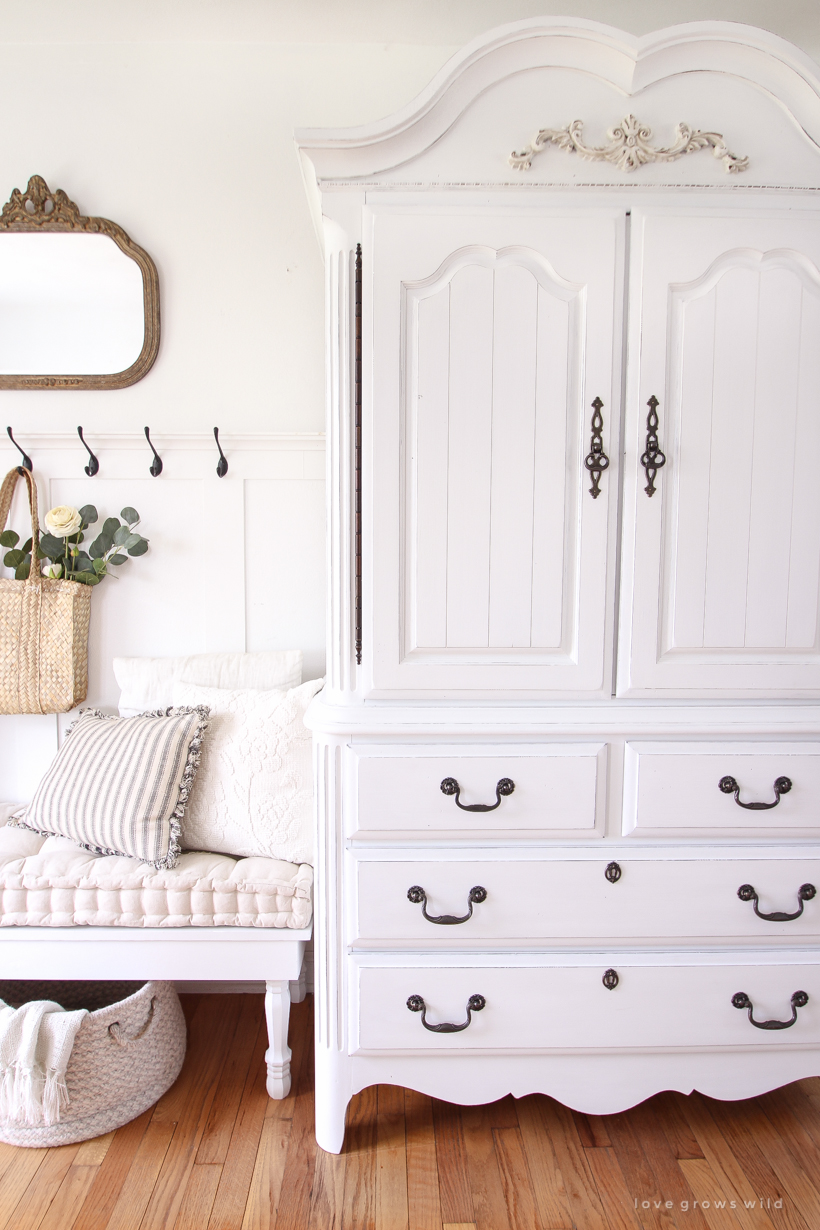
Here is what the armoire looked like when it came home…
Some links in this post are affiliate links, which allows me to make a small commission from your purchase, but your purchase price stays the same. Thank you for helping support our blog and keep it going!
First, I removed all the drawers, doors, and hardware to make everything easier and quicker to paint. I’ve tried all kinds of paints over the years, and each one of them is a little different in the consistency and coverage. But while I was at the hardware store getting lumber to build an entryway bench, I spotted a can of Rust-Oleum Chalked ultra matte paint in Linen White that was premixed and ready to go, so I grabbed it to try since I was in a time crunch. Here’s my little review of this paint, and how it worked for me:
Paint Review:
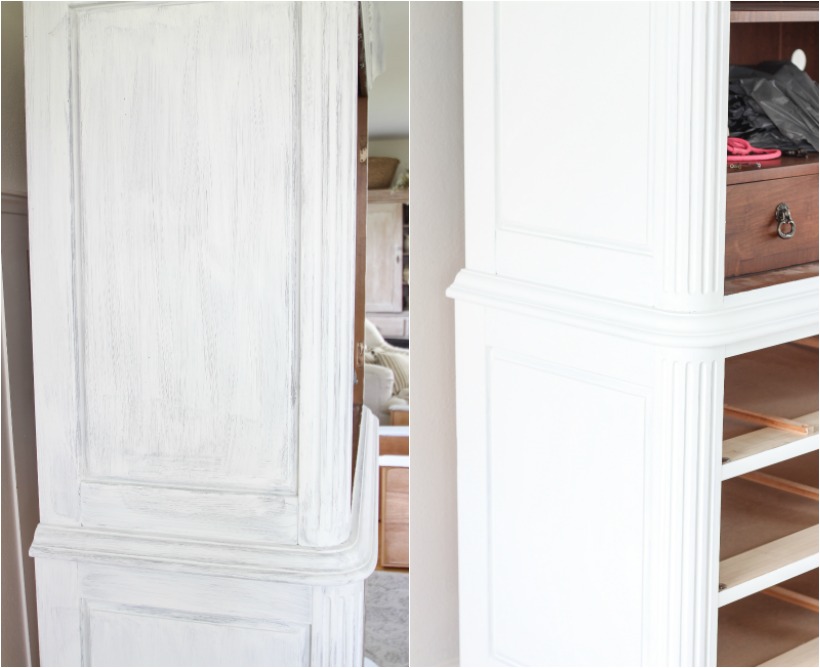
I painted two coats to get complete coverage over the dark wood, but even the first coat had excellent coverage. I’d say better coverage than most other paint brands I’ve used. If you’ve never painted a piece of furniture before, I will tell you that the first coat always looks pretty scary. It’s going to be streaky and spotty and look like you’ve ruined the piece, but it’s going to be okay… I promise! The following coat will cover and hide all that and give you a beautiful, solid finish.
This paint covered well, was smooth and easy to work with, and dried really quickly, which allowed me to go back and paint the next coat almost immediately after I got done with the first. I used a paint brush for the entire piece because I honestly was too lazy to get out a paint tray and roller and needed a brush to get into the groove details anyway. I didn’t have any brush marks at all once the piece was done, which I’ve noticed before with other paints I’ve tried. The paint finish once dry is super chalky, which is a good thing in my opinion and the point of using this kind of paint. It gives you a nice flat finish without any shine and is also really easy to distress and sand off areas of paint without having to put in a ton of elbow grease.
The only downfall was that I was looking for more of a soft, creamy white finish, and the first coat was extremely stark white. That’s my own fault though, and I should have looked for a different shade knowing what I had in mind. But just be aware that the Linen White color is very pure white. It’s hard to probably notice the difference in photos between the first and second coat, but I did end up mixing in a sample pot of Valspar Fresh Cotton, which is a really warm yellow-white, to soften the starkness of the original paint color.
Rust-Oleum does also make a Matte Clear Topcoat, but one of you sent me a message on Instagram that it can yellow when dry, which is a big no-no when you’re painting furniture white or any color really. Varathane’s matte touch clear polyurethane has been my go-to topcoat for years because it doesn’t yellow at all, but because I wanted to do some finishing touches with antiquing parts of the armoire, I decided to use this clear wax instead.
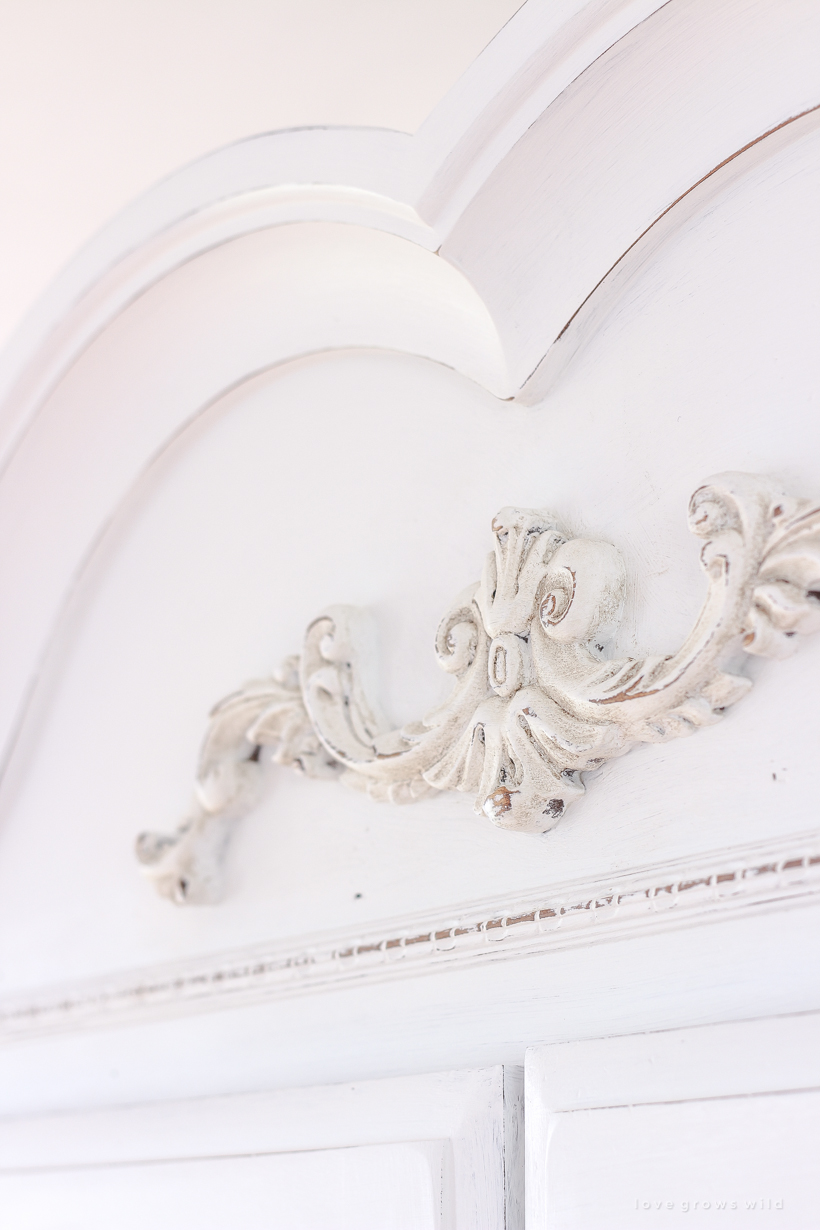
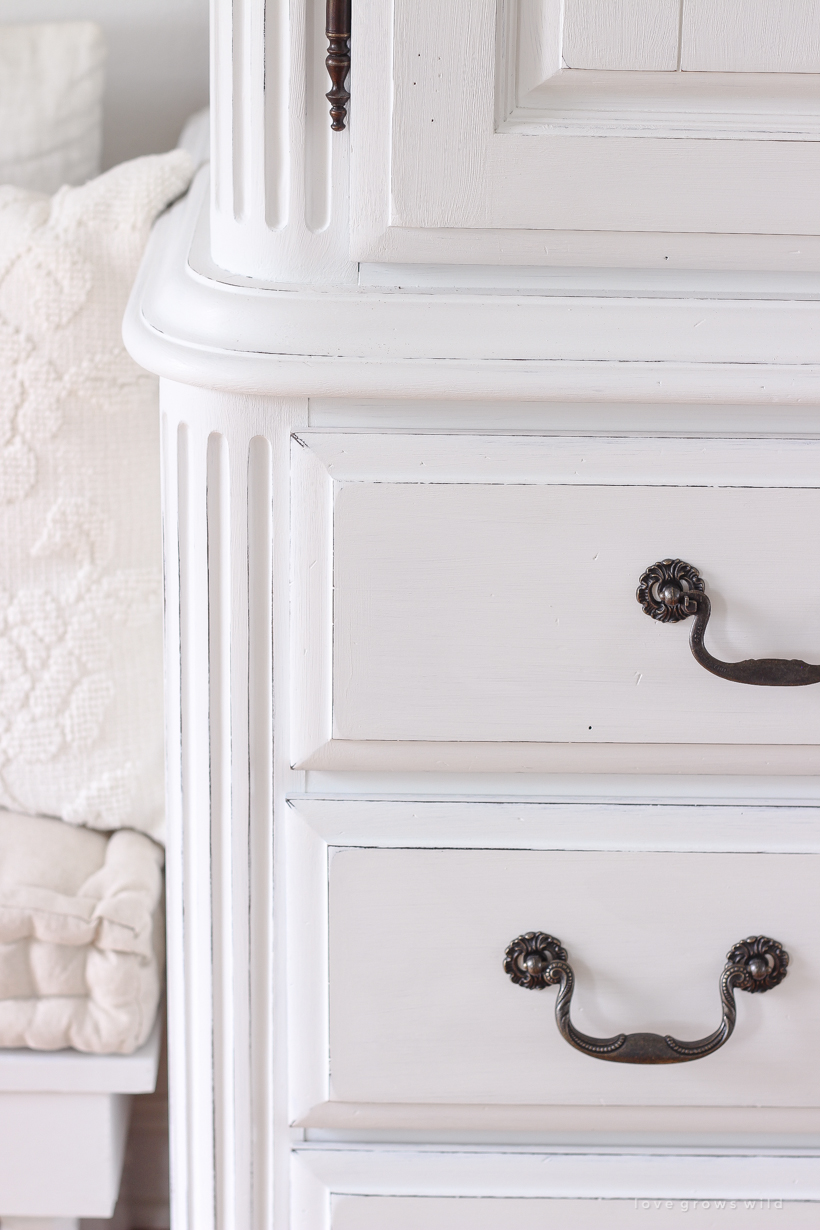
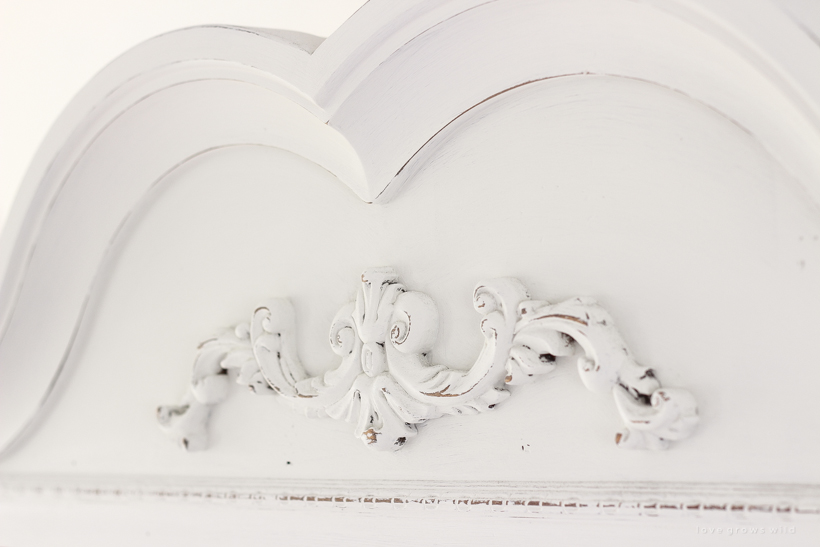
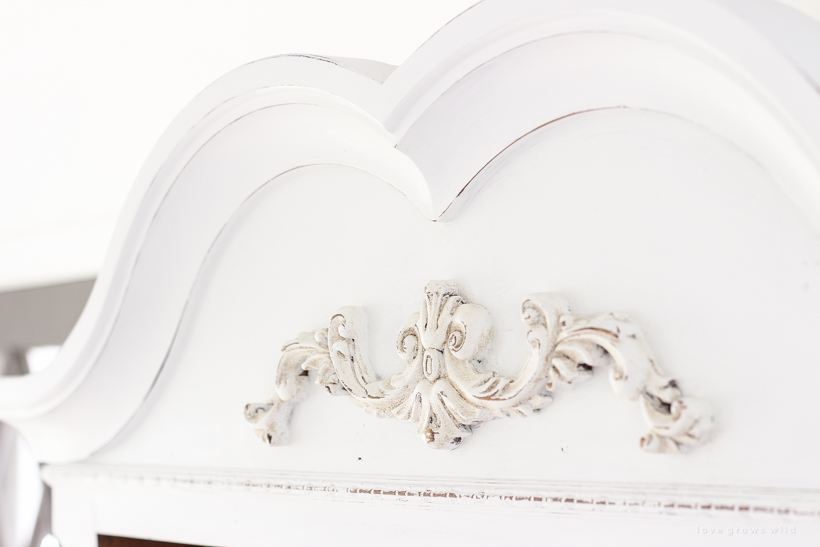
Once the whole piece was painted, I ran a sanding block along all the edges to distress them a bit, which helped redefine the beautiful details this armoire had. The white paint washed them out a bit, so the gentle distressing was a must on this armoire. After I distressed and then sealed the piece, I decided to further highlight the decorative detail along the top of the armoire by using an antiquing technique on it. This technique adds an older, more timeworn look, which I thought would be really pretty against the white paint. But the problem is that it’s really easy to overdo the antiquing and make the piece you’re painting look dirty, so I wanted to share my method with you guys for antiquing a piece of furniture or decor to make it look authentic and not overdone!
How to Antique Furniture
Supplies:
paint
clear wax
dark wax
several brushes
lint-free cloth
Instructions:
Step one: Start by painting the piece in your desired color and allow it to dry completely. Then if desired, add distressing by lightly sanding off some of the paint where it would naturally wear over time, along the edges and corners.
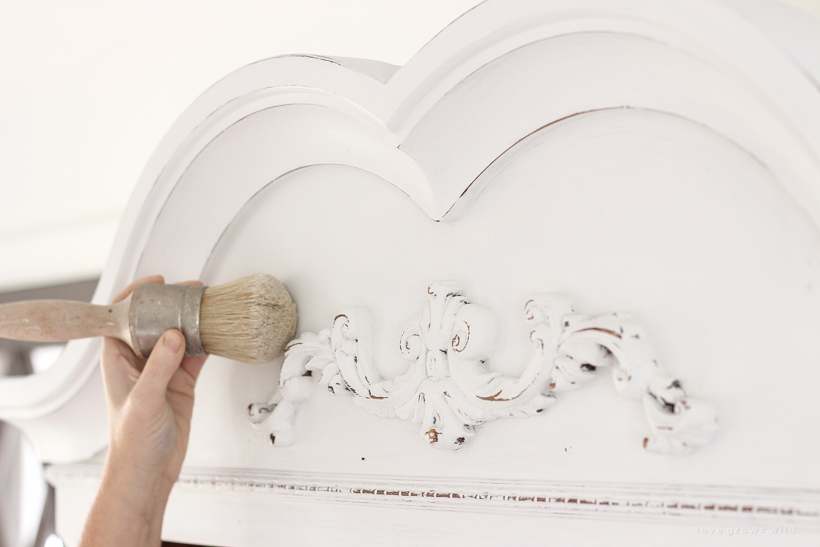
Step two: Apply a coat of clear wax over the area you’d like to antique to seal the original color of the paint. Rub the wax with a clean cloth to smooth and buff away any excess wax. This is an important step because if you apply dark wax directly onto paint, it will stain the paint completely. This protects the original color and allows you to build darker finishes on top of the paint.
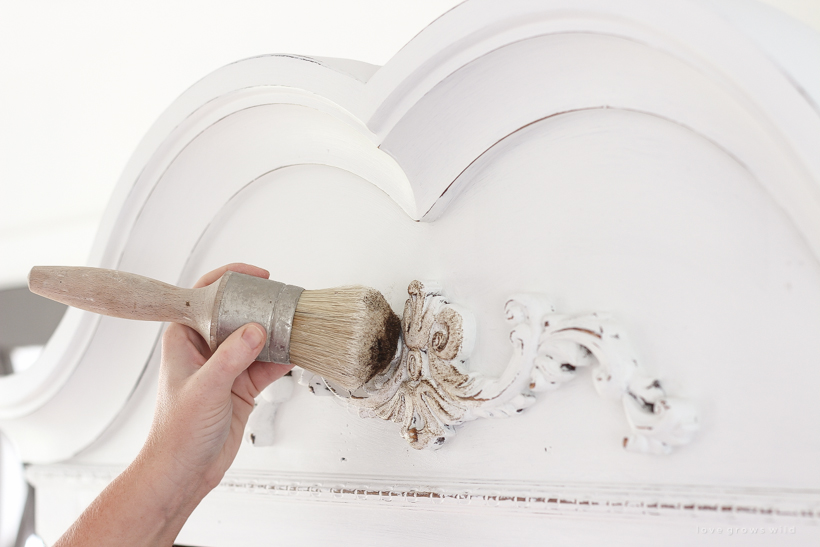
Step three: Apply another coat of clear wax where the dark wax will be applied. Immediately while the clear wax is still workable, apply a small amount of the dark wax, working it into any grooves, crevices, and corners. A little bit of dark wax goes a long way!
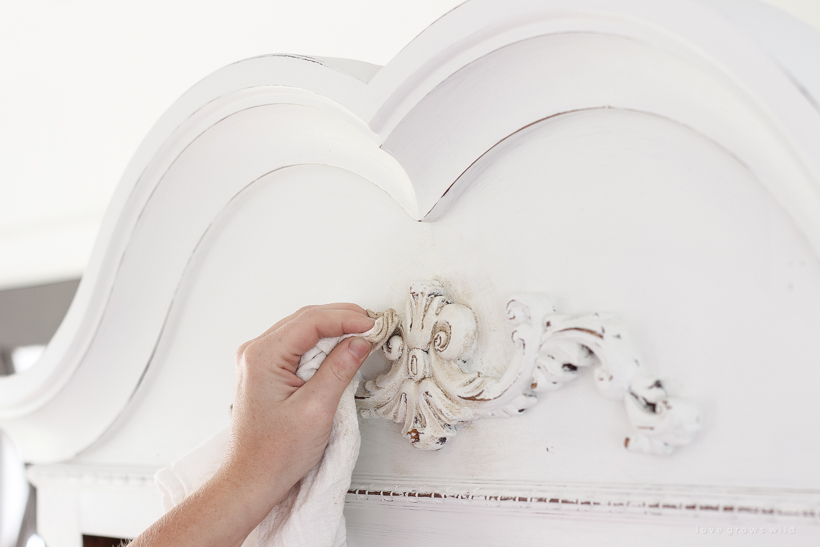
Step four: Before the dark wax dries, use a clean rag to wipe the dark wax as much or as little as you like. I prefer to clean most of the area, leaving the wax mostly around the edges and in the crevices. If some of the dark spots won’t come off with the rag, don’t worry. You can correct that in the next step.
Step five: If the dark wax is too dark in areas or you want to clean up certain spots, go back in with a brush (not the one you used with the dark wax) and some of the clear wax. As long as the dark wax hasn’t already dried, the clear wax should just brush away the dark spots. I did this step around the outside of the decorative piece to blend the line between the pure white paint finish and the antiqued areas.
Note: They key is working with the wax while it’s still wet so that you’re able to fine tune the finish to your liking. If you’re doing this to an entire piece of furniture, I would recommend working in smaller sections so the dark wax doesn’t dry before you have a chance to play with it.
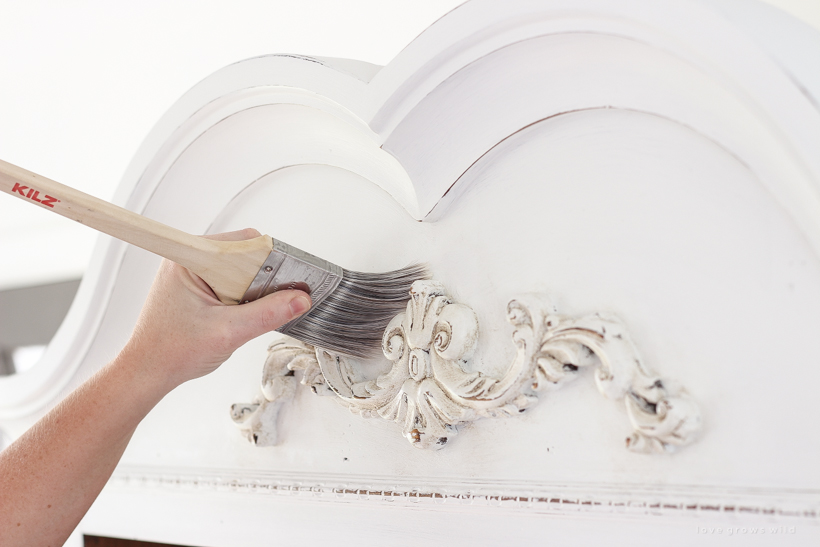
I love the way this armoire turned out and how the antiquing really made that top piece stand out. Our entryway finally feels complete! For now anyway… you know me better than that haha!
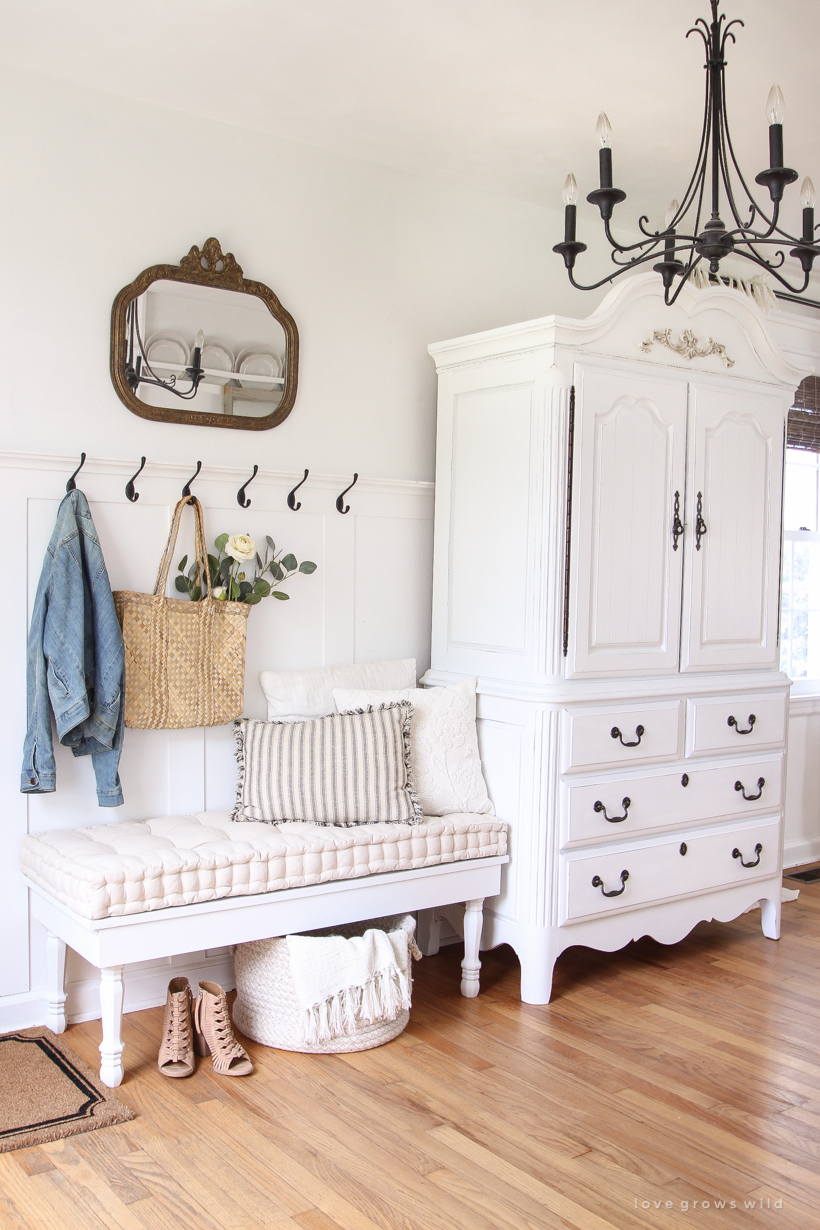
If you have any questions on the antique technique, just let me know! I hope you’ll try this on a project soon because it really does add such interesting character to newer pieces of furniture and decor. Thanks for visiting today, sweet friends!
– Shop This Post –
LET’S KEEP IN TOUCH!
Subscribe to Blog | Follow on Instagram
Follow on Pinterest | Follow on Facebook



The armoire turned out beautifully! I have never use chalk paint before and I’ve always relied on a good quality matte latex. It comes out nicely with a few brush marks but nothing that I can’t live with .I always distressed the edges and I leave it.
I don’t put any top coat or anything on it If I get marks I simply rub them out with a very gentle cleanser and a soft scrubber and it works just fine. Keep on doing what you’re doing!
Wow, so pretty. Did you seal the piece with the clear coat that you used for the areas that you used the antique method on? Thanks.
Thank you so much! Yes, I used clear wax on the entire piece so the finish would all be the same.
OMG! I love it! It’s exactly what I want for my bedroom! If we lived close, I’d ask you to sell it to me. I’ve pinned the post, however, I don’t ever see me doing this (no time). I’ll keep looking for one that someone else has done for me!
I love the armoire-you did a beautiful job. My whole condo is white furniture that I have redone using almost the same technique. Just an FYI-Home Depot sells a paint in there Behr collection which is called “Swiss Coffee”. It is perfect if you don’t want your piece not to look sooo white -in fact I just painted my living rooms in this color. I just love it and use it always for my furniture. Happy Painting Cheryl
Swiss Coffee has always been one of my fav’s as it has no yellow tones!
Did you distress the drawers or is that also dark wax? Is it possible to use the sealant instead of the clear wax and then apply dark wax?
I just distressed the edges of the drawers. And I would say yes, you could apply a topcoat like the matte poly I suggested before continuing with the antique technique, BUT I would still definitely have clear wax so you’re able to manipulate the dark wax easier to get the finish you want.
How do you decide where to put dark wax and where to distress? We just made the bench out of an old door like yours. I’m wanting to paint it and distress or antique.
That’s awesome! I look for areas that have interesting trim or details, any grooves or crevices, and corners to apply dark wax or distress. You want to think about where the piece of furniture would naturally wear over time!