It’s not something I talk about on the blog a lot, but if you follow me on Instagram or Facebook, you probably know that I opened up a little shop here in Indiana this past summer! My first love will always be blogging and sharing our home and decorating ideas here, but opening up a store where I can sell the items I love and use in my own home has been such a dream come true. I love coming up with beautiful, creative displays for the shop and spending time rearranging and restyling things each week. It truly has brought me so much joy, and I’m so glad I finally took a leap of faith to do it.
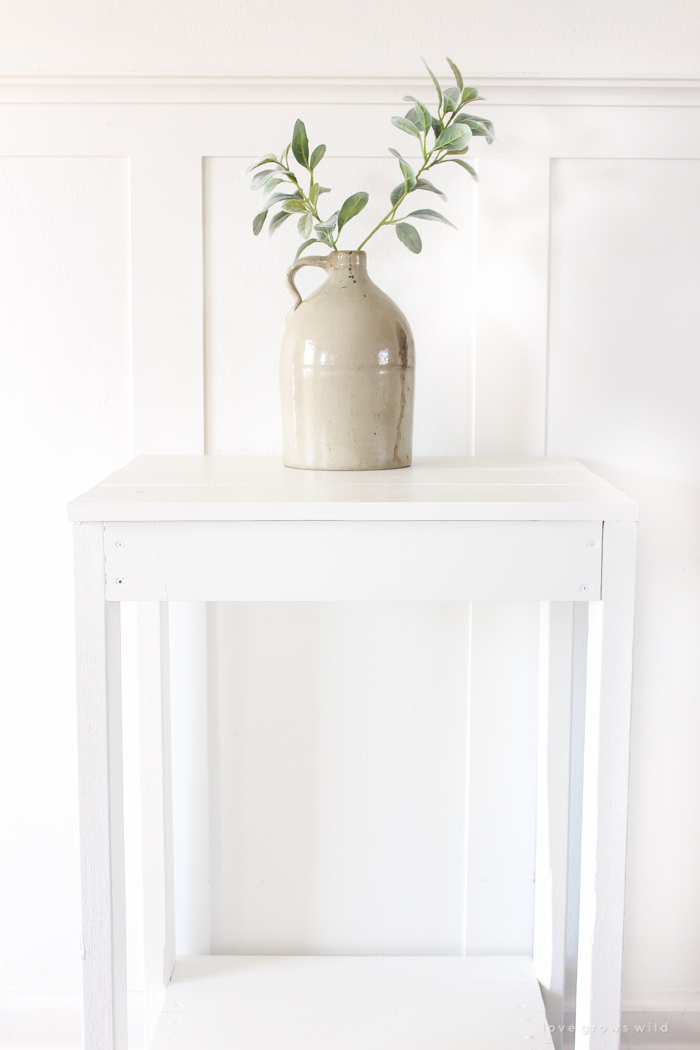
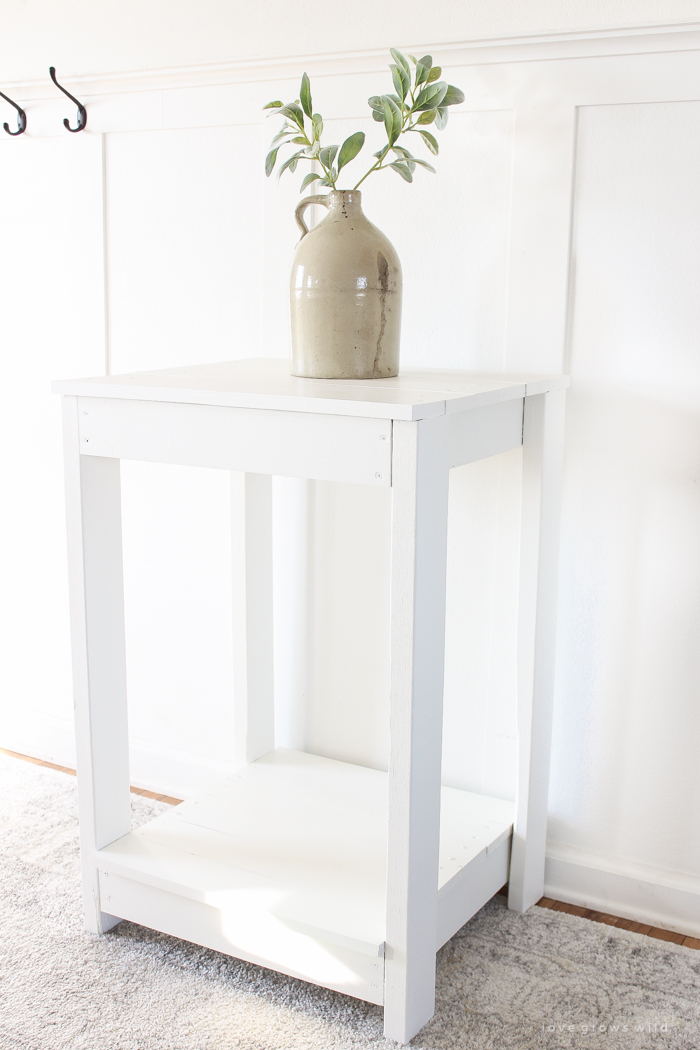
I’m getting ready to start stocking the booth for spring, and last week I drew up some plans for custom displays I wanted to build that I’m really excited about. One of the pieces I built is this simple, white display table, and even though the dimensions are a little taller than you would probably use in your home, I think with just a few modifications it would be the perfect side table or even nightstand! So today I’m going to share how I built this simple table so you can recreate it in your own home! It’s been quite awhile since I’ve had a woodworking project like this to share on the blog, so I’m super happy to be getting back into the swing of this again!

Note:
Important! These plans are for the size table I built for my booth and are pictured here. The dimensions of the finished piece are 3 ft tall x 2 ft wide x 21″ deep. For a side table next to a sofa or a nightstand, I would recommend reducing the leg height to around 24″, and the rest of the plans can be followed as written.
Cut List:
4 – 2 x 4 cut to 35 1/4″ (legs)
4 – 2 x 4 cut to 18 1/2″ (side aprons)
4 – 1 x 4 cut to 21″ (front + back aprons)
6 – 1 x 4 cut to 24″ (top shelf boards)
6 – 1 x 4 cut to 21″ (bottom shelf boards)
Supplies:
tape measure
pencil
saw
drill
wood glue
2″ screws
2 1/2″ screws
Instructions:
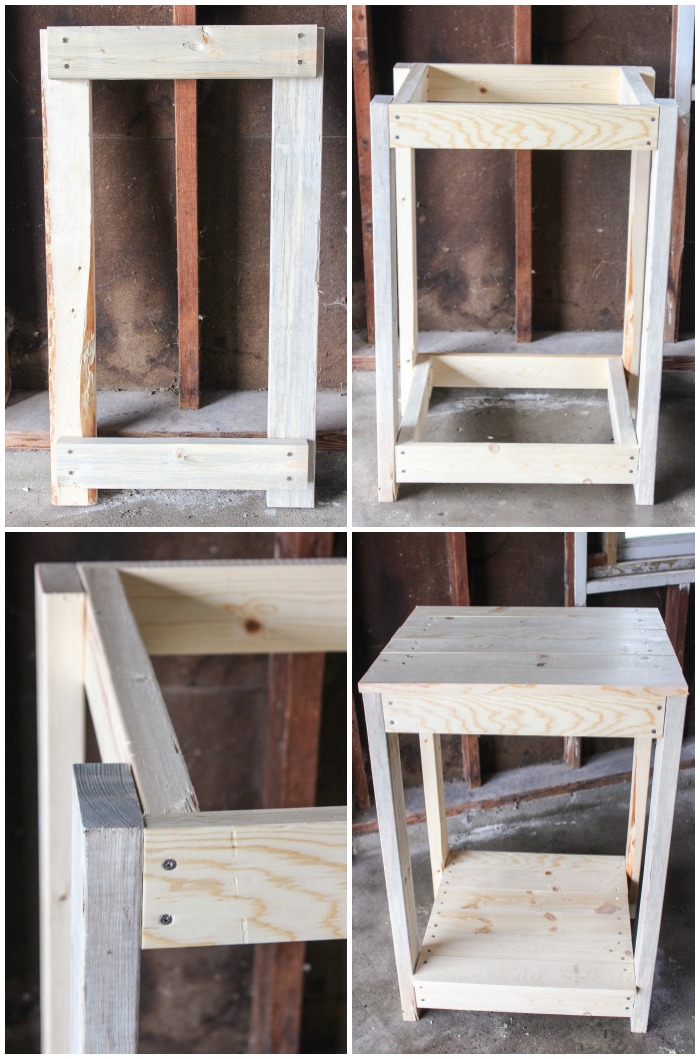
Measure and mark one of the legs 2″ up from the bottom and 3/4″ in from the front edge. This will be a front leg. Measure and mark another leg 2″ up from the bottom and 3/4″ in from the back edge. This will be a back leg. Attach one of the 18 1/2″ side aprons to the legs with wood glue and 2 1/2″ screws, lining up the bottom of the apron with the 2″ marks you made and the ends with the 3/4″ marks. This apron will support the bottom shelf boards.
Now measure and mark the front leg 3/4″ in from the front edge and the back leg 3/4″ in from the back edge at the very top of the legs. Attach another 18 1/2″ side apron to support the top shelf boards using wood glue and 2 1/2″ screws, lining up the top of the apron with the tops of the legs and the ends with the 3/4″ marks.
Repeat these steps with the remaining two legs and two side aprons to build the other side for the table.
Attach the 21″ front and back aprons to the side aprons using wood glue and 2″ screws. These should sit flush with the edges of the legs.
Attach six 21″ shelf boards to the bottom side aprons using wood glue and 2″ screws. Then attach six 24″ shelf boards to the top side aprons using wood glue and 2″ screws.
Finish:
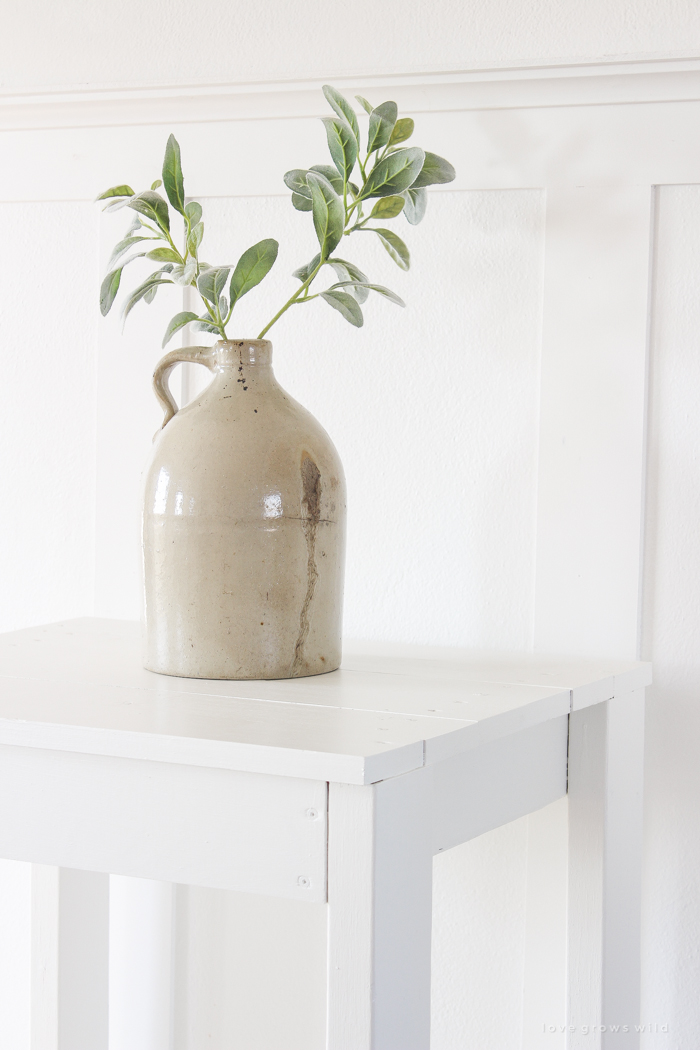
Once the table was built, I sanded down the edges and painted the table with one coat of primer and one coat of Valspar Du Jour paint.
I hope you guys are happy to see some DIY tutorials coming around more frequently because I certainly enjoy doing them! This table was very simple to make, and I hope it inspires you to pick up your tools and build something! Or convince the hubby to build it for you (wink).
LET’S KEEP IN TOUCH!
Subscribe to Blog | Follow on Instagram
Follow on Pinterest | Follow on Facebook


Leave Your Comments