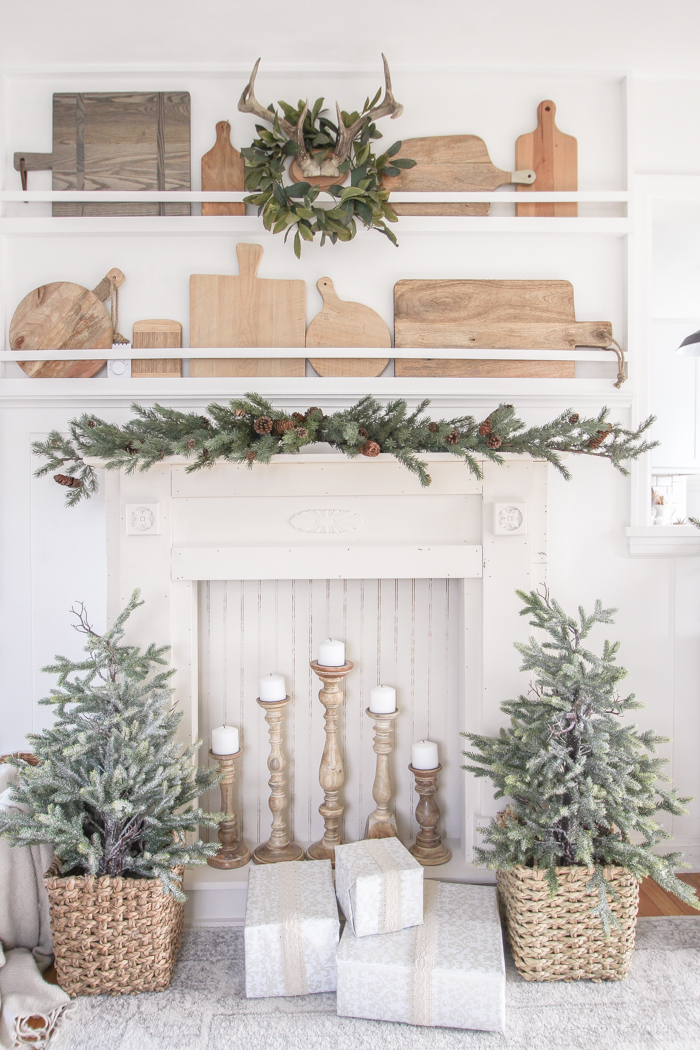
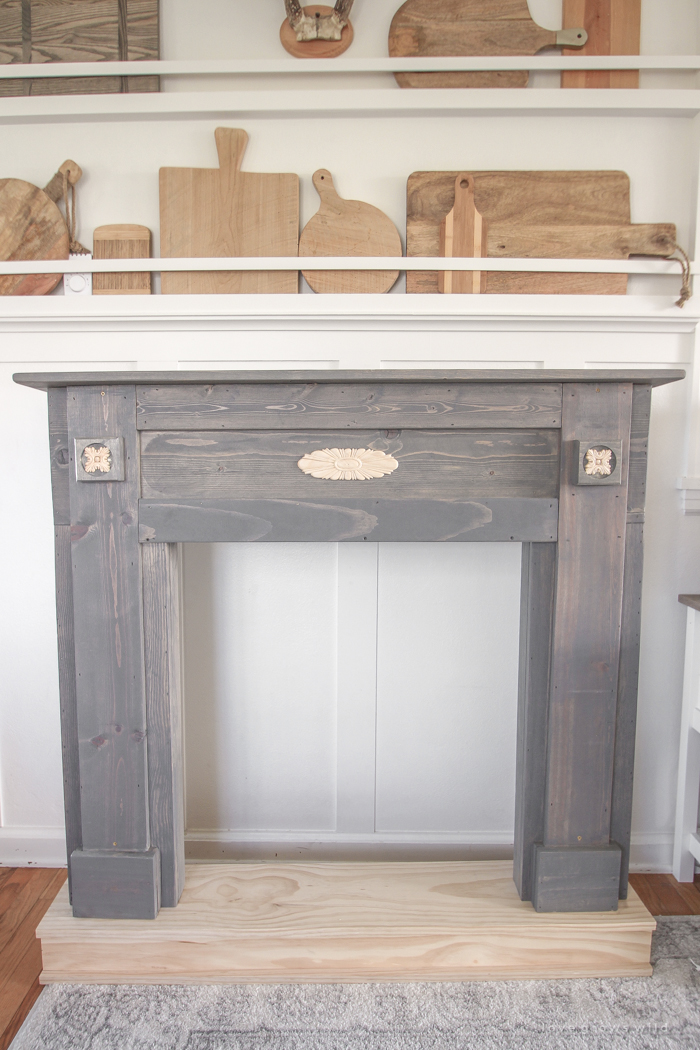
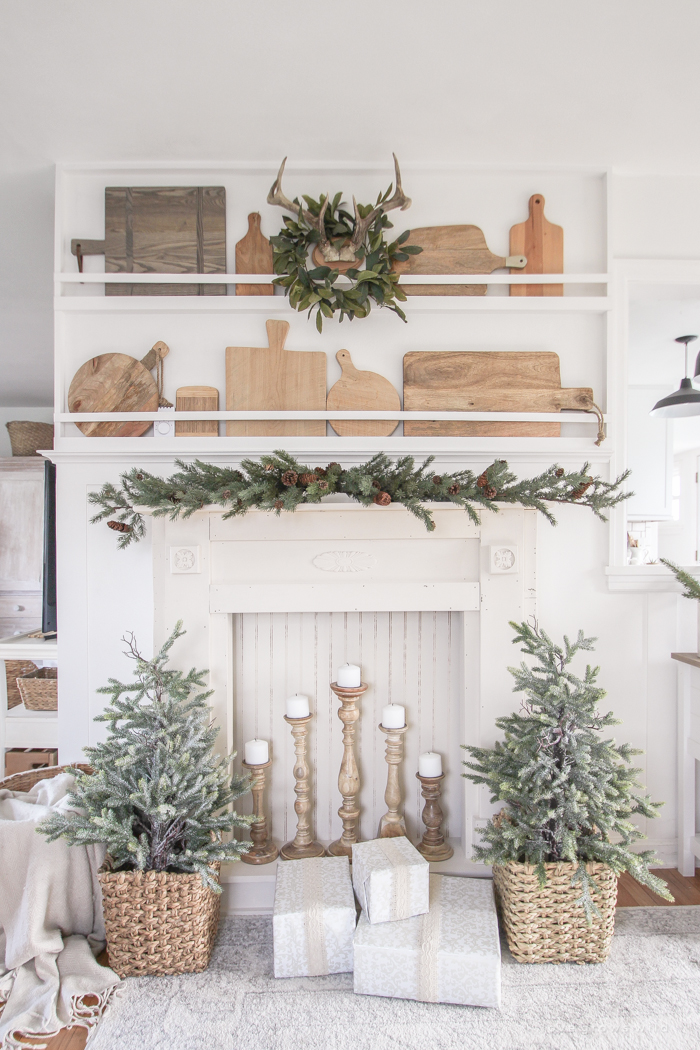
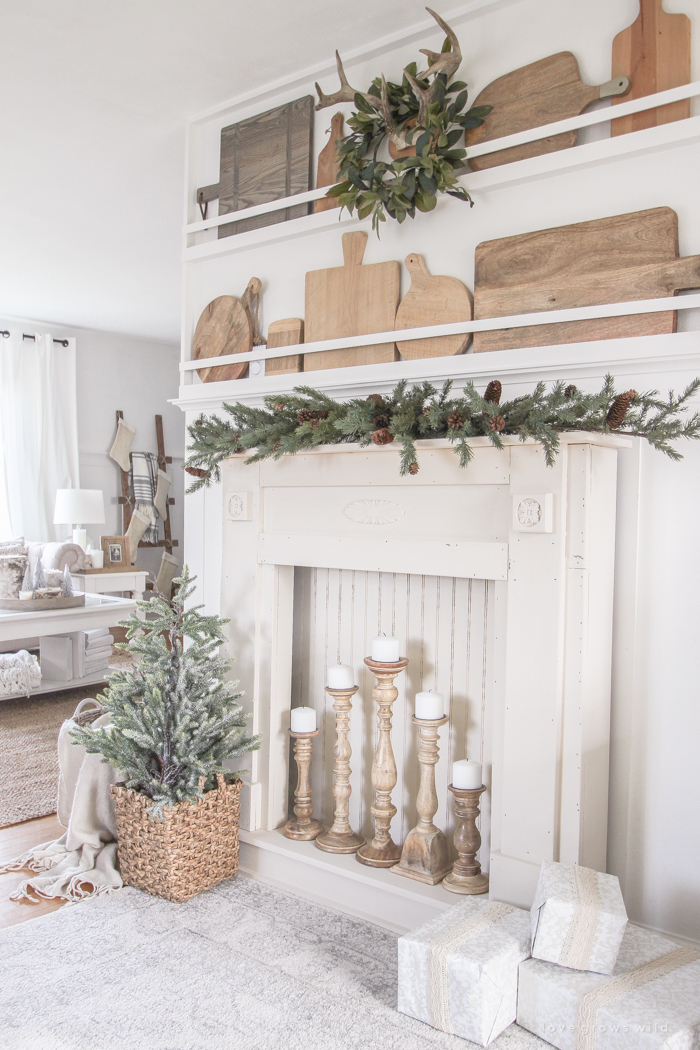
Now that all the Christmas decorations are finished around the house, this week I was finally able to tackle some projects that have been waiting for some attention. I spotted this mantel months ago at the antique store where I have my booth, and even though it wasn’t exactly what I was looking for, it had a good price and I knew I could customize it later to fit the style of our house. After some design modifications and a creamy coat of Miss Mustard Seed’s Milk Paint, this mantel is now even better than I imagined!

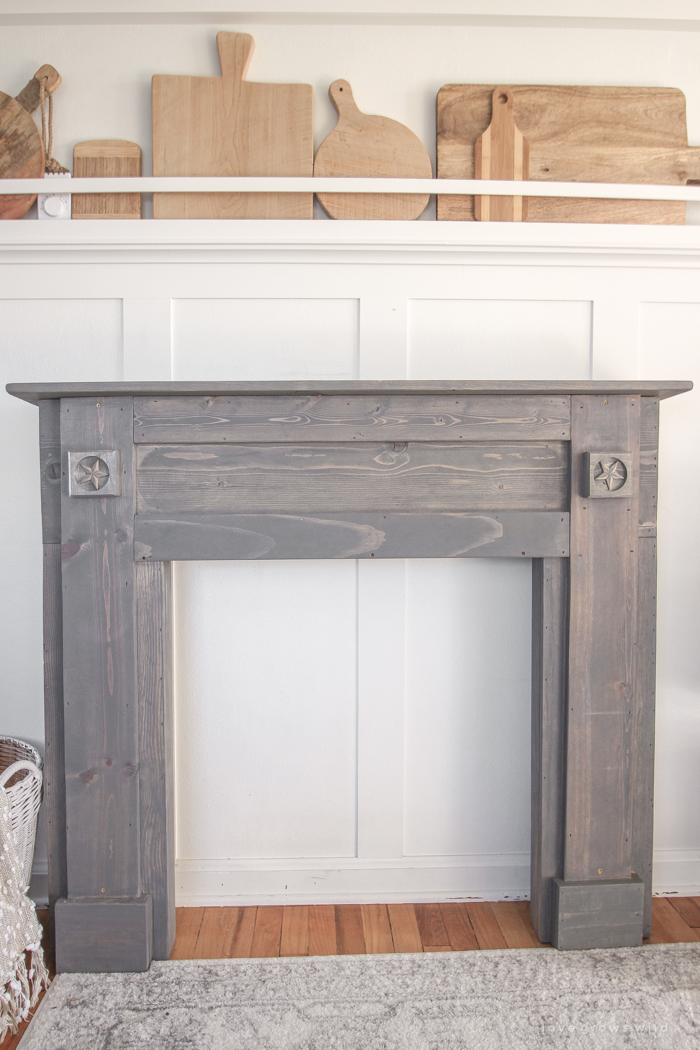
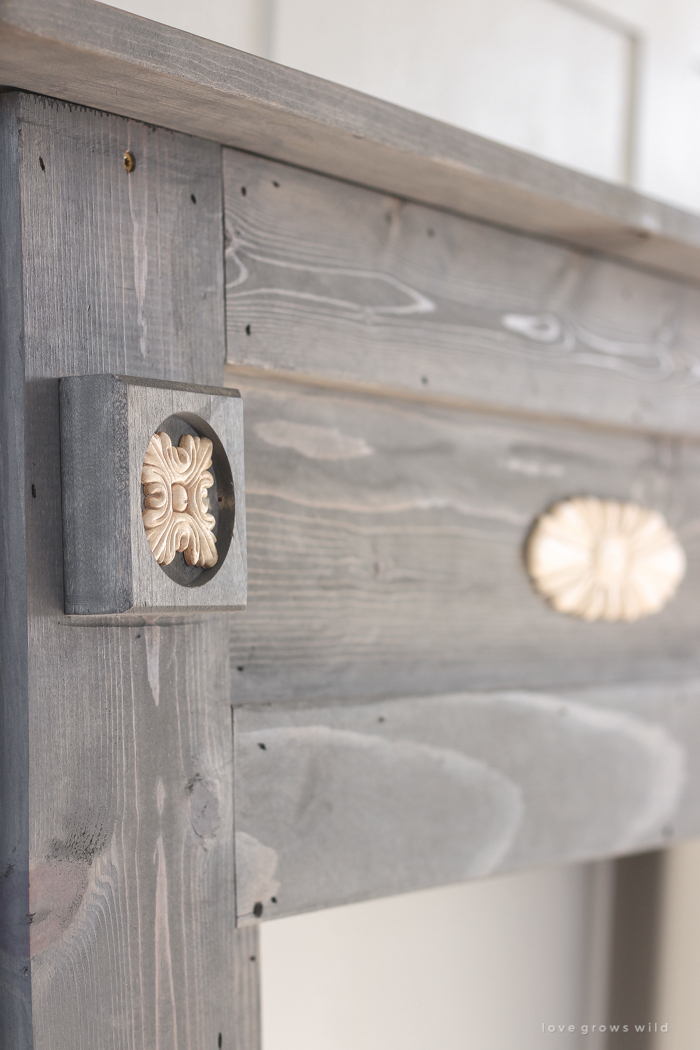
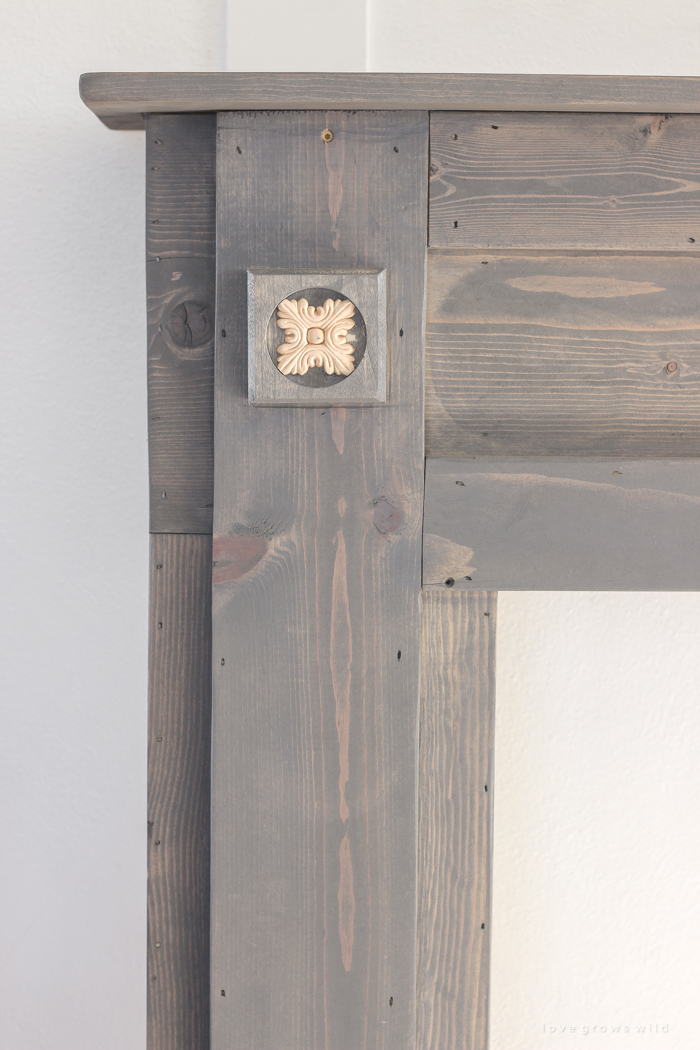
When this beautiful mantel first came home it was stained gray and had some star embellishments that I wasn’t crazy about. They felt a little too country/primitive for our house. But I absolutely loved that this piece was handmade by someone and all the nail holes were left unfilled. Some people will think I’m crazy for saying that, but I think it just gives the piece character and rustic charm!
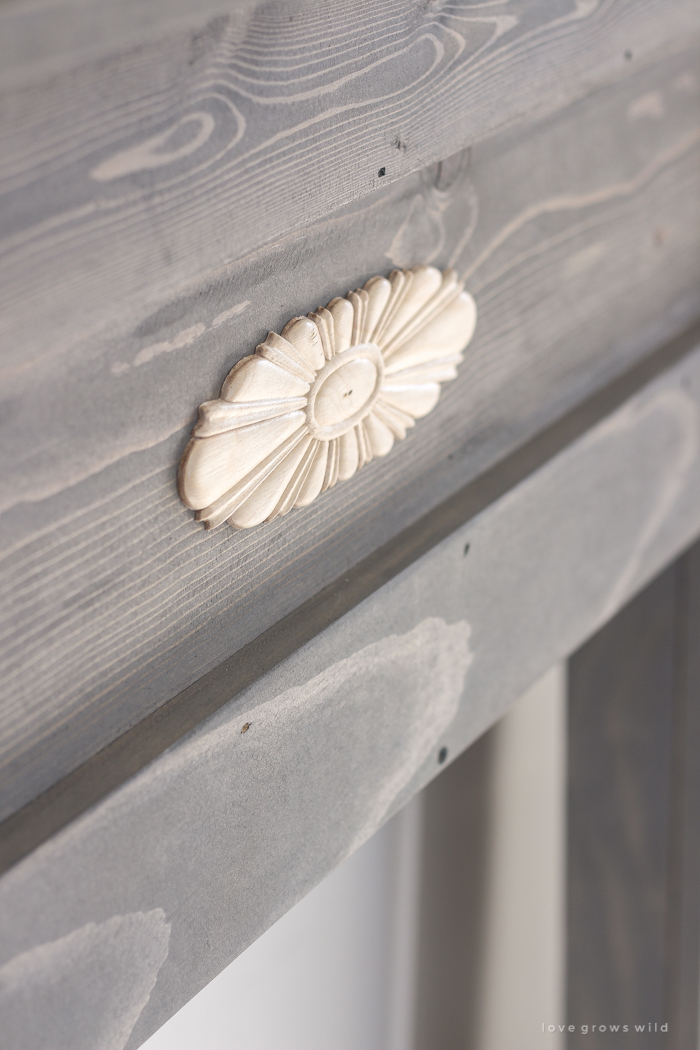
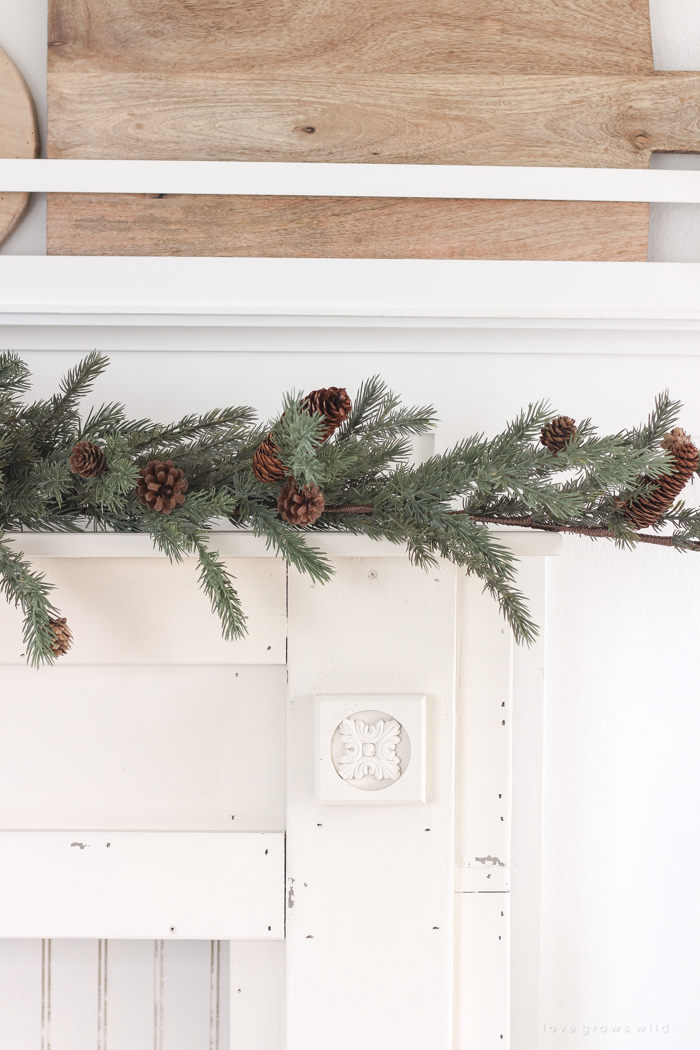
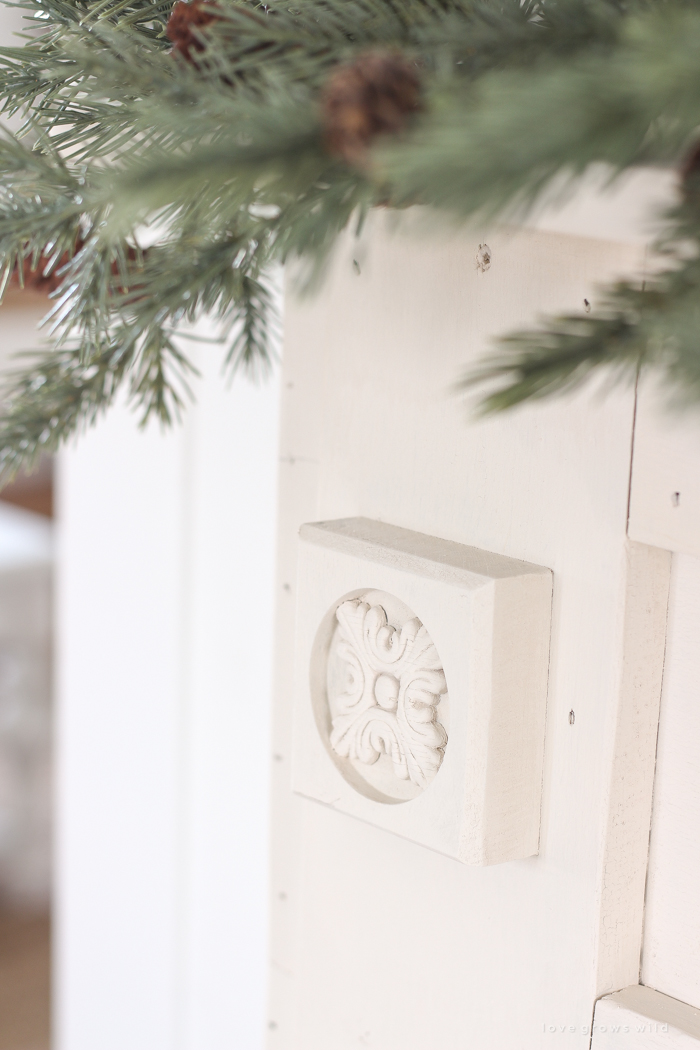
I assumed it wouldn’t be too hard to pull those stars off the front of the mantel, and I was right. A small flathead screwdriver did the trick. I stopped by Hobby Lobby and found some embellishments I liked that were pretty close in size to the stars. I had to just barely trim the edges with my saw to get them to fit. I also found a larger wood piece that I thought would look really pretty in the center of the mantel, so I attached that also with some wood glue and a few brad nails.
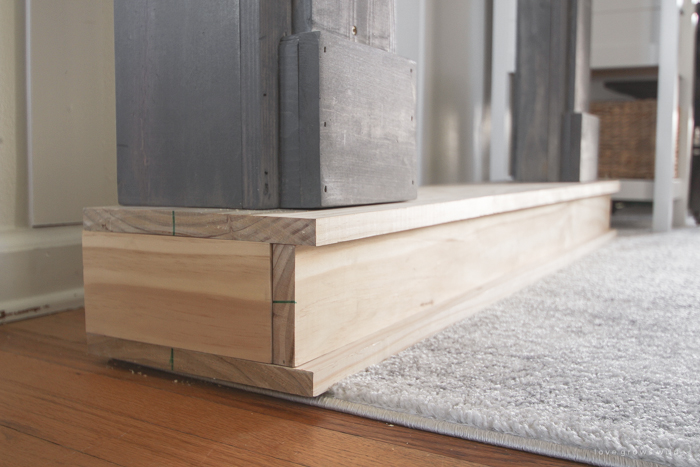
I went back and forth on adding a base to the mantel, and in the end I decided to go for it and build one. I wanted the mantel to sit up a little higher, and this also gives me a place to set candles or pillows or whatever I decide to decorate the mantel with. I used two 1 x 10 boards for the top and bottom and 1 x 4’s for the sides. The mantel felt so much more substantial and complete once I added this bottom piece!
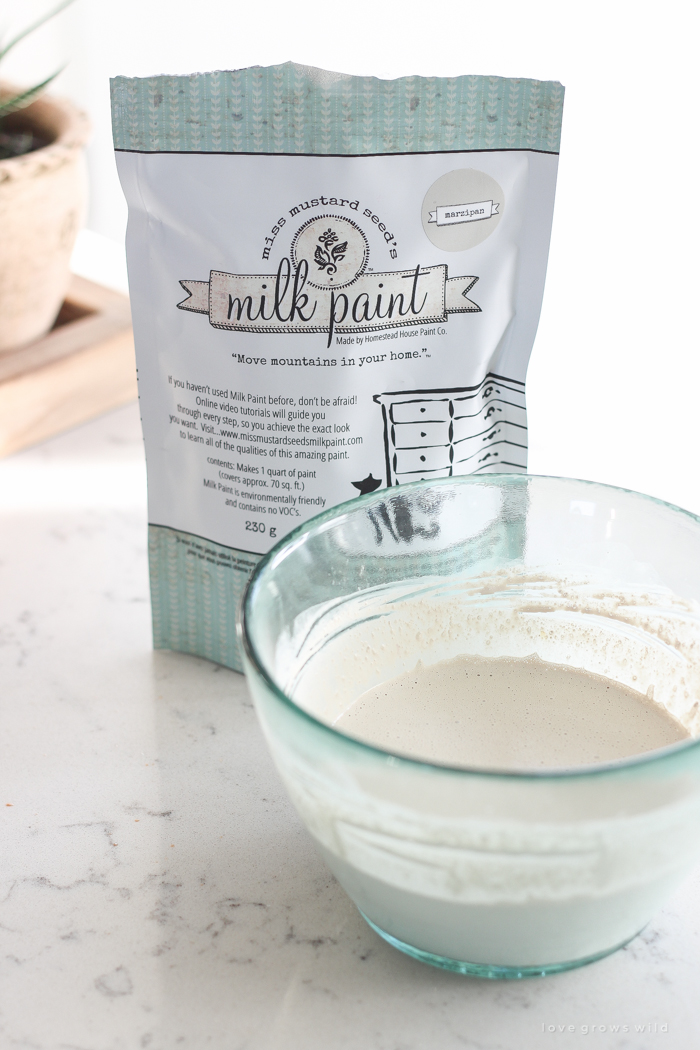
Once the modifications were finished, it was time to move on to paint. I’ve used Miss Mustard Seed’s Milk Paint a few times before, and it’s a product I highly recommend if you’re refinishing furniture. In this post from a few months ago I went into detail about why I love working with milk paint and what the pros and cons are for me. But in a nutshell, milk paint is different from other paints in that it comes as a powder and you mix it yourself with water. This is great because you can make the paint as thin as a stain so you still see wood grain underneath or as thick as you like to get complete coverage. The paint has a matte, chalky finish once it dries and gives the piece you’re working on an authentically old feel to it.
For my mantel, I wanted the color to be light and bright, but I also wanted a little bit of a contrast from my white walls. I mixed the colors marzipan and linen in equal parts to create a warm cream color that pairs beautifully with all the pure white in the room. You can find a full list of milk paint colors here.
When I’ve used white milk paint in the past, I think I was mixing them a little too thin (with too much water), and the coverage wasn’t what I wanted it to be. This time I mixed it slightly thicker than the directions recommend, and the coverage was perfect this time over the dark gray stain. And one of my favorite parts of using milk paint is how fast it dries. I had this piece finished in no time!
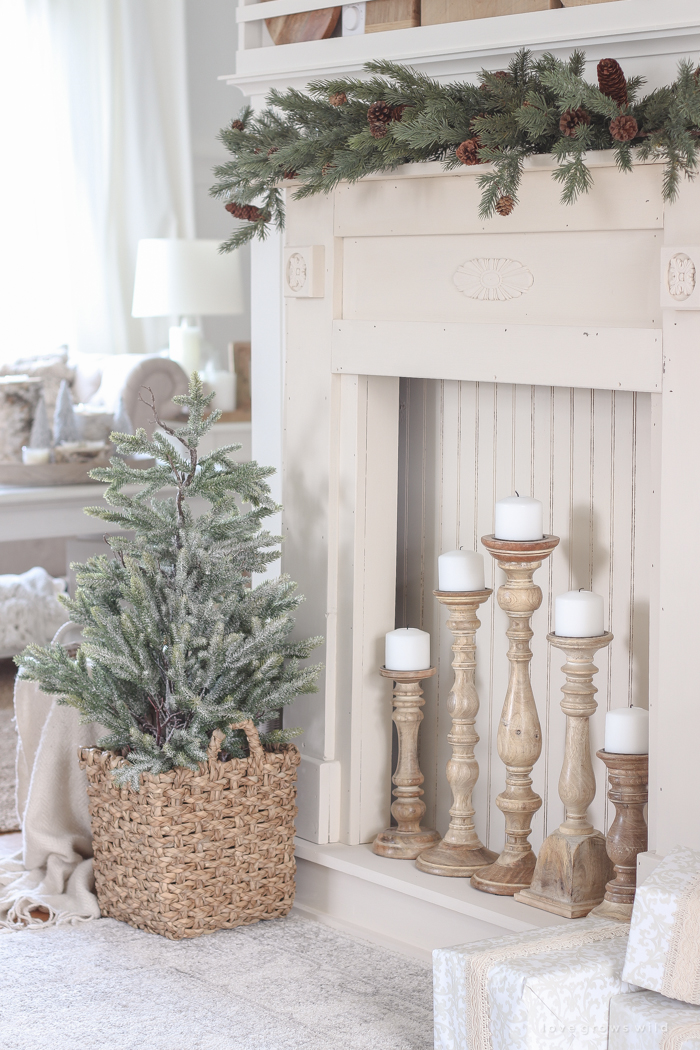
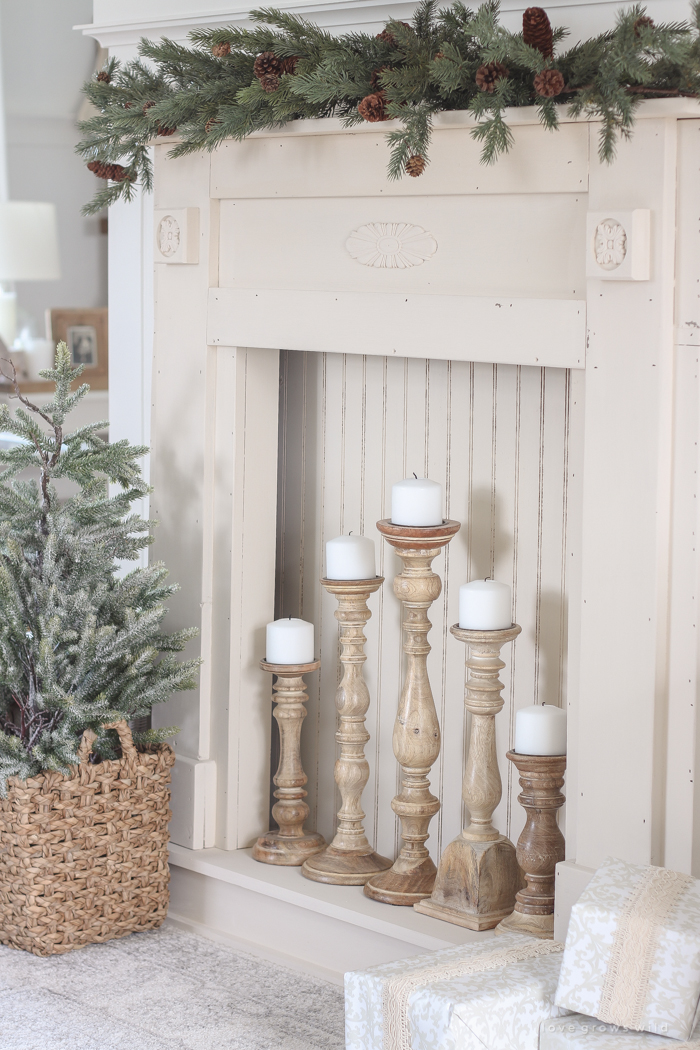
Before I sealed the mantel with Miss Mustard Seed’s Beeswax, I added a piece of wainscoting painted in the same color as the mantel to cover up the opening. Again, this is another thing I went back and forth on, but since there obviously isn’t a working fireplace here, I just felt like it would look better being one solid piece and all the same color instead of seeing the wall behind the opening. After it was all painted and finished, I was so glad I added the wainscoting because it added a cozy cottage vibe that was perfect for this space!
I didn’t distress the paint along the edges like I normally do when I refinish furniture, but the paint did crackle and chip in a few places, which is like magic when that happens. Another reason why I love milk paint… it’s perfect for getting that chippy, aged paint finish!
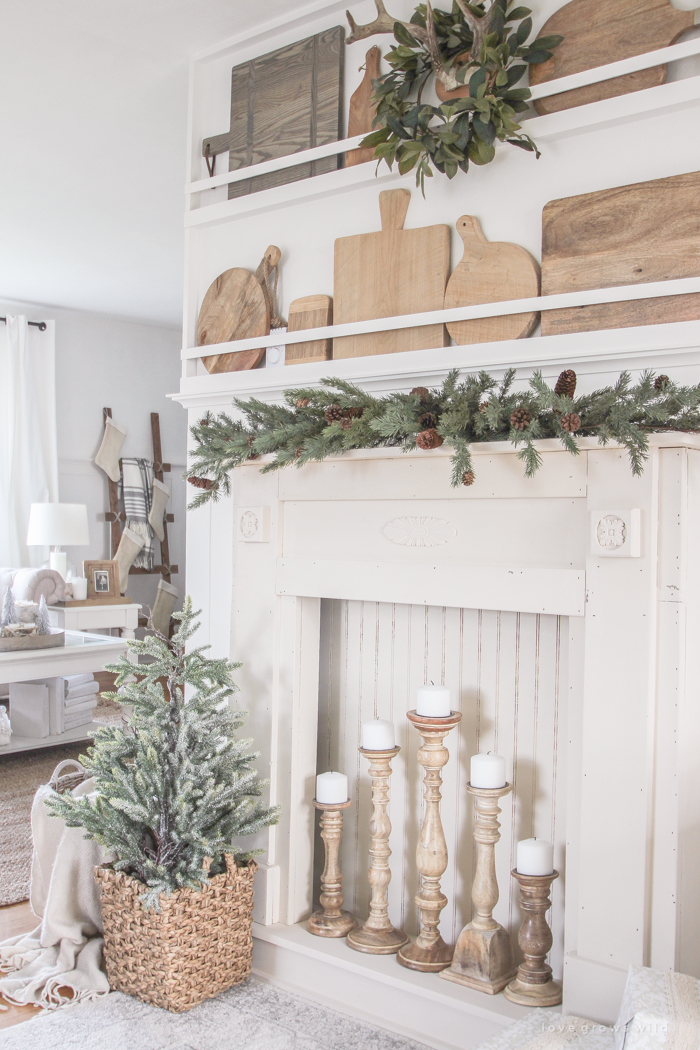
I’m sure I will style and restyle this space a million times between now and next Christmas because there were just way too many options and fun things to try. But for now I settled on some simple greenery and tall candleholders and of course my plate rack wall that holds my collection of cutting boards. The tutorial for the plate rack is in my book!
I want to thank Marian of Miss Mustard Seed for collaborating with me on this little makeover project, and below I have milk paint projects from other bloggers so you can see just how versatile the paint is and why others love using it! Thanks for stopping by today, and let me know if you have any milk paint questions!
More Milk Paint Projects:
Ella Claire | Love Grows Wild | Kindred Vintage | Liz Marie Blog
French Country Cottage | Nesting with Grace | Miss Mustard Seed | Rooms for Rent
I received products from Miss Mustard Seed’s Milk Paint for this post, but all thoughts and opinions are 100% my own. Some of the links in this post are affiliate links, which allows me to make a small commission from your purchase, but your purchase price stays the same. Thank you for helping support our blog and brand partners!
LET’S KEEP IN TOUCH!
Subscribe to Blog | Follow on Instagram
Follow on Pinterest | Follow on Facebook



Wow, that’s an impressive project with a beautiful and stylish result. Admirations!
This is perfect, I love the changes you made to the original, the paint color is great and the new embellishments are just right, too. And the bead board backing seals the deal!
It’s just adorable, and I love how you decorated it. The small trees look awesome and it makes me want to do the same with my fireplace…maybe next year!
Looks fantastic and putting a back on it really finishes it. I’ve always thought faux fireplaces aren’t that nice…..until now. Great job x