

Today’s tutorial is a bit different than our typical home decor projects, but I thought it would be a fun one to share! I was getting ready to make some new wood photo boards that I use as a backdrop for my food photography and decided to write a quick tutorial so I could show you how I make them. Whether you’re a blogger, professional photographer, or just enjoy taking everyday photos at home, these boards are a wonderful thing to have on hand.

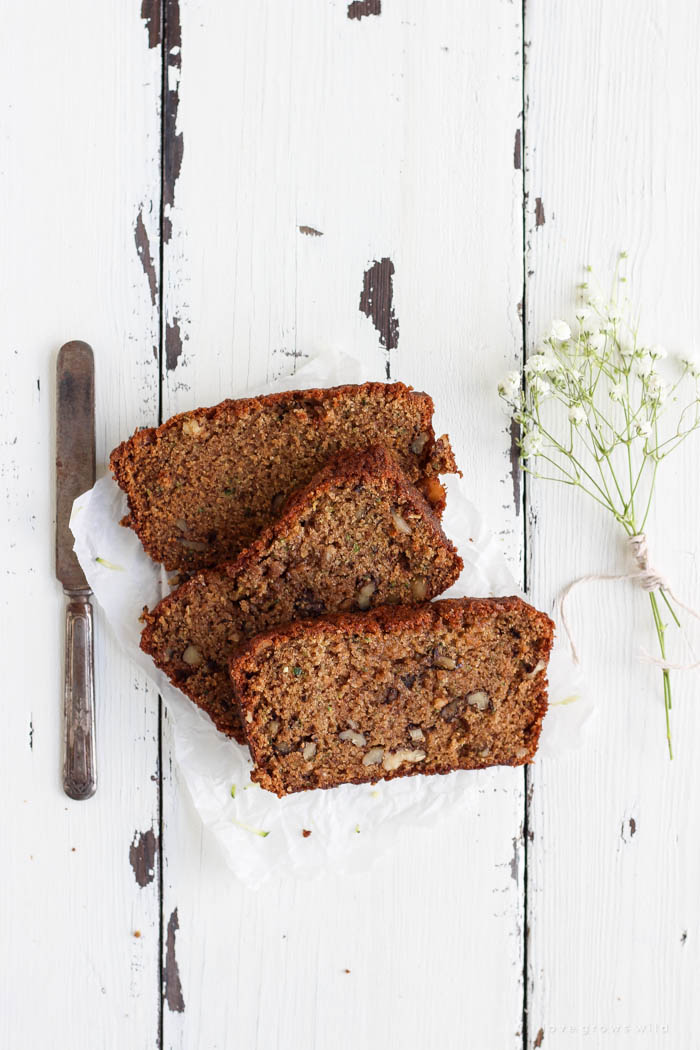
Over the last few years of blogging, I’ve developed a deep love for photography and photo styling. The lighting, the props, the backdrop… a lot goes into getting that perfect shot! I love the look of natural, rustic backgrounds for photos, especially when photographing food, and wood boards like these are a great option. Wood gives the feeling of being in a warm, cozy home and adds a lot of depth and texture to your photos. I love the visual lines you get from the boards all lined up next to each other, and there are a million different ways you can paint or stain the wood. I have quite a variety!
In my earlier days of blogging, I would purchase vinyl backdrops that had the look of wood boards printed onto them. You can roll them for easy storage, and they are simple to wipe clean, but they lack the depth and texture that real wood has. So eventually I moved away from using the vinyl and made my own backdrops with real wood. With just a few simple tools and supplies, anyone can tackle this project!
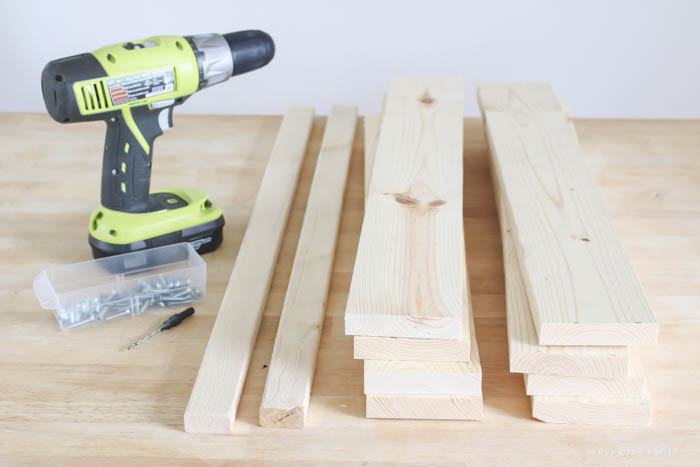
Supplies:
two 8 foot 1×4 boards
one 8 foot 1×2 board
saw
tape measure
sanding block
nickels
drill and countersink drill bit
1″ wood screws
wood glue
paint and/or stain of choice
Step one:
Cut two 8 foot 1×4 boards into eight 24″ long pieces using a saw. A chop saw, circular saw, or even a hand saw will work for cutting the boards, or you can ask an employee at the hardware store if they will make the cuts for you. Then cut two 28″ long pieces from the 1×2 board.
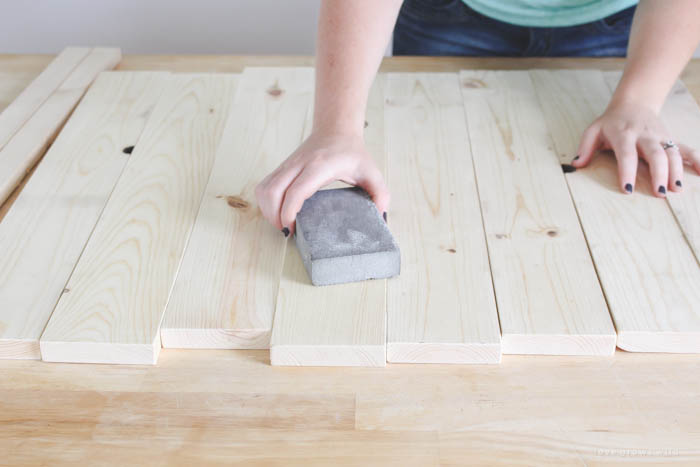
Step two:
Sand the boards down to remove any rough spots, especially along the edges. If you want a more rustic look for your photo board, sand the boards down until all the hard edges are gone and hit the wood with a hammer and/or screwdriver to make small, random imperfections.
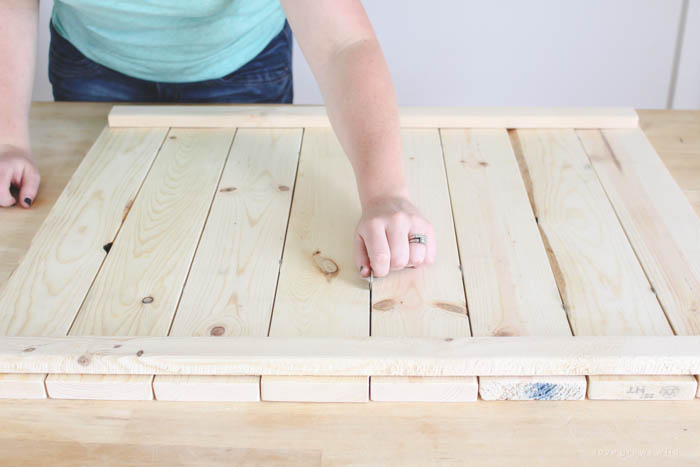
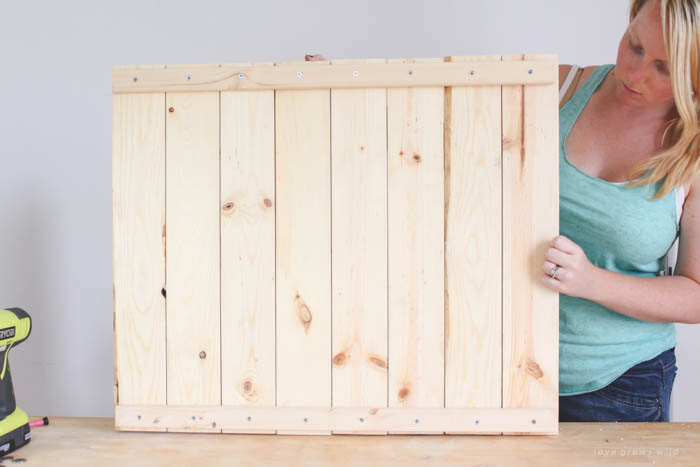
Step three:
Line up the 1×4 boards on a flat work surface. As you lay each board, check both sides to see which wood grain and knot pattern you like best. Place that side facing down on the table. To create a small gap between each board, place two nickels (one near the top and one near the bottom) in between each 1×4.
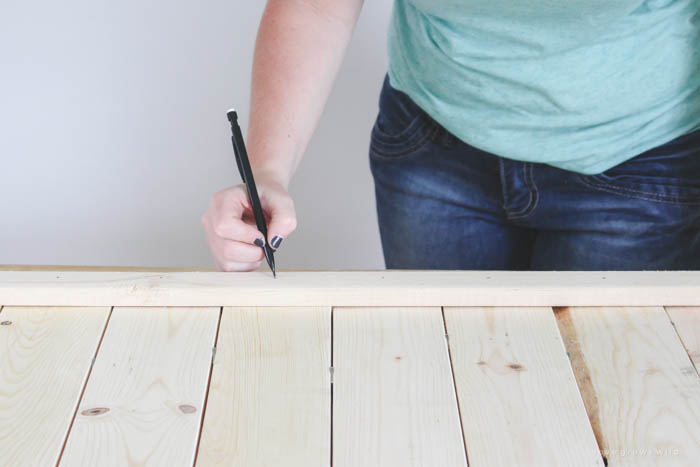
Step four:
Place the 1×2’s across the 1×4’s about a half inch away from the top and bottom. Draw pencil marks across the 1×2’s where the center of each 1×4 sits underneath.
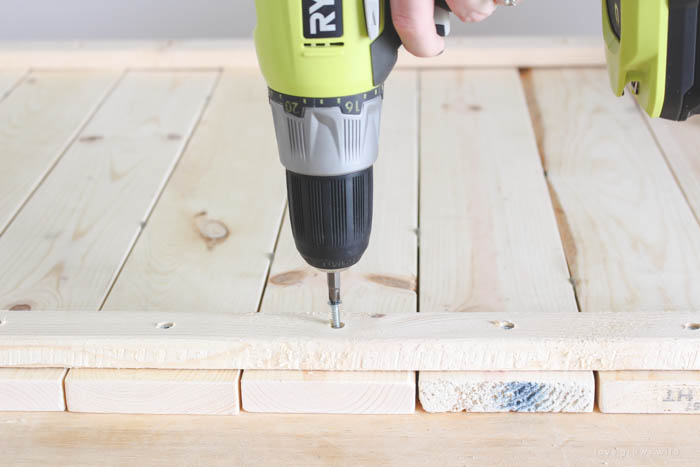
Step five:
Drill a pilot hole at each pencil mark using a countersink drill bit.
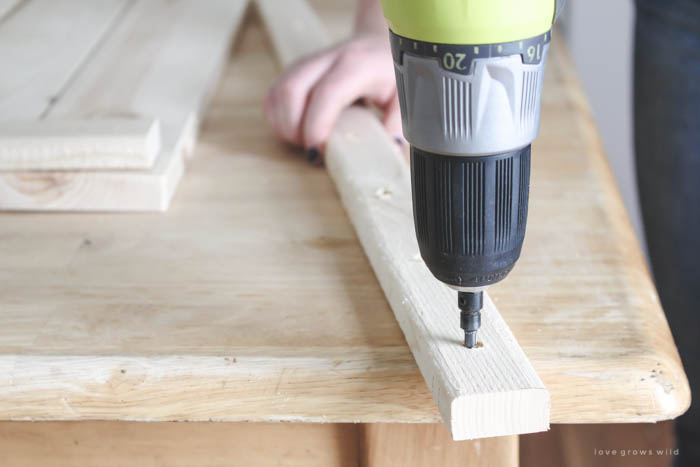
Step six:
Apply wood glue to the back side of the 1×2’s. Use 1″ screws in each pilot hole you just drilled to secure the boards in place.
Step seven:
Paint or stain your boards however you like and allow to dry.
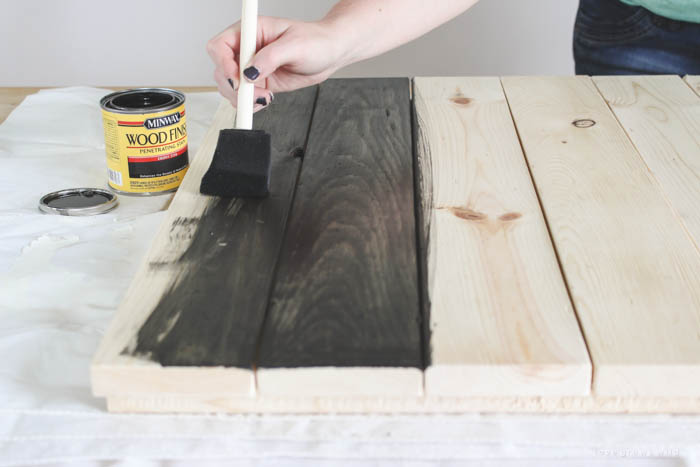
And that’s it! I like to have a variety of different wood backgrounds to photograph on, so I stain one side of the photo boards one color and use the other side for a different color. For this particular board I used Minwax stain in Ebony on the front and Minwax in Early American on the back. I also have a board that’s natural barn wood on one side and chipped white paint on the other.
white chalk paint over natural barn wood distressed with my Vaseline distressing technique
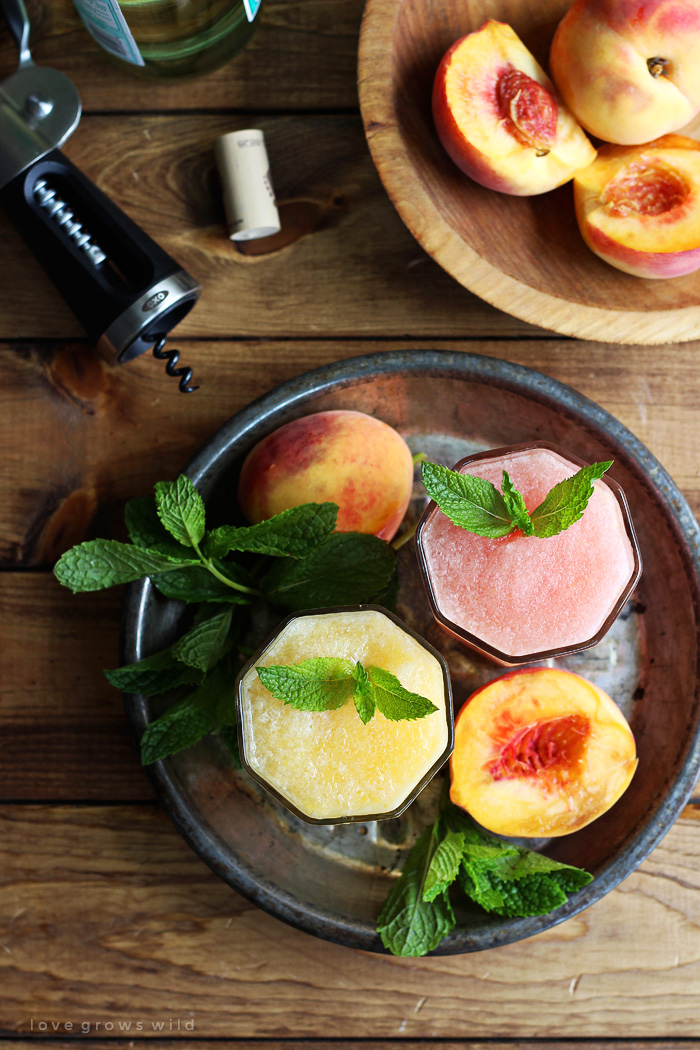
Minwax Early American stain
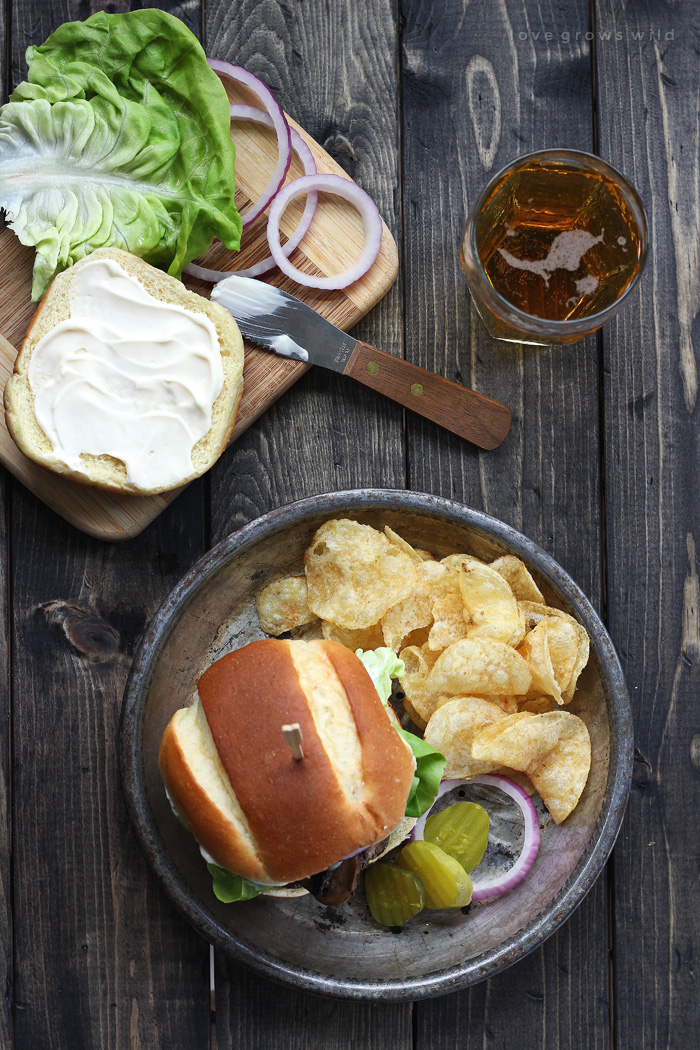
Minwax Ebony stain
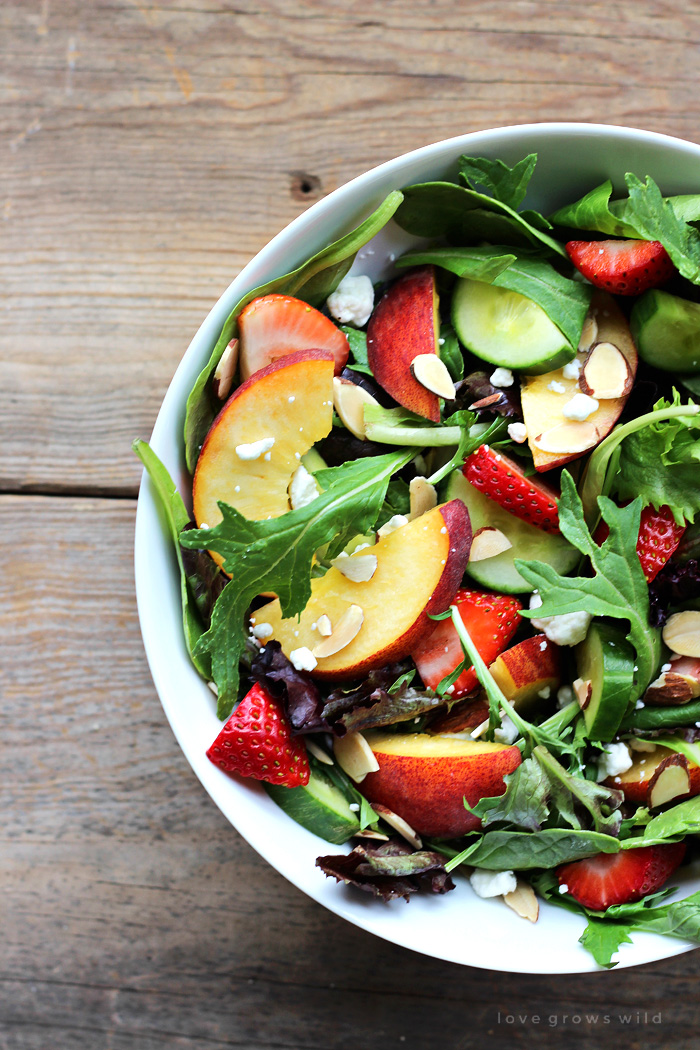
natural barn wood
I promise I’ll get back to home decor goodness for the next tutorial, but for those of you who enjoy photography, I hope this post was helpful! Leave me a comment below and share what your favorite things are to photograph… your kids, nature, your yummy food… I’d love to hear from you!
LET’S KEEP IN TOUCH!
Subscribe to Blog | Browse my Shop | Follow on Facebook | Follow on Twitter
Follow on Google+ | Follow on Pinterest | Follow on Instagram

Great tips, Liz. I so need to do this! I absolutely love your food photography 🙂
Thanks so much for posting this! I love the rustic wood surfaces I see in so many food and cocktail photos, but it never occurred to me to make something like this myself. I’m definitely going to try it.
One thing I’ve found handy is to buy large tiles from Home Depot or Lowes with granite or marble patterns. They’re only a few bucks, but they’ve really diversified my photo backdrops.
thanks so much for sharing!! I’ve been wanting to go the next step (tired of clearing my windowsill and office desk every time! 🙂
I love this article! Thank you so much, I am so inspired!! And your food styling is perfection.:)
I think these boards give your pictures a very cohesive look. Even though the boards may change, they still scream Love Grows Wild. You can’t beat the look of real wood in pictures. Where do you store your boards when you’re not using them?
Awe… thank you, Jamie! The room I use as my office was originally the master bedroom before we finished the upstairs, so I’m lucky to have a decent size walk-in closet in the office. I just lean the boards against a wall in the closet, but I when I’m using them a lot and don’t feel like putting them away, I slide the boards between the cabinet/bookshelf that sits next to my desk and the wall. They’re tucked out of the way, but still easily accessible!
I love your boards so much!! I definitely need to make some new ones for my photos!!!
Thank you for this awesome tutorial. I love your site. I know what my next project is going to be. Thank you, thank you, thank you!!
I’ve long been a fan of your food photography, because of the gorgeous rustic backdrops and down-home feel to your shots. Thank you for sharing how you made them, I’ll be making some STAT!!
This post really makes me feel inspired to learn to take better photos. Thank you!
Thanks so much for posting this! I actually seared for this for a while before I found your tutorial. It was perfect! I am hoping I can convince the husband to tag team and make a few this weekend!
Thanks again!
-Kirsten
http://www.thekusilife.com
Great blogpost, very effecient and creative way to build wooden backdrops!
thanks for sharing 🙂
That ist simply just a great idea. Thank you!
Thanks for the tutorial! I can’t wait to photograph my food on much better looking backdrops.
I love these!! They do make fantastic backdrops. I love a brick wall in the mix as well. Thanks so much for sharing 🙂
Wow – not only is this an excellent idea but your photography skills and styling are beautiful! Thanks for the inspiration!
I’m so excited to do this – I went to Home Depot last night and am ready to get to work. Thanks so mix for this post!
This is a great idea. I always wondered what they used in those photos. That’s next weekend’s project sorted! Thanks 😉
I just wanted to update this and say that I’m on round two of faux table tops, and the nickel technique is awesome! I LOVE LOVE LOVE the Minwax ebony stain, too. Thanks for this great post! I used this prop in several pictures in a recent post about espresso and it was perfect.
This is a totally random question as I have natural dog supplements to market, but love the feel of your styling and can see using these ideas to showcase a completely different area and market : ) Really new at this part of the process, would you save me a huge search and share the source for the lovely muted grey backdrop in your top image (the one with the word swag and the camera), perfect compliment to the wood!
Hey Terry! The background is actually just a black poster board that I rubbed with chalk! It’s one of my favorite cheap and easy photograph tricks. 🙂
Oh this is amazing I have been looking everywhere to buy a few boards to paint and didn’t even think just to make them myself. Silly me. This is fantastic as I tried the vinyl ones they just don’t look right for food styling. 🙂
This is great Liz! Just the tutorial I was looking for! Thank you thank you than you!
This is really awesome advice. I’ve been trying to figure out how to present my Photo albums online. Off to the big box store to get supplies now. Thanks
Ah, love this. I totally need a few different boards. My favorite is the white board with your vaseline distressed technique.
Hi, loved your project and photos!!
I’d like to know how do you protect the wood surface from food spills?
Thank you very much for sharing your secrets with us!
Good question! You can apply a topcoat such as polyurethane to the boards, but it will change the look of the finish you applied. I would look for a matte finish poly that won’t create a high-gloss look on your boards, which I personally don’t like for photography. I hope this helps! 🙂
I used this tutorial for all our backgrounds. Just wanted to say thanks 🙂
Thanks so much for this post, Liz! I’ve been a nutrition and cooking instructor for 10 years, but have just been working on building my online presence the last few months. There is so much to learn! I’ve been working on learning food photography and have a few boards now (just stained one this morning – Rustoleum gel stain dark walnut). Your site, and this post in particular, have been very inspirational. Thanks again!
Super great tutorial. These wood board backdrops bring so much to the picture! I’ve just started dabbling in food photography and this is really inspiring and helpful. Thank you!