

by Rachel from Maison de Pax
Hi Love Grows Wild readers! I’m pleased to say that this has been a very big month for our family. I was due two days ago to deliver baby #3, our first girl. Here’s hoping that’s already happened!! AND, in nine days, Mr. Pax and I will celebrate our 10th anniversary. Wow.
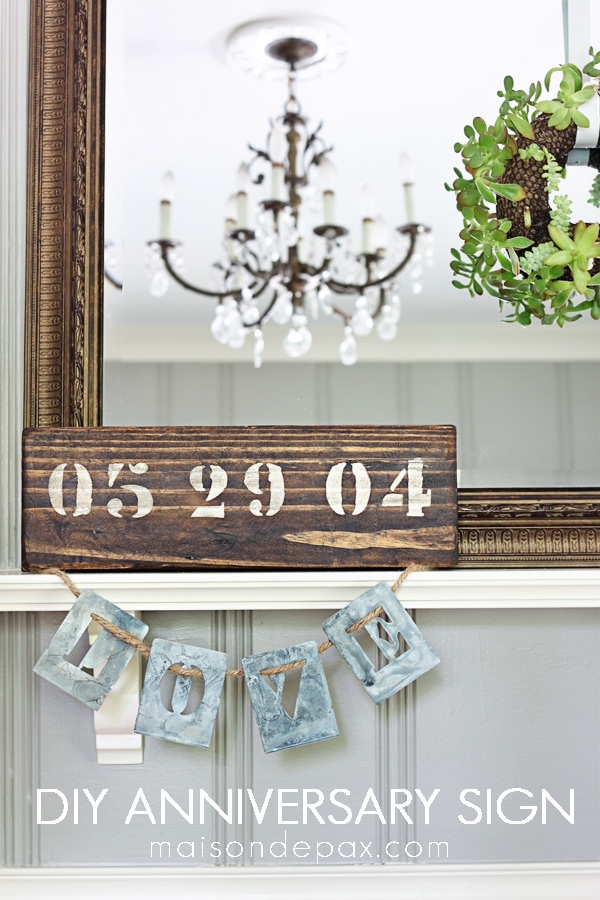

I cannot believe 10 years have gone by since I married my best friend. Life has changed (a lot) over those 10 years, but it keeps getting better, even when it’s harder… Am I right? Anyway, enough sappy reminiscing. Today I want to share with you how you can make your own sign for a loved one. You could use it to celebrate an anniversary, a birthday, or any other important date!
Not only is this rustic sign adorable, sentimental, and super easy to make, it was free! Can’t get much better than that, right? 😉 Here’s what you’ll need:
- scrap wood (I used a 2×6 that’s ~18″ long)
- sander
- stain of your choice (I used dark walnut by Minwax)
- number stencils
- paint of your choice (I used Simplicity by Country Chic Paint: a chalk-based paint)
- wax or polyurethane to seal it (I used Country Chic Paint wax)
Your scrap wood can start as ugly and dirty as you want. Give it a good sanding (I used 60 grit) to remove any loose splinters and be sure to really work hard on the edges. One of the quickest ways to give wood a rustic, aged look is to sand down the edges as if they’ve been worn over time.
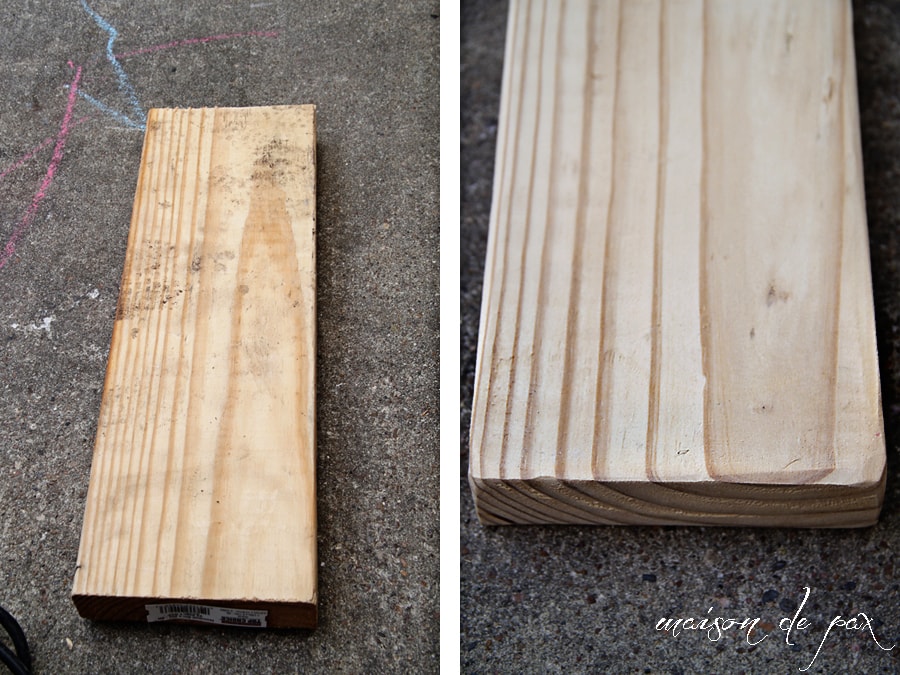
Once you’ve cleaned off the sanding dust, give it one (or two) coats of stain. I just wiped it on with a paper towel. You can see what an impact the dark stain made.
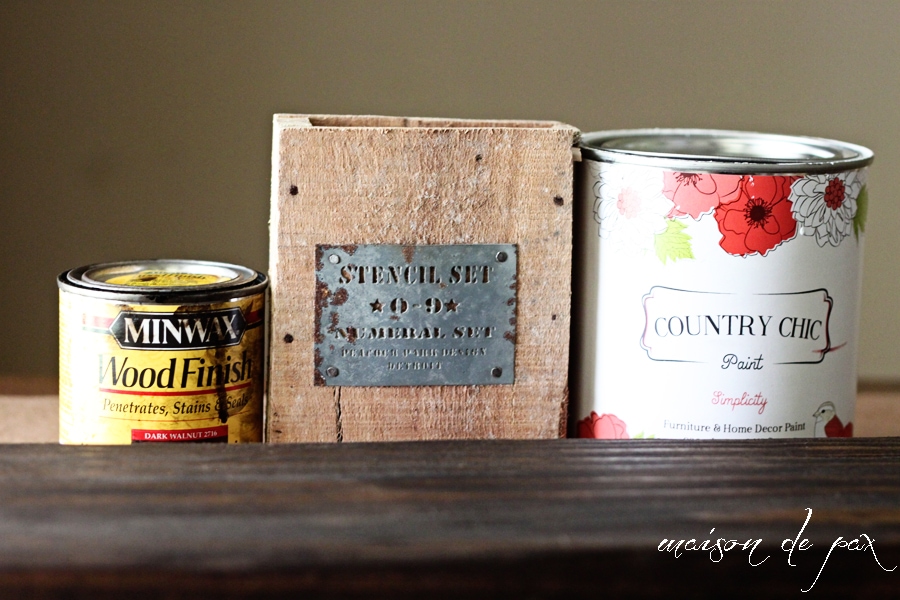
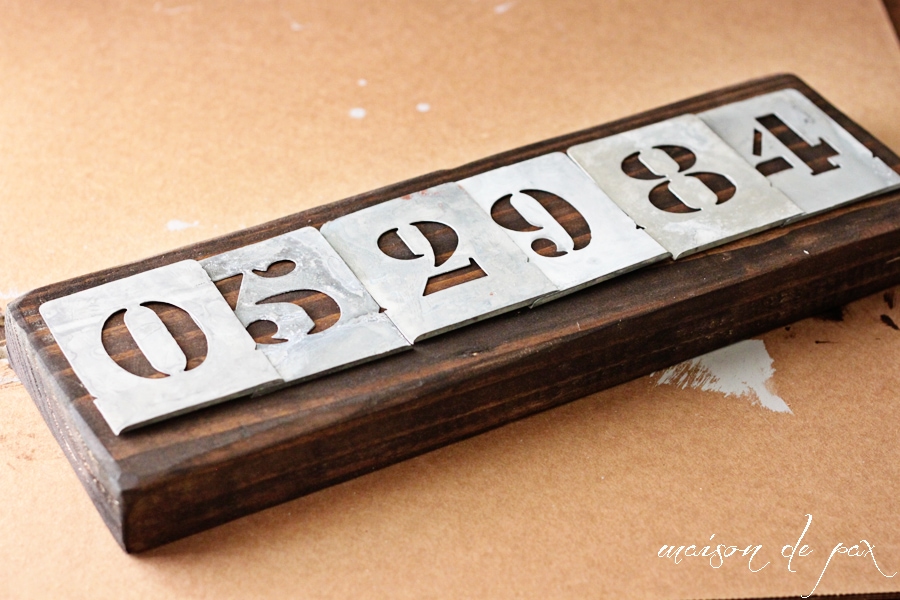
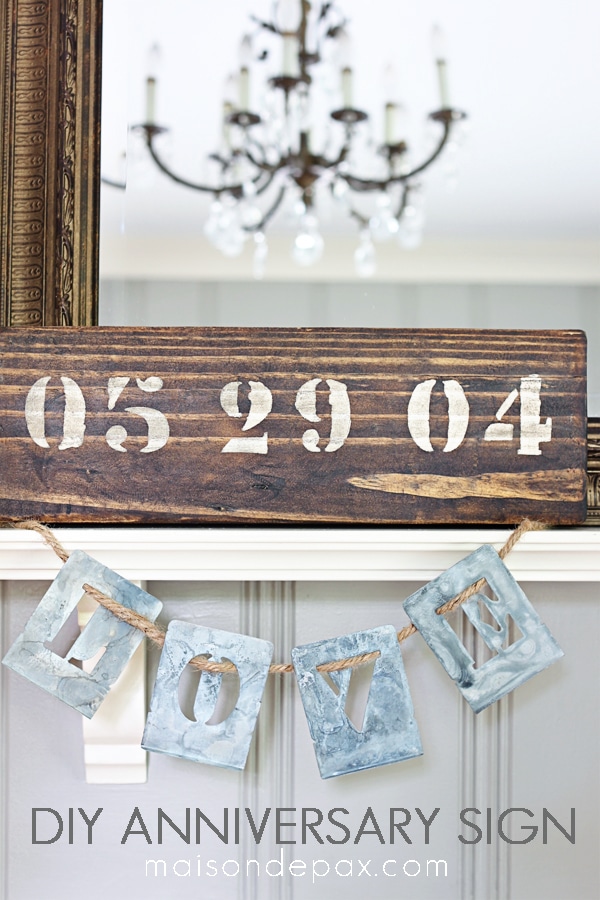
Next, lay out your stencils. I found these incredible metal number stencils through Decor Steals recently, and as you may have noticed, I have a letter set, too. They work for so many little projects! Side note: I was not married in ’84 (not actually possible, to be exact!); I just used it as a place holder since I only have one of each number.
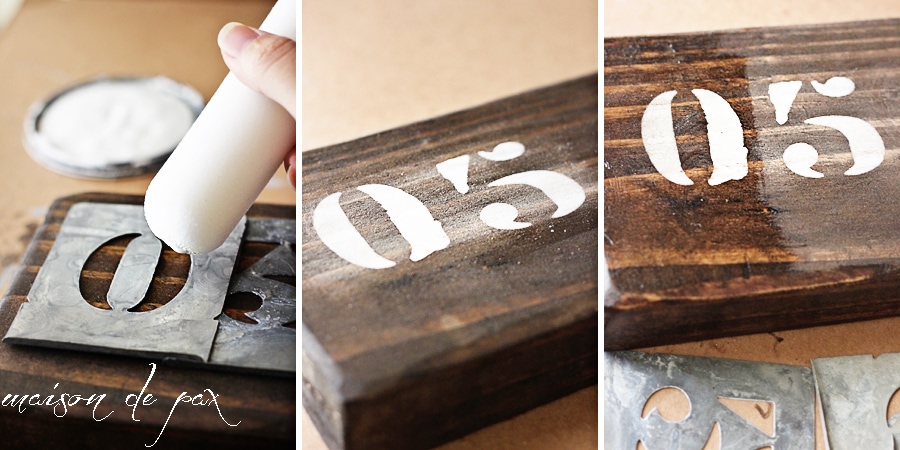
Next, using a sponge brush or (in my case because I was out of sponge brushes!) the end of a sponge roller, lightly paint your numbers. If you have awesome metal stencils like these, be sure to wash off the paint right away! After the paint has dried (which, if you use chalk-based paint like I did can be as soon as 30 minutes), sand lightly. I used 150 grit and sanded by hand. Finally, once you like the look of the distressing, clean your sign and wax or poly it for protection.
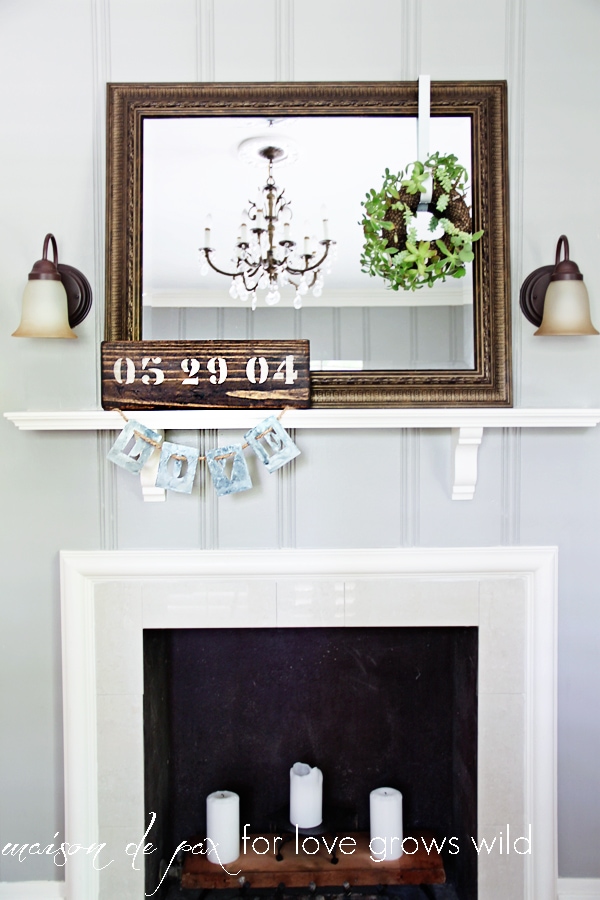
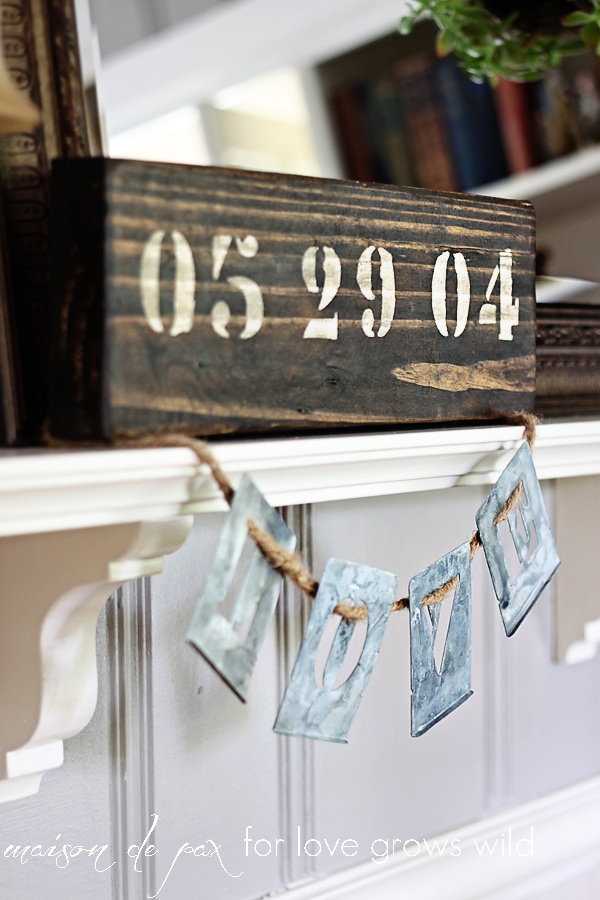
The nice thing about a 2×6 is that it will stand up on its own. It even held some twine so I could hang a sentiment beneath it. You could certainly put a sawtooth on the back, though, and hang it on a wall as part of a gallery collection or lean it against a bookshelf… so many possibilities.
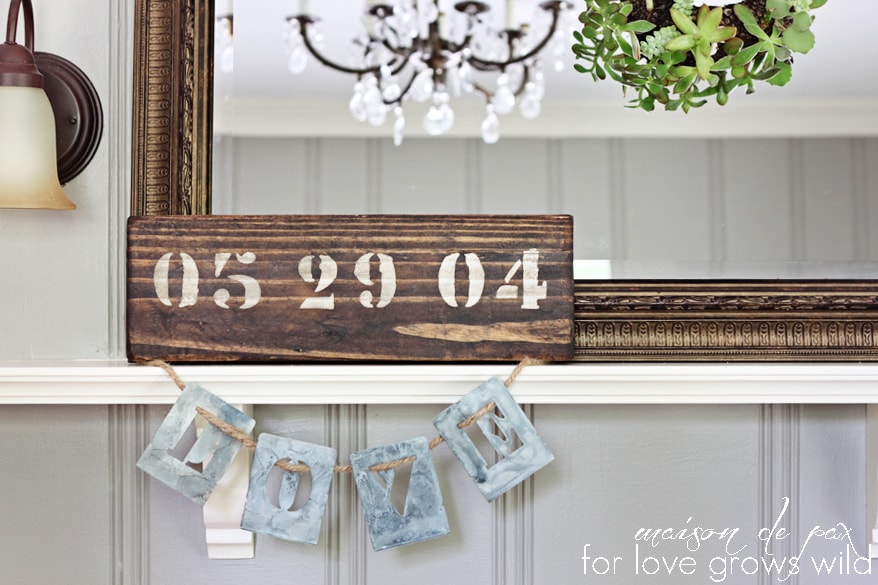
I love its rustic nature, the grain of the wood, and worn look (10 years is a long time, after all!), and the love that it celebrates.
I’m also thankful, by the way, that I can share this with you here today because my husband is my biggest fan and always reads my posts right away. He does not, however, read Love Grows Wild regularly (haha, sorry, Liz!), so I’m hoping my gift will stay a secret for nine more days. Wish me luck!
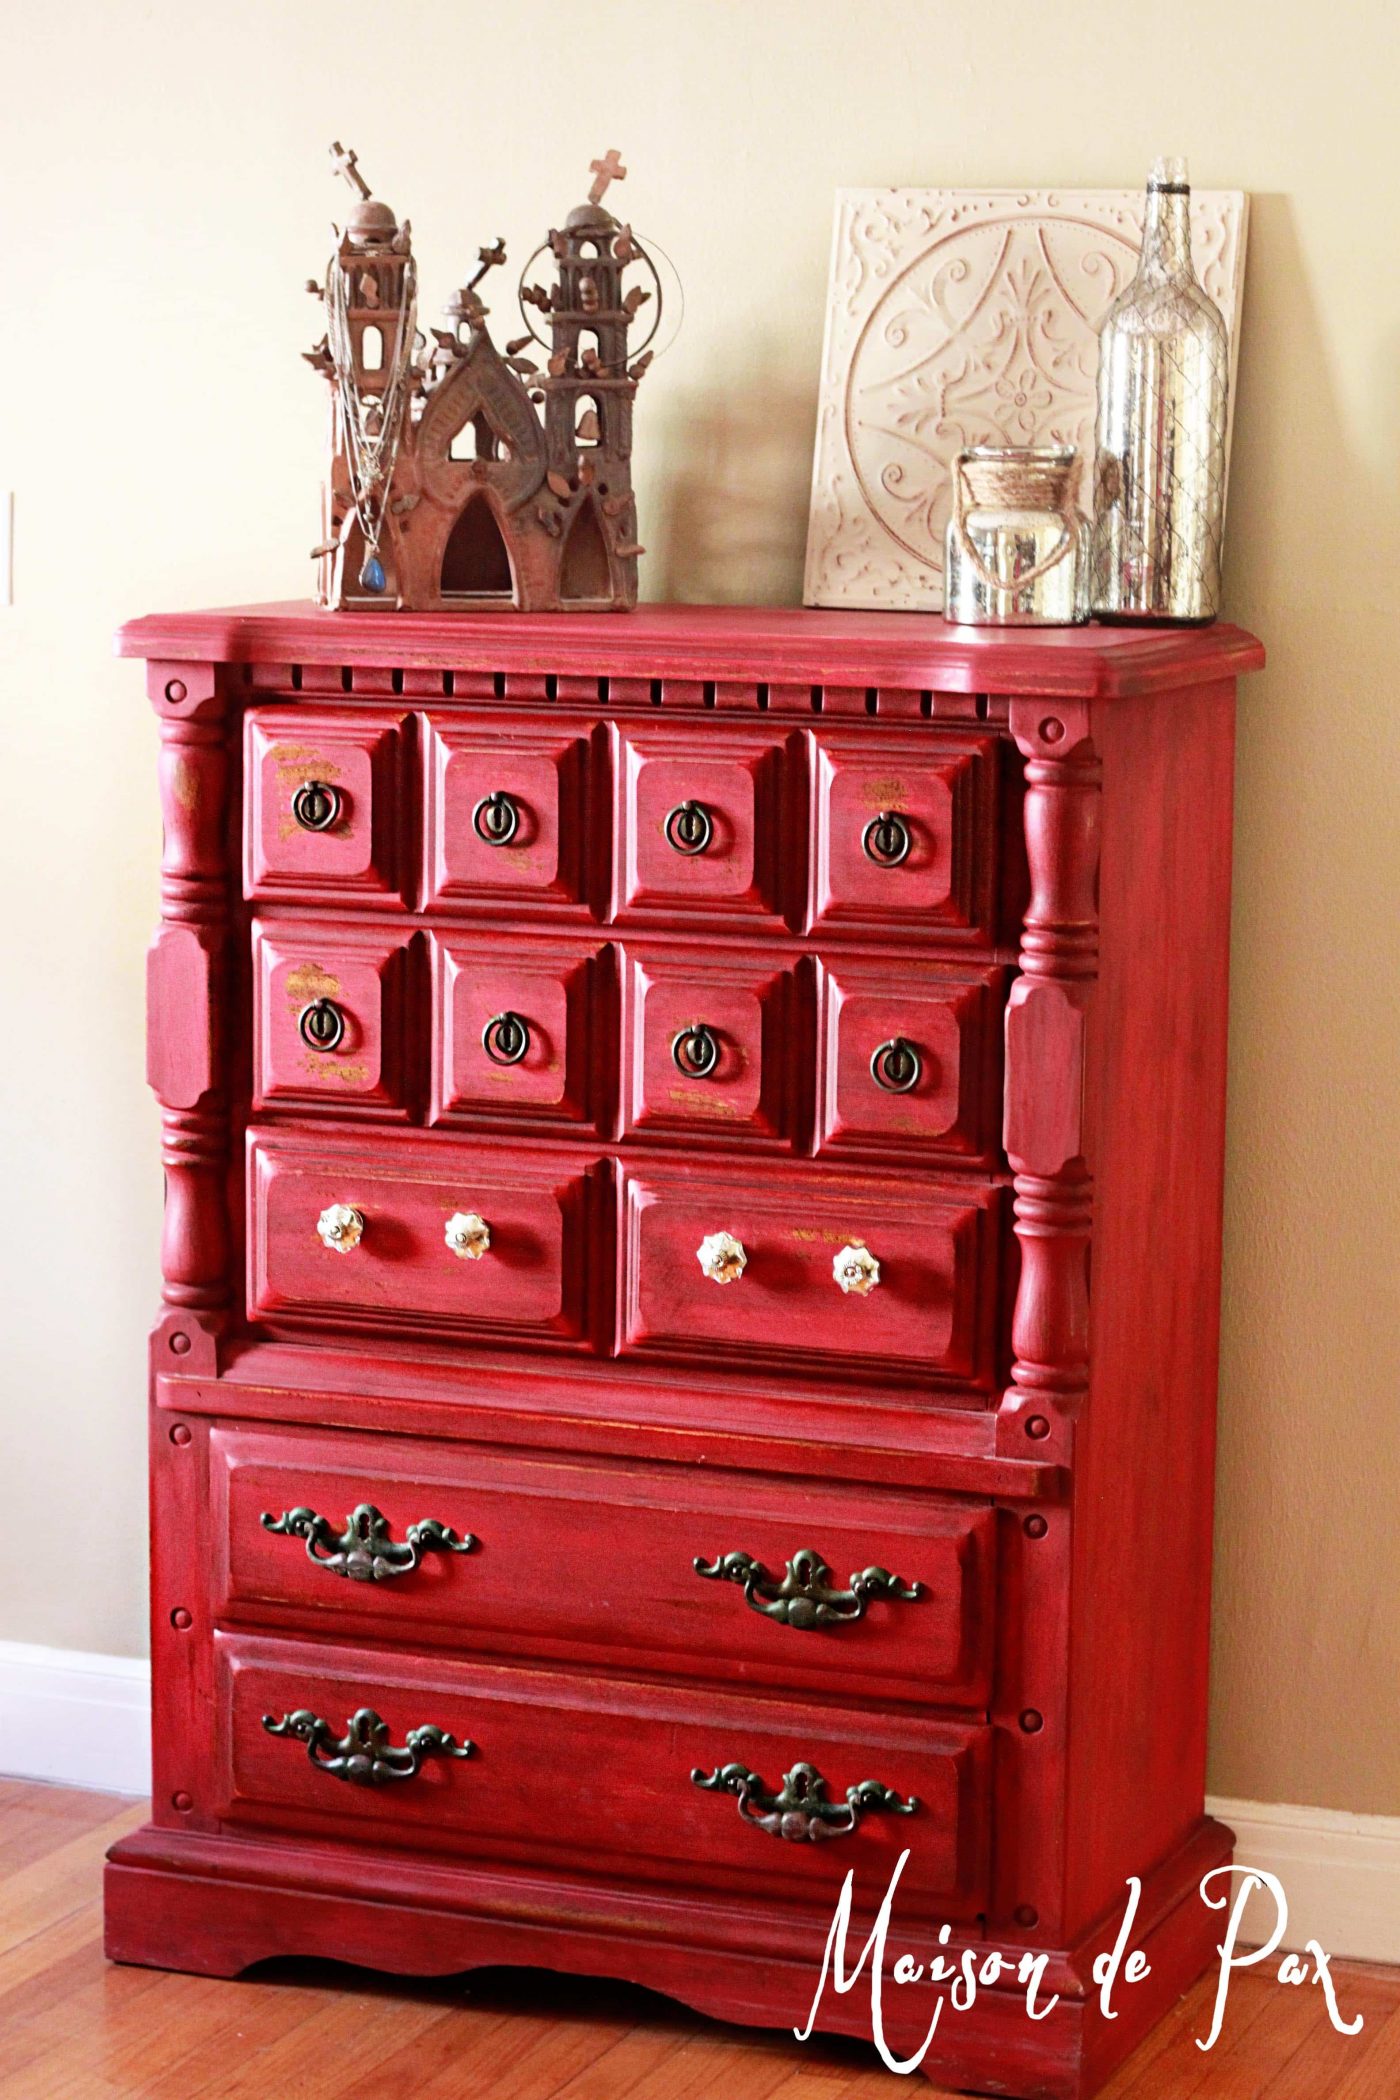
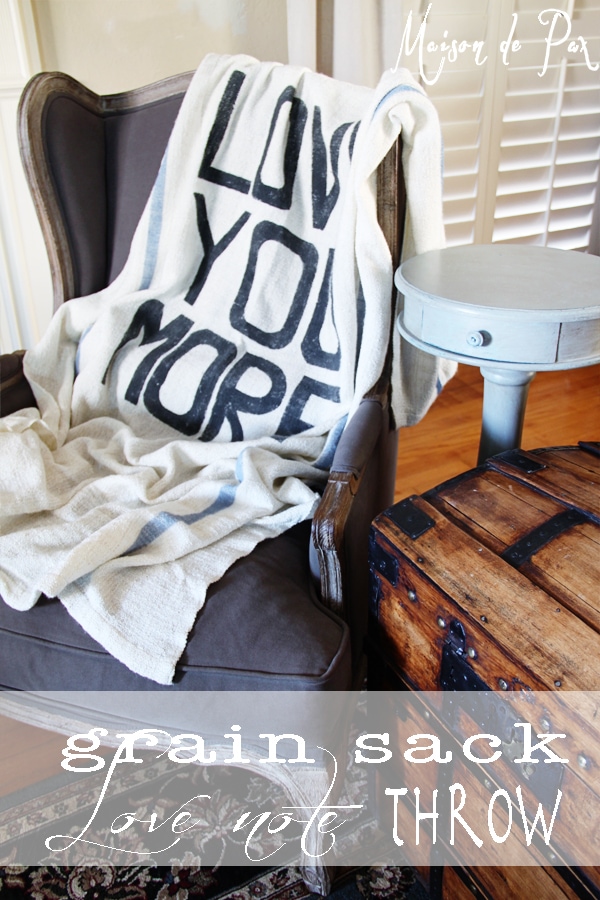
I love a good, handmade gift for people you love. Here are a couple of other things I’ve made for my man!
CONNECT WITH RACHEL:

Blog | Facebook | Twitter | Pinterest
LET’S KEEP IN TOUCH!
Subscribe to Blog | Browse my Shop | Follow on Facebook | Follow on Twitter
Follow on Google+ | Follow on Pinterest | Follow on Instagram

I love this!!!!! The years certainly fly by – what a great way to remember back.
Yes, they do! And what a great way to remind husbands of that important anniversary date. 😉
Hi! I love this sign. I’ve made a few for family but they never turn out as well as I’d like. I use regular paint brushes. So maybe I need these sponge brushed u speak of! Do u mean those cheap ones with the black sponges thing on a wooden dowel? Also, do u tape your stencils down or just hold them down? Lastly, where is that paint from? I’m in love with it’s floral design! Congratulations on your anniversary and your baby girl!
Hi Dawn! Those are exactly the sponge brushes I mean. I find they fill in a stencil better without bleeding. In this case, I did not tape the stencil; I just held it down, but with stencils with more parts, I probably would tape it down. And the paint is Country Chic Paint – a chalk-based paint that I have so enjoyed working with lately. You can find more of my Country Chic Paint projects here. Hope this helps!
Rachel @ Maison de Pax
That is precious! And it does look so simple. Thanks for sharing!
Baby #3. How exciting! Praying that all is well! Blessings to your growing family Liz!
You’re so welcome, Melanie! My fabulous contributor, Rachel, did a great job! She’s due to deliver any day now! 🙂
I’m sorry. I must have read it incorrectly! Either way I still love this. And Congrats to Rachel!
And Liz, your blog is awesome!
No worries, Melanie!! We love having you here, too! 🙂
Liz, a baby girl… how exciting! I’ll only get to know how that is when the next generation rolls around. I’m loving this simply and classy project from Rachel!
Isn’t this sign just gorgeous? Those stenciled letters are stunning! I always love Rachel’s style.
This is absolutely beautiful! I might have to buy some of those stencils and make some of these for myself. The possibilities are endless.
Thank you for sharing!
Stencils come in handy for SO many projects! I think you’ll love them! Thanks for stopping by, Alex!
xoxo Liz
Stopping by from Get Schooled Saturday link party. I love anything personalized. This would be a great gift for an anniversary or wedding. Adore the rustic feel. Thanks for sharing!
So glad you stopped by, Melinda! This would be a beautiful wedding gift!
I don’t know how I missed this, but we have the same anniversary! congrats on 10 years 🙂 it has definitely flown by.
So cool!!