
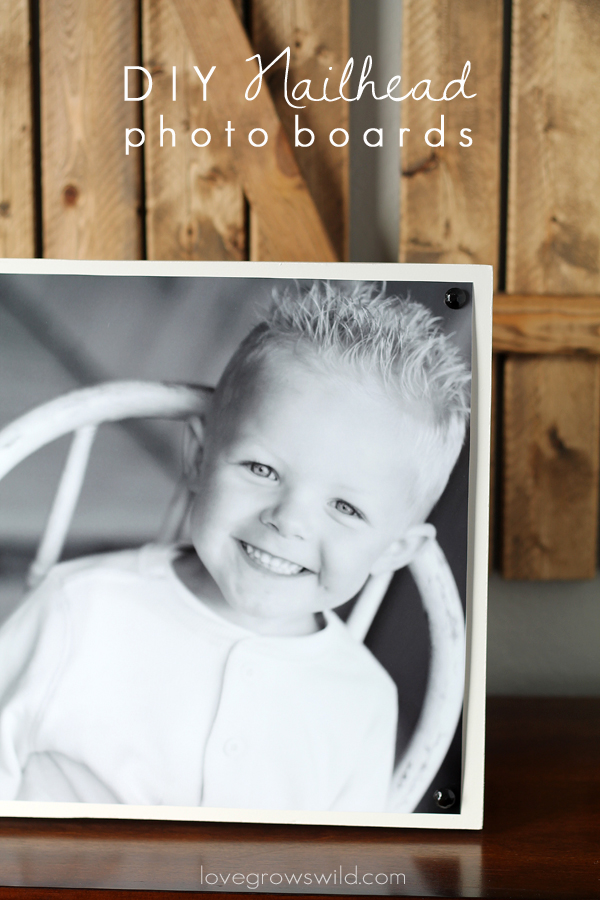
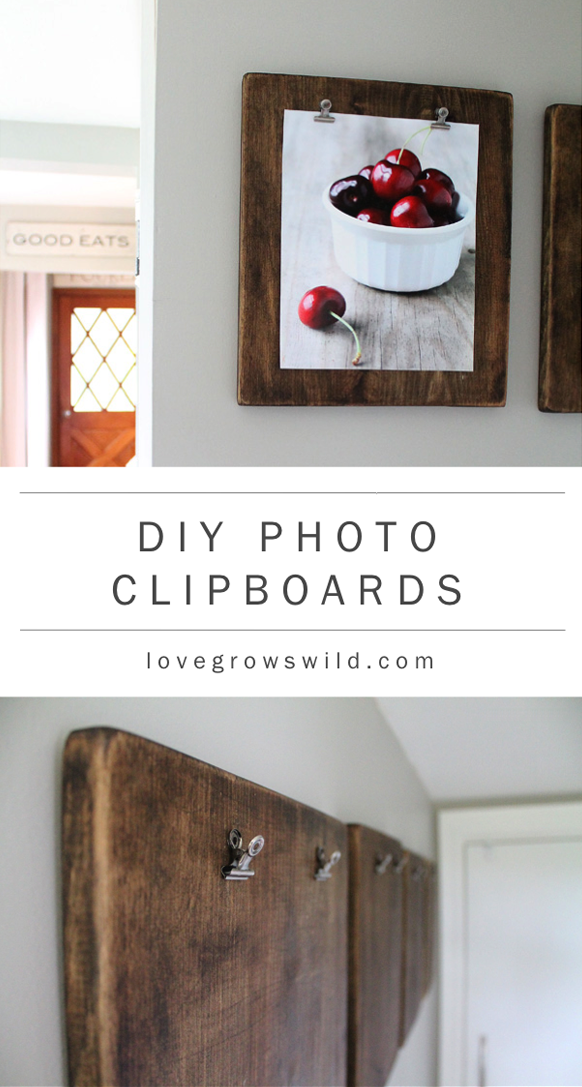
Create these beautiful Nailhead Photo Boards to display your favorite family pictures! The nail heads add lovely interest to the photo boards and leave no need for gluing your precious photos!

Let’s play a little game, shall we?
Raise your hand if you’ve ever taken family photos and never got any of them printed. What about your wedding photos… Are they hanging on the wall or in a box stuffed in the closet?
Yeah, I’m totally guilty of this! We starting renovating a house here in Indiana shortly after we got married, so I wanted to wait until we moved to do anything with the pictures. A year and a half later, and I’m just now getting around to this project! Better late than never, right?
There are so many ways to create photo boards, but this is by far my favorite. A lot of tutorials have you glue the photo onto the board and paint Mod Podge over the top to seal it in place. That method works great, but using Mod Podge can sometimes be a huge, sticky mess, especially if you’re working with a large project like this one. I didn’t want to risk messing up these beautiful 11 x 14 prints with uneven Mod Podge lines! With this method you attach the photo to the board using thumbtacks or upholstery nails. Easy, cheap, and very pretty!
Supplies:
MDF
jigsaw
wood glue
paintable caulk
paint
thumbtacks or upholstery nails
photos
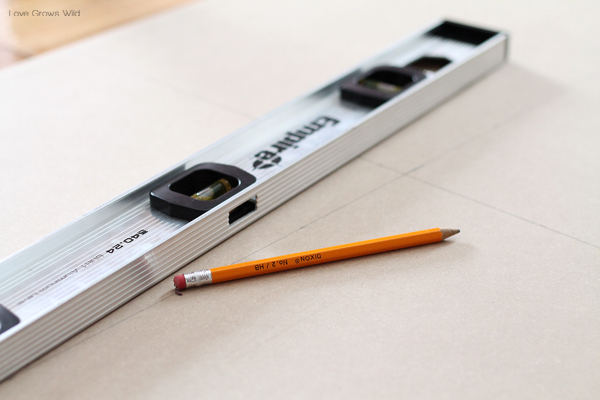
I wanted nice, big 11 x 14 prints of my cute boys for this project, so I chose to use MDF. I found a 1/2″ 2′ x 4′ MDF panel at Menard’s for $8.27, which I could make several photo boards from. I measured 11 1/2″ x 14 1/2″ rectangles on the MDF with a tape measure and pencil, and cut them out with a jigsaw.
* If you’re using a different size of photo, just add 1/2″ to the length and width of your photo size for the board measurements. This will leave a small border around your photo that looks really nice.
I wanted a nice, thick photo board, so I glued two pieces of MDF together with wood glue. You can certainly use just one for a thinner photo board, or go ahead and use two like I did. Whatever floats your boat!
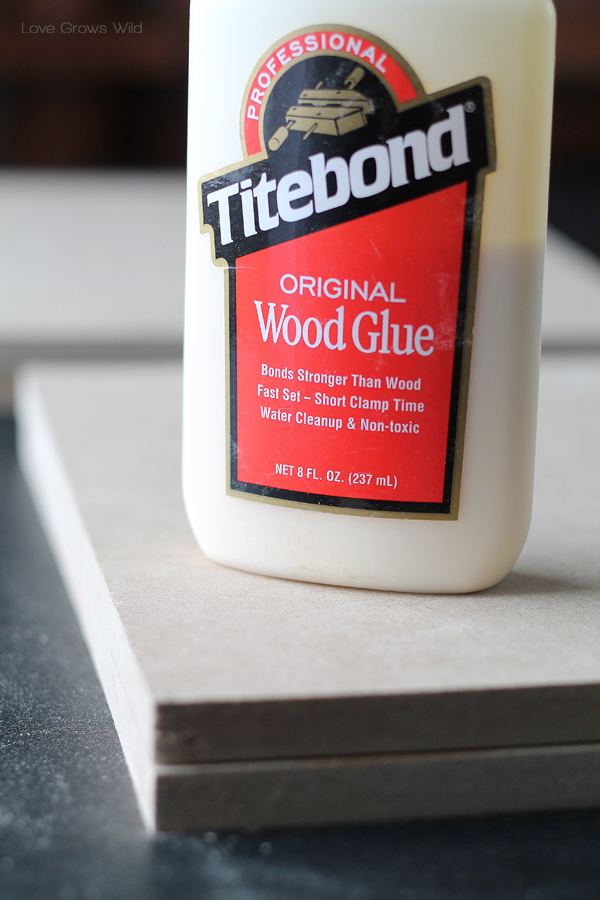
* Clamps are a great thing to have during times like this! I didn’t have any, so I just weighted down the glued pieces with stacks of books. I didn’t get as tight of a seal between the boards without using clamps, so I chose to caulk the gap to make it look like one seamless board. I’m not the best caulker in the world, as evident by the next photo, but it did the job! No one will really be looking at the sides anyway. 🙂
After the glue and caulk were totally dry, I painted the board in my favorite heirloom white paint (which I’ve used a million times for projects such a this, this, and this) using a foam brush.

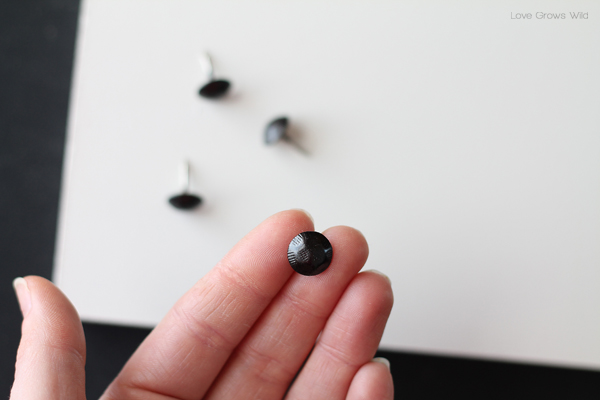
So that’s the basics of creating the photo boards! Now for the fun finishing touches: I picked up some upholstery nails from the hardware store for just over a dollar, but I wasn’t crazy about the bright silver finish. I wanted a darker nailhead, like my inspiration from the Shanty 2 Chic girls.
Want to know the easiest way to paint small hardware like this? Stick them in foam blocks, and you can spray paint them all the way around without having to flip or turn them over! I love this trick.
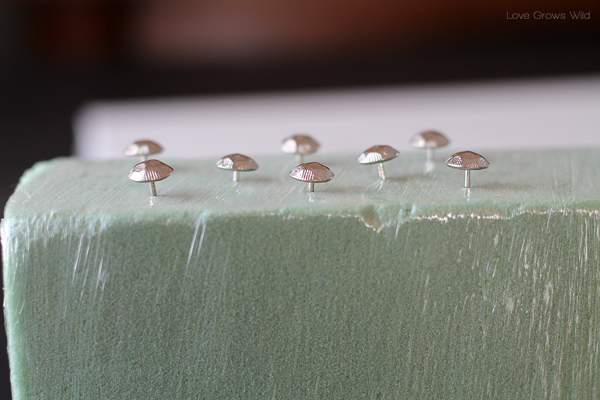
I sprayed the nail heads with a gorgeous oil-rubbed bronze paint, which I’ve been in love with ever since making my mason jar soap dispensers. It’s a beautiful metallic that goes well with just about anything.
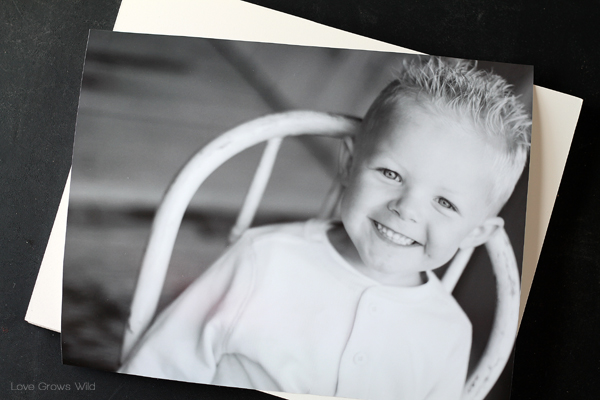
I got these 11 x14 prints from Walgreens for about $11 each. I could seriously just kiss those cheeks for days.
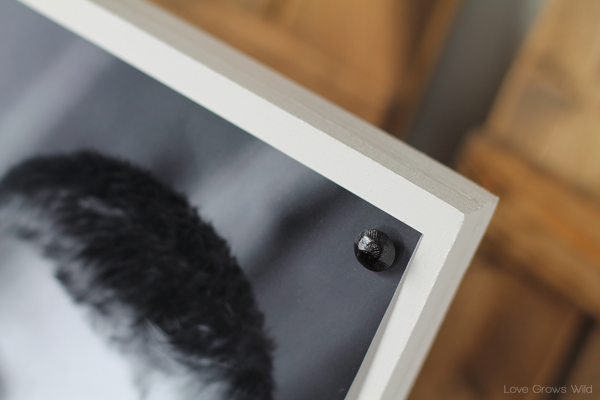
Okay, final step! I centered the photo on my board, and gently hammered the nails into each corner to secure the photo. A tiny bit of the paint did come off when I hammered the nails, but I just touched it up when I was all done. I sprayed a little bit of the spray paint onto a paper plate and used a small paint brush to carefully dab the paint on the nail heads.
And here’s the finished product!
Can you tell this little guy is a total devil? He’s going to give his Momma a run for her money and break a few hearts in his lifetime, I’m sure…
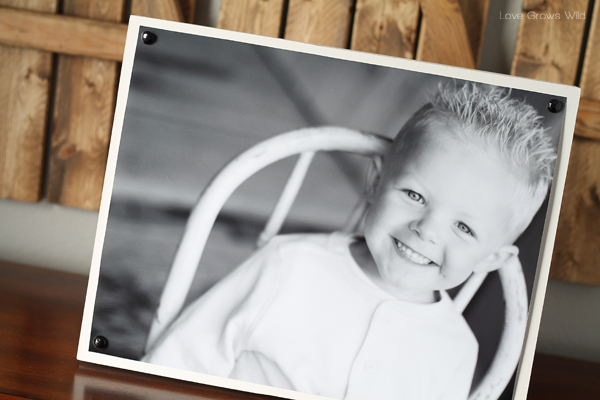
This was a super simple project and looks much more original than a typical picture frame hanging on a wall. I can’t wait to get some shelves up in my living room to put these on! I paid for the MDF, upholstery nails, and photos, and everything else I had on hand. My total was about $15 per board INCLUDING the photo! Not too shabby at all, considering you’ll pay $30-$60+ for someone else to do one in this size!
Here’s my other cutie that I cannot believe is already 8 years old. This picture perfectly captures his sweet, loving, generous nature. I could just eat him up!

So get those old photos out of the closet and put them out on display! All the cool kids are doing it. 😉
P.S. If you want to see more of my silly, cute family and behind-the-scenes of Love Grows Wild, check me out on Instagram! It’s my favorite way to connect with readers and share snippets of my crazy, beautiful life!
More DIY projects from Love Grows Wild:
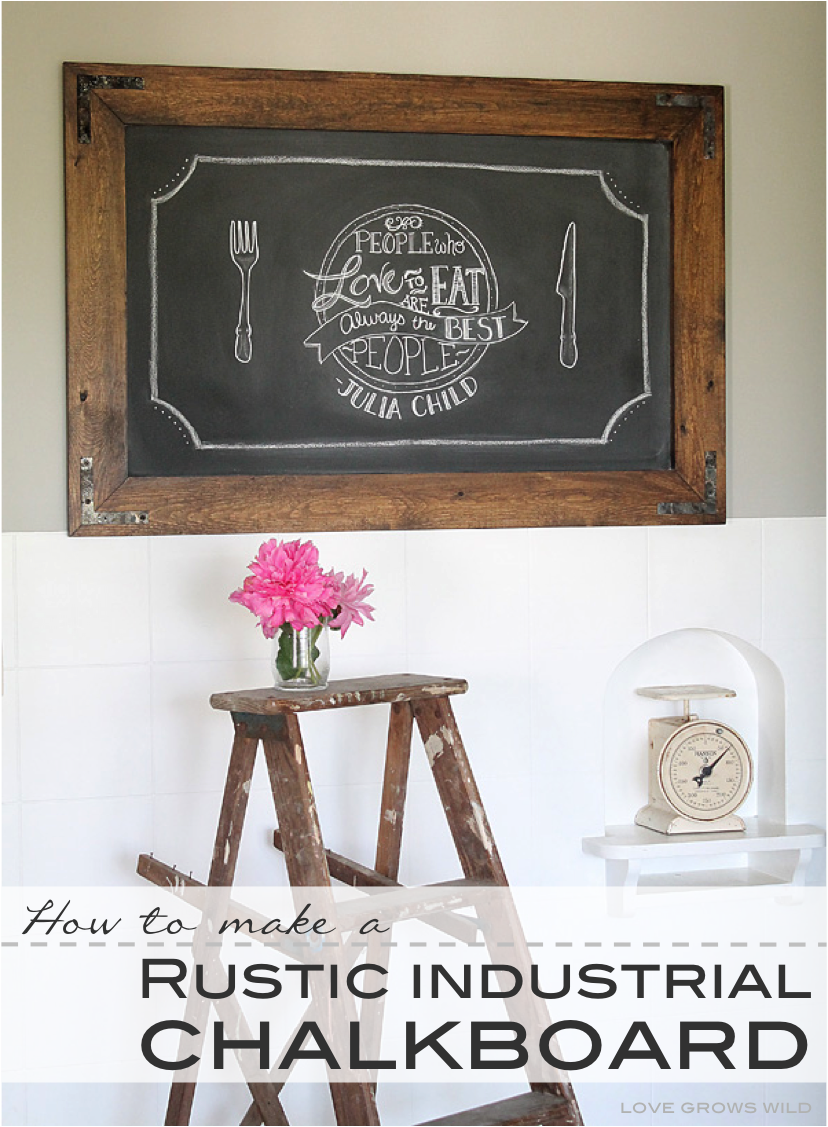
DIY Rustic Industrial Chalkboard

I love this idea! I never seem to be able to find picture frames that I like or if I do find one that I like they are ridiculously expensive. What a great and unique option 🙂
Happy Blogging!
Happy Valley Chow
I know what you mean. Frames can be so expensive, especially in the larger sizes! I’m so glad you enjoy this little project!
Liz, you seriously are an awesome DIY’er! God has definitely given you some amazing creativity! Love this idea. I have been thinking of redoing our “family photo” wall and this might just be it. Plus my husband owns a wood shop… win!!! 🙂
Pinning for a hubbie project later.. hehe.
I just love you, Krista! And I think I would die and go to Heaven if my husband owned a wood shop! Have fun re-doing you photo wall!
awww. your too sweet. Not to be creepy McCreeperson, but if you lived near me I would totally let you use me for my husbands woodshop. But, you would have to compensate me with DIY projects. hehe. 🙂
I’m seriously cracking up right now with your creepy McCreeperson!! I would totally trade shop time for projects! 🙂
done. 🙂
So adorable. I love all your ideas… I think I might have to take a trip to the hardware store. Thanks for sharing!
My week wouldn’t be complete without a trip to the hardware store for supplies! Lol Thanks so much for stopping by, Jessica. I’m so glad you enjoy my projects!
Love this unique way to showcase photos!! Thanks for sharing the great idea.
Thank you so much, Jeanne! Glad you stopped by to check them out!
Beautiful. Love this idea. Will share it with our readers. Thanks & superb!
I love all your wonderful ideas:) Your boys are sweet:) Now I have sweet grandchildren to do pictures like that of. How fun! Thank you for all the neat ideas:)
You’re so welcome, Jean! This is a great way to display those sweet grandchildren of yours!
I love your projects!!! And of course, the white paint – which I see you mentioned in another post is Heirloom Lace…. Is Heirloom the company? Curious….having trouble locating it. Thanks!
Thank you, Tricia!! I believe Heirloom Lace is actually by Olympic. I hope this helps!