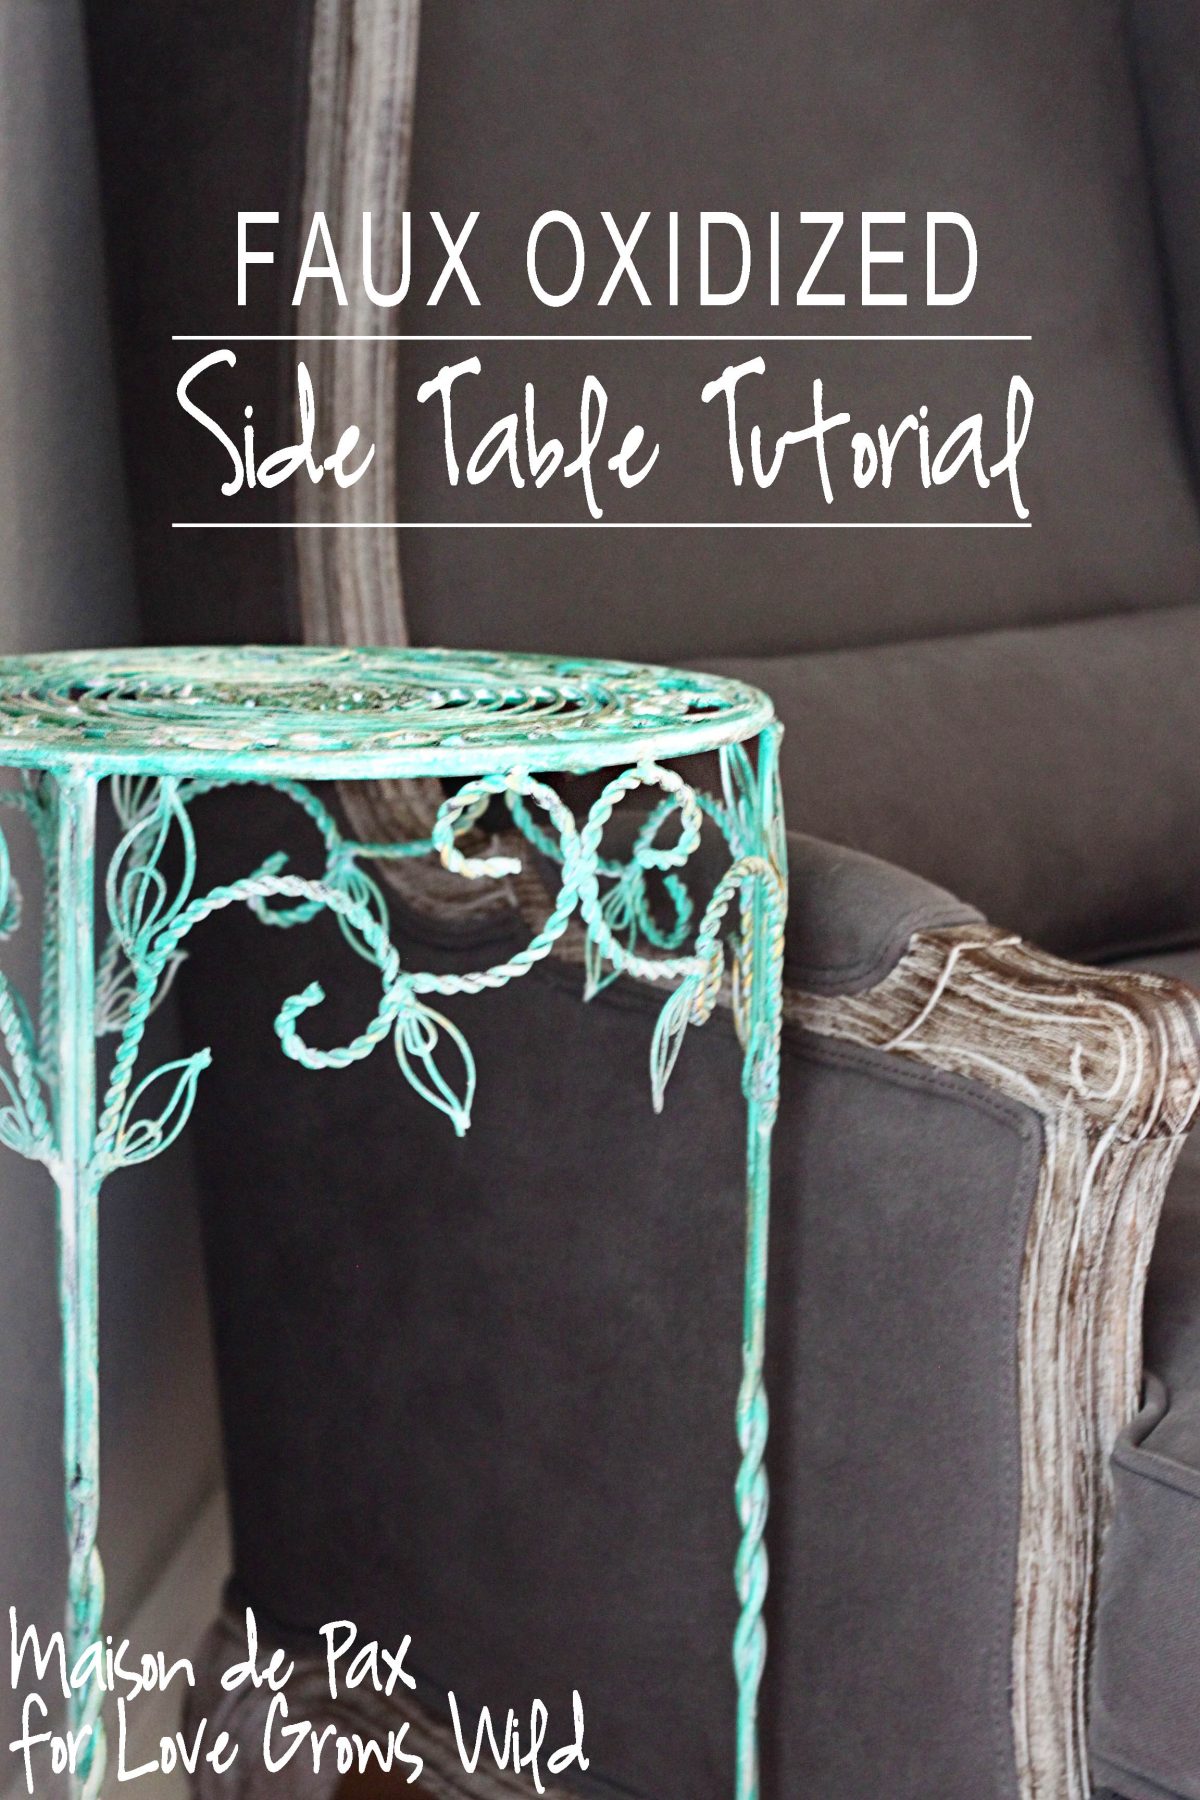
Hi folks! Today I get to introduce another fabulous addition to the Love Grows Wild contributor team, and I know you’re going to love her as much as I do! Rachel from Maison de Pax instantly caught my attention when I stumbled across some of her tutorials on Pinterest. She is such a talented DIY decorator and has incredible taste, and I’m so excited that she’ll be here once a month to inspire us! Please give a warm welcome to Rachel as she shows us her gorgeous project!
Hello, Love Grows Wild readers! I am so excited to be a part of this contribution team; Liz is so talented, and I’m thrilled to get to share with her wonderful readers some projects from our home. Today, I wanted to share a project that I love because it was a fun and easy creative outlet that only cost $3! Win-win in my book. 🙂
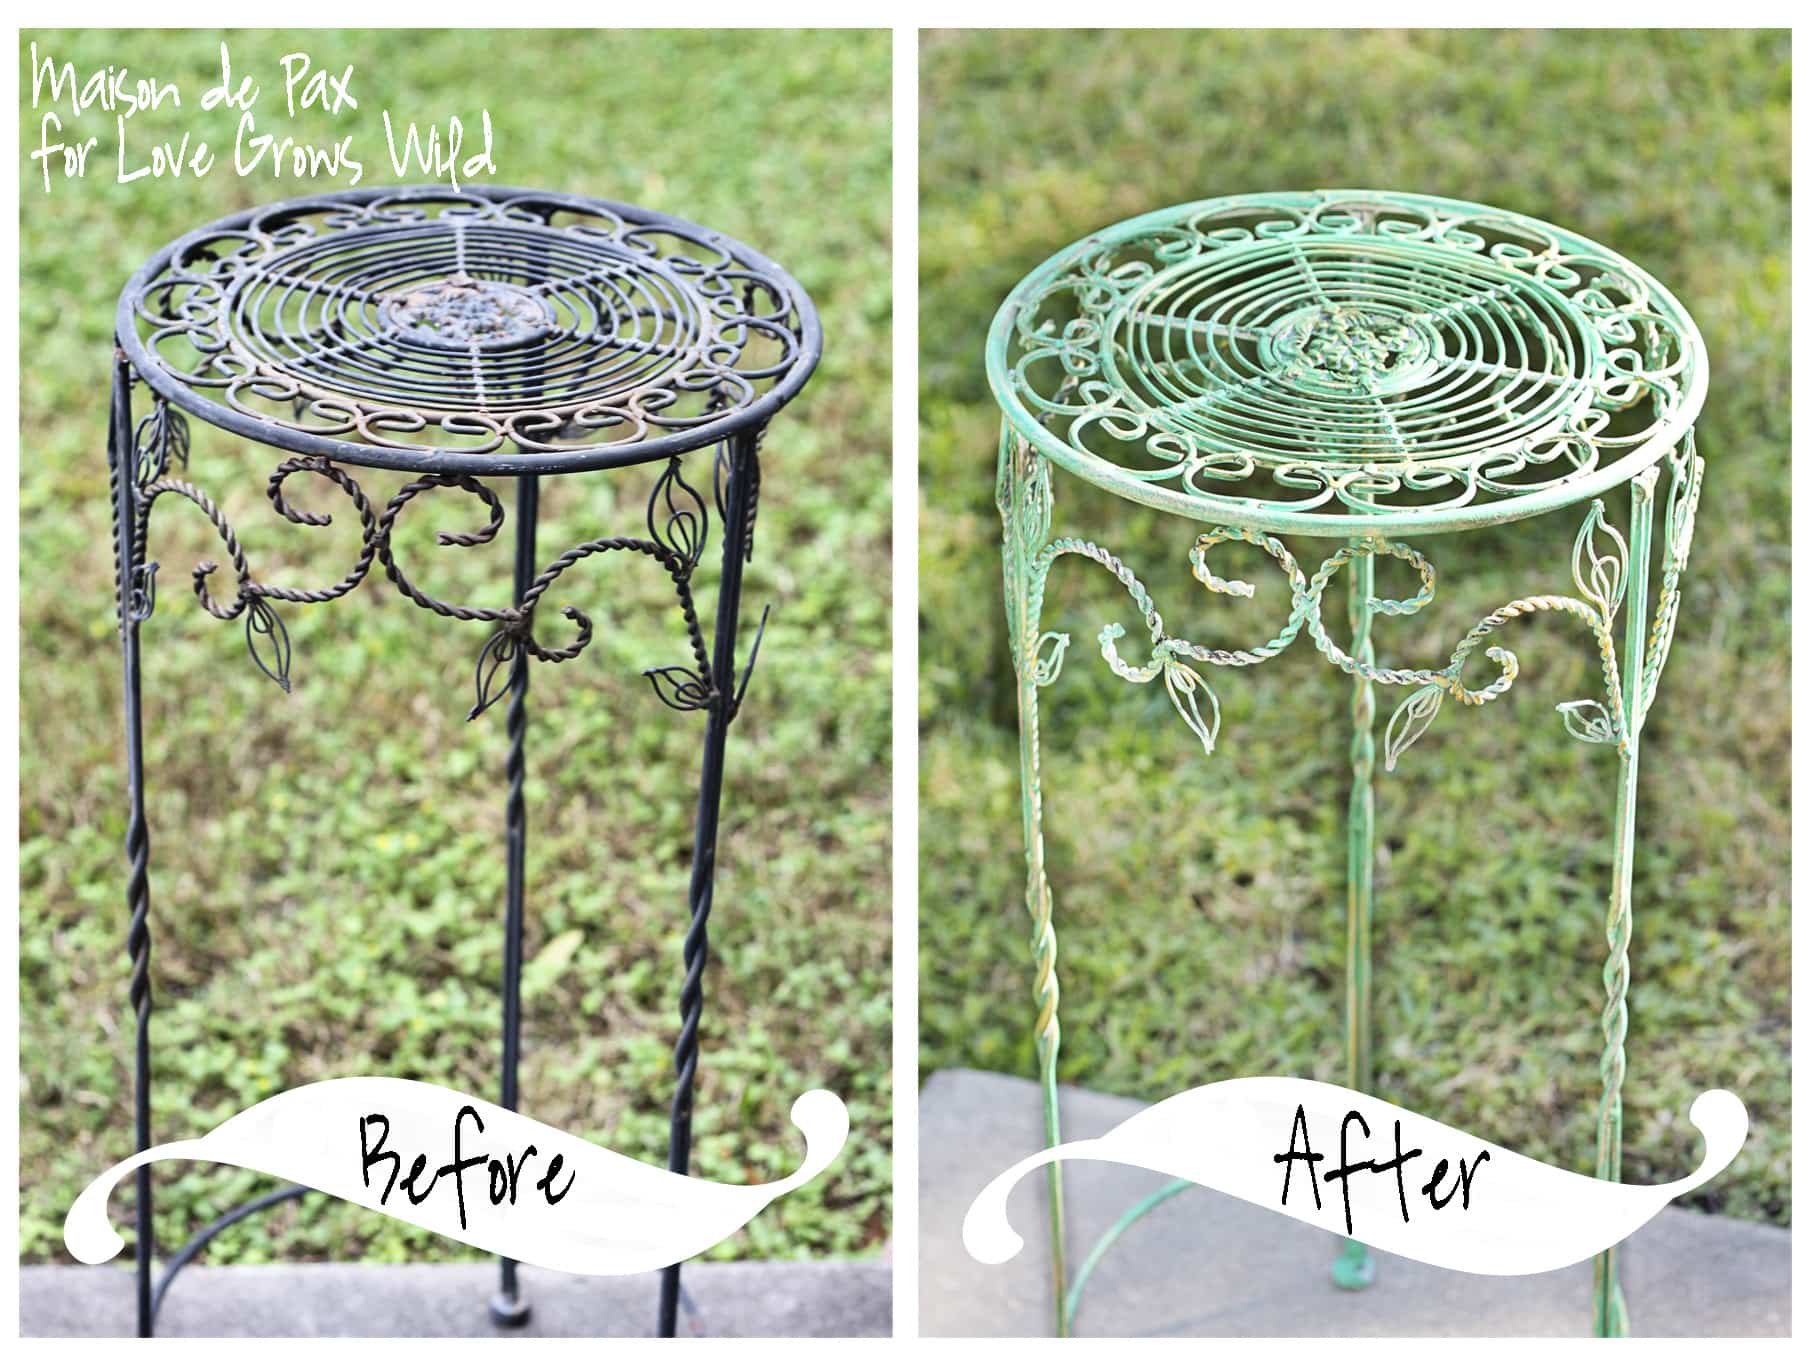
I started with an old, cheap flower pot stand that we’ve had for years (and we probably only spent $5 or so originally). It was a little rusted, but the size and shape was just what I needed. Here’s the transformation:
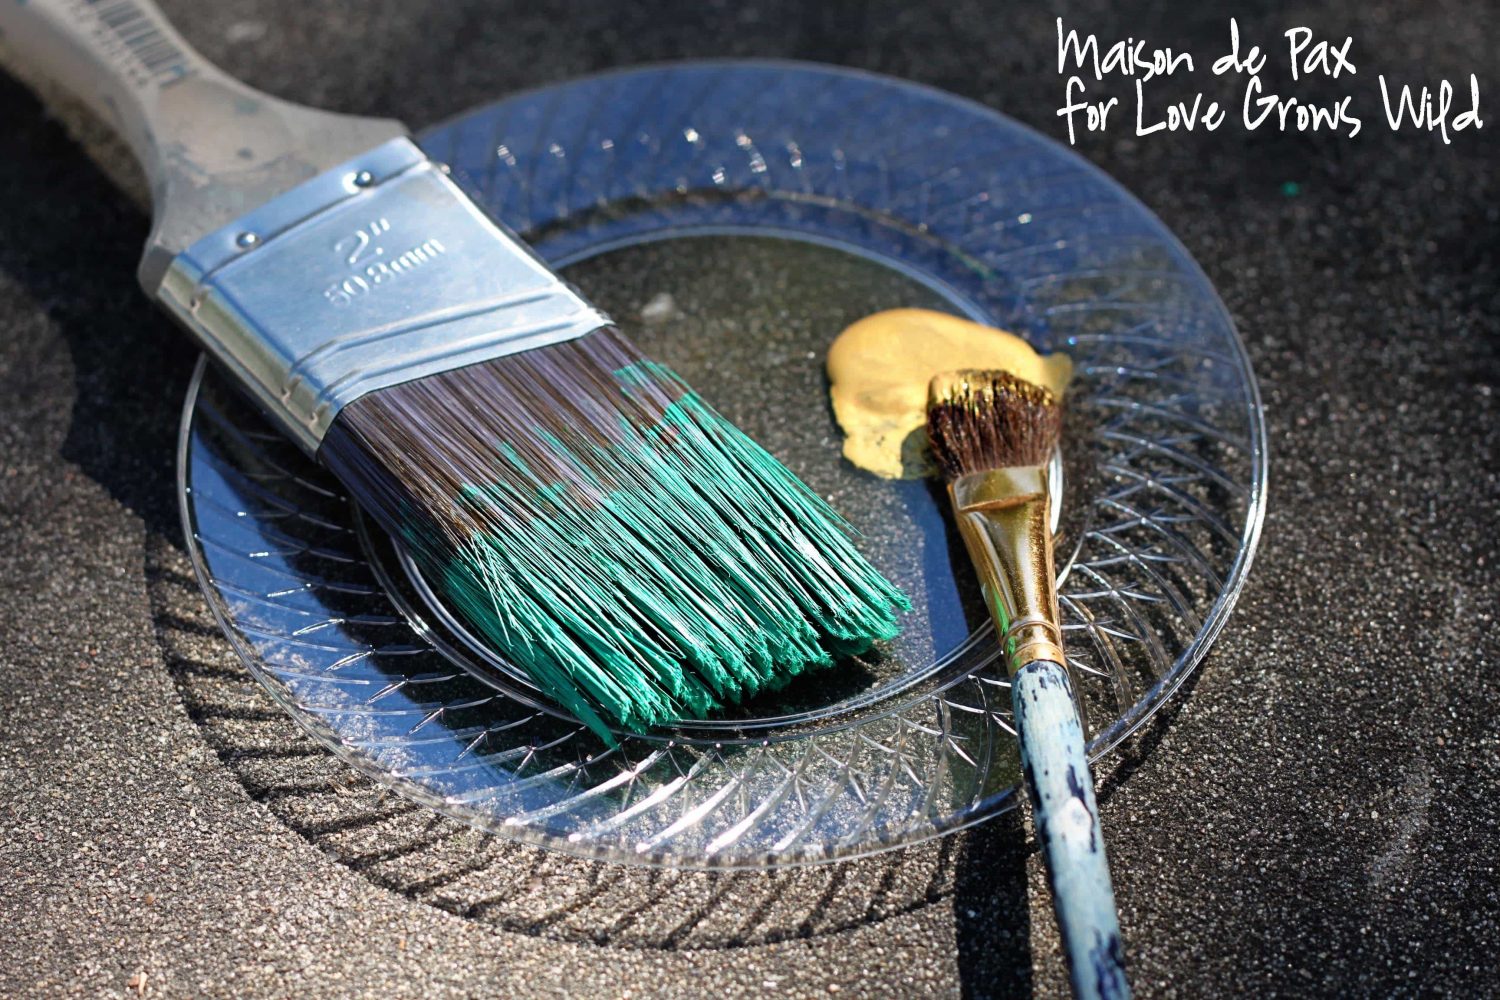
And here are the supplies I used:
old plant stand
metal primer spray paint
funky green latex (that looked like oxidized copper color to me)
gold craft paint
dark wax
off-white latex or chalk paint
metal primer spray paint
funky green latex (that looked like oxidized copper color to me)
gold craft paint
dark wax
off-white latex or chalk paint
I already had everything except the green paint (which I probably could have mixed up myself using things I already had… but when I spotted this sample for $3 at Lowe’s, it just seemed too easy!).
To achieve this look:
1. Spray the stand with metal primer (you might not need it, but I thought it would be good to cover up the rust)
2. Dry brush on the green (keep the coverage fairly light)
3. Hit a few highlights with the gold (just wherever it strikes your fancy)
4. Cover the entire thing in dark wax, rubbing into the paint to give it the worn effect
2. Dry brush on the green (keep the coverage fairly light)
3. Hit a few highlights with the gold (just wherever it strikes your fancy)
4. Cover the entire thing in dark wax, rubbing into the paint to give it the worn effect
At this point, you might be done! I really liked the finished product while I was outside, and I probably would have left it just so if I were leaving the table on the porch. Once I brought it in, though, it seemed a little too vibrant against my other furniture, so I gave it a light wash with the off-white paint. If you’re not familiar with a “wash,” simply dip your paintbrush in a cup of water before you dip it in the paint; it will water down your paint to a nice, thin consistency.
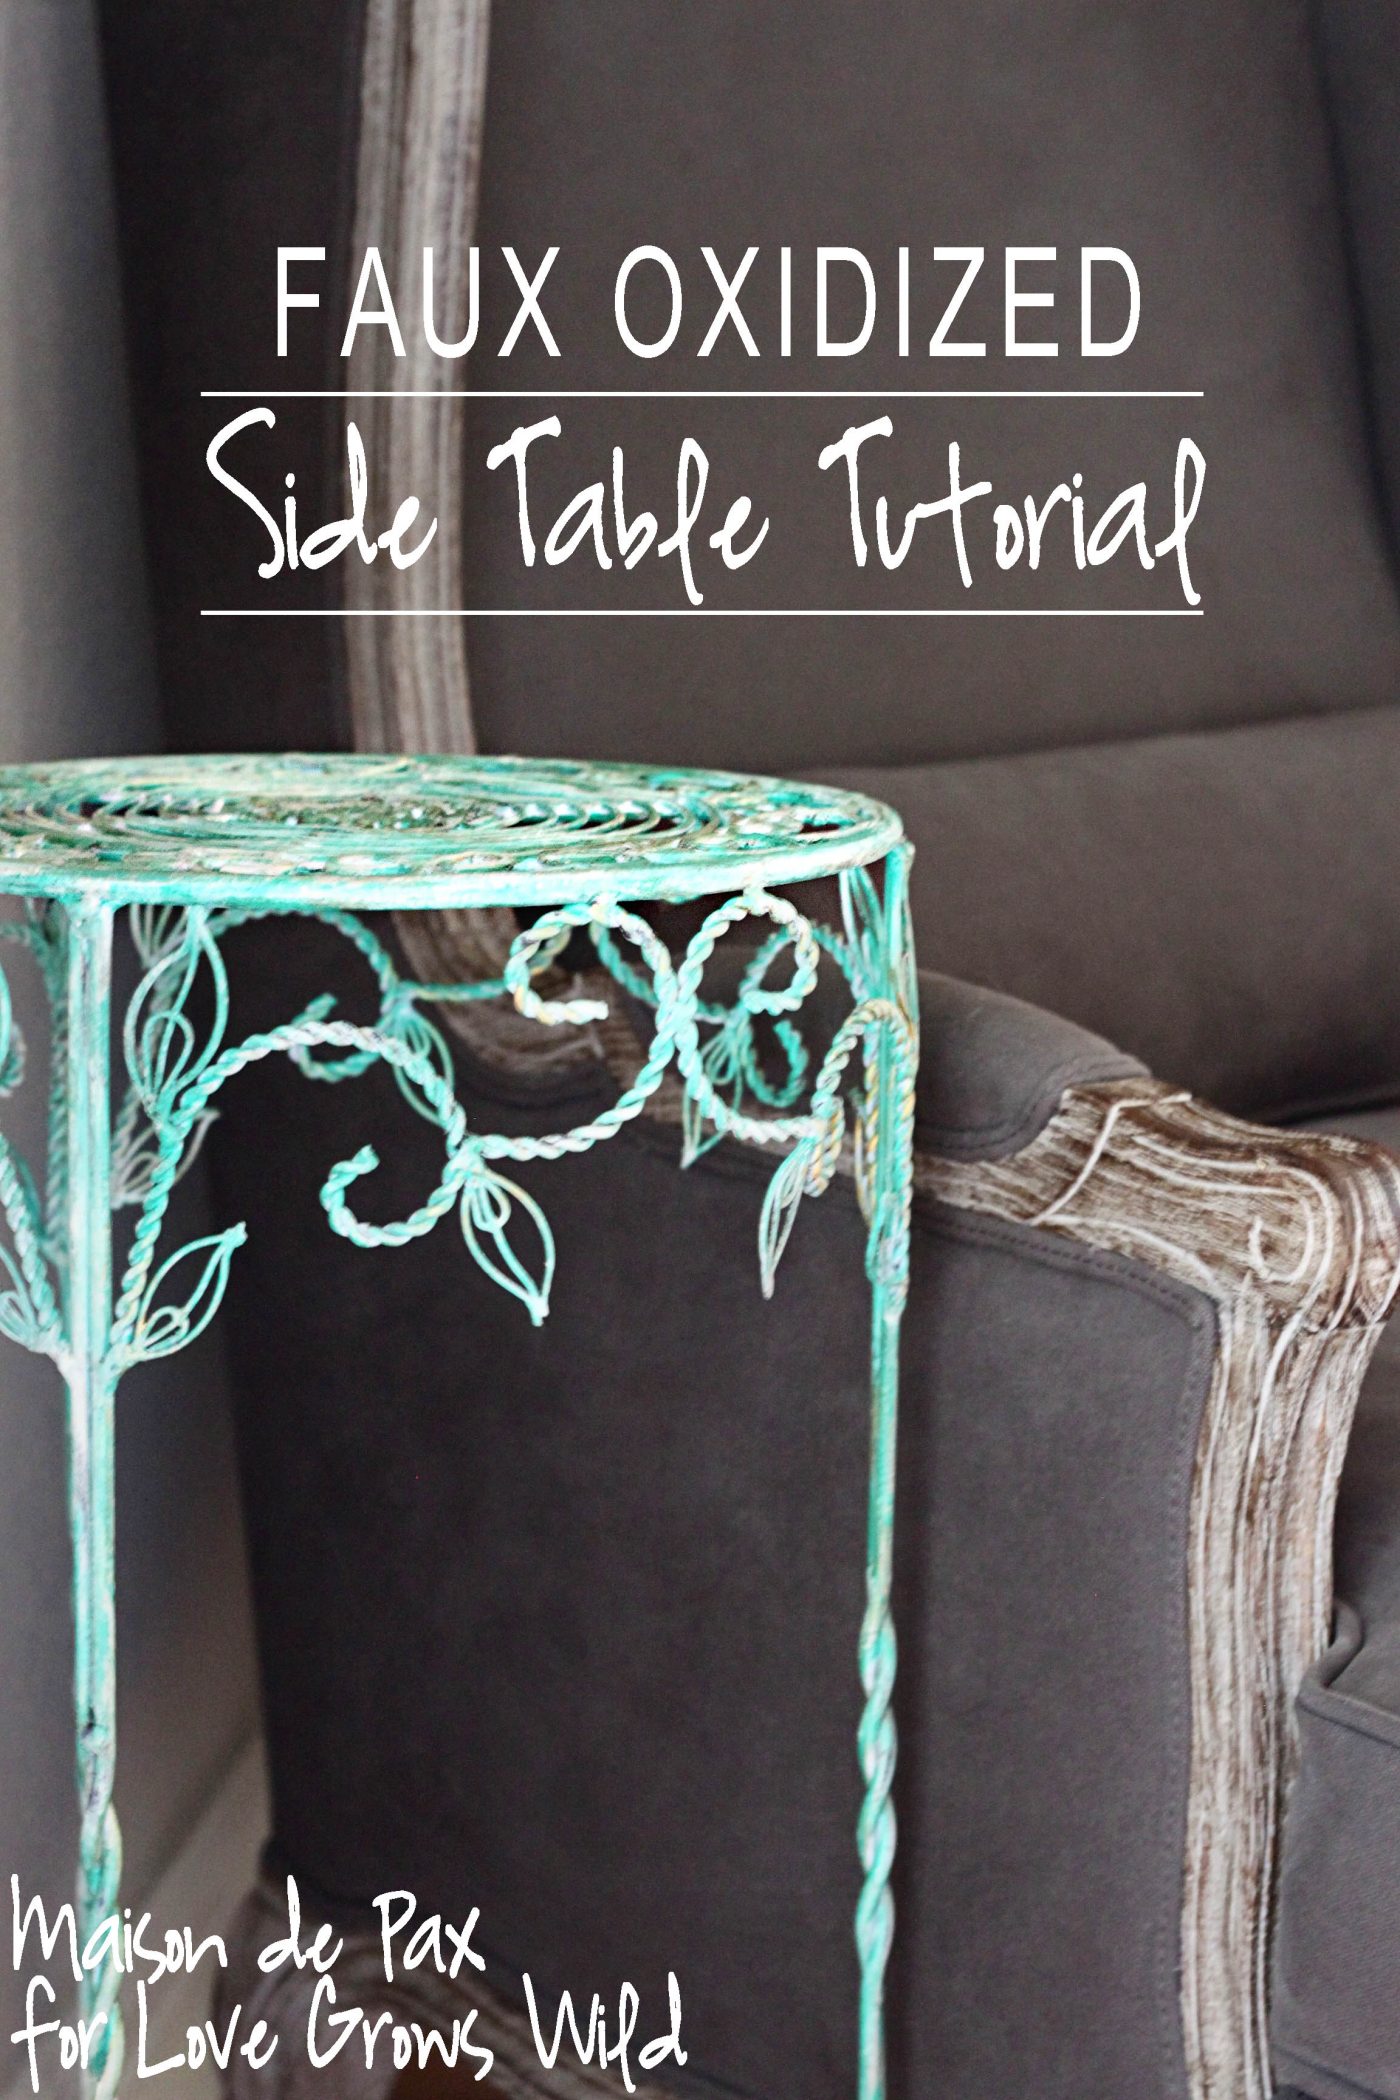
I love the final result! It’s a perfect little side table: small enough to fit into any nook or cranny… but large enough for a book and a cup of coffee. Just my style.


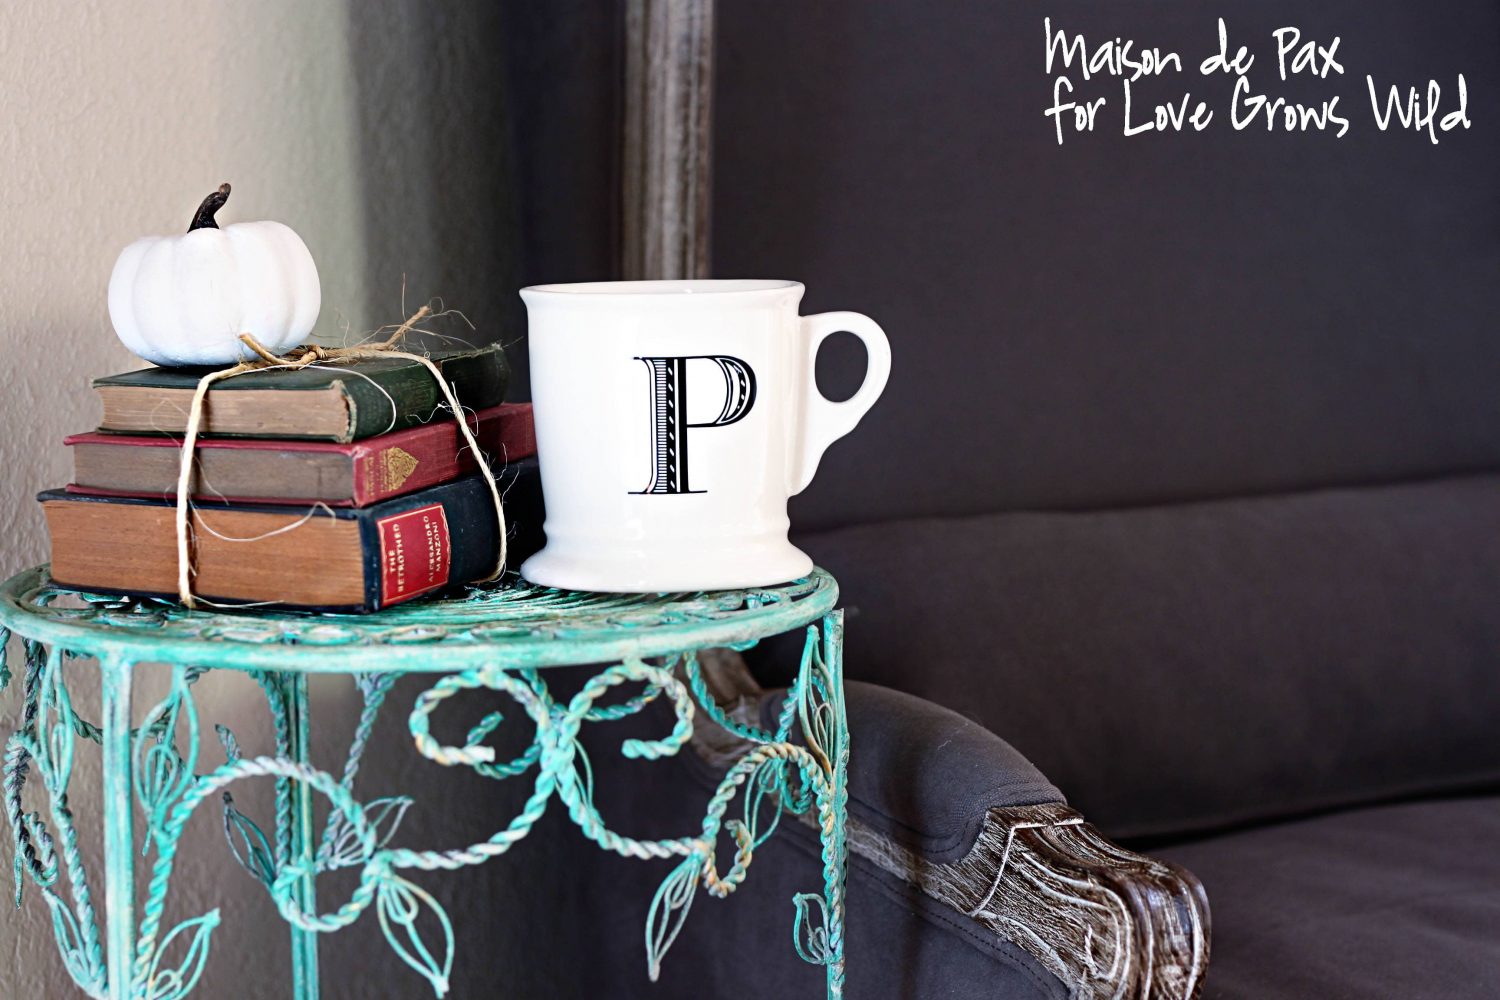
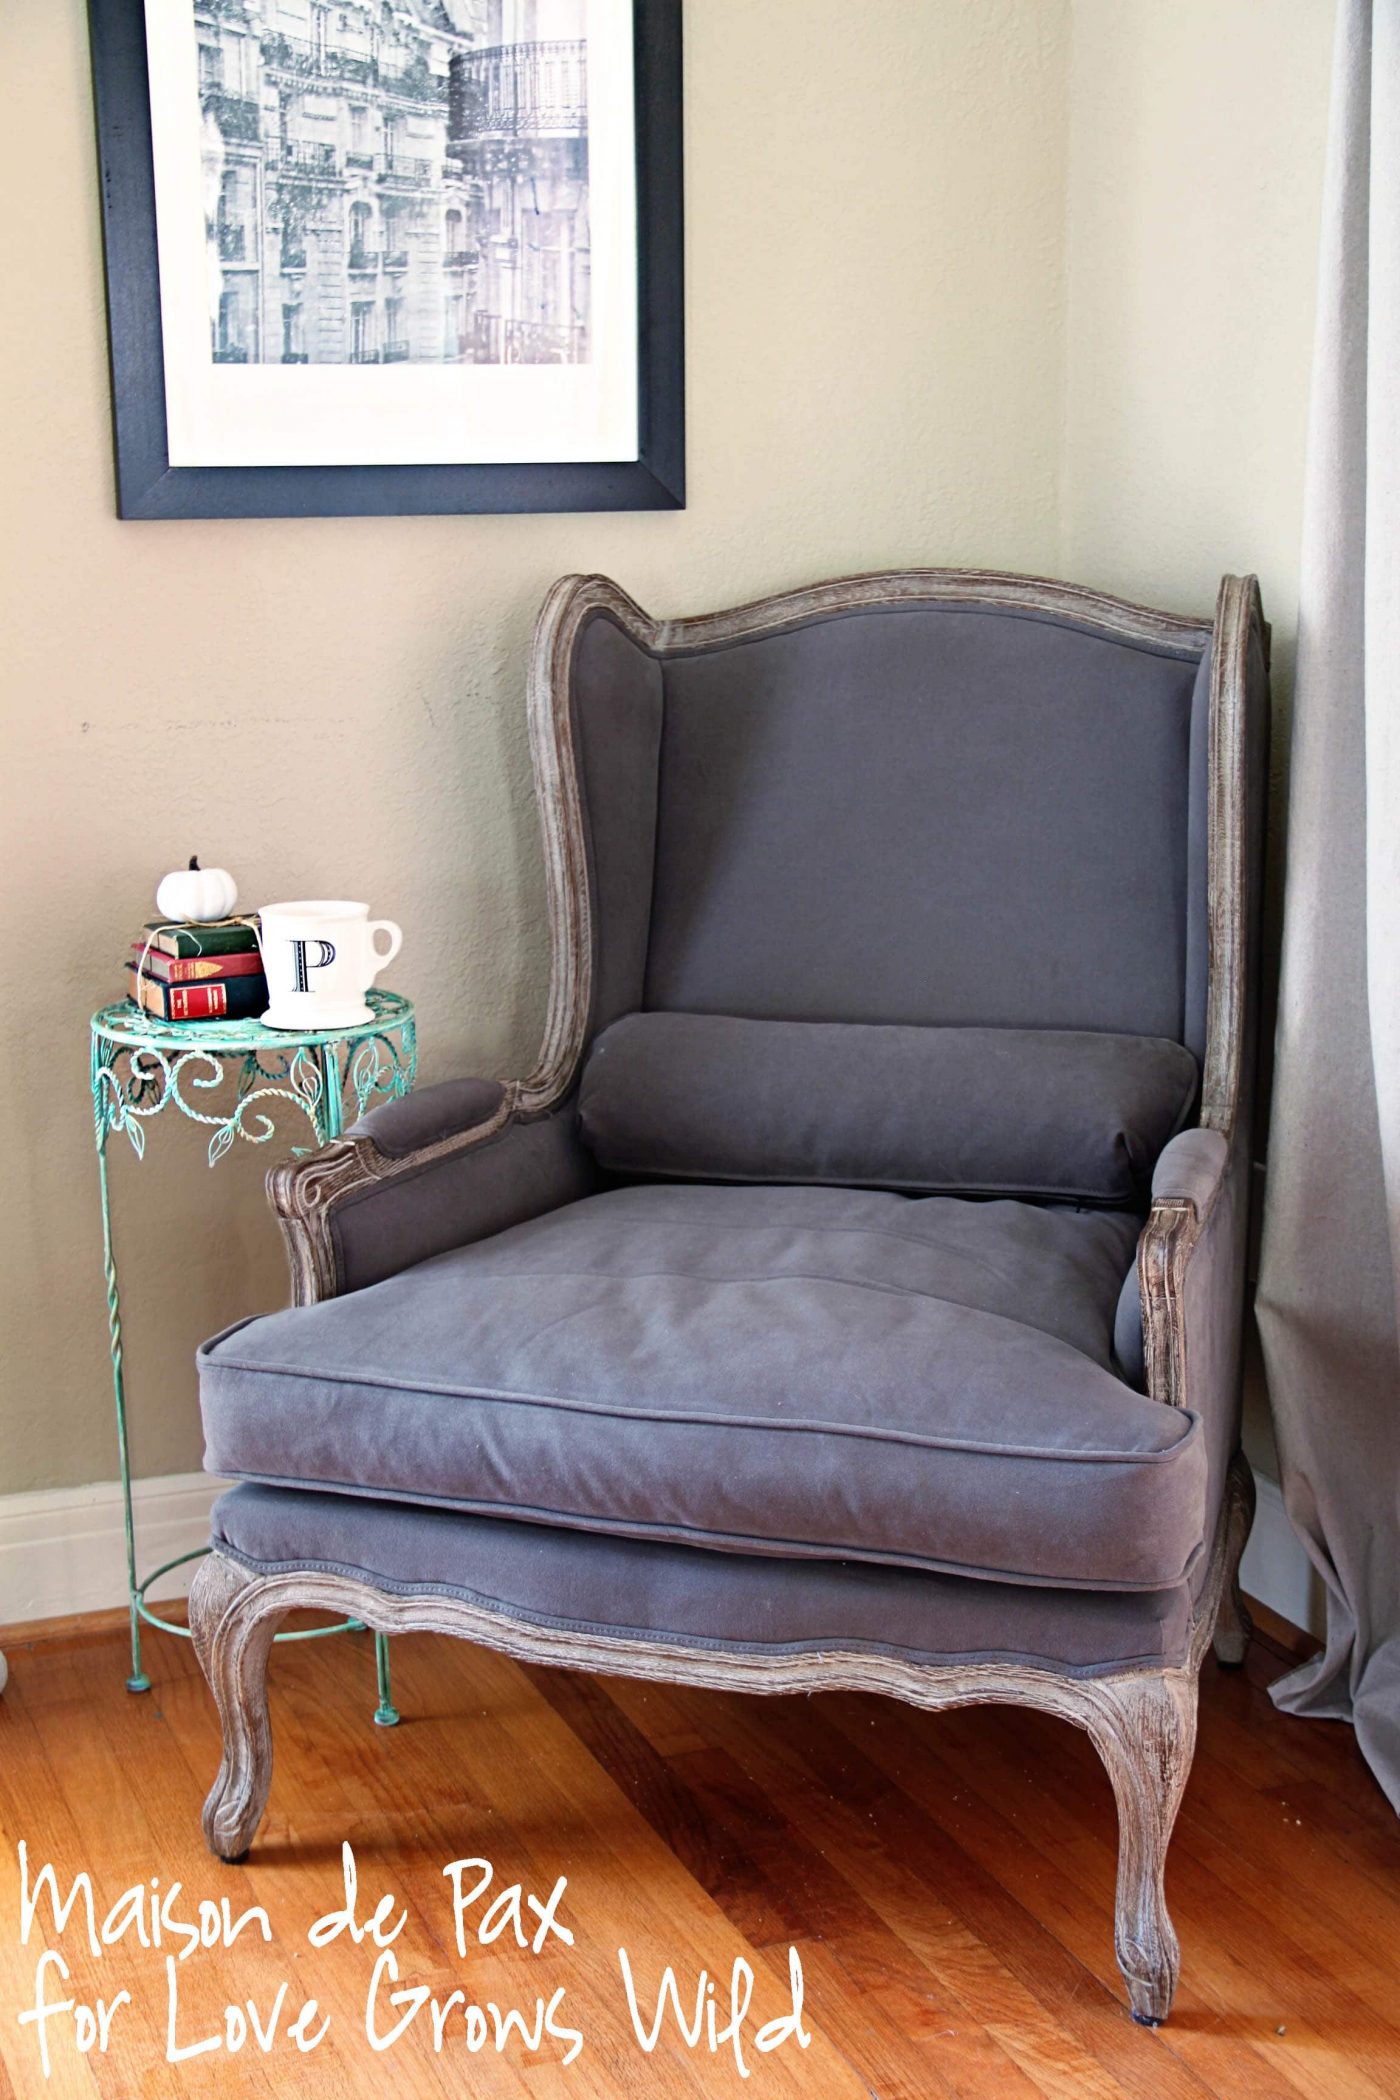


That tuned out so cute! That little stand fits perfectly there, I always like a little spot handy to set my coffee cup. I love the color!
What a great and frugal project! I love how this turned out. I also love the initial mug you have in the photo (I have the same one!) I’m hopping over from Inspire Me Please–have a great night!
Your table is a nice piece and the new colour is lovely.
I LOVE Rachel’s style, and this side table is no exception! I love the pop of color that the green brings next to the chair. Thanks so much for sharing, ladies!
~Abby =)
Super cute… Love it!
what a great reading spot!